Are you tired of staring at a sorry, shattered bathtub? Don’t fret! Fixing a broken bathtub is easier than you think.
In this informative guide, we’ll show you how to assess the damage, gather the necessary tools, and repair cracks, chips, leaks, and plumbing issues.
You’ll also learn how to restore the bathtub’s finish, making it shine like new.
So grab your tools and get ready to give your bathtub a much-needed makeover!
Key Takeaways
- Assess the extent of the damage and seek professional help if needed
- Gather the necessary tools and materials for bathtub repair
- Use appropriate repair methods based on the size and depth of cracks and chips
- Address leaks and plumbing issues promptly to prevent further damage

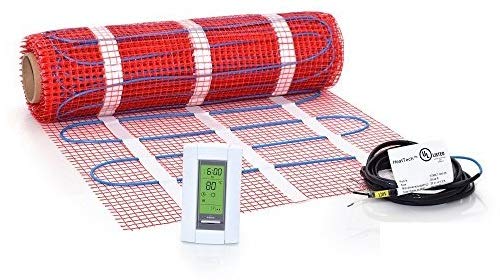
20 Sqft Electric Radiant Floor Heating Mat Kit,120V WiFi Programmable Thermostat, Dual Sensor, cULus Listed, Safe for Wet Areas, Heated Floor System for Tile, Stone, Laminate
【Complete Heating Kit Included】 20 sqft radiant floor heating system · Heating mat: 20" wide × 13ft long,...
As an affiliate, we earn on qualifying purchases.
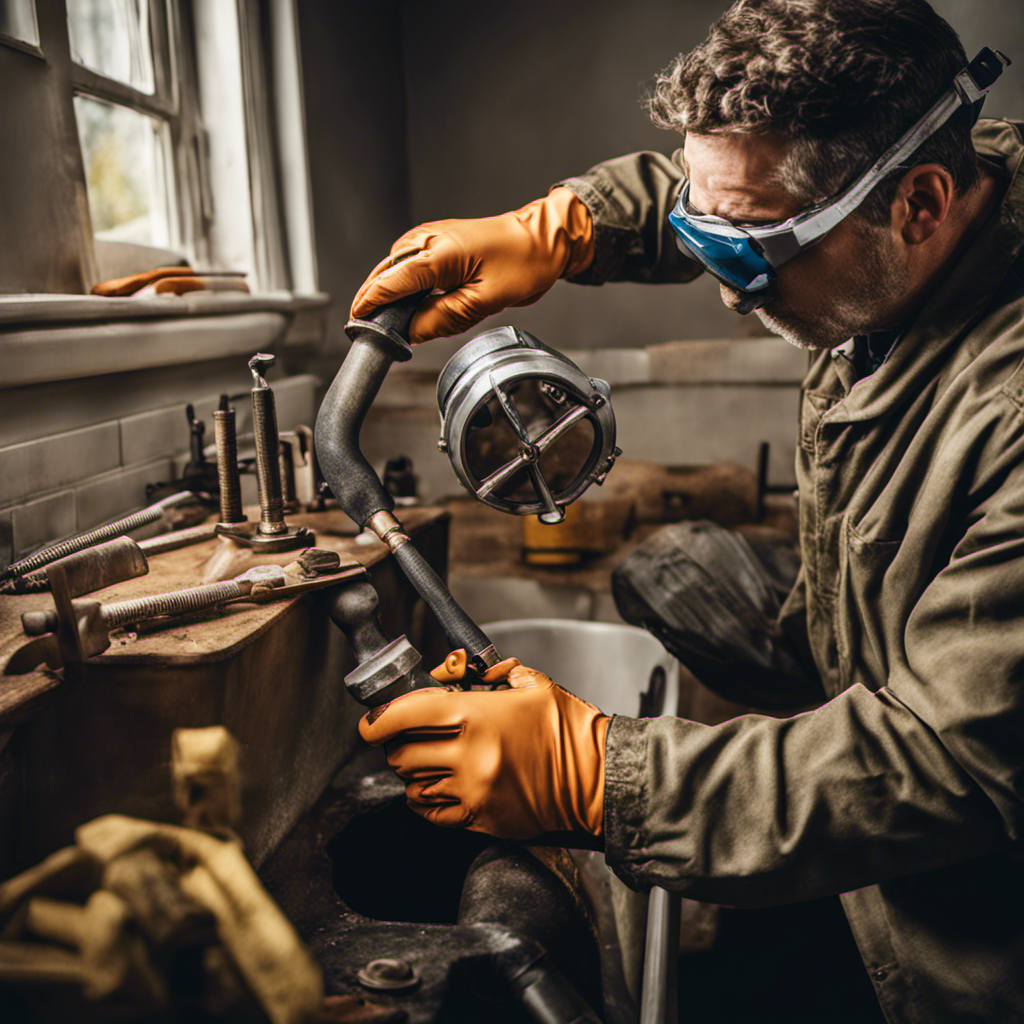
Assessing the Damage
Now, you’ll need to take a closer look at the damage and figure out what needs fixing. Start by evaluating the extent of the damage to your bathtub. Is it a small crack or a large hole? Are there any leaks or water damage?
It’s important to assess the severity of the problem before proceeding. In some cases, it might be necessary to seek professional help, especially if the damage is extensive or if you’re unsure about how to fix it yourself. A professional can provide expert guidance and ensure the repair is done correctly.
Once you have a good understanding of the damage, you can move on to gathering the necessary tools for the job.

LuxHeat 150sqft Floor Heating Mat Kit – 120v Electric Radiant In Floor Heating Mat – Heated Flooring System for Tile & Laminate - Includes UDG4 Programmable Thermostat w/GFCI, Alarm & Sensor
LUXURY AND COMFORT - Enjoy the Warmth of LuxHeat's easy-to-install Electric Floor Heating System. Heating Kit Includes: 2x...
As an affiliate, we earn on qualifying purchases.
Gathering the Necessary Tools
First, you’ll want to gather all the tools you’ll need to get the job done. When it comes to fixing a broken bathtub, having the right tools is essential for a successful repair. Depending on the type of damage, you may need a variety of tools, such as a screwdriver, pliers, caulk gun, putty knife, and a bathtub repair kit.
Before starting, it’s important to assess the type of material your bathtub is made of. Different materials require different repair techniques, so make sure you choose the right one. For example, if your bathtub is made of fiberglass, you’ll need a repair kit specifically designed for fiberglass.
Once you have all the necessary tools and materials, you can proceed with the repair, following proper maintenance techniques to ensure a long-lasting fix.

LuxHeat 10sqft Floor Heating Mat Kit - 120v Electric Radiant Floor Heating Mat - Easy to Install Heated Flooring System w/Self-Adhesive Mesh Includes Monitor & Sensor - Excludes Thermostat
LUXURY AND COMFORT - Enjoy the warmth of LuxHeat's easy to install electric floor heating system. Your purchase...
As an affiliate, we earn on qualifying purchases.
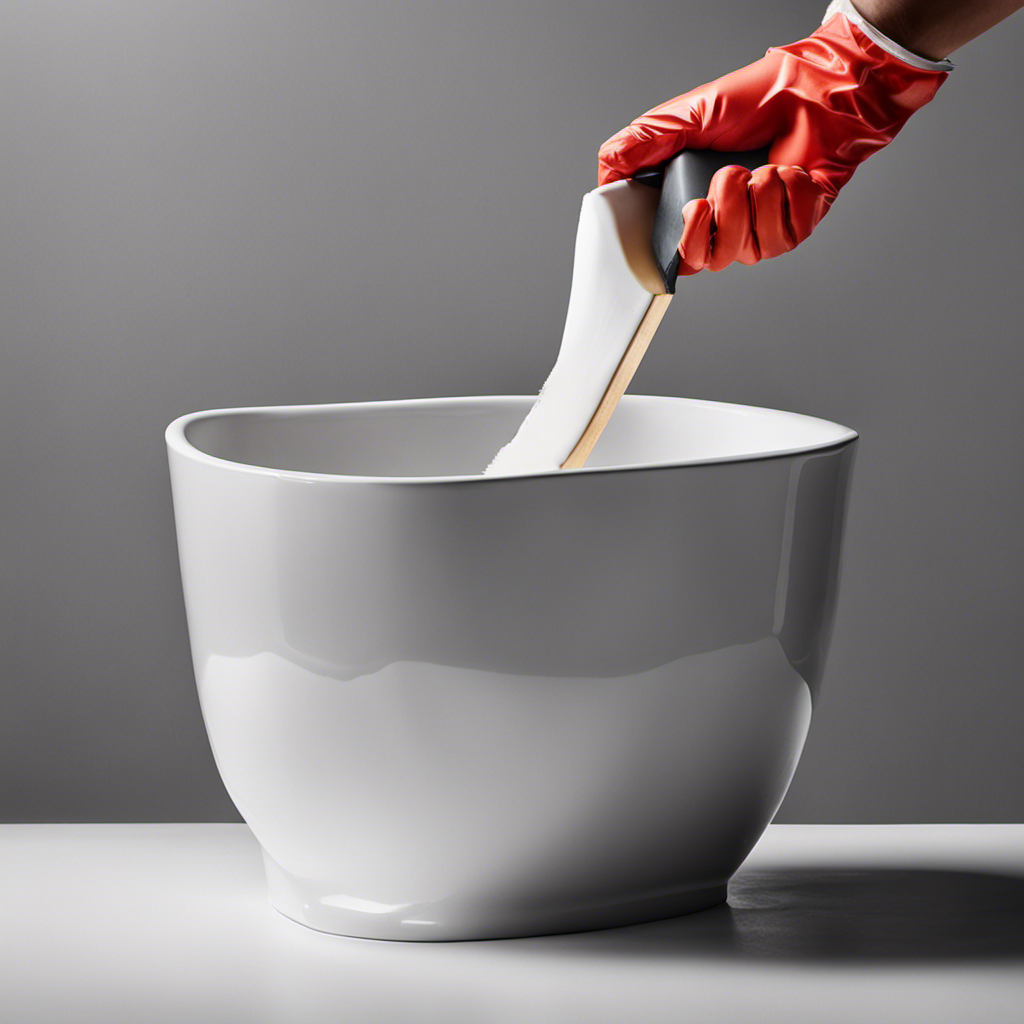
Repairing Cracks and Chips
To repair cracks and chips in your bathtub, you’ll need to assess the extent of the damage and gather the appropriate materials and tools. First, examine the cracks and chips closely to determine their size and depth. This will help you decide on the best repair method. For small scratches, a simple touch-up paint may be sufficient. However, deeper dents may require a more involved process. To fill in these dents, you’ll need a bathtub repair kit, which typically includes epoxy putty, sandpaper, and a mixing tool. Follow the instructions on the kit carefully to ensure a successful repair. After filling in the dents, use the sandpaper to smooth the surface and blend it with the rest of the bathtub. Remember, patience and attention to detail are key when repairing cracks and chips in your bathtub.
| Scratches | Dents |
|---|---|
| Touch-up paint | Bathtub repair kit |
| Epoxy putty | |
| Sandpaper | |
| Mixing tool |
20 sqft HeatTech 120V Electric Tile Radiant Floor Heating Mat Kit
Mat size: 20" wide x 12.2ft long
As an affiliate, we earn on qualifying purchases.
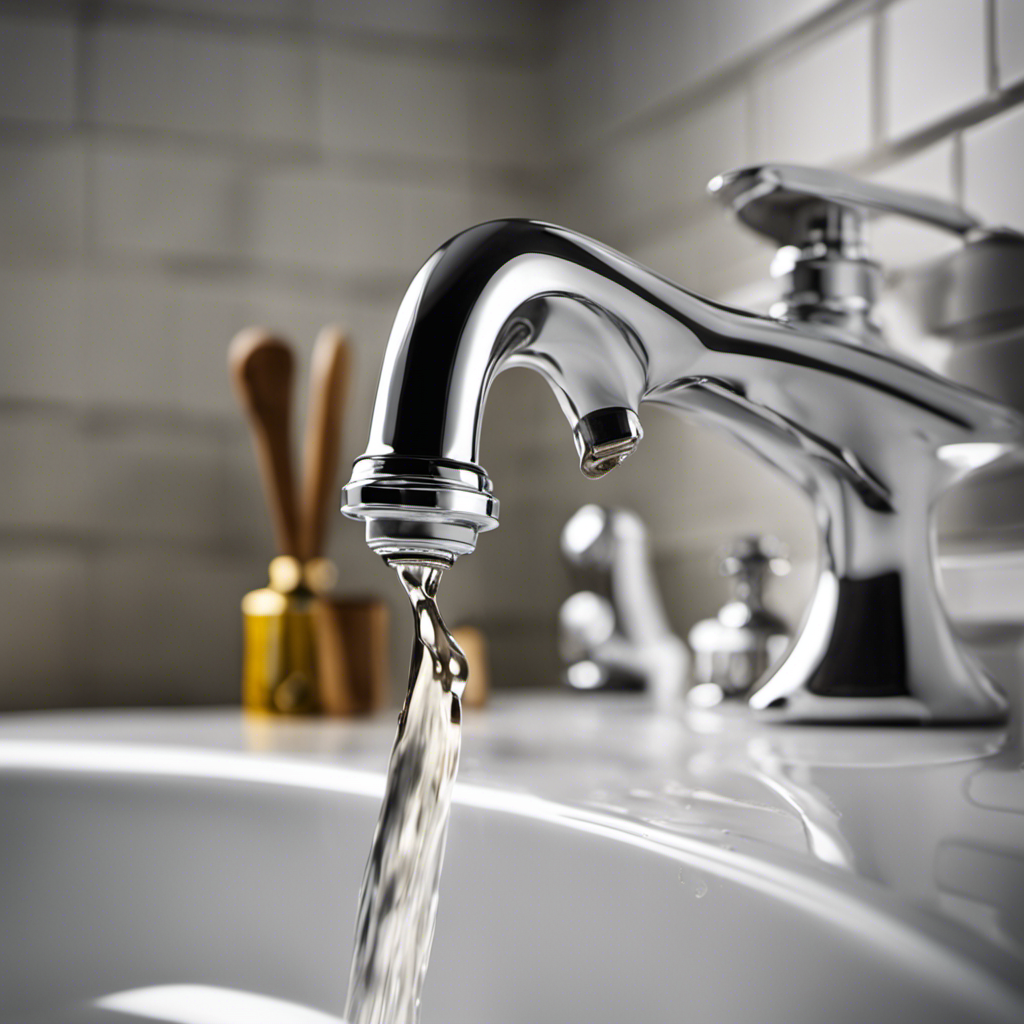
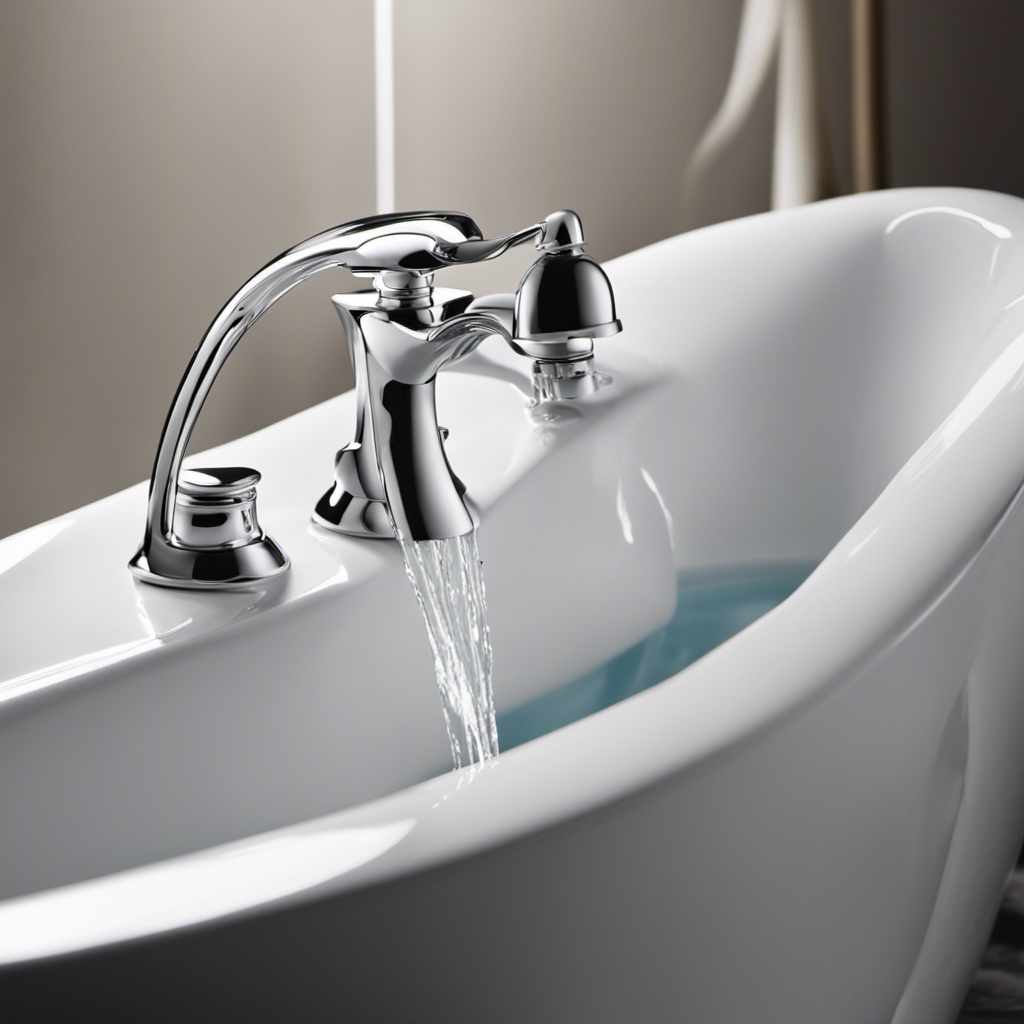
Fixing Leaks and Plumbing Issues
If you’re experiencing leaks or plumbing issues in your bathroom, it’s important to address them promptly to prevent further damage. Here are three waterproofing techniques to help you fix leaks and prevent future issues:
-
Inspect and repair caulking: Check the caulking around your bathtub for any cracks or gaps. Use a scraper to remove the old caulking and then apply a new layer to ensure a watertight seal.
-
Replace faulty plumbing fixtures: Leaky faucets, showerheads, or valves can cause water to seep into your walls or floors. Replace any faulty fixtures to prevent leaks and ensure proper water flow.
-
Install a waterproofing membrane: A waterproofing membrane is a layer of material that prevents water from penetrating your bathroom walls or floors. Apply the membrane before tiling to create a barrier against moisture and potential leaks.
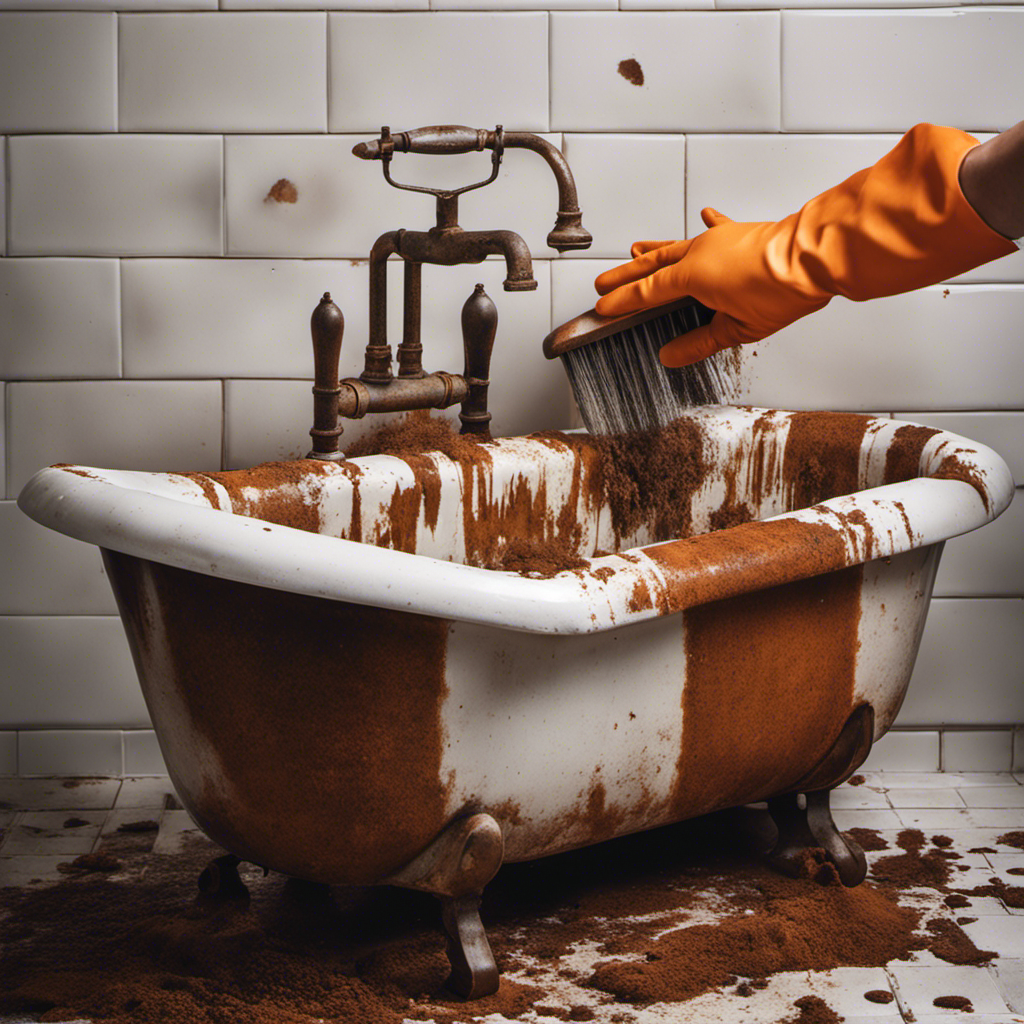
Restoring the Bathtub’s Finish
When restoring your bathtub’s finish, you should consider using a refinishing kit to give it a fresh and updated look.
While there are alternative refinishing methods available, using a refinishing kit is a practical and cost-effective option for most homeowners.
These kits typically include everything you need to restore your bathtub’s finish, including cleaners, primers, and epoxy coatings.
The process involves cleaning the bathtub thoroughly, applying the primer, and then applying multiple coats of the epoxy coating.
The result is a smooth and glossy finish that can make your bathtub look like new.
DIY bathtub restoration with a refinishing kit has its pros and cons.
On the positive side, it is a more affordable option compared to hiring a professional refinishing service.
It also allows you to customize the color and finish of your bathtub.
However, it requires careful preparation and application to ensure a durable and long-lasting finish.
It can also be time-consuming and messy.
If you are not confident in your DIY skills or if your bathtub has extensive damage, it may be best to consult a professional for refinishing.
Frequently Asked Questions
How Much Will It Cost to Fix a Broken Bathtub?
Fixing a broken bathtub can vary in cost depending on the extent of the damage and the repair method used. DIY bathtub repair options can save you money, but it’s best to consult a professional for an accurate estimate.
Can I Use Regular Household Tools for Bathtub Repair?
You can use regular household tools for bathtub repair, but there are pros and cons to doing it yourself. It’s important to consider your skill level and the complexity of the repair before attempting it.
What Should I Do if My Bathtub Has Structural Damage?
If your bathtub has structural damage, you have repair options depending on the severity. Patching cracks or holes with a repair kit may work, but if the damage is extensive, bathtub replacement might be necessary.
How Long Will It Take to Repair a Cracked or Chipped Bathtub?
Fixing a cracked or chipped bathtub can take time, depending on the severity of the damage. Professional repairs may cost more, but DIY options are available. Let’s explore how to tackle this issue.
Can I Restore My Bathtub’s Finish Without Professional Help?
You can restore your bathtub’s finish without professional help! With some DIY bathtub finish repair techniques, you’ll be able to bring back the shine and make your bathtub look as good as new.
Conclusion
Now that you’ve successfully repaired your broken bathtub, you can bask in the glory of a restored oasis of relaxation.
Like a skilled craftsman, you’ve carefully assessed the damage, gathered the necessary tools, and skillfully fixed cracks and leaks.
With each step, you’ve breathed new life into your bathtub, turning it from a broken vessel into a shining beacon of tranquility.
Your meticulous efforts have paid off, and now you can enjoy the soothing waters, knowing that you’ve triumphed over the challenges that came your way.