Wow, do I have a story for you!
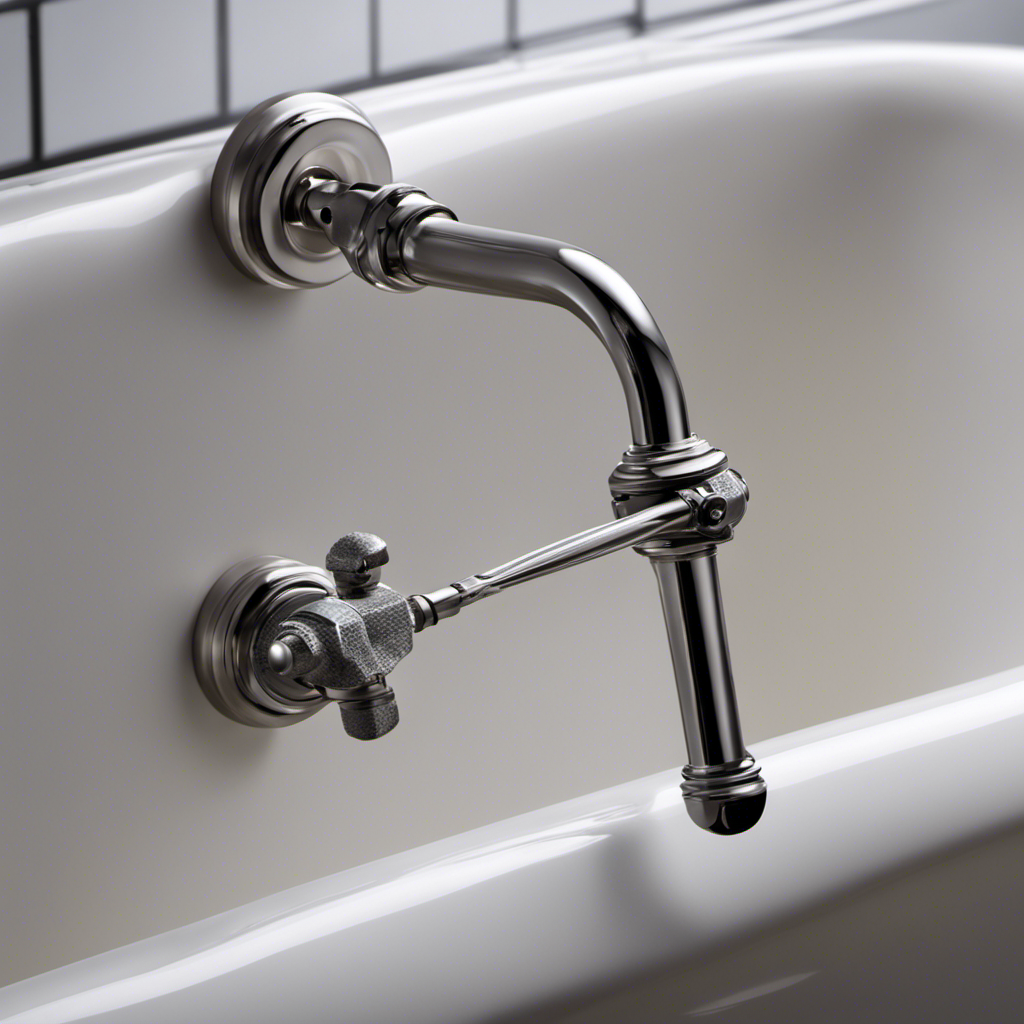
Ever had a broken bathtub faucet handle that just won’t cooperate? Trust me, I know the struggle.
But fear not, because I’ve got the ultimate solution. In this article, I’ll show you step by step how to fix that stubborn handle and have your bathtub running smoothly again in no time.
Get ready to become the ultimate DIY hero in your bathroom!
Key Takeaways
- Assess the damage and consider seeking professional help if necessary
- Gather the necessary tools and materials for the repair
- Take steps to prevent future handle breakage
- Follow proper steps for removing and replacing the broken handle, and test the water flow after installation
Assessing the Damage
Now, you’ll want to take a close look at the handle to see if there are any visible signs of damage. Start by examining the handle for cracks, chips, or any other signs of wear and tear. If you notice any of these issues, it’s important to evaluate the cost of repairing the handle yourself versus seeking professional help.
In some cases, a minor repair may be all that’s needed, such as replacing a small part or tightening a loose screw. However, if the damage is extensive or if you’re unsure about how to proceed, it’s best to seek the expertise of a professional plumber. They have the necessary skills and experience to assess the situation accurately and provide the most cost-effective solution.
Gathering the Necessary Tools
First, you’ll need to gather the necessary tools for the task at hand. Here are the items you’ll need:
- Adjustable wrench: This will help you loosen and tighten the nuts on the faucet handle.
- Screwdriver: You’ll need this to remove any screws holding the handle in place.
- Replacement handle: Choosing the right handle is crucial. Make sure it matches the style and dimensions of your current handle.
- Plumbers tape: This will help create a watertight seal when installing the new handle.
- Silicone caulk: Applying a thin bead of caulk around the base of the handle can help prevent water from seeping behind it and causing damage.
To prevent future handle breakage, here are some tips:
- Avoid excessive force when turning the handle.
- Regularly inspect and clean the handle to remove any buildup that could cause it to stick.
- Consider upgrading to a higher quality handle that is more durable.
- If you notice any signs of wear or damage, replace the handle promptly to prevent further issues.
- Hire a professional plumber for any complex repairs or if you’re unsure of your DIY skills.
Removing the Broken Handle
To remove the damaged handle, you’ll need to use a screwdriver to unscrew any screws securing it in place. Once the screws are removed, you can gently pull the handle away from the faucet. However, before attempting to remove the handle, it’s important to troubleshoot common bathtub faucet handle issues. This will help you determine if the handle is actually the source of the problem. Some common issues include leaks, difficulty turning the handle, or a loose handle.
There are different types of bathtub faucet handles, each with their own pros and cons. Here is a table outlining some of the most common types:
| Type | Pros | Cons |
|---|---|---|
| Knob | Easy to grip and turn | Can be difficult to install |
| Lever | Smooth operation | May require more force to turn |
| Cross handle | Stylish and traditional | Can be challenging to clean |
Understanding the type of handle you have will help you troubleshoot and determine the best approach for removing and replacing it.
Replacing the Faucet Handle
Once you’ve determined the type of handle you have, you can proceed with replacing it. Installing a new handle for your bathtub faucet is a relatively simple process. Here’s what you need to do:
- Begin by choosing a replacement handle that matches the design and style of your existing faucet.
- Gather the necessary tools, such as a screwdriver, pliers, and a wrench.
Carefully remove any screws or bolts that are securing the old handle in place.
- Take off the old handle and set it aside.
Align the new handle with the valve stem and secure it in place using the screws or bolts.
With the new handle successfully installed, you can now move on to testing and adding those finishing touches to complete the repair.
Testing and Finishing Touches
Now that you’ve installed the new handle, it’s time to check if the water flows smoothly and make any necessary adjustments for a perfect finish.
Proper maintenance is essential to ensure your bathtub faucet handle functions properly and lasts for a long time. Testing the water flow is crucial to identify any issues and make necessary adjustments.
Turn on the water and observe if it comes out smoothly without any leaks or splashing. If you notice any irregularities, such as low water pressure or dripping, you may need to check the connections and tighten them if necessary.
Additionally, it’s important to avoid common mistakes during this process, such as overtightening or using excessive force when adjusting the handle. These can lead to damage and leaks.
Conclusion
After following the steps outlined in this article, I successfully fixed my broken bathtub faucet handle.
It was a bit of a challenge, but with the right tools and some patience, I was able to remove the broken handle and replace it with a new one.
The faucet now works like a well-oiled machine, smoothly turning on and off. It’s as if the faucet handle is dancing effortlessly, orchestrating the flow of water with grace and precision.


