Hey there!
Did you know that over 80% of homeowners have experienced some sort of damage to their plastic bathtubs? If you’re one of them, don’t worry! I’ve got you covered.
In this article, I’ll walk you through the step-by-step process of fixing a chip in a plastic bathtub.
We’ll start by assessing the damage, gathering the necessary materials, and preparing the surface.
Then, we’ll dive into applying the repair solution, and finish off with polishing the chip repair.
Let’s get started!
Key Takeaways
- Assess the size and depth of the chip and evaluate the overall condition of the bathtub before deciding on the repair approach.
- Gather the necessary materials such as a plastic repair kit, sandpaper, epoxy or adhesive, and paint or finish that matches the bathtub’s color and texture.
- Prepare the surface by cleaning the damaged area, removing debris, and smoothing the chip with sandpaper while wearing protective gear.
- Apply the repair solution in thin layers, following the manufacturer’s instructions, and finish by sanding, applying a clear coat, and buffing the repaired area for a seamless appearance.
Assessing the Damage
Before you can begin fixing a chip in a plastic bathtub, you’ll need to assess the extent of the damage. Evaluating the cost of repairing the chip is crucial in determining whether it’s worth fixing it yourself or seeking professional help.
Take a close look at the chip and determine its size and depth. Small, shallow chips can often be repaired using a DIY kit or some simple household materials. However, if the chip is large or deep, it may require professional assistance.
Additionally, consider the overall condition of your bathtub. If it’s old or already in poor condition, it may be more cost-effective to replace the entire tub rather than fixing a single chip.
Ultimately, the decision to fix the chip yourself or seek professional help boils down to the cost and complexity of the repair, as well as your personal skill level and available resources.
Gathering the Necessary Materials
First, you’ll need to gather all the necessary materials for the job. Here are the items you’ll need:
- A plastic repair kit: Choosing the right repair kit is crucial in ensuring a successful fix. Look for one specifically designed for plastic bathtub repairs.
- Sandpaper: You’ll need sandpaper to smooth out the surface of the chip and prepare it for repair.
- Epoxy or adhesive: This is the main component of the repair kit that will help bond the damaged area back together.
- Paint or finish: To achieve a seamless repair, you’ll need paint or a finish that matches the color and texture of your bathtub.
While fixing a chip in a plastic bathtub can be a DIY project, it is important to note that sometimes professional help may be necessary, especially for larger or more complex repairs. If you’re unsure about your abilities or if the damage seems extensive, it’s best to consult a professional to ensure a proper and long-lasting fix.
Preparing the Surface
To achieve a seamless repair, you’ll need to smooth out the surface of the damaged area using sandpaper.
Before starting, gather the necessary cleaning products and take the appropriate safety precautions.
Begin by cleaning the damaged area with a mild detergent and warm water. This will remove any dirt or grime that could interfere with the repair process.
Next, rinse the area thoroughly and allow it to dry completely. Once dry, inspect the damaged area for any remaining debris or loose material. Use a vacuum or compressed air to remove any particles.
Now, take a piece of sandpaper and gently sand the surface of the chip. Start with a coarse grit sandpaper and gradually move to a finer grit until the surface is smooth to the touch.
Remember to wear safety goggles and a mask to protect yourself from any dust or debris.
Applying the Repair Solution
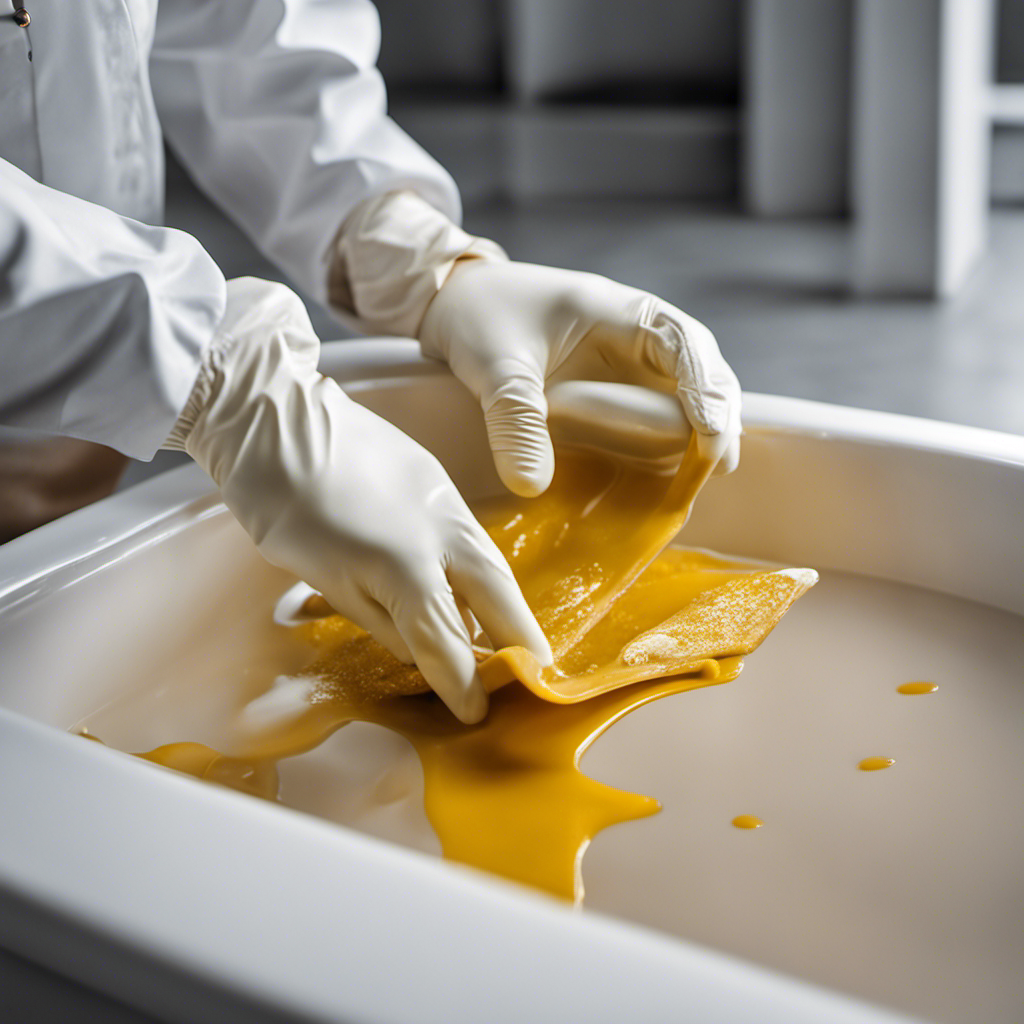
Once the surface is smooth, you can apply the repair solution to the damaged area. Here are some tips for achieving a seamless finish in chip repair:
-
Clean the area thoroughly before applying the repair solution. Make sure there isn’t any dust or debris that could affect the adhesion of the solution.
-
Use a small brush or applicator to apply the repair solution. This will allow you to have better control and precision when filling in the chip.
-
Apply the repair solution in thin layers, building it up gradually. This will help achieve a smoother and more even finish.
-
Avoid overfilling the chip. It’s better to apply several thin layers rather than one thick layer, as this can result in a raised or uneven surface.
Common mistakes to avoid when applying the repair solution include:
-
Applying too much solution at once, which can lead to unevenness.
-
Not allowing enough drying time between layers, which can cause the solution to crack or peel.
-
Using a brush that is too large or has stiff bristles, which can result in a messy application.
-
Neglecting to follow the manufacturer’s instructions for mixing or curing times.
Finishing and Polishing the Chip Repair
For a smooth and polished finish, make sure you gently sand the repaired area before applying a clear coat. This step is crucial in achieving a seamless repair on your plastic bathtub.
Begin by using a fine-grit sandpaper, such as 320-grit, to carefully sand the repaired chip. The goal is to create a smooth and even surface that will blend seamlessly with the surrounding area. Take your time and be gentle to avoid causing any further damage.
Once the area is sanded, wipe away any dust or debris with a clean cloth. Now, it’s time to apply the clear coat. Choose a clear coat that matches the finish of your bathtub. Apply it evenly over the repaired area, following the manufacturer’s instructions. Allow it to dry completely before moving on to the next step.
Finally, to achieve a flawless finish, you can use a buffing technique. Gently buff the repaired area using a soft cloth or a buffing pad. This will help blend the repaired section with the rest of the bathtub, giving it a seamless appearance. Remember to use even pressure and circular motions while buffing.
Take a step back and inspect your work. If needed, repeat the buffing process until you are satisfied with the result. With these final touches, your chip repair will look as good as new.
Conclusion
In conclusion, fixing a chip in a plastic bathtub is a simple and cost-effective solution that anyone can do. By following the steps outlined in this article, you can assess the damage, gather the necessary materials, prepare the surface, apply the repair solution, and finish and polish the chip repair.
With just a little bit of effort and attention to detail, your bathtub will be looking as good as new. So why wait? Isn’t it time to give your bathtub the TLC it deserves?


