Did you know that every year, thousands of bathtubs suffer from chips and cracks? If left untreated, these damages can lead to more serious issues, such as leaks and further deterioration.
But fear not, because I’m here to guide you through the process of fixing a chip in your bathtub. In this article, I will provide you with step-by-step instructions on how to:
- Assess the damage
- Gather the necessary materials
- Prepare the surface
- Apply the repair solution
- Ensure a smooth and durable finish.
Key Takeaways
- Assess the size, depth, and surrounding damage of the chip before proceeding with the repair.
- Gather the necessary materials such as epoxy resin or acrylic repair kit, sandpaper, cleaning solution, putty knife, and heat gun or hairdryer.
- Use a bathtub repair kit with filler and finishing compounds, and roughen the edges of the chip with sandpaper for smooth application.
- Properly clean the chip area, work in a well-ventilated area, and wear protective gloves during surface preparation and repair.
DEWALT Wet Tile Saw with Stand, 10-Inch, Corded (D24000S)
Your purchase includes One Dewalt 10-Inch Wet Tile Saw, Wet Tile Saw Stand, 10-Inch XP4 Porcelain Tile Blade,...
As an affiliate, we earn on qualifying purchases.
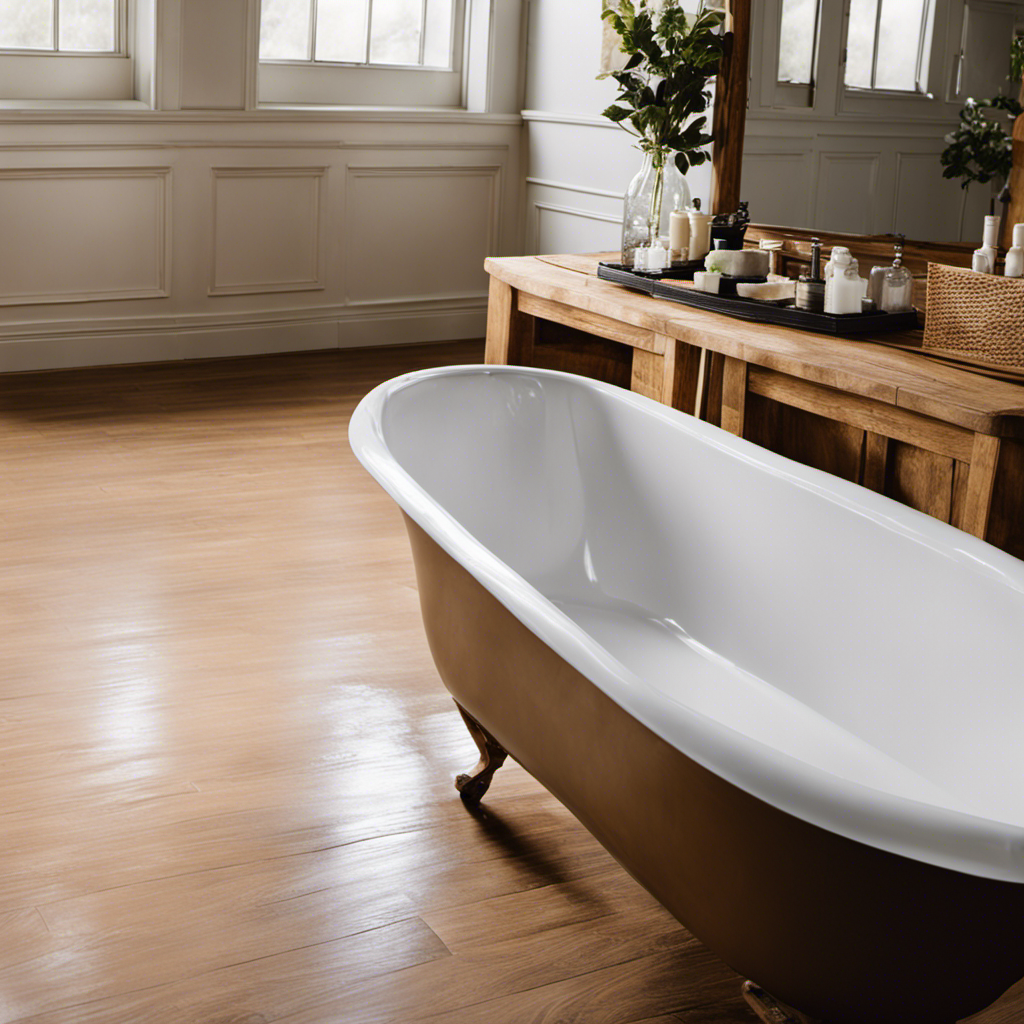
Assess the Damage
First, you’ll need to take a close look at the chip to assess how severe the damage is. Evaluating the extent of the chip is crucial in determining the cause and finding the appropriate solution.
Start by examining the size and depth of the chip. If it’s small and shallow, you may be able to fix it with a simple repair kit. However, if the chip is larger and deeper, it may require more extensive repairs or even professional assistance. Look for any signs of cracking or surrounding damage, as this could indicate a larger underlying issue.
Once you’ve evaluated the extent of the chip, you can proceed to gather the necessary materials for the repair process.
VEVOR Wet Tile Saw with Stand - 10-inch 65Mn Steel Blade, 4500 RPM Motor, Water Reservoir, Caster Wheels, 0-45 Degrees Miter Angle for Cutting Tiles & Stones
0-45° Angle and Deep Cutting: The VEVOR wet tile saw provides adjustable cutting angles from 0 to 45...
As an affiliate, we earn on qualifying purchases.
Gather the Necessary Materials
When it comes to repairing a chip in a bathtub, it is important to gather the necessary materials before starting the project.
The required repair materials for fixing a chip in a bathtub may include epoxy resin or acrylic repair kits, sandpaper, and a cleaning solution.
Additionally, having an essential tool checklist is crucial. This checklist may include a putty knife, a heat gun or hairdryer, and a cloth for cleaning.
Required Repair Materials
You’ll need a few specific materials to fix the chip in your bathtub.
First, you’ll need a bathtub repair kit, which typically includes a filler compound and a finishing compound. These compounds are designed to seamlessly blend with the color and texture of your bathtub.
Additionally, you’ll need a putty knife or a spatula for applying the filler compound. It’s important to choose a flexible putty knife to ensure smooth application.
To prepare the surface, you’ll need sandpaper or a sanding block to gently roughen the edges of the chip. This promotes better adhesion of the filler compound.
Finally, you’ll need a clean cloth or sponge for wiping away any excess compound.
These materials are readily available and cost-effective solutions for repairing bathtub chips.
Essential Tool Checklist
To complete the repair, make sure you have these essential tools on hand. It is important to follow proper technique and safety precautions when fixing a chip in a bathtub. Here is a checklist of the tools you will need:
| Tool | Purpose | Safety Precautions |
|---|---|---|
| Epoxy Resin | To fill the chip | Wear gloves and eye protection when handling chemicals. |
| Sandpaper | To smooth the surface | Use a mask to avoid inhaling dust particles. |
| Putty knife | To apply the epoxy resin | Keep fingers away from the blade to prevent injuries. |
| Clean cloth | To wipe away excess resin | Dispose of cloth properly to avoid fire hazards. |

DEWALT Wet Tile Saw with Stand, 10 Inch, 15-Amp, 1,220 MWO, Corded (D36000S)
Cutline indicator, rigid frame, and stainless-steel rollers provide cutting accuracy to within 1/32 in. over 30 in. cuts
As an affiliate, we earn on qualifying purchases.
Prepare the Surface
When it comes to preparing the surface for chip repair in a bathtub, there are three key points to consider: cleaning the chip area, choosing the right materials, and applying the repair solution.
Firstly, it is crucial to thoroughly clean the chip area to ensure proper adhesion of the repair material.
Secondly, selecting the appropriate materials such as a repair kit or epoxy filler is essential for a successful repair.
Lastly, applying the repair solution according to the manufacturer’s instructions will ensure a durable and seamless fix.
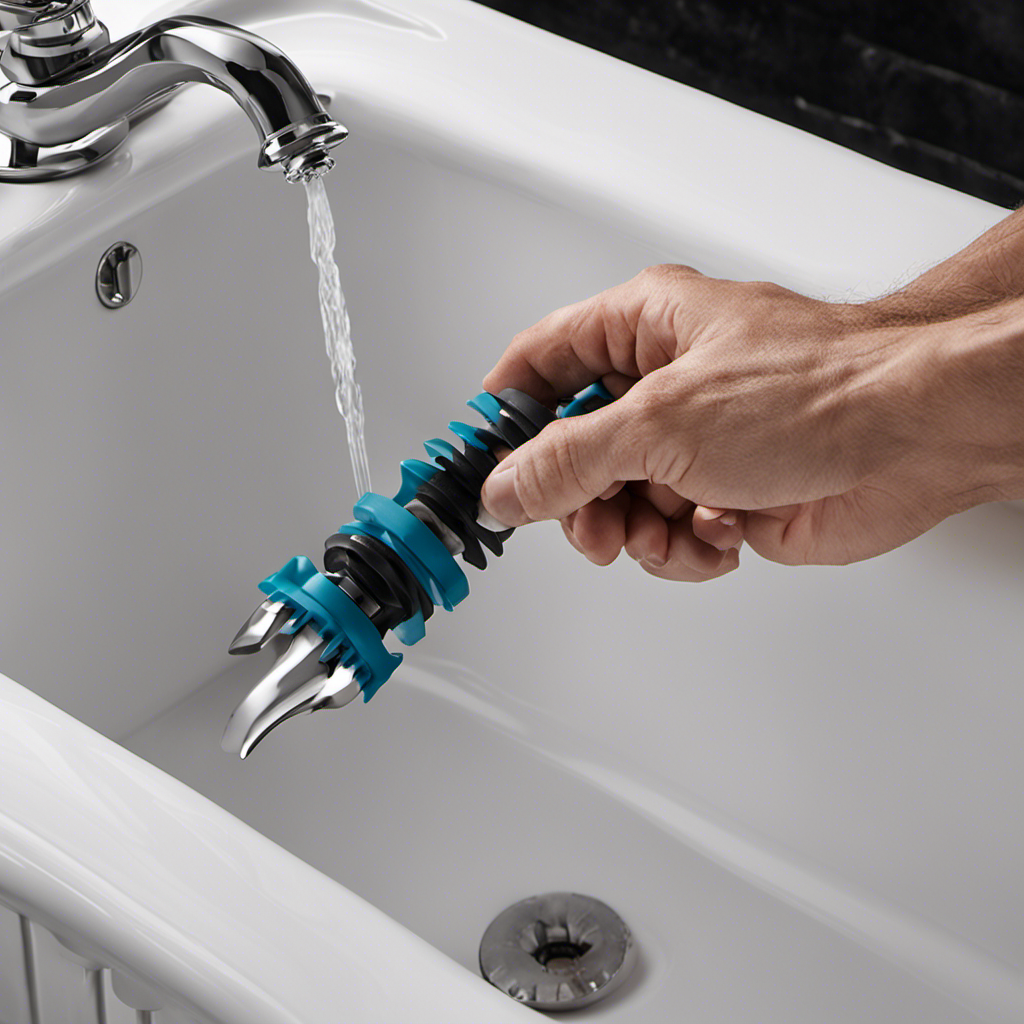
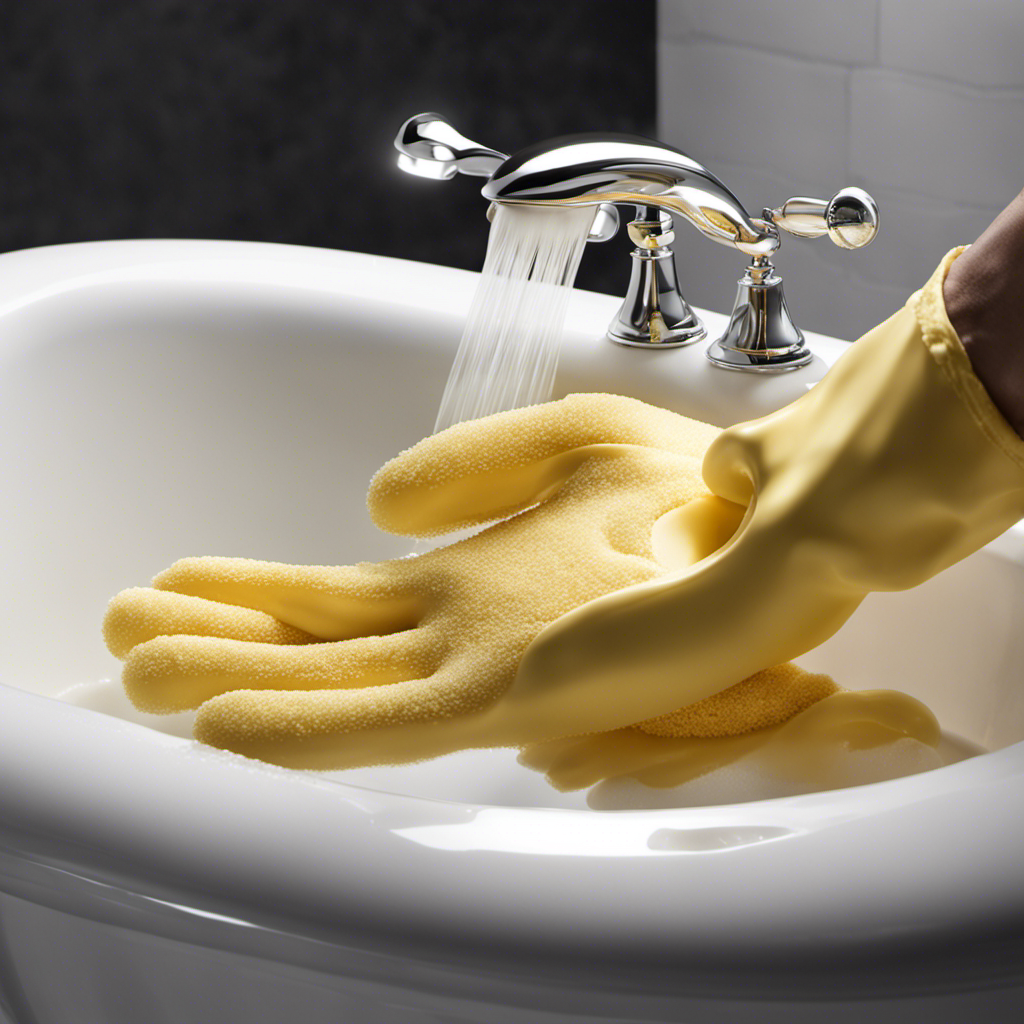
Cleaning the Chip Area
Start by gently scrubbing the chip area with a mild abrasive cleaner and a soft cloth. This will help remove any dirt or debris that may interfere with the repair process. Remember to always work in a well-ventilated area and wear protective gloves to avoid any skin irritation.
Here are some repair techniques and tips for preventing further damage:
- Repair Techniques:
- Use a bathtub repair kit specifically designed for chip repairs.
- Follow the instructions provided with the kit to ensure proper application and curing time.
- Apply the repair material evenly to the chipped area, filling it completely.
- Smooth out any excess material using a putty knife or a plastic card.
- Allow the repair material to dry and cure completely before using the bathtub.
Preventing Further Damage:
- Avoid using harsh or abrasive cleaners on the repaired area.
- Use a non-slip bathmat or adhesive strips to prevent future accidents.
- Regularly inspect the bathtub for any signs of damage and address them promptly.
Choosing the Right Materials
Choosing the right materials is crucial for properly repairing and preventing further damage to your bathtub. When it comes to bathtub chip repair, you need materials that are specifically designed for this purpose.
First, you will need a bathtub repair kit, which typically includes a filler compound and a finishing coat. The filler compound is used to fill in the chip and create a smooth surface. The finishing coat is then applied to provide a protective layer and match the color of your bathtub.
It’s important to choose a repair kit that is compatible with the material of your bathtub, whether it’s porcelain, acrylic, or fiberglass.
Additionally, consider using a bathtub mat or liner to prevent future chips and scratches. These materials provide an extra layer of protection and can be easily removed for cleaning or replacement.
Taking the time to select the right materials will ensure a successful repair and help prevent future damage to your bathtub.
Applying the Repair Solution
After mixing the filler compound and finishing coat together, you can easily apply the repair solution to the chipped area of your tub. This repair technique is a cost-effective and efficient way to restore the appearance of your bathtub.
Here’s how to apply the repair solution:
- Prepare the chipped area by cleaning it thoroughly and removing any loose debris.
- Use a putty knife to apply the repair solution to the chipped area, ensuring that it is evenly distributed.
- Smooth out the surface with the putty knife or a sanding block, making sure to blend it seamlessly with the surrounding area.
- Allow the repair solution to dry completely before using the bathtub again.
Alternative methods for repairing a chip in your bathtub include using epoxy or acrylic-based repair kits, or hiring a professional to do the job. However, this repair technique offers a simple and effective solution that you can do yourself.

Casaverde 10 Inch Diamond Porcelain Cutting Blade (10 inch)
Universal for dry or wet cutting.
As an affiliate, we earn on qualifying purchases.
Apply the Repair Solution
First, grab the repair solution and carefully apply it to the chip in your bathtub. Applying techniques for fixing chips in bathtubs vary, but using a repair solution is an effective method.
Start by cleaning the chip and surrounding area with a mild detergent and water. Dry it completely before proceeding.
Next, shake the repair solution well and apply a small amount to the chip using a brush or spatula. Make sure to spread it evenly and cover the entire chip.
Allow the solution to dry for the recommended time, usually 24 hours. After it has dried, gently sand the area to ensure a smooth finish.
If the repair solution is not available, there are alternative solutions such as using epoxy or acrylic repair kits. However, these may require more time and effort to achieve a satisfactory result.
Smooth and Blend the Repair
To achieve a seamless finish, gently sand the repaired area in your bathtub. This step is crucial for blending the repaired spot with the surrounding surface.
Here are some tips for sanding techniques and color matching to ensure a professional-looking repair:
-
Sanding Techniques:
-
Use fine-grit sandpaper (around 220-320 grit) to avoid scratching the surrounding area.
-
Start with light pressure and gradually increase as needed to smooth the surface.
-
Sand in circular motions to blend the edges of the repair with the rest of the bathtub.
-
Color Matching:
-
If your bathtub has a specific color, use a color-matching kit to find the closest shade.
-
Apply the color-matching solution to the repaired area, following the manufacturer’s instructions.
-
Use a small brush or sponge to blend the color evenly with the surrounding surface.
Allow for Proper Drying and Curing
Now that the repair has been smoothed and blended, it is important to allow for proper drying and curing. This step is crucial for ensuring the long term durability of the repair.
To achieve this, I recommend following the manufacturer’s instructions for the specific bathtub repair kit you are using. Generally, this involves allowing the repair to dry undisturbed for a specific period of time, often 24 to 48 hours. During this time, it is important to avoid using the bathtub or placing any heavy objects on the repaired area.
Additionally, it is essential to practice proper maintenance once the repair has fully cured. This includes avoiding abrasive cleaners and harsh chemicals that could damage the repaired surface.
Conclusion
In conclusion, fixing a chip in your bathtub is a simple yet essential task that can be easily accomplished with the right materials and techniques.
By assessing the damage, gathering the necessary materials, preparing the surface, applying the repair solution, and smoothing and blending the repair, you can restore your bathtub to its former glory.
Remember to allow for proper drying and curing to ensure a long-lasting repair. Just like a chip in a bathtub, small problems can be easily fixed with the right approach and attention to detail.