As they say, ‘a crack in the bathtub floor can be a real pain in the neck.’ But fear not, because I’m here to guide you through the process of fixing it.
In this informative and detailed article, I will share with you the step-by-step instructions on how to:
- Assess the damage
- Prepare the surface
- Apply the epoxy resin
- Smooth and level the surface
- Seal and finish the repair
So, let’s roll up our sleeves and get that cracked bathtub floor looking as good as new!
Key Takeaways
- Assess the size and severity of the crack and take note of any surrounding damage.
- Estimate the cost of repair by considering materials, labor, and additional expenses.
- Thoroughly clean and prepare the surface before applying epoxy resin for proper adhesion.
- Smooth and level the repaired area using sandpaper and fillers for a seamless finish.
Assess the Damage
Now, you’ll need to assess the damage to your cracked bathtub floor. Before you can decide on the best repair options, it’s important to understand the extent of the damage.
Start by examining the crack closely. Is it a small hairline crack or a larger, more significant one? Take note of any surrounding damage, such as loose tiles or water leakage.
It’s also helpful to estimate the cost of repair. Consider factors like the materials needed, labor costs, and any additional expenses such as waterproofing or tile replacement. To get a more accurate cost estimation, it’s advisable to consult with a professional or research average repair costs in your area.
Having a clear understanding of the damage and potential expenses will help you make informed decisions moving forward.
Prepare the Surface
To start, you’ll need to make sure the surface is properly prepped for repair. This step is crucial in achieving a successful bathtub floor fix. Here’s what you’ll need to do:
-
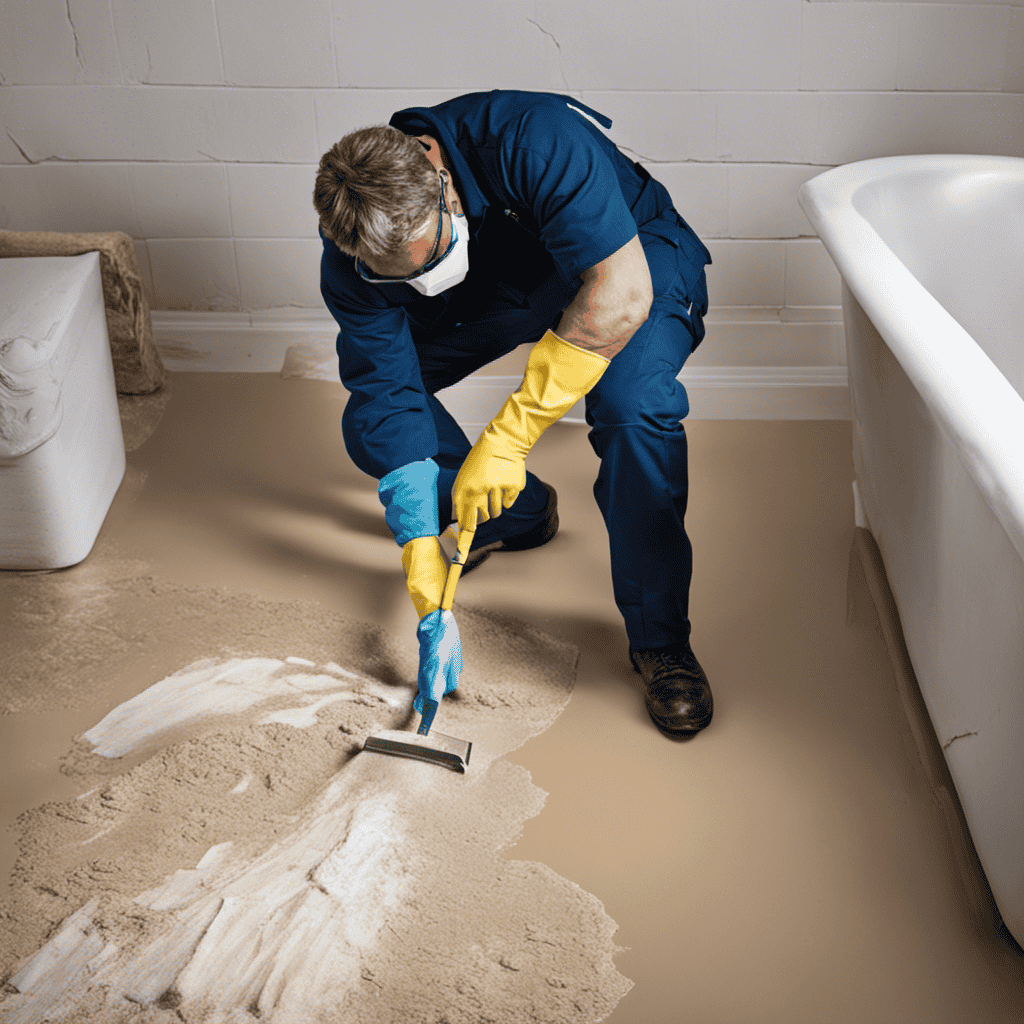
Begin by thoroughly cleaning the cracked area using appropriate cleaning products. This will remove any dirt, grime, or residue that could interfere with the repair process.
-
Once the surface is clean, use sandpaper or a sanding block to smooth out the edges of the crack. This will help the epoxy resin adhere properly and create a seamless finish.
-
After sanding, wipe down the area with a damp cloth to remove any dust or debris left behind from the sanding process.
Apply the Epoxy Resin
Once the surface is prepped and the edges of the crack are smoothed, it’s time to apply the epoxy resin. Using epoxy resin for bathtub repairs has several benefits. It creates a strong, durable bond that can withstand the constant exposure to water and chemicals. It also provides a seamless finish, making the repaired area virtually invisible. To ensure a successful application, there are some common mistakes to avoid. First, make sure to mix the epoxy resin thoroughly according to the manufacturer’s instructions. Failure to do so can result in an uneven or weak bond. Additionally, apply the resin evenly and smoothly, avoiding any excess build-up. Finally, allow the resin ample time to cure before using the bathtub again. Rushing this process can compromise the integrity of the repair.
| Common Mistakes | Tips to Avoid |
|---|---|
| Not properly mixing the epoxy resin | Follow the manufacturer’s instructions carefully |
| Applying too much resin | Apply a thin, even layer to avoid excess build-up |
| Not allowing enough curing time | Patience is key; give the resin ample time to cure before using the bathtub again |
Smooth and Level the Surface
After prepping the surface and smoothing the edges of the crack, it’s important to ensure that the surface is smooth and level before applying the epoxy resin. To achieve a smooth and level surface, here are some repair techniques to consider:
-
Sanding: Use sandpaper or a sanding block to smooth out any rough areas on the surface. Start with a coarse grit sandpaper and gradually move to a finer grit for a smoother finish.
-
Filling: Fill any low areas or divots with a suitable filler material, such as epoxy putty or a bathtub repair kit. Smooth out the filler with a putty knife or a scraper, ensuring it is level with the surrounding surface.
Seal and Finish the Repair
The final step is applying a sealant and finishing the repaired surface with a waterproof coating to ensure long-lasting protection. This step is crucial in preventing future cracks and maintaining the long-term durability of your bathtub floor. The sealant acts as a barrier, preventing water from seeping into the cracks and causing further damage. Additionally, the waterproof coating adds an extra layer of protection, making it easier to clean and maintain the surface of your bathtub. To give you a better understanding, here is a table outlining the benefits of applying a sealant and waterproof coating:
| Benefits of Sealant and Waterproof Coating |
|---|
| Prevents future cracks |
| Enhances long term durability |
| Provides easier maintenance |
| Protects against water damage |
| Increases overall lifespan |
Conclusion
After following these simple steps, you can easily fix a cracked bathtub floor.
By assessing the damage and preparing the surface properly, you can then apply the epoxy resin to ensure a strong and durable repair.
Smooth and level the surface for a seamless finish.
Finally, seal and finish the repair to provide added protection.
With these techniques, your bathtub floor will be as good as new, saving you the hassle and expense of replacing the entire bathtub.


