Imagine stepping into your bathtub, only to feel a sudden dip beneath your feet. It’s a disconcerting sensation, but fear not! I’m here to guide you through the process of fixing that annoying dip in your bathtub.
In this article, I’ll show you how to identify the cause of the dip, assess its severity, and prepare the bathtub for repair. With a little bit of know-how and some basic tools, you’ll have your bathtub back in tip-top shape in no time.
Let’s get started!
Key Takeaways
- Inspect the bathtub for signs of damage or deterioration around the drain area and check for loose or broken tiles around the dip.
- Evaluate the severity of the dip by placing a level across the surface of the tub and consider potential risks associated with it.
- Prepare the bathtub for repair by cleaning it, replacing caulking, and creating a rough texture on the surface for proper refinishing coating adhesion.
- Repair the dip by applying filler material, allowing it to dry, and reinforcing the bathtub with support brackets or additional reinforcements.
Identifying the Cause of the Dip
To determine the cause of the dip, you’ll need to inspect the bathtub closely. Start by removing the drain cover and looking for any signs of damage or deterioration around the drain area. Check for any loose or broken tiles around the dip as well. If you have access to the underside of the bathtub, it’s worth examining the support beams to see if they are damaged or weakened. In some cases, the cause of the dip may be due to a structural issue with the floor beneath the bathtub.
Once you have identified the cause of the dip, you can take appropriate measures to fix it. This may involve reinforcing the support beams, replacing damaged tiles, or even seeking professional bathtub repair services. By addressing the underlying issue, you can prevent future dips and ensure the stability of your bathtub.
Now that you’ve determined the cause of the dip, it’s important to assess the severity of the problem.
Assessing the Severity of the Dip
You can quickly determine how severe the dip is by placing a level across the surface of the tub. This will allow you to evaluate the potential risks associated with the dip and determine the best repair method.
If the level indicates a significant slope or unevenness, it may indicate structural damage or a weak foundation. In such cases, it is crucial to address the issue promptly to prevent further deterioration and potential safety hazards.
On the other hand, if the dip is minor and the level shows only a slight slope, it may be a cosmetic issue that can be easily fixed. In this case, simple solutions like adding support underneath or using leveling compounds may be sufficient.
Preparing the Bathtub for Repair
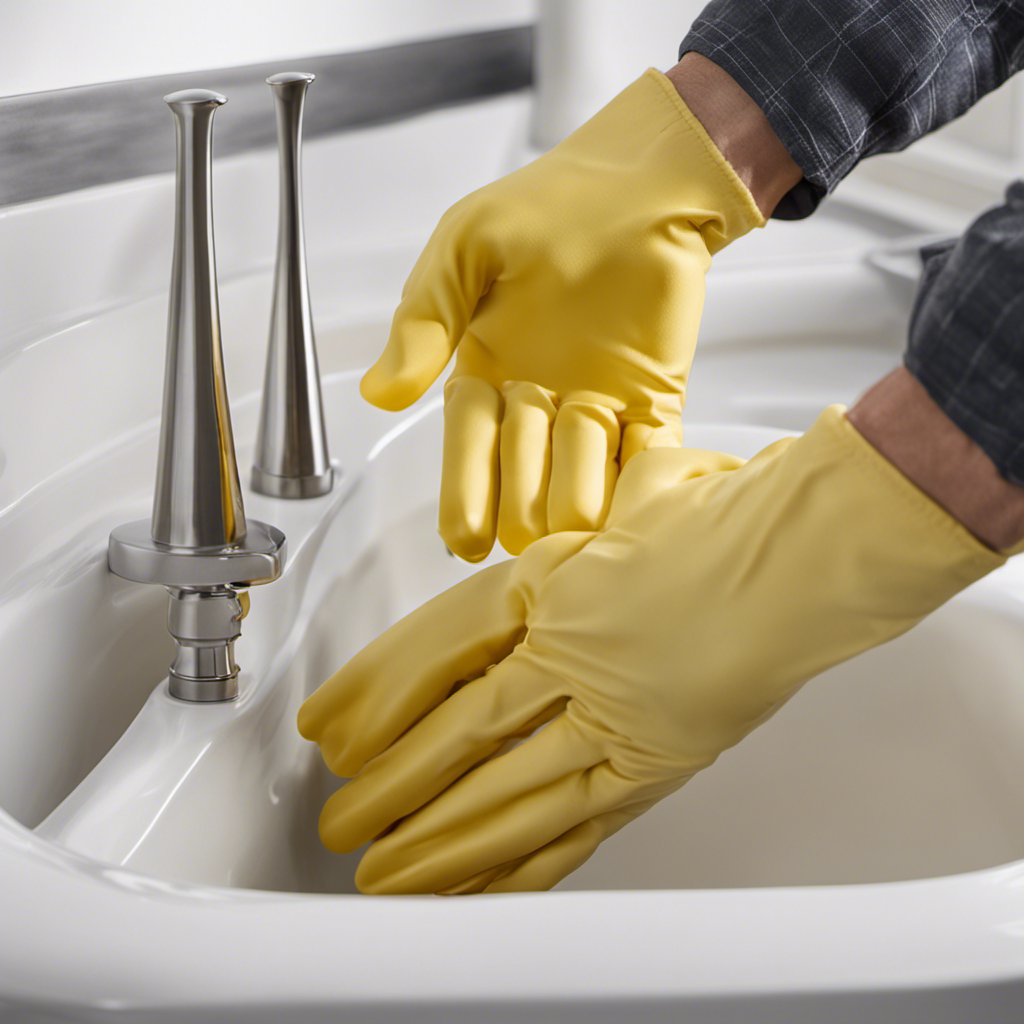
Once you’ve assessed the severity of the issue, it’s essential to prepare the surface for repair by thoroughly cleaning and removing any loose debris. This step is crucial in ensuring a successful bathtub refinishing.
Here are five steps to prepare your bathtub for repair:
- Start by cleaning the bathtub with a mild detergent to remove any dirt or grime.
- Use a non-abrasive sponge or cloth to scrub the surface gently, paying attention to any stained or discolored areas.
- Rinse the bathtub thoroughly with warm water to remove any soap residue.
- Next, inspect the bathtub for any loose or damaged caulking. If necessary, remove and replace it to ensure a watertight seal.
- Finally, sand the surface of the bathtub lightly to create a rough texture, which will help the refinishing coating adhere properly.
Following these steps will help create a clean and smooth surface for bathtub refinishing, ensuring a long-lasting and beautiful result.
Repairing the Dip in the Bathtub
Now it’s time to address the issue of the bathtub’s uneven surface and make the necessary repairs.
To fix the dip in the bathtub, the first step is to fill the dip with a suitable filler material.
Start by cleaning the area thoroughly with a mild detergent to remove any dirt or debris. Then, mix the filler material according to the manufacturer’s instructions and apply it to the dip using a putty knife.
Make sure to spread it evenly and fill the dip completely. Once the filler has dried, the next step is to reinforce the bathtub to prevent future dips.
This can be achieved by installing support brackets or adding additional reinforcements to the underside of the bathtub.
Maintaining the Bathtub’s Structural Integrity
To maintain the structural integrity of the bathtub, regular cleaning and inspections are necessary. Neglecting proper maintenance can lead to future dips and potential damage to the bathtub. Here are some key steps to follow in order to prevent future dips and ensure the longevity of your bathtub:
-
Clean the bathtub regularly using non-abrasive cleaners to remove dirt and grime that can weaken the surface.
-
Check for any signs of cracks or leaks and address them promptly to prevent further damage.
-
Avoid using harsh chemicals or abrasive materials that can erode the bathtub’s surface.
-
Use a bath mat or non-slip stickers to prevent accidents and minimize impact on the bathtub’s structure.
-
Consider professional bathtub repair options if you notice any significant dips or structural issues that require expert attention.
Conclusion
Well, folks, we’ve reached the end of our journey on how to fix a dip in a bathtub. I hope you’ve enjoyed this riveting adventure into the world of bathtub repair.
From identifying the cause of the dip to assessing the severity, we’ve covered it all. We’ve prepped the bathtub for repair and worked our magic to fix that pesky dip.
And let’s not forget about maintaining the bathtub’s structural integrity, because who doesn’t love a sturdy bathtub?
So go forth, my friends, and conquer those bathtub dips with your newfound knowledge.
Happy fixing!

Mateo’s flair for writing is matched only by his keen eye for design. As an interior designer turned writer, Mateo brings a unique perspective. He blends aesthetics with functionality in every piece he pens, providing readers with beautifully crafted content that’s also supremely useful.
Mateo loves exploring the latest bathroom tech trends and is our expert on smart toilets. When he’s not writing or designing, Mateo can be found sketching ideas for his next big project at local coffee shops.