Hey there!
Have you ever experienced the frustration of a dripping bathtub faucet? It’s like a never-ending leak that can drive you crazy. But fear not, because I’m here to guide you through the process of fixing it.
In this article, I’ll show you step by step how to:
- Assess the problem
- Gather the necessary tools
- Shut off the water supply
Once we’ve completed these initial steps, we can move on to the actual repair process. We’ll:
- Dive into disassembling the faucet handle
- Inspect and replace the washer
- Reassemble the faucet handle
Finally, we’ll test for leaks and proper functioning to make sure our fix has worked. So, let’s get started and put an end to that annoying drip!
Key Takeaways
- Determine if the dripping is from the spout or the handles
- Gather necessary tools and replacement parts before starting the repair
- Shut off the water supply before troubleshooting to avoid accidents or further damage
- Disassemble, inspect, and reassemble the faucet handle properly before testing for leaks and proper functioning
Assessing the Problem
First, you’ll want to check if the dripping is coming from the spout or the handles. A common cause of a dripping bathtub faucet is a worn-out cartridge or valve.
If the dripping is coming from the spout, it indicates a problem with the cartridge. On the other hand, if the dripping is from the handles, it suggests a faulty valve.
To determine if you need to fix or replace your faucet, consider the severity of the dripping and the age of the faucet. If the dripping is minor and the faucet is relatively new, a simple fix may be sufficient. However, if the dripping is persistent and the faucet is old, it might be time to replace it.
Now that you’ve assessed the problem, it’s time to gather the necessary tools.
Gathering the Necessary Tools
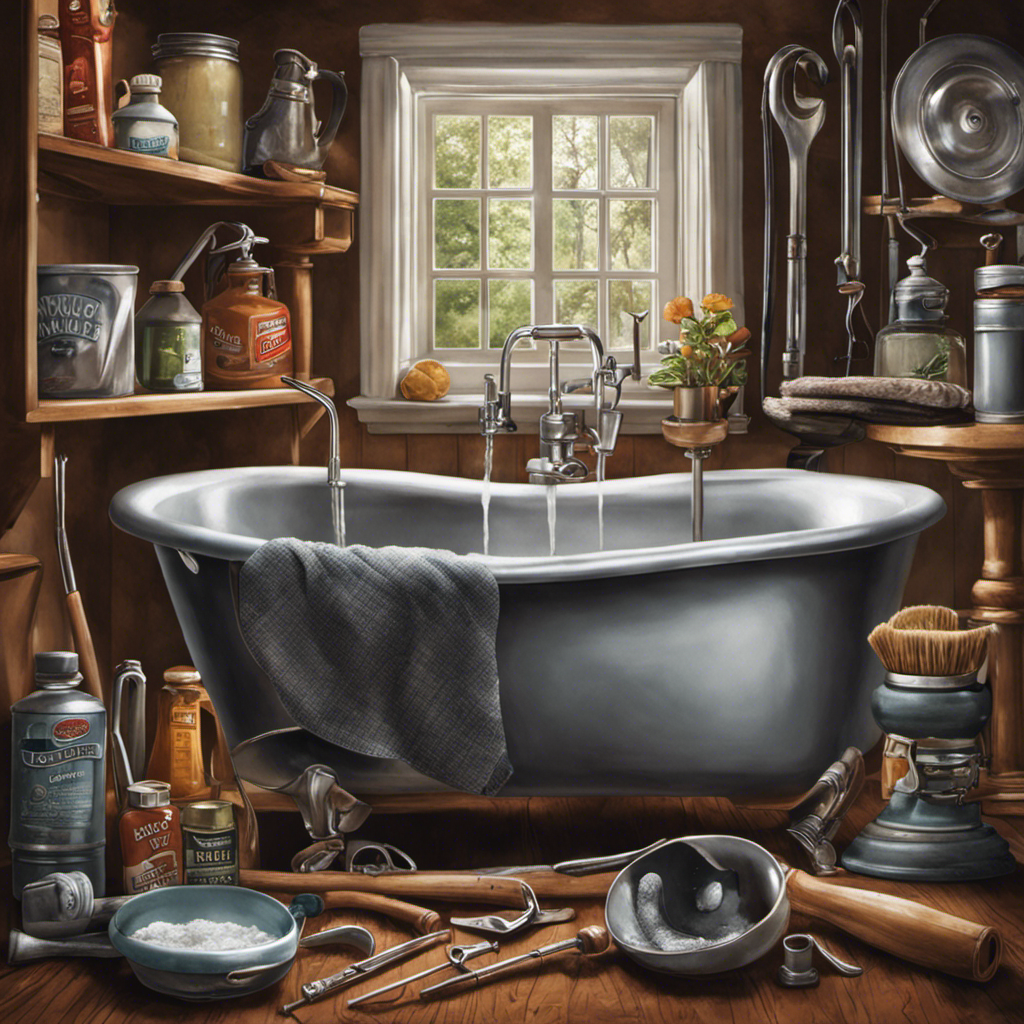
Before you begin, make sure you have all the tools you need to get the job done. Proper maintenance of your bathtub faucet is essential to prevent it from dripping. Here are some common causes of a dripping bathtub faucet:
- Worn-out washers: Over time, the washers inside the faucet can deteriorate, causing leaks.
- Loose or damaged O-rings: O-rings create a watertight seal, and if they are loose or damaged, water can escape.
- Corroded valve seat: A corroded valve seat can lead to leaks and drips.
- Faulty cartridge or stem: If the cartridge or stem is damaged or worn out, it can cause water to drip.
By gathering the necessary tools, such as an adjustable wrench, screwdrivers, pliers, and replacement parts, you will be prepared to fix your dripping bathtub faucet.
Now that you have everything you need, let’s move on to shutting off the water supply.
Shutting Off the Water Supply
To begin, it’s important to shut off the water supply before working on your bathtub faucet. Turning off the water is crucial to avoid any accidents or further damage.
To do this, locate the water shut-off valve near your bathtub. It is usually located underneath the sink or behind an access panel. Turn the valve clockwise until it is fully closed. This will stop the flow of water to your faucet and allow you to safely troubleshoot the issue.
Disassembling the Faucet Handle
You’ll need a screwdriver to remove the small screw that holds the faucet handle in place.
Here’s what you need to know about disassembling the faucet handle:
-
Turn off the water supply: Before you begin, make sure to shut off the water supply to avoid any accidents or water damage.
-
Remove the screw: Use a screwdriver to carefully remove the screw that secures the faucet handle. Keep the screw in a safe place so you don’t lose it.
-
Take off the handle: Gently pull the handle away from the faucet to detach it from the valve stem.
-
Lubricate the components: If you notice any signs of wear or rust, it’s a good idea to lubricate the faucet components to ensure smooth operation in the future.
Remember, if you’re unsure about any step or encounter any difficulties, it’s always a good idea to seek professional help.
Now, let’s move on to inspecting and replacing the washer.
Inspecting and Replacing the Washer
Now let’s check the condition of the washer and replace it if necessary.
The washer is an essential component in a bathtub faucet, as it helps create a watertight seal and prevents leaks.
To inspect the washer, start by turning off the water supply to the faucet.
Next, disassemble the faucet handle and locate the washer.
Examine the washer carefully for any signs of wear, such as cracks or tears.
If you notice any damage, it’s time to replace the washer.
To do this, remove the old washer and replace it with a new one of the same size and type.
Remember to check for mineral deposits on the faucet cartridge as well, as these can affect the performance of the washer.
With a new washer and a clean cartridge, your bathtub faucet should be drip-free once again.
Reassembling the Faucet Handle
Once you have inspected and replaced the washer, it’s time to reassemble the handle. This step is crucial to ensure that your bathtub faucet works properly and doesn’t leak.
Here are the steps to reassemble the faucet handle:
-
Align the handle: Make sure the handle is properly aligned with the valve stem.
-
Tighten the screw: Use a screwdriver to tighten the screw that holds the handle in place.
-
Attach the decorative cap: If your faucet has a decorative cap, snap it back into place.
-
Test the handle: Turn on the water and test the handle to make sure it operates smoothly.
By following these troubleshooting tips and proper maintenance techniques, you can fix your dripping bathtub faucet and prevent any further issues.
Now that you have reassembled the handle, let’s move on to testing for leaks and proper functioning.
Testing for Leaks and Proper Functioning
To ensure there are no leaks and that it functions properly, try turning on the water and checking the handle.
Testing for water pressure is an essential step in fixing a dripping bathtub faucet. Start by turning on the water supply and observing the flow. Adequate water pressure is necessary for the faucet to work efficiently. If the pressure is low, you may need to clean or replace the aerator to improve flow.
Additionally, checking for rust or corrosion is crucial. Inspect the faucet and its components for any signs of rust or corrosion. These issues can cause leaks and affect the faucet’s functionality. If you notice any rust or corrosion, it is recommended to replace the affected parts to prevent further damage.
Frequently Asked Questions
Can I Fix a Dripping Bathtub Faucet Without Turning off the Water Supply?
I’m not sure if you can fix a dripping bathtub faucet without turning off the water supply. However, there might be alternative solutions or tools you can use to fix it.
How Much Does It Cost to Hire a Professional Plumber to Fix a Dripping Bathtub Faucet?
I’ve compared the cost of fixing a dripping bathtub faucet, DIY vs professional. It’s often cheaper to do it yourself, but if you’re not confident in your skills, hiring a professional plumber may be worth the cost.
Can a Dripping Bathtub Faucet Cause Any Other Plumbing Issues?
A dripping bathtub faucet can potentially cause significant damage and lead to excessive water wastage. It is crucial to address this issue promptly to prevent any further plumbing problems and conserve water resources.
Are There Any Special Tools Required to Fix a Dripping Bathtub Faucet?
To fix a dripping bathtub faucet, you’ll need a few special tools and necessary equipment. These may include an adjustable wrench, screwdriver, plumber’s tape, and replacement parts such as washers or cartridges.
What Are Some Common Mistakes to Avoid When Fixing a Dripping Bathtub Faucet?
Common mistakes to avoid when fixing a dripping bathtub faucet include not properly shutting off the water supply, using incorrect replacement parts, and not following the troubleshooting steps in the correct order.
Conclusion
Well, there you have it! Fixing a dripping bathtub faucet isn’t as daunting as it may seem.
By following these simple steps and using the right tools, you can save yourself from the constant annoyance of a leaky faucet.
Remember to shut off the water supply before disassembling the handle and carefully inspect the washer.
Once everything is back in place, test for leaks and enjoy the satisfaction of a properly functioning faucet.
You’ll feel like a superhero with the power to conquer any plumbing problem!
