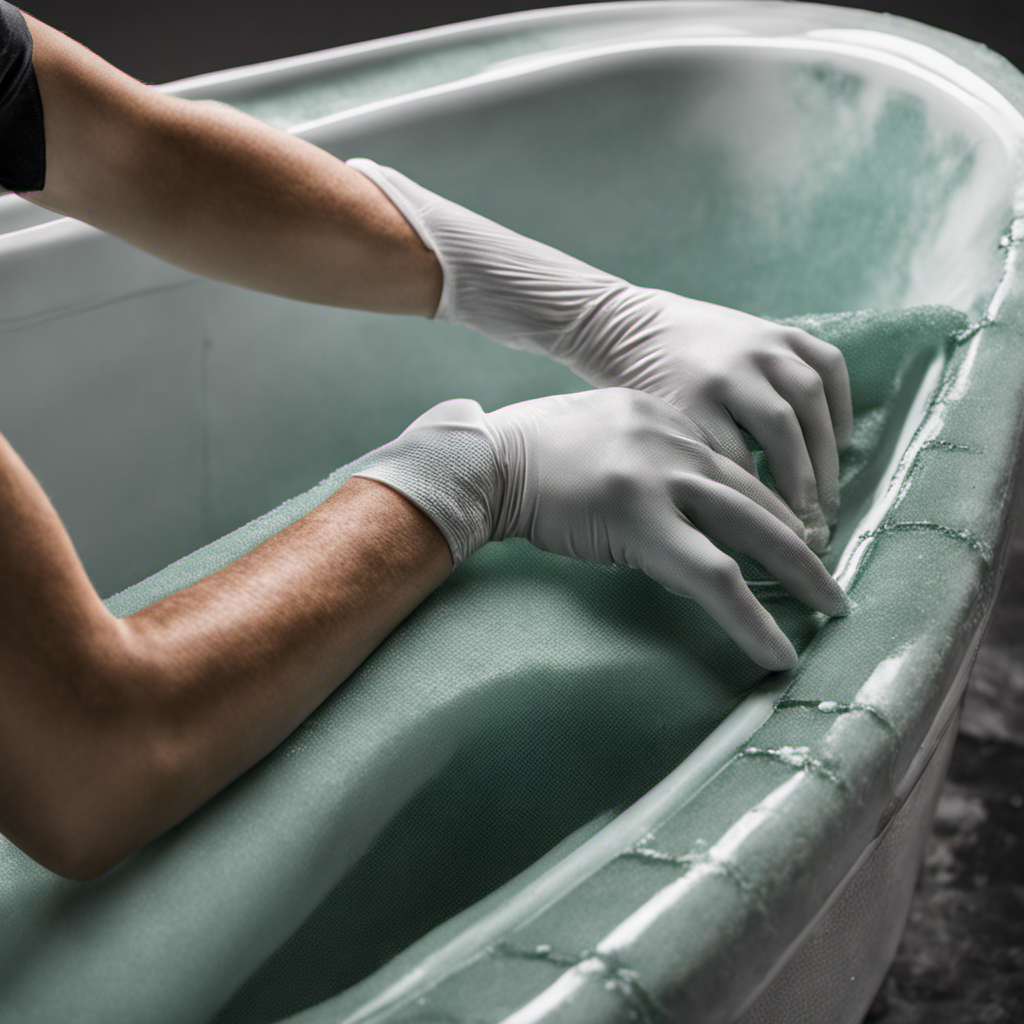
As a seasoned DIY enthusiast, I’ve encountered my fair share of challenges when it comes to home repairs. But tackling a damaged fiberglass bathtub can be particularly daunting.
Don’t worry, though, because I’m here to guide you through the meticulous process of fixing it yourself. Think of me as your trusty bathtub doctor, equipped with the knowledge and tools to bring your tub back to its former glory.
So grab your gloves and let’s dive into the world of fiberglass bathtub repair.
Key Takeaways
- Thoroughly inspect the surface for visible cracks, chips, or discoloration
- Use a fiberglass repair kit designed for bathtubs and ensure it includes resin, hardener, and a fiberglass patch
- Repair surface cracks and chips by filling them with a durable filler and allowing it to dry before sanding
- Patch and reinforce structural damage using a strong adhesive and spreading it evenly into the cracks
Assessing the Damage
Before starting the repair process, make sure to assess the extent of the damage on your fiberglass bathtub. To effectively fix any deep scratches, it is crucial to evaluate the overall condition of the bathtub.
Begin by thoroughly inspecting the surface for any visible cracks, chips, or discoloration. Use a flashlight to check for any hidden damage that may not be immediately apparent. Pay close attention to areas around the drain, corners, and edges.
Carefully examine the entire bathtub, taking note of any areas that require repair. Document the extent of the damage, including the size, depth, and location of the scratches. This meticulous assessment will provide a solid foundation for effectively addressing the issues during the repair process.
Gathering the Necessary Tools and Materials
To get started, you’ll need a few tools and materials for the job. The first step is choosing the right fiberglass repair kit. Look for one that is specifically designed for bathtubs and has all the necessary components, such as resin, hardener, and a fiberglass patch. It’s important to choose a kit that matches the color of your bathtub to ensure a seamless repair.
Once you have the repair kit, you can begin preparing the bathtub for repair. Start by thoroughly cleaning the damaged area with a mild detergent and warm water. Use a scrub brush to remove any dirt or grime.
Next, sand the damaged area using fine-grit sandpaper to create a rough surface that the repair material can adhere to. Be sure to wear protective gloves and a mask during this step to avoid inhaling any dust particles.
Once the area is clean and sanded, you’re ready to proceed with the repair process.
Repairing Surface Cracks and Chips
Once you’ve cleaned and sanded the damaged area, it’s time to start repairing those surface cracks and chips.
To repair deep scratches, I recommend using a fiberglass repair kit. These kits usually contain a resin and a hardener that you mix together to create a durable filler. Apply the filler to the scratch using a putty knife, making sure to smooth it out evenly. Allow it to dry completely before sanding it down with fine-grit sandpaper.
For filling in minor dents, you can use a polyester filler. Mix the filler according to the instructions and apply it to the dent using a putty knife. Again, make sure to smooth it out and let it dry before sanding it down.
Patching and Reinforcing Structural Damage
When reinforcing structural damage, it’s important to use a strong adhesive that will securely bond the materials together. To repair deep cracks and strengthen weakened areas in a fiberglass bathtub, I recommend using a two-part epoxy adhesive.
This type of adhesive is specifically designed to provide a strong and durable bond for repairing structural damage. First, clean the damaged area thoroughly, removing any loose or damaged material. Then, mix the epoxy adhesive according to the manufacturer’s instructions and apply it to the cracked or weakened areas.
Make sure to spread the adhesive evenly and press it firmly into the cracks. Allow it to cure completely before moving on to the next step. With the structural damage repaired and reinforced, we can now proceed to finishing and refinishing the bathtub’s surface.
Finishing and Refinishing the Bathtub’s Surface
Now that the structural damage has been repaired and reinforced, we can focus on giving the bathtub’s surface a smooth and polished finish. To achieve this, it’s important to utilize the right painting techniques and choose the appropriate refinishing products.
Here are some key points to keep in mind:
-
Preparation is crucial: Before painting, thoroughly clean the surface and remove any debris or residue. Sand the bathtub to create a smooth and even base for the paint to adhere to.
-
Selecting the right refinishing products: Opt for high-quality bathtub refinishing kits that are specifically designed for fiberglass surfaces. These kits typically include a primer, paint, and topcoat that provide durability and resistance to water and chemicals.
-
Applying the paint: Use a high-quality brush or roller to apply the paint in even strokes, following the manufacturer’s instructions. Allow each coat to dry completely before applying the next layer.
Conclusion
In conclusion, fixing a fiberglass bathtub requires careful assessment, proper tools, and attention to detail. By approaching the task with knowledge and a meticulous mindset, one can successfully repair surface cracks and chips, patch structural damage, and finish and refinish the bathtub’s surface.
It may seem like a daunting task, but with patience and precision, a beautifully restored bathtub awaits. So, roll up your sleeves, gather your materials, and embrace the challenge of rejuvenating your fiberglass bathtub!


