
If you’ve found yourself in a sticky situation with a hole in your bathtub, fear not! This guide will show you how to fix it like a pro.
Get ready to roll up your sleeves and gather the necessary tools and materials. With a little elbow grease, you’ll be able to assess the damage, apply epoxy or bonding agent, and smooth and level the surface.
So, let’s dive in and patch up that hole in no time!
Key Takeaways
- Assess the size and extent of the hole in the bathtub before deciding on the repair method.
- Gather the necessary tools and materials, including a bathtub repair kit, safety goggles, gloves, and ventilation.
- Clean and prepare the surface thoroughly before applying the chosen repair material, such as epoxy or bonding agent.
- Allow for proper curing time and avoid common mistakes such as premature usage, lack of ventilation, rushing the preparation, ignoring temperature guidelines, and skipping the final finish.

Tub Repair Kit White, Tub Chip and Bathtub Repair Kit for Enamel, Fiberglass, Acrylic, Porcelain, Patch and Repairs Chips, Crack, Scratches, Rust, Holes on Tubs, Toilet, Sink, Shower, Tray in Bathroom
Permanently Repair Bathtub Chips, Cracks and Holes: For Fiberglass, Enamel, Acrylic; restore a glossy, non-yellowing, leak-stopping and chip…
As an affiliate, we earn on qualifying purchases.
As an affiliate, we earn on qualifying purchases.
Assess the Damage
Now, you’ll need to take a closer look at the damage and see how big the hole in your bathtub really is. Assessing the severity of the hole is crucial in determining the appropriate repair method.
If the hole is small, less than an inch in diameter, you may be able to fix it yourself using a DIY bathtub repair kit. However, if the hole is larger or the damage extends beyond the surface, it is recommended to seek professional bathtub repair services. A professional will have the expertise and specialized tools to properly assess the extent of the damage and provide a more durable and long-lasting solution.
Once you have assessed the severity of the hole, you can then proceed to gather the necessary tools and materials for the repair.

J-B Weld 8277 WaterWeld Epoxy Putty Stick – 2 oz.
J-B Weld Waterweld: A Hand Mixable Two Part Epoxy Putty Stick, That Can Cure Under Water And Is…
As an affiliate, we earn on qualifying purchases.
As an affiliate, we earn on qualifying purchases.
Gather the Necessary Tools and Materials
In order to successfully repair a hole in your bathtub, you will need a few essential tools and materials.
First, gather a utility knife, sandpaper, a putty knife, and a bathtub repair kit.
Additionally, make sure you have safety goggles, gloves, and a well-ventilated area for the repair process.
With these tools and materials in hand, you will be ready to tackle the step-by-step bathtub repair process.
Tools and Materials Needed
To fix a hole in your bathtub, you’ll need a few tools and materials. Here’s what you’ll need:
-
Utility knife: This will be used to remove any loose or damaged material around the hole, ensuring a clean surface for repair.
-
Sandpaper: Use sandpaper to smooth out the edges of the hole, creating a level surface for the repair.
-
Epoxy putty: This is a durable adhesive that can be molded to fit the shape of the hole. It provides a strong and long-lasting repair.
-
Caulk gun: You’ll need this tool to apply waterproof caulk around the repaired area, ensuring a watertight seal.
While these techniques are effective for minor holes, consider alternative repair methods if the hole is larger or more extensive. Such methods may include using a fiberglass repair kit or seeking professional help.
Step-By-Step Bathtub Repair
Start by gathering all the necessary tools and materials for the bathtub repair. To properly fix cracks and chips in your bathtub, you’ll need the following items:
| Tools | Materials |
|---|---|
| Safety goggles | Epoxy resin |
| Dust mask | Sandpaper |
| Hammer | Fiberglass cloth |
| Putty knife | Acetone |
| Caulk gun | Cleaning solution |
Once you have these tools and materials ready, you can proceed with the bathtub repair. First, put on your safety goggles and dust mask to protect yourself. Then, use the hammer and putty knife to remove any loose or damaged material around the crack or chip. Clean the area with the cleaning solution and acetone to ensure a proper bond. Cut a piece of fiberglass cloth slightly larger than the damaged area and apply epoxy resin over it. Press the cloth onto the damaged area, making sure it is fully saturated with resin. Allow it to dry completely before sanding it down with sandpaper. Finally, apply a layer of caulk to seal the repaired area. With these steps, your bathtub will be restored and ready for use again. Remember to regularly maintain your bathtub to prevent further issues.
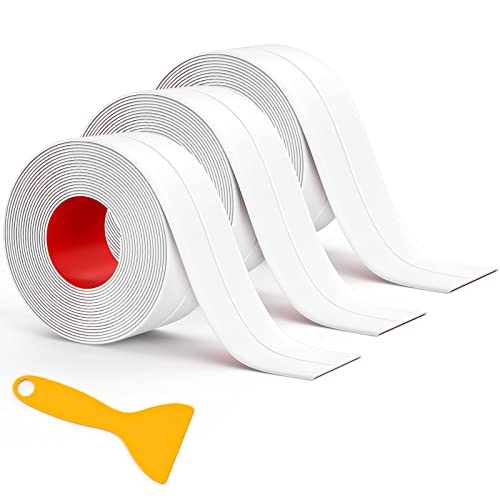
Fixmend Caulk Tape, 3 Roll Self Adhesive Caulk Strip Waterproof, Caulking Sealant Tape for Kitchen, Countertop, Bathroom, Sink, Shower, Bathtub, Toilet Edge Protector with Sealing Tool (1.5" x 10.5Ft)
Material – The caulk strip is made of high-quality PVC material, waterproof, with better adhesion.
As an affiliate, we earn on qualifying purchases.
As an affiliate, we earn on qualifying purchases.
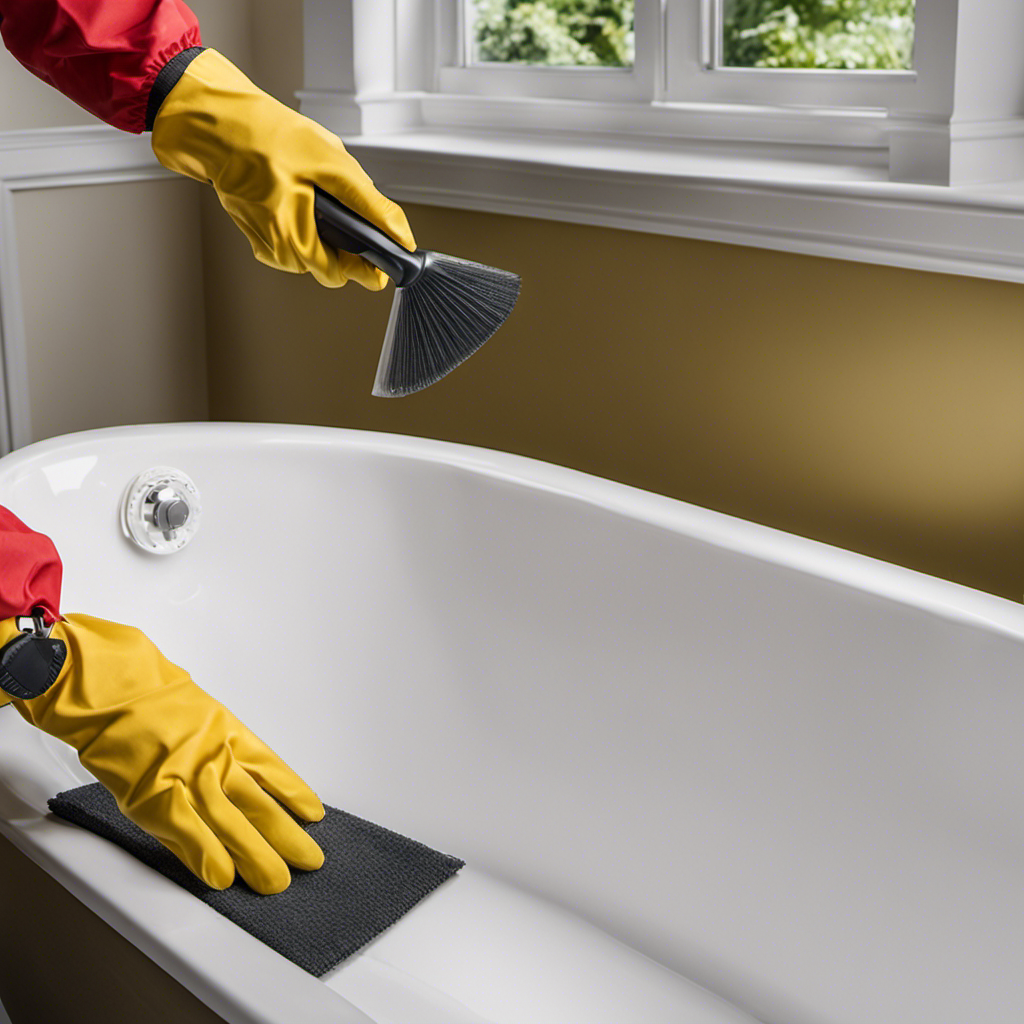
Prepare the Surface
First, you’ll need to make sure the surface is clean and dry before proceeding with the repair. To properly prepare the surface, follow these cleaning techniques:
- Use a mild detergent or cleaner specifically designed for bathtubs. Avoid using abrasive cleaners that could damage the surface.
- Scrub the area around the hole gently with a non-abrasive sponge or cloth. Pay close attention to any dirt, grime, or soap scum buildup.
- Rinse the surface thoroughly with warm water to remove any residue from the cleaning solution.
- Dry the area completely with a clean, lint-free cloth or towel. Moisture can interfere with the repair process, so ensure the surface is completely dry.
Tub Repair Kit White, Tub Chip and Bathtub Repair Kit for Enamel, Fiberglass, Acrylic, Porcelain, Patch and Repairs Chips, Crack, Scratches, Rust, Holes on Tubs, Toilet, Sink, Shower, Tray in Bathroom
Permanently Repair Bathtub Chips, Cracks and Holes: For Fiberglass, Enamel, Acrylic; restore a glossy, non-yellowing, leak-stopping and chip…
As an affiliate, we earn on qualifying purchases.
As an affiliate, we earn on qualifying purchases.
Apply Epoxy or Bonding Agent
Now, you can apply the epoxy or bonding agent to the prepared surface.
When it comes to fixing a hole in a bathtub, you have two options: epoxy or bonding agent. Both have their pros and cons.
Epoxy is a popular choice because it provides a strong and durable bond. It is also resistant to water and chemical damage. However, epoxy can be expensive and may require multiple applications to achieve the desired results.
On the other hand, bonding agents are more affordable and easier to apply. They also dry quickly, allowing you to move on to the next steps sooner. However, bonding agents may not be as strong as epoxy and may not provide the same level of durability.
Once you have applied the epoxy or bonding agent, you can proceed to the next step of smoothing and leveling the surface.
Smooth and Level the Surface
To achieve a smooth and level surface, you’ll need to carefully sand and fill any imperfections. Follow these steps for surface preparation and finishing techniques:
- Begin by inspecting the surface for any cracks, chips, or uneven areas.
- Use fine-grit sandpaper to gently sand the surface, focusing on the imperfections. This will create a smooth and even base for the next steps.
- After sanding, use a putty knife to apply a thin layer of filler or spackle to the damaged areas. Smooth it out evenly and let it dry according to the product instructions.
- Once the filler is dry, sand it again with a finer grit sandpaper to ensure a seamless finish.
Allow for Proper Curing Time
When it comes to curing time for any repair work, patience is key. It is important to allow enough time for the material to fully cure before using the surface. Premature usage can lead to damage and undo all your hard work.
Patience During Curing Process
Be sure to give the bathtub repair enough time to cure before using it. Patience during the curing process is crucial to ensure a successful and long-lasting repair. Here are the benefits of waiting and why it is important:
-
Stronger Bond: Allowing the repair material to fully cure will create a strong and durable bond, ensuring that the hole is effectively sealed and will not reopen easily.
-
Improved Aesthetic: Rushing the curing process may result in a less smooth or uneven finish. By patiently waiting for the repair to cure completely, you can achieve a seamless and aesthetically pleasing result.
-
Enhanced Durability: Giving the repair enough time to cure will increase its overall durability. It will be more resistant to cracking, chipping, and other types of damage, ensuring a longer lifespan for your bathtub.
-
Optimal Performance: Waiting for the repair to fully cure will ensure that your bathtub functions properly. It will be able to withstand regular use, water pressure, and temperature changes without compromising its integrity.
Avoid Premature Usage
Make sure you wait for the repair to fully cure before using it, as this will ensure optimal performance and durability. Avoiding mistakes during the curing process is crucial for a successful bathtub hole repair. Here are some troubleshooting tips to help you avoid premature usage and achieve the best results:
| Mistake | Troubleshooting Tips |
|---|---|
| Applying weight too soon | Follow the manufacturer’s instructions for curing time. It may take several hours or days for the repair to fully cure. Avoid using the bathtub during this time. |
| Not allowing proper ventilation | Ensure proper airflow in the bathroom to facilitate the curing process. Open windows or use fans to promote air circulation. |
| Rushing the preparation | Thoroughly clean and dry the area before applying the repair material. Any moisture or debris can compromise the adhesion and curing process. |
| Ignoring temperature guidelines | Check the recommended temperature range for curing. Extreme temperatures can affect the curing time and the quality of the repair. |
| Skipping the final finish | After the repair has cured, apply a waterproof finish to protect it from water damage and ensure long-lasting results. |
Sand and Polish the Patched Area
You can use sandpaper to smooth and polish the patched area of the bathtub. Here are some sandpaper techniques to help you achieve a professional finish:
- Start with a coarse grit sandpaper, such as 80 or 100, to remove any rough edges or excess patching material.
- Gradually move to a finer grit sandpaper, like 220 or 320, to smooth the surface and blend it seamlessly with the surrounding area.
- Use a circular motion when sanding to avoid creating noticeable lines or grooves.
- Finish off with an ultra-fine grit sandpaper, such as 400 or 600, to achieve a smooth and polished look.
By following these sandpaper techniques, you can ensure that the patched area of your bathtub looks flawless and well-integrated.
Once you have completed this step, it is time to move on to the next section, where you will learn how to seal and waterproof the patched area.
Seal and Waterproof the Patched Area
To ensure a durable and waterproof patch, it’s crucial to follow proper patching techniques. This involves thoroughly cleaning the area, applying the appropriate patching material, and smoothing it out to create a seamless finish.
Additionally, for long-term waterproofing solutions, it’s recommended to use specialized waterproofing products. These products provide a protective barrier against moisture, preventing any future leaks or damage.
Proper Patching Techniques
One important step in fixing a hole in a bathtub is ensuring that you’ve properly applied the patch. To achieve a successful repair, follow these steps:
-
Clean the area: Begin by thoroughly cleaning the damaged area of the bathtub. Remove any loose debris, dirt, or grime using a mild detergent and a soft cloth. This will ensure proper adhesion of the patch.
-
Dry the area: Next, use proper drying techniques to ensure that the bathtub surface is completely dry. This can be done by using a hairdryer on a low heat setting or allowing natural air circulation to dry the area.
-
Apply the patch: Once the area is clean and dry, apply the patch according to the manufacturer’s instructions. This may involve using a patching compound or adhesive to fill the hole and create a smooth surface.
-
Alternative repair methods: If you prefer an alternative repair method, consider using a bathtub repair kit or hiring a professional to fix the hole in your bathtub.
Long-Term Waterproofing Solutions
Now that you understand the proper patching techniques for fixing a hole in your bathtub, it’s important to consider long-lasting solutions to ensure the repair holds up over time. While patching can be a temporary fix, it may not provide the durability you desire.
That’s where professional bathtub repair services come in. By hiring experts in bathtub repair, you can ensure that your bathtub receives the attention it needs to withstand daily use and potential water damage. These professionals have the knowledge and experience to identify the root cause of the hole and provide a comprehensive solution that will last for years to come.
Professional bathtub repair services often involve advanced waterproofing techniques that not only fix the existing hole but also prevent future damage. They use high-quality materials and industry-standard methods to create a water-tight seal that protects your bathtub from leaks and further deterioration.
Investing in professional bathtub repair services is a wise choice for those seeking long-lasting solutions and peace of mind knowing that their bathtub is in the hands of skilled professionals.
Test for Leakages
Check if there are any leakages in the bathtub by running water and observing for any drips or puddles. To ensure accurate leak detection, follow these steps:
- Turn on the water faucet and fill the bathtub with water.
- Let the water sit for at least 20 minutes to allow any potential leaks to become apparent.
- Carefully inspect the area around the drain, faucet, and any visible pipes for any signs of water leakage.
- Check for any puddles or wet spots on the floor or walls near the bathtub.
If you notice any drips, puddles, or water stains, it indicates a leakage problem. Prompt action is essential to prevent further damage. Depending on the severity of the leak, you may consider different repair options, such as applying a waterproof sealant or replacing damaged pipes.
Consult a professional for an accurate assessment and appropriate repairs.
Maintain and Prevent Future Damage
To prevent future damage, make sure you regularly inspect and maintain the plumbing fixtures in your bathroom. By doing so, you can effectively prevent rust and other issues that may arise.
Cleaning and maintenance are crucial in ensuring the longevity and functionality of your bathroom fixtures. Start by checking for any signs of rust or corrosion on faucets, showerheads, and other metal components. Use a mild cleaning solution and a soft cloth to gently remove any dirt or grime that may have accumulated.
Regularly clean and unclog drains to prevent blockages and potential water damage. Additionally, check for any leaks or drips and repair them promptly.
Frequently Asked Questions
How Long Does It Take for the Epoxy or Bonding Agent to Cure?
The curing time for epoxy or bonding agent depends on the specific product used. Follow the application process outlined by the manufacturer to ensure proper adhesion and allow sufficient time for the material to cure completely.
Can I Use Any Type of Epoxy or Bonding Agent for Patching the Bathtub?
You should use specific epoxy or bonding agents designed for bathtub repair. Avoid using just any type of epoxy. Consider using caulk specifically formulated for bathtub patching. Some best epoxy brands for bathtub repair include XYZ and ABC.
Is It Necessary to Sand and Polish the Patched Area?
To achieve a seamless repair, sanding and polishing the patched area is necessary. However, if you prefer an alternative, considering a bathtub liner or painting over the patched area can yield satisfactory results.
How Often Should I Test for Leakages After Patching the Bathtub?
After patching the bathtub, you should test for leakages regularly. The frequency of leakage testing depends on factors such as the severity of the hole. Use appropriate testing methods to ensure a watertight seal.
What Can I Do to Prevent Future Damage to My Bathtub?
To prevent future damage to your bathtub, regular bathtub maintenance is essential. Inspect for any signs of wear or leaks, and promptly address them. Remember the adage: "An ounce of prevention is worth a pound of cure."
Conclusion
So there you have it, a step-by-step guide on how to fix a hole in your bathtub.
By following these instructions and using the right tools and materials, you can easily repair any damage and restore your bathtub to its former glory.
Remember to always assess the damage, prepare the surface properly, and apply the right bonding agent.
Once the hole is patched, make sure to seal and waterproof the area to prevent future damage.
Now, can you imagine how much money you’ll save by fixing it yourself?