As I stood in my bathroom, staring at the unsightly hole in my plastic bathtub, I knew I had to take action. With the right materials and a little know-how, I was determined to fix this problem myself.
In this guide, I will walk you through the step-by-step process of repairing a hole in a plastic bathtub. From assessing the damage to applying the patching material, I will provide you with all the necessary information to restore your bathtub to its former glory.
So, let’s dive in and get started!
Key Takeaways
- Assess the size, shape, and severity of the hole in the plastic bathtub
- Consider alternative solutions and the need for professional assistance or bathtub replacement
- Select appropriate materials such as epoxy putty, sandpaper, acrylic paint, and a paintbrush for a durable repair
- Clean the area surrounding the hole with mild detergent and warm water before applying a durable and waterproof patch.

J-B Weld 8277 WaterWeld Epoxy Putty Stick – 2 oz.
J-B Weld Waterweld: A Hand Mixable Two Part Epoxy Putty Stick, That Can Cure Under Water And Is…
As an affiliate, we earn on qualifying purchases.
As an affiliate, we earn on qualifying purchases.
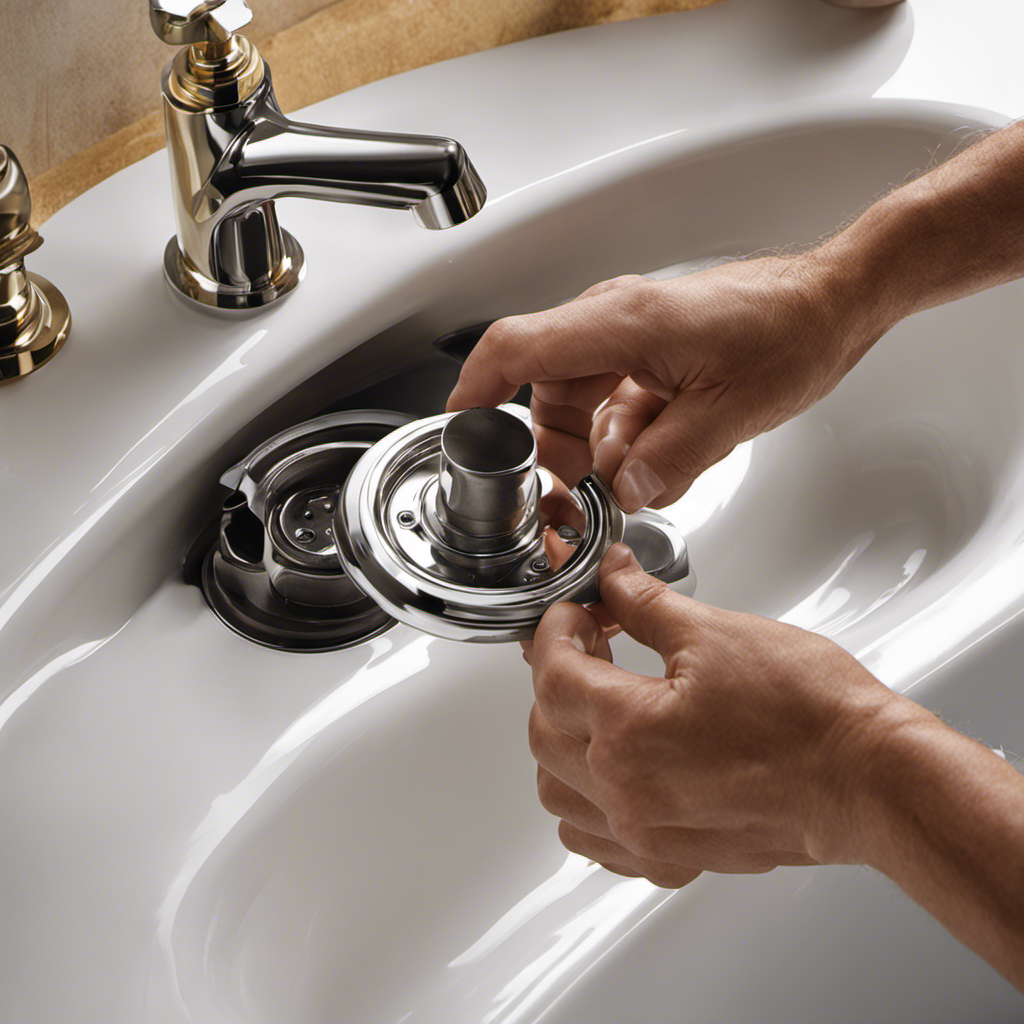
Assess the Damage
Before you can start fixing the hole, you’ll need to assess the damage. Evaluating the extent of the damage is crucial to determine the appropriate solution.
Start by examining the size and shape of the hole. Is it a small puncture or a larger crack? Next, inspect the surrounding area for any signs of stress or weakness. This will help you identify any potential underlying issues.
Once you have evaluated the extent of the damage, it’s time to consider alternative solutions. Depending on the severity of the hole, you may opt for a simple patching method, such as using a waterproof epoxy or adhesive. However, if the damage is extensive, you may need to consider replacing the entire bathtub or seeking professional assistance.

Tub Repair Kit White, Tub Chip and Bathtub Repair Kit for Enamel, Fiberglass, Acrylic, Porcelain, Patch and Repairs Chips, Crack, Scratches, Rust, Holes on Tubs, Toilet, Sink, Shower, Tray in Bathroom
Permanently Repair Bathtub Chips, Cracks and Holes: For Fiberglass, Enamel, Acrylic; restore a glossy, non-yellowing, leak-stopping and chip…
As an affiliate, we earn on qualifying purchases.
As an affiliate, we earn on qualifying purchases.
Gather the Necessary Materials
When it comes to repairing the bathtub surface, it’s crucial to choose the right materials and follow a step-by-step repair process.
First, selecting the appropriate materials ensures a durable and long-lasting repair.
Second, following a systematic repair process helps to ensure that the surface is properly restored.
In this discussion, I’ll guide you through the process of repairing the bathtub surface, including tips on choosing the right materials and a step-by-step repair process.
Repairing the Bathtub Surface
To repair the bathtub surface, you’ll need to gather a few materials. Before we dive into the repairing techniques, it’s important to understand the common bathtub problems that can occur. From chips and cracks to scratches and stains, these issues can make your bathtub look unsightly and decrease its functionality. But fret not, with the right tools and techniques, you can easily restore your bathtub to its former glory.
Here is a table outlining the essential materials you’ll need for repairing the bathtub surface:
| Materials | Purpose |
|---|---|
| Epoxy putty | Filling in chips and cracks |
| Sandpaper (200-400 grit) | Smoothing rough areas |
| Acrylic paint | Covering up stains and scratches |
| Paintbrush | Applying the acrylic paint |
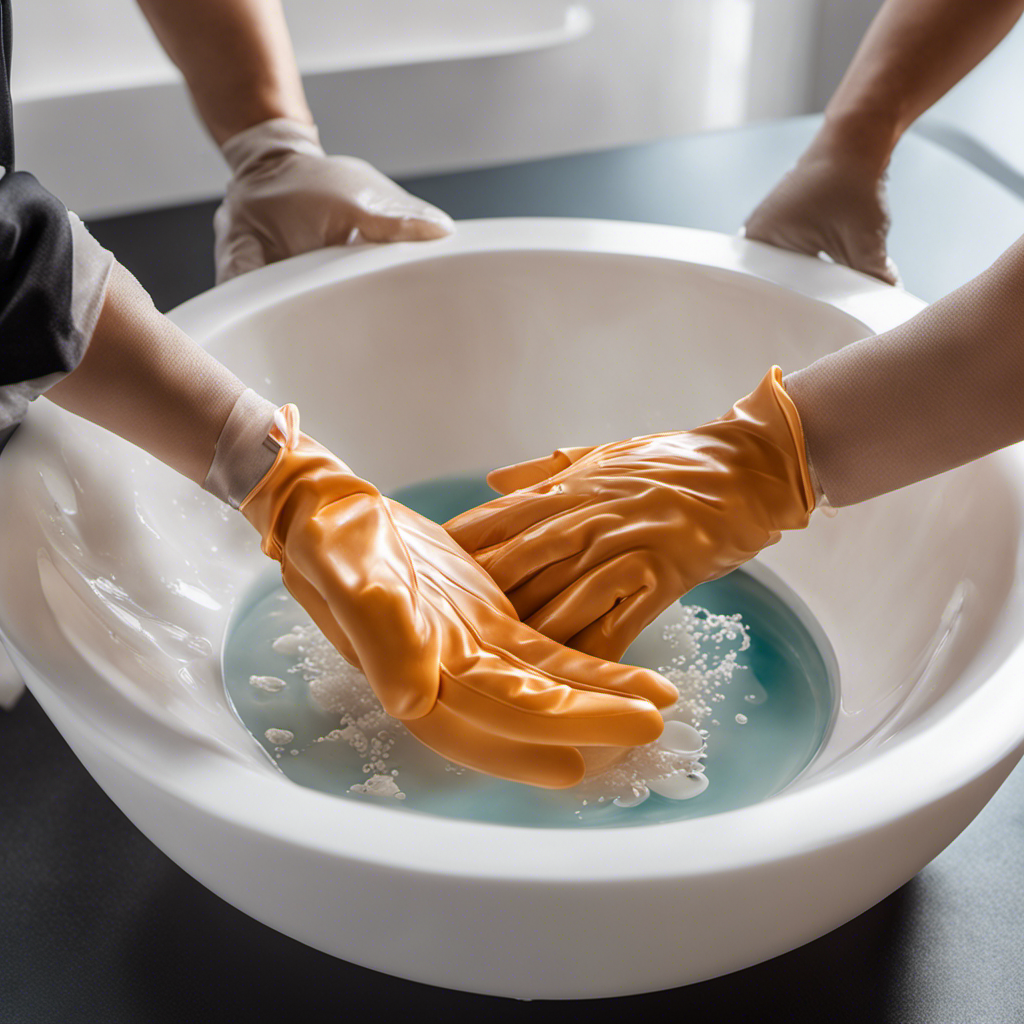
| Rubber gloves | Protecting your hands during the repair process |
Now that you have gathered the necessary materials, let’s move on to the step-by-step process of repairing your bathtub surface.
Choosing the Right Materials
Make sure you have all the necessary materials for repairing your bathtub surface. When it comes to plastic bathtub maintenance, using the right materials is crucial for preventing further damage.
First, you’ll need a plastic repair kit, which typically includes a filler compound and a hardening agent. This will help you fill in any holes or cracks in the surface.
Additionally, you’ll want to have sandpaper on hand to smooth out the repaired area. A primer and paint specifically designed for plastic surfaces will also be necessary to ensure a seamless and long-lasting finish.
Lastly, don’t forget to have a clean cloth and some rubbing alcohol to properly clean the area before starting the repair process. By using these materials, you can effectively maintain your plastic bathtub and avoid any further damage.
Step-By-Step Repair Process
Start by thoroughly cleaning the surface of your bathtub using rubbing alcohol and a clean cloth. This will ensure that the area is free from dirt, grease, and any other contaminants that could interfere with the repair process. Once the surface is clean, you can proceed with the repairing technique. There are a few alternative solutions to fixing a hole in a plastic bathtub, depending on the size and severity of the damage. One option is to use a bathtub repair kit, which typically includes a patch and adhesive. Another solution is to use epoxy resin or a waterproof sealant. These materials can be easily applied to the hole and left to dry, creating a strong and durable repair. It’s important to follow the instructions provided with the chosen repair method to ensure the best results. Table below outlines some alternative solutions for repairing a hole in a plastic bathtub:
| Solution | Materials Needed |
|---|---|
| Bathtub repair kit | Patch, adhesive |
| Epoxy resin | Epoxy resin, mixing tools |
| Waterproof sealant | Sealant, applicator tool |
| Fiberglass patch | Patch, adhesive, fiberglass cloth |
Tub Repair Kit White, Tub Chip and Bathtub Repair Kit for Enamel, Fiberglass, Acrylic, Porcelain, Patch and Repairs Chips, Crack, Scratches, Rust, Holes on Tubs, Toilet, Sink, Shower, Tray in Bathroom
Permanently Repair Bathtub Chips, Cracks and Holes: For Fiberglass, Enamel, Acrylic; restore a glossy, non-yellowing, leak-stopping and chip…
As an affiliate, we earn on qualifying purchases.
As an affiliate, we earn on qualifying purchases.
Prepare the Bathtub Surface
When preparing the bathtub surface for repair, it is crucial to start by thoroughly cleaning the area surrounding the hole. This ensures the patch adheres properly and prevents any contaminants from interfering with the repair process.
After cleaning, choosing the right material for the patch is key; it should be durable, waterproof, and able to withstand the constant exposure to water and cleaning agents.
Once the material is selected, applying the patch involves carefully following the manufacturer’s instructions, ensuring a secure and long-lasting fix.
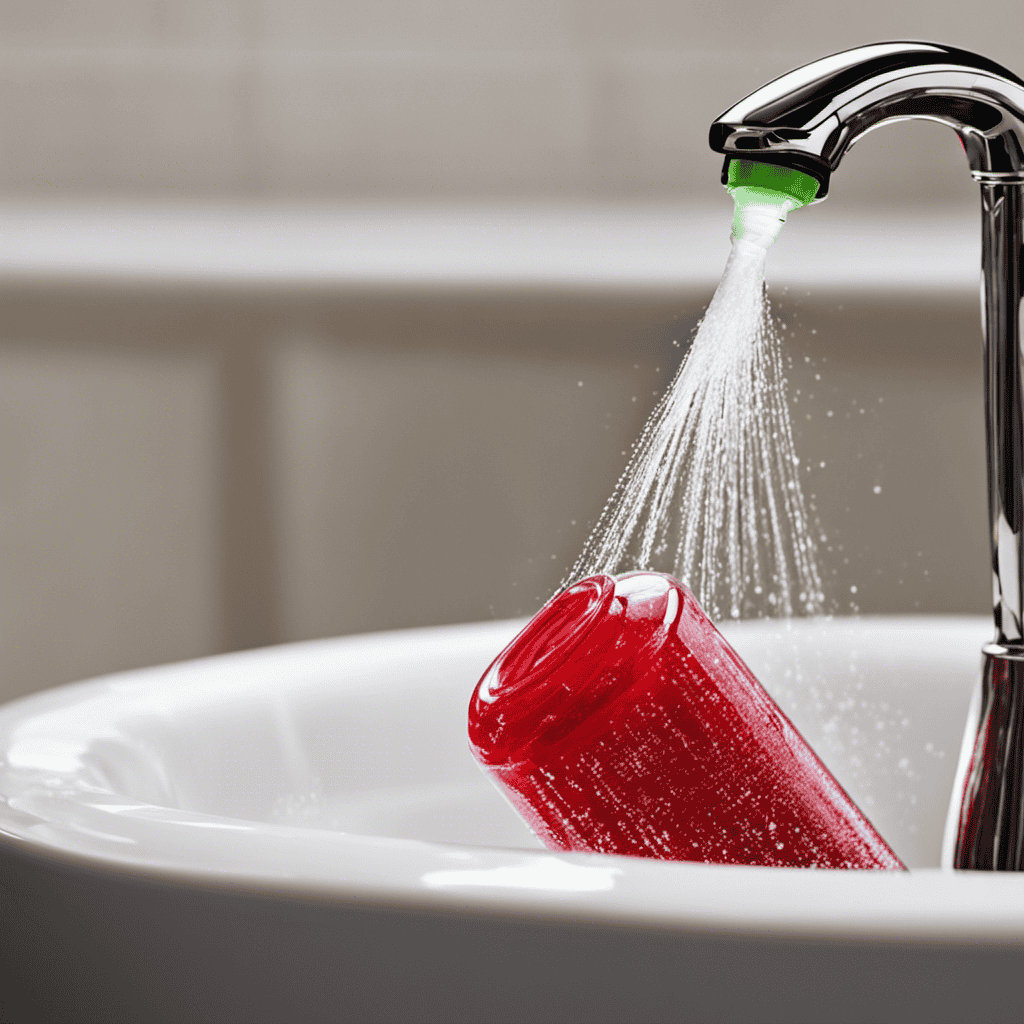
Cleaning the Surface
To prepare the surface for repair, you’ll need to thoroughly clean the area around the hole in your plastic bathtub. Cleaning the surface is an essential step in ensuring that the repair materials adhere properly and the hole is effectively sealed.
Here are the steps to follow:
-
Gather your cleaning supplies: You’ll need a mild detergent, a soft cloth or sponge, and warm water.
-
Mix the detergent with warm water: Follow the instructions on the detergent bottle to create a solution.
-
Dip the cloth or sponge into the soapy water: Make sure it is damp, but not dripping wet.
-
Gently scrub the area around the hole: Use circular motions to remove any dirt, grime, or soap residue.
Choosing the Right Material
Once you’ve thoroughly cleaned the surface, you’ll need to consider which material is best suited for your repair.
When it comes to repairing a hole in a plastic bathtub, there are several options available. One common technique is to use a patch kit specifically designed for plastic surfaces. These kits usually include a patching compound that can be applied and smoothed over the hole.
Another alternative option is to use epoxy resin, which is a strong adhesive that can bond to plastic surfaces. Epoxy resin can be applied directly to the hole and then sanded down to ensure a smooth finish.
Ultimately, the choice of material will depend on the size and severity of the hole, as well as personal preference.
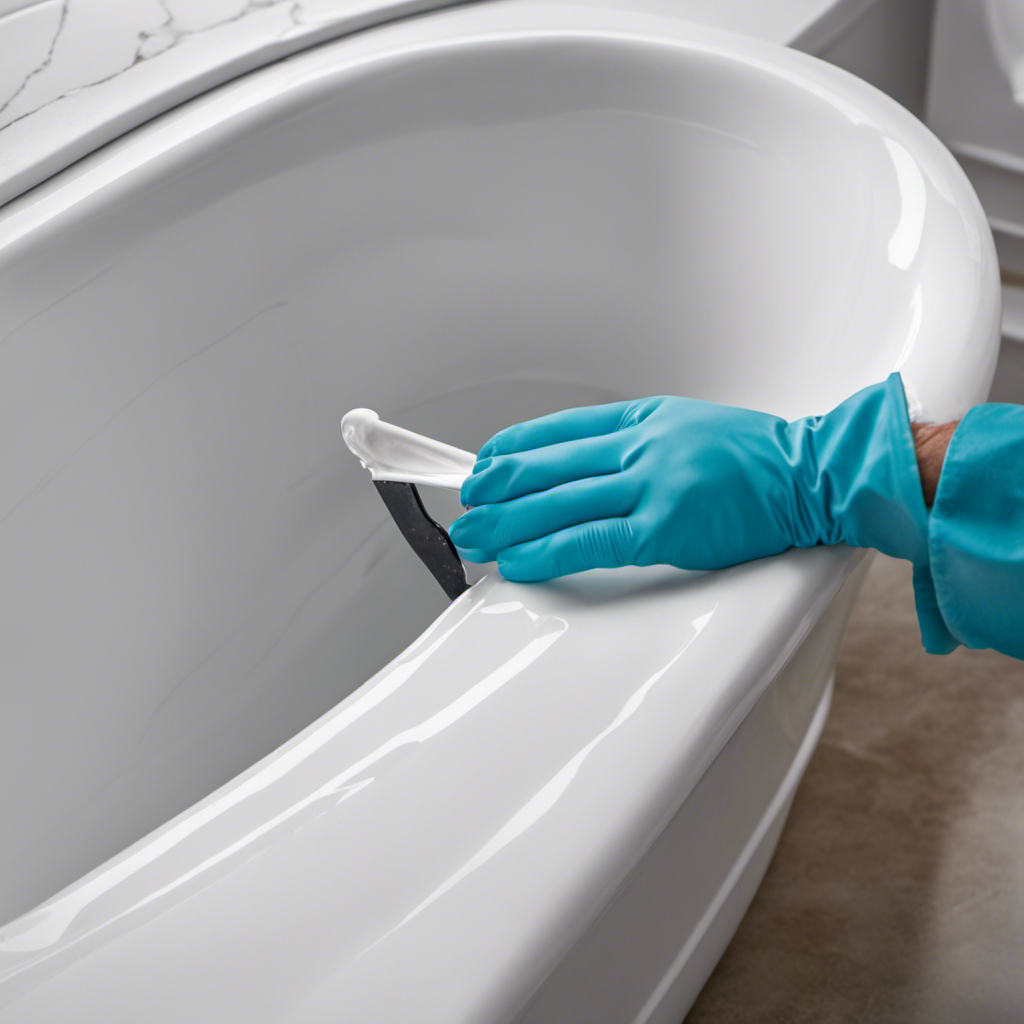
Applying the Patch
Now that we have chosen the right material for fixing a hole in a plastic bathtub, it’s time to move on to applying the patch. This step is crucial in ensuring a proper and long-lasting repair.
Here are the four key techniques for applying the patch:
-
Clean the area: Before applying the patch, it’s essential to clean the damaged area thoroughly. Use a mild detergent and warm water to remove any dirt, grease, or debris.
-
Prepare the patch: Depending on the size of the hole, cut a piece of the chosen material slightly larger than the damaged area. Round off the corners to prevent peeling.
-
Apply adhesive: Apply a thin layer of adhesive to both the patch and the cleaned area. Make sure to spread it evenly and avoid excess adhesive.
-
Press and smooth: Carefully press the patch onto the damaged area and smooth out any air bubbles or wrinkles. Apply pressure for a few minutes to ensure a secure bond.

Tub and Shower Repair Kit White, Fiberglass Tub and Porcelain Repair Kit, Acrylic, Enamel, Ceramics Tile Toilet and Sink Repair Kit, Repair cracks, fragments, holes and pits, Bathtub Repair Kit White
Waterproof and very firm after curing – Fiberglass Repair Kit can be used to repair chips, scratches, dents,…
As an affiliate, we earn on qualifying purchases.
As an affiliate, we earn on qualifying purchases.
Apply the Patching Material
Make sure you’re applying the patching material evenly across the hole in your plastic bathtub.
When it comes to patching techniques, there are a few options to consider. One popular method is using a patching compound, which is a thick paste that can be applied directly to the hole.
Another option is using a fiberglass repair kit, which includes a fiberglass cloth and a resin that can be used to reinforce the patch.
Additionally, there are adhesive patches available that can be simply stuck over the hole.
When choosing the right patching material, it’s important to consider the size and location of the hole, as well as the specific instructions provided by the manufacturer.
Different types of patching materials may have different strengths and drying times, so it’s important to choose the one that best suits your needs.
Smooth and Blend the Patch
After applying the patching material, you’ll want to smooth and blend it for a seamless finish. This step is crucial in achieving a professional-looking repair on your plastic bathtub. Here are four blending techniques that you can use to achieve the desired result:
-
Sanding: Use a fine-grit sandpaper to gently sand the patched area. This will help to smooth out any rough edges and create a level surface.
-
Feathering: Gradually taper the edges of the patch by applying less pressure and spreading the patching material thinly towards the surrounding area. This technique ensures a smooth transition between the patch and the rest of the bathtub.
-
Buffing: Use a buffing pad or a soft cloth to rub the patched area in circular motions. This will further blend the patch and make it less noticeable.
-
Polishing: Apply a plastic polish or a bathtub refinishing product to the patch. This will give it a glossy finish and help it blend seamlessly with the rest of the bathtub.
With these blending techniques and the right patching tools, you can achieve a flawless repair on your plastic bathtub.
Allow Time for Drying and Curing
To ensure a successful repair, you’ll need to give the patching material enough time to dry and cure completely. Drying and curing are crucial steps in the repair process, as they allow the patch to harden and adhere properly to the surface.
There are different drying techniques you can use depending on the type of patching material you’ve chosen. Some materials may require air drying, while others may need heat or UV light to speed up the process. It is important to follow the manufacturer’s instructions regarding drying time and techniques to ensure the best results.
Curing time can vary depending on the material and environmental conditions. Typically, it can take anywhere from a few hours to a few days for the patch to fully cure. Patience is key during this step to avoid compromising the repair.
Conclusion
In conclusion, fixing a hole in a plastic bathtub is a task that requires careful assessment, proper materials, and precise application. By following the steps outlined in this article, you can successfully repair the damage and restore your bathtub to its original state.
Remember to take your time and ensure the patching material is applied smoothly and blended seamlessly. Allow sufficient drying and curing time to ensure a long-lasting and effective repair.
With patience and attention to detail, you can achieve a flawless result.