
I’ve got a hole in my bathtub that’s big enough to fit a basketball through! But don’t worry, I’ve found a solution.
In this step-by-step guide, I’ll show you how to fix a hole in your bathtub and restore it to its former glory. With just a few tools and materials, you’ll be able to patch up that hole and have your bathtub looking as good as new.
So let’s get started and say goodbye to that unsightly hole!
Key Takeaways
- Assess the extent of the damage and consider alternative solutions if necessary
- Gather the necessary tools and materials for the repair
- Prepare the surface by sanding and cleaning it thoroughly
- Fill the hole with a patching compound, applying multiple layers if needed

Tub Repair Kit White, Bathtub Repair Kit for Enamel, Fiberglass, Acrylic
- Instantly Restores Glossy White Finish: Covers chips, cracks, and scratches seamlessly
- Strong, Durable Coverage: Resists scratches, rust, and high temperatures
- Waterproof, Stain-Resistant Finish: Prevents yellowing and stains over time
As an affiliate, we earn on qualifying purchases.
As an affiliate, we earn on qualifying purchases.
Assess the Damage
First, you’ll need to assess the damage to determine the best way to fix the hole in the bathtub. Start by evaluating the extent of the damage. Is it a small crack or a large hole? This will help you decide which approach to take.
Next, consider finding alternative solutions if the damage is too severe or if you don’t have the necessary skills to fix it yourself. For example, you could hire a professional plumber or consider replacing the entire bathtub. By assessing the damage and exploring alternative solutions, you’ll be able to make an informed decision on how to proceed.
Once you have evaluated the extent of the damage and considered alternative solutions, you can move on to gathering the necessary tools and materials.
Gather the Necessary Tools and Materials
Next, you’ll need to gather all the tools and materials you’ll need for the job. Gather a putty knife, sandpaper, a mixing container, and a utility knife. It’s also important to have a clean cloth or sponge and some water nearby for clean-up.
When it comes to fixing a hole in the bathtub, choosing the right patching compound is crucial. Look for a compound specifically designed for bathtub repairs, as it will adhere well and provide a waterproof seal.
Once you have all the necessary tools and materials, you can proceed with the proper application techniques. Follow the instructions on the patching compound carefully, ensuring you mix it thoroughly and apply it evenly to the hole.
Smooth out any excess compound using the putty knife and allow it to dry completely before sanding and finishing the repair.
Prepare the Surface for Repair
To prepare the surface for repair, there are three key points to consider: sanding and cleaning, filling the hole, and smoothing and finishing.
First, I’ll use sandpaper to smooth the edges around the hole and remove any loose debris.
Then, I’ll clean the area thoroughly to ensure proper adhesion of the repair material.
Sanding and Cleaning
After applying the patch, start by sanding and cleaning the area around the hole. This step is crucial to ensure proper adhesion and a smooth surface for the patch.
Here’s a step-by-step guide on the sanding technique and cleaning products you’ll need:
-
Sanding Technique:
- Use a fine-grit sandpaper (around 220 grit) to gently sand the area around the hole.
- Sand in a circular motion, applying light pressure to remove any rough edges or bumps.
- Be careful not to sand too aggressively, as this can damage the surrounding surface.
-
Cleaning Products:
- Use a mild detergent or all-purpose cleaner to clean the sanded area.
- Scrub the surface gently with a sponge or soft cloth to remove any grease, dirt, or soap residue.
- Rinse the area thoroughly with clean water to ensure all cleaning products are removed.
Following these steps will create a clean and smooth surface for the patch, resulting in a professional-looking repair.
Filling the Hole
Now that you’ve sanded and cleaned, it’s time to fill the hole with the patching compound. This step is crucial to ensure a smooth and durable repair.
Start by preparing the patching compound according to the manufacturer’s instructions. Then, using a putty knife, apply the compound to the hole, filling it completely. Make sure to press the compound firmly into the hole to ensure proper adhesion.
If the hole is deep, you may need to apply the compound in multiple layers, allowing each layer to dry before applying the next.
While there are alternative repair methods available, such as using epoxy or fiberglass, using a patching compound is the most common and effective approach. However, if you are unsure or uncomfortable with the repair process, it’s always a good idea to consider professional bathtub repair services.
Once the hole is filled, we can move on to the next step: smoothing and finishing the repair.
Smoothing and Finishing
Once the patching compound has dried, you can sand it down to achieve a smooth finish. Here are the steps to follow for the final touches:
-
Use a fine-grit sandpaper (around 220 grit) to gently sand the patched area. Make sure to sand in a circular motion to blend the edges with the surrounding surface.
-
Continue sanding until the patch is completely smooth and level with the rest of the bathtub. Be careful not to sand too aggressively, as it may damage the surrounding area.
-
After sanding, wipe away any dust or debris with a damp cloth. This will ensure a clean surface for the next step.
Fill the Hole With a Patching Compound
To fill the hole in your bathtub, you’ll want to start by applying a patching compound. Repair techniques for bathtub holes vary, but using a patching compound is a common and effective method. It provides a durable solution that will seamlessly blend with the rest of the bathtub’s surface.
Here’s a step-by-step guide on how to fill the hole with a patching compound:
-
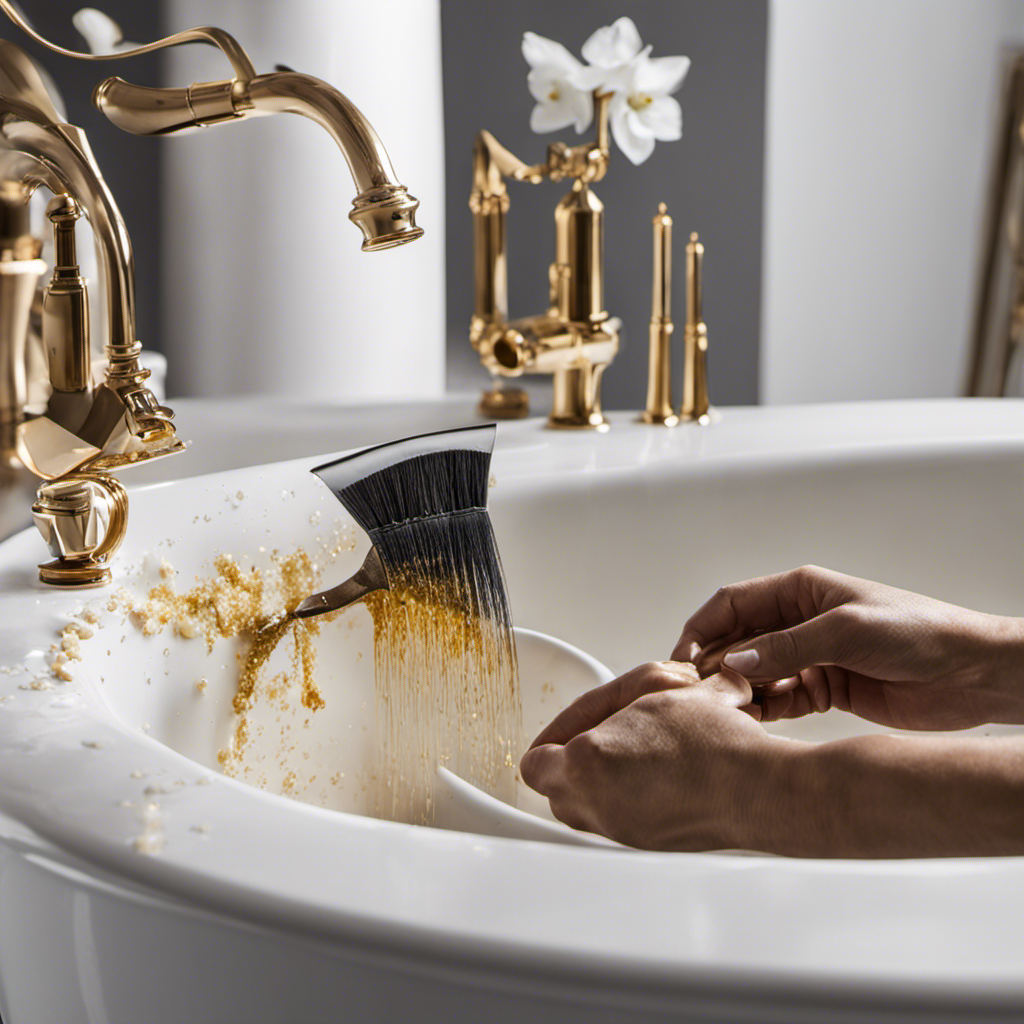
Clean the hole: Remove any loose debris or dirt from the hole using a brush or vacuum cleaner.
-
Prepare the compound: Follow the manufacturer’s instructions to mix the patching compound. Ensure it has a smooth and even consistency.
-
Apply the compound: Using a putty knife, spread the compound evenly over the hole. Make sure to fill the hole completely and level it with the surrounding surface.
-
Smooth and finish: Once the compound is applied, use the putty knife to smooth out any excess and create a seamless finish.
-
Let it cure: Allow the patching compound to dry and cure according to the manufacturer’s instructions.
Sand and Smooth the Patched Area
Now that the hole in the bathtub has been filled with a patching compound, it’s time to move on to the finishing touches.
In this discussion, I will outline the steps for sanding and smoothing the patched area to ensure a seamless and even surface. This step is crucial for achieving a professional-looking result and ensuring that the repaired area blends seamlessly with the rest of the bathtub.
Finishing Touches for Patching
After applying the patch, it’s important to smooth out any rough edges. Here are three polishing techniques to ensure a seamless finish and color matching:
-
Sanding: Begin by using a fine-grit sandpaper to gently sand the patched area. This will help to level any unevenness and create a smooth surface for the next steps.
-
Buffing: Use a soft cloth or a buffing pad to apply a polishing compound to the patched area. This will help to restore the shine and blend the color with the surrounding bathtub surface.
-
Finishing Coat: Apply a clear finishing coat over the patched area to protect it and give it a glossy finish. Make sure to follow the manufacturer’s instructions for application and drying time.
By following these polishing techniques and ensuring color matching, you can achieve a professional-looking repair.
Now, let’s move on to the next section, where we will discuss the importance of evenness in the patched area.
Importance of Evenness
Achieving an even surface is crucial for a seamless repair. So, take the time to carefully sand and buff the patched area.
Proper bathtub maintenance is essential to prevent damage that may lead to holes or cracks. To keep your bathtub in good condition, you should follow a few tips.
First, clean your bathtub regularly to remove dirt, grime, and soap scum. Use non-abrasive cleaners to avoid scratching the surface.
Second, avoid using harsh chemicals or abrasive materials that can cause damage. Instead, opt for gentle cleaning solutions and soft sponges or cloths.
Lastly, be mindful of heavy objects or sharp tools that could accidentally cause damage when placed or dropped in the bathtub.
By following these preventive measures, you can minimize the risk of needing to repair holes in your bathtub.
Now, let’s move on to the next step: applying a waterproof sealant.
Apply a Waterproof Sealant
To fix the hole in your bathtub, start by applying a waterproof sealant. Waterproof sealants prevent water from seeping through the hole and causing further damage.
Here are three important techniques to consider when applying a waterproof sealant:
-
Clean the area: Before applying the sealant, make sure the hole is clean and dry. Remove any debris or loose material around the hole using a scraper or sandpaper.
-
Choose the right sealant: There are different types of waterproof sealants available, such as silicone-based or epoxy-based sealants. Consider the material of your bathtub and the size of the hole when selecting the appropriate sealant.
-
Apply the sealant: Use a caulking gun to apply an even layer of sealant over the hole. Smooth the sealant with a putty knife or your finger to ensure a tight seal. Allow the sealant to cure as per the manufacturer’s instructions.
Following these waterproof sealant application techniques and using the right type of sealant will help you effectively fix the hole in your bathtub.
Conclusion
In conclusion, fixing a hole in your bathtub is a manageable task that can be accomplished with the right tools and materials. By following the step-by-step process outlined in this article, you can restore your bathtub to its former glory.
Imagine the satisfaction of stepping into a smooth, seamless surface, free from any blemishes. With a little effort and the right techniques, you can make your bathtub look brand new again.
So don’t let that hole bring you down, take action and fix it today!