So, you’ve found yourself in a bit of a soggy situation, huh? Don’t worry, we’ve got you covered.
In this detailed and practical guide, we’ll show you how to fix that pesky leaking bathtub. No need to call a plumber just yet.
With a few simple tools and materials, a little elbow grease, and our step-by-step instructions, you’ll have your bathtub watertight again in no time.
Let’s dive in and get that leak fixed once and for all!
Key Takeaways
- Inspect the caulking, drain connections, pipes, and faucet handles for any visible damage or gaps to identify the source of the leak.
- Use the appropriate tools and materials such as a wrench, plumber’s tape, and silicone caulk gun for targeted repair and effective waterproofing.
- To fix a leaky faucet, turn off the water supply, access the cartridge or valve by removing the handle and trim, and replace worn-out components like O-rings or washers.
- For a leaky drain, inspect the pipes for cracks or damage, turn off the water supply, and repair small cracks with epoxy putty or plumber’s tape. Replace the pipe section if the crack is significant and consider replacing the entire drain assembly if necessary.
Identifying the Source of the Leak
To find where the leak is coming from, you’ll need to carefully inspect the bathtub. While it’s always advisable to seek professional help for major plumbing issues, you can try identifying the source of the leak on your own.
Start by checking the most common causes of bathtub leaks. These include worn out caulking, loose drain connections, cracked pipes, or damaged faucet handles.
First, examine the caulking around the edges of the tub. Look for any gaps or cracks, as these can allow water to seep through.
Next, inspect the drain connections for any signs of looseness or corrosion.
Finally, check the pipes and faucet handles for any visible damage.
By identifying the specific area of the leak, you’ll be better prepared to tackle the repair process.
Now, let’s move on to the tools and materials needed.
Tools and Materials Needed
You’ll need a wrench, plumber’s tape, and a silicone caulk gun for this task.
Bathroom maintenance is crucial for keeping your space clean and functional. When it comes to waterproofing techniques, having the right tools and materials is essential.
The wrench will help you remove any fixtures or components that need to be fixed or replaced. Plumber’s tape is a must-have for sealing any leaks in pipes or connections. Finally, the silicone caulk gun is perfect for applying a waterproof seal around the edges of your bathtub.
Repairing a Leaky Faucet
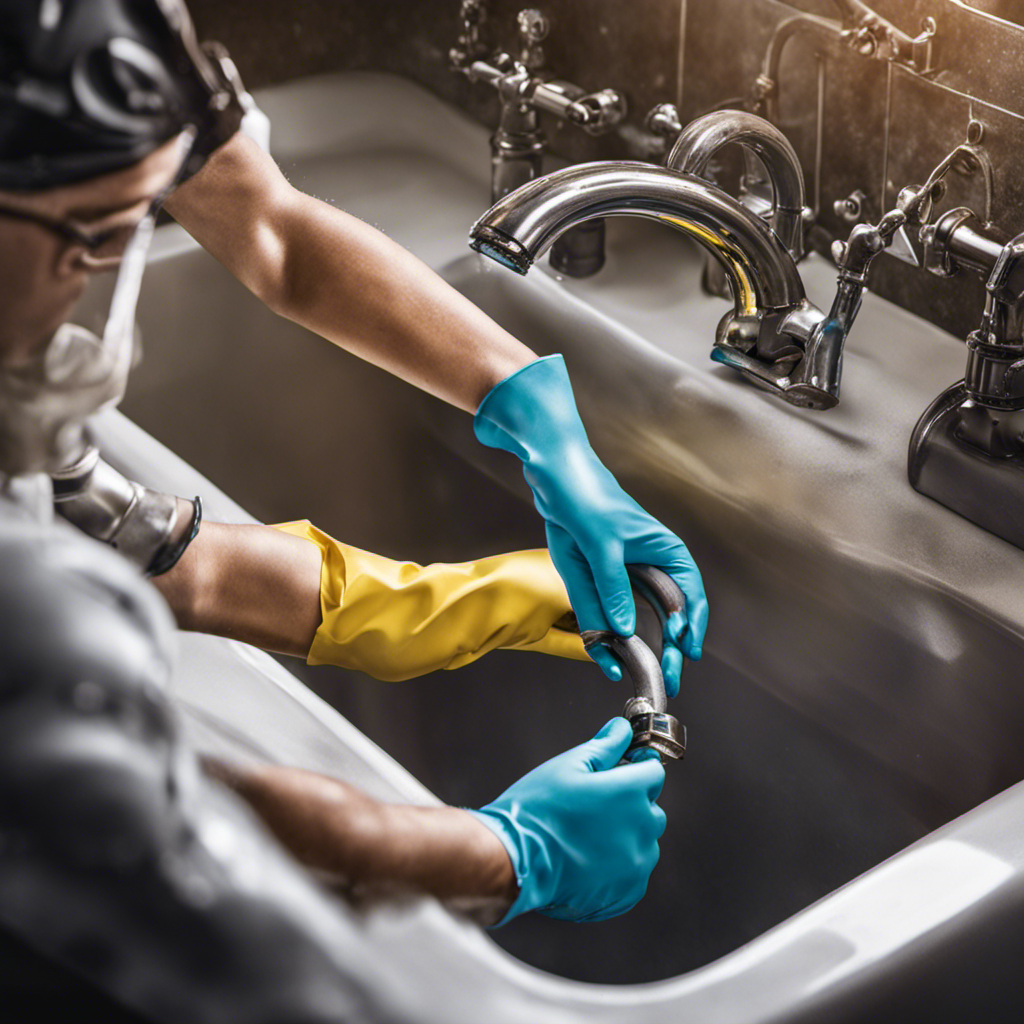
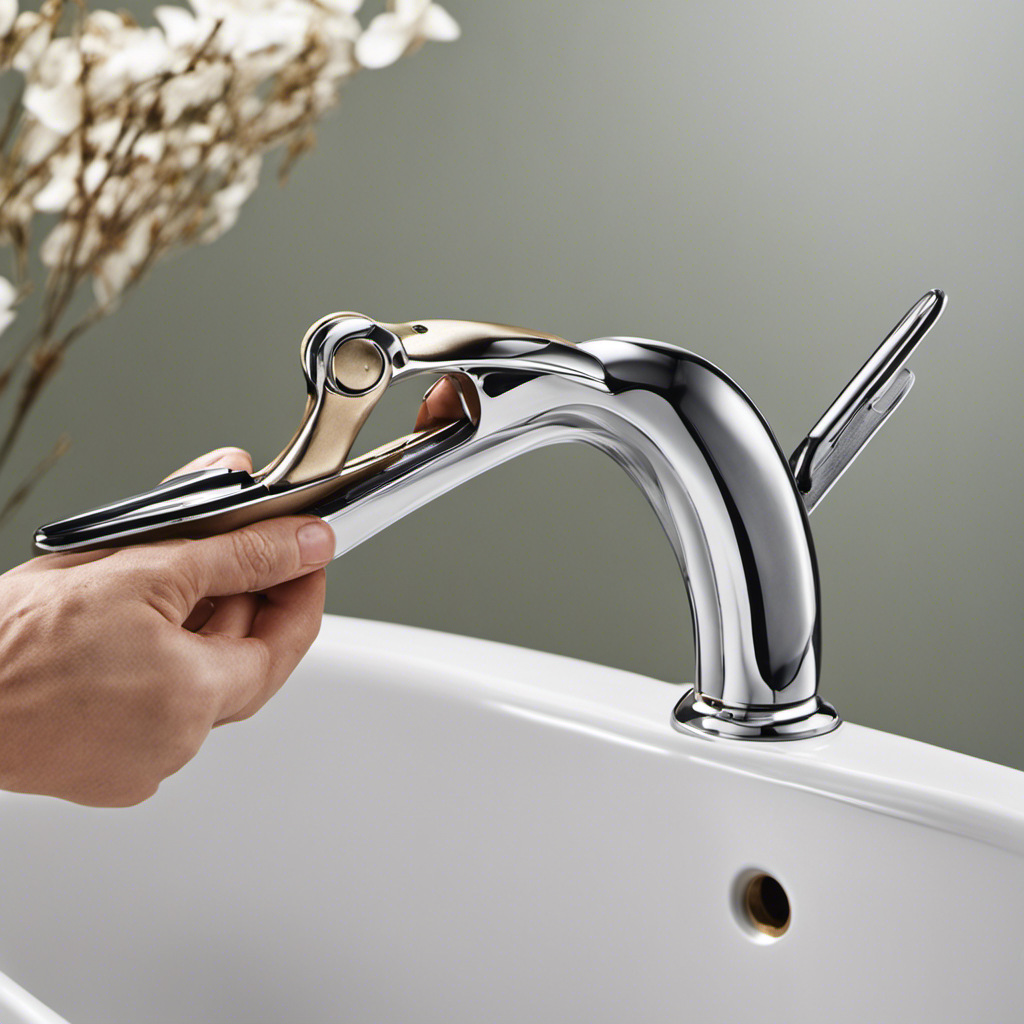
Having a leaky faucet can be frustrating, but there are simple steps you can take to repair it. Before considering replacing the faucet or hiring a professional plumber, try fixing the issue yourself. Here’s a practical guide to help you with the process:
| Step | Tools/Materials Needed | Instructions |
|---|---|---|
| 1 | Adjustable wrench | Turn off the water supply to the faucet. |
| 2 | Screwdriver | Remove the handle and trim to access the cartridge or valve. |
| 3 | Replacement parts | Replace any worn-out components, such as O-rings or washers. |
Fixing a Leaky Drain
If your drain is leaking, start by removing the drain cover to access the pipes. Here are four steps to help you fix the problem and regain peace of mind:
-
Inspect the pipes: Look for any signs of cracks or damage in the drain pipes. If you find a cracked pipe, it will need to be repaired or replaced.
-
Turn off the water supply: Before you start repairing the cracked pipe, make sure to turn off the water supply to prevent any further leakage.
-
Repair the cracked pipe: If the crack is small, you may be able to repair it using epoxy putty or plumber’s tape. If the crack is significant, you may need to replace the section of the pipe altogether.
-
Replace the bathtub drain: If the leak is not due to a cracked pipe, but rather a faulty drain, consider replacing the entire drain assembly.
By following these steps, you can effectively repair a cracked pipe or replace the bathtub drain, ensuring that your bathtub stays leak-free.
Now, let’s move on to preventive measures for future leaks.
Preventive Measures for Future Leaks
To prevent future leaks, make sure to regularly inspect the pipes for any signs of damage or cracks. By conducting regular maintenance, you can identify potential issues early on and prevent them from turning into major leaks.
Additionally, implementing proper waterproofing techniques can provide an extra layer of protection for your bathtub. Here are some practical steps you can take to prevent future leaks:
- Check for any visible signs of damage or cracks in the pipes.
- Ensure that all connections are securely tightened.
- Apply a waterproof sealant around the joints and edges of the bathtub.
- Install a drain strainer to prevent clogs and debris buildup.
Frequently Asked Questions
How Do I Know if the Leak in My Bathtub Is Causing Any Damage to the Surrounding Walls or Floor?
If your bathtub is leaking, it’s important to check for any damage to the surrounding walls or floor. Look for signs of water stains, dampness, or soft spots. Addressing the leak promptly can help prevent further damage.
Can I Use Household Items or Alternative Materials to Fix a Leaking Bathtub?
You can definitely use household items or alternative materials to fix a leaking bathtub. There are various DIY methods available that can help you address the issue effectively and save some money in the process.
Are There Any Temporary Solutions to Stop the Leak Until I Can Fix It Permanently?
To temporarily repair a leaking bathtub, there are a few quick fixes you can try. These include using a waterproof tape or sealant to cover the leak, or placing a rubber mat over the area.
What Should I Do if I Am Unable to Identify the Source of the Leak in My Bathtub?
If you can’t pinpoint the leak in your bathtub, don’t panic. Start by examining the usual suspects – faucets, drains, and pipes. If all else fails, consider alternative solutions like sealing the entire tub or seeking professional help.
Is It Common for Bathtub Leaks to Reoccur After They Have Been Fixed?
It is common for bathtub leaks to reoccur after being fixed. To prevent this, identify common causes such as worn-out gaskets or loose connections. Regularly check and maintain your bathtub to ensure it stays leak-free.
Conclusion
Congratulations! You’ve successfully tackled the challenge of fixing a leaking bathtub.
By identifying the source of the leak and using the right tools and materials, you’ve taken a big step towards a dry and peaceful bathroom.
Remember, with a little effort and know-how, you can conquer any plumbing issue that comes your way.
So don’t let those leaks rain on your parade – take charge, fix them up, and enjoy a refreshing and relaxing bath, free from worries and drips.
You’ve got this!


