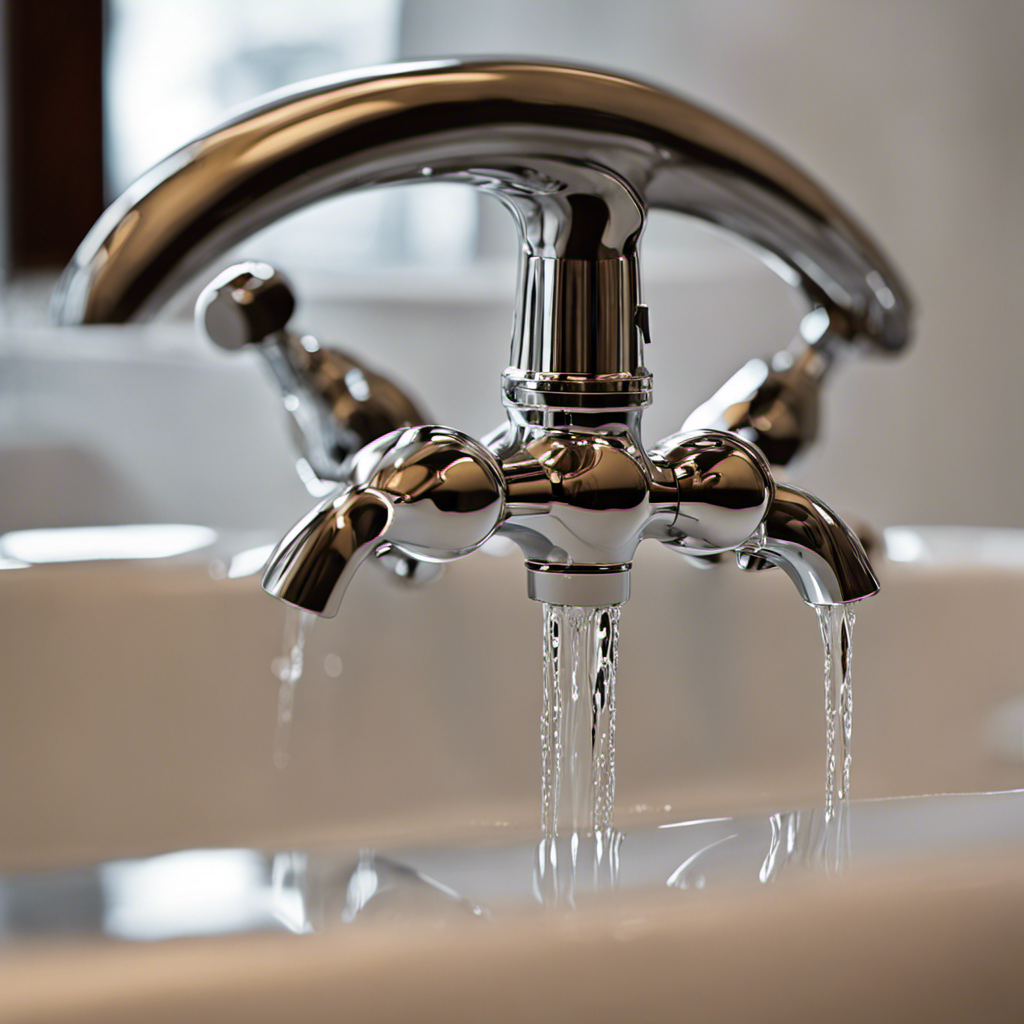
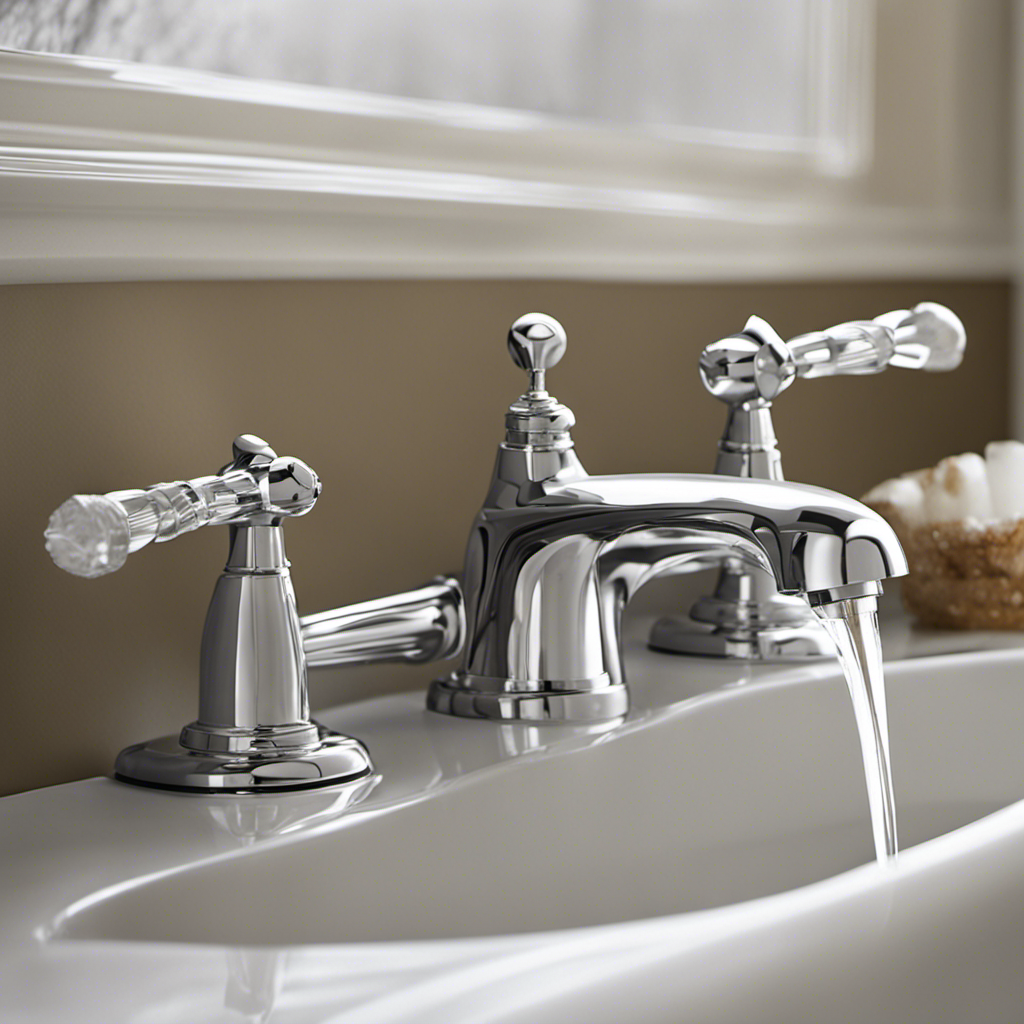
I’ve been there – the annoying sound of a leaking bathtub faucet, the constant drip that keeps you up at night. But fear not, because I’m here to guide you through the process of fixing it.
In this article, we’ll explore step-by-step instructions to assess the leak, gather the necessary tools, and replace faulty parts. By the end, you’ll have a peaceful, drip-free bathtub that will bring you the sweet sound of silence.
Let’s get started!
Key Takeaways
- Turn off the water supply before assessing and repairing the leak.
- Gather the necessary tools and materials such as wrenches, pliers, screwdrivers, and plumber’s tape.
- Identify the source of the leak, whether it is from the handle or spout.
- Follow the repair steps including inspecting and replacing O-rings or washers, checking and cleaning the valve seat, and replacing the cartridge or valve stem.
Assess the Extent of the Leak
To assess the extent of the leak, you’ll need to turn off the water supply and carefully observe any water dripping or pooling around the faucet.
Diagnosing the leak is the first step in fixing a leaking bathtub faucet. Check if the leak is coming from the handle or the spout.
If it’s from the handle, it could be due to a worn-out cartridge or O-ring. In this case, replacing these components should solve the issue.
If the leak is from the spout, it might be caused by a faulty valve or worn-out washers. Replacing the valve or washers should fix the problem.
Once you have determined the source of the leak, gather the necessary tools and materials to proceed with the repair.
Gather the Necessary Tools and Materials
When it comes to fixing a leaking bathtub faucet, it’s important to gather the essential repair tools and required replacement materials beforehand.
These tools might include an adjustable wrench, pliers, a screwdriver, and a plumber’s tape.
As for the replacement materials, you may need new washers, O-rings, or a cartridge, depending on the type of faucet you have.
Essential Repair Tools
You’ll need a few essential repair tools to fix that leaking bathtub faucet. Here are the tools you should have on hand:
| Tools | Description |
|---|---|
| Adjustable wrench | This tool will help you loosen and tighten nuts and bolts. Make sure to choose the right size for your faucet. |
| Screwdriver set | A set of screwdrivers with different sizes and types will be useful for removing screws and accessing various parts of the faucet. |
| Pliers | Pliers will come in handy when you need to grip and turn small parts, such as cartridges or valve stems. |
| Allen wrench set | Some faucets have screws that require an Allen wrench. Having a set of these wrenches will ensure you have the right size for your faucet. |
With these tools, you’ll be ready to tackle any repair job on your leaking bathtub faucet. Remember to follow the proper troubleshooting techniques to identify the source of the leak and make the necessary repairs.
Required Replacement Materials
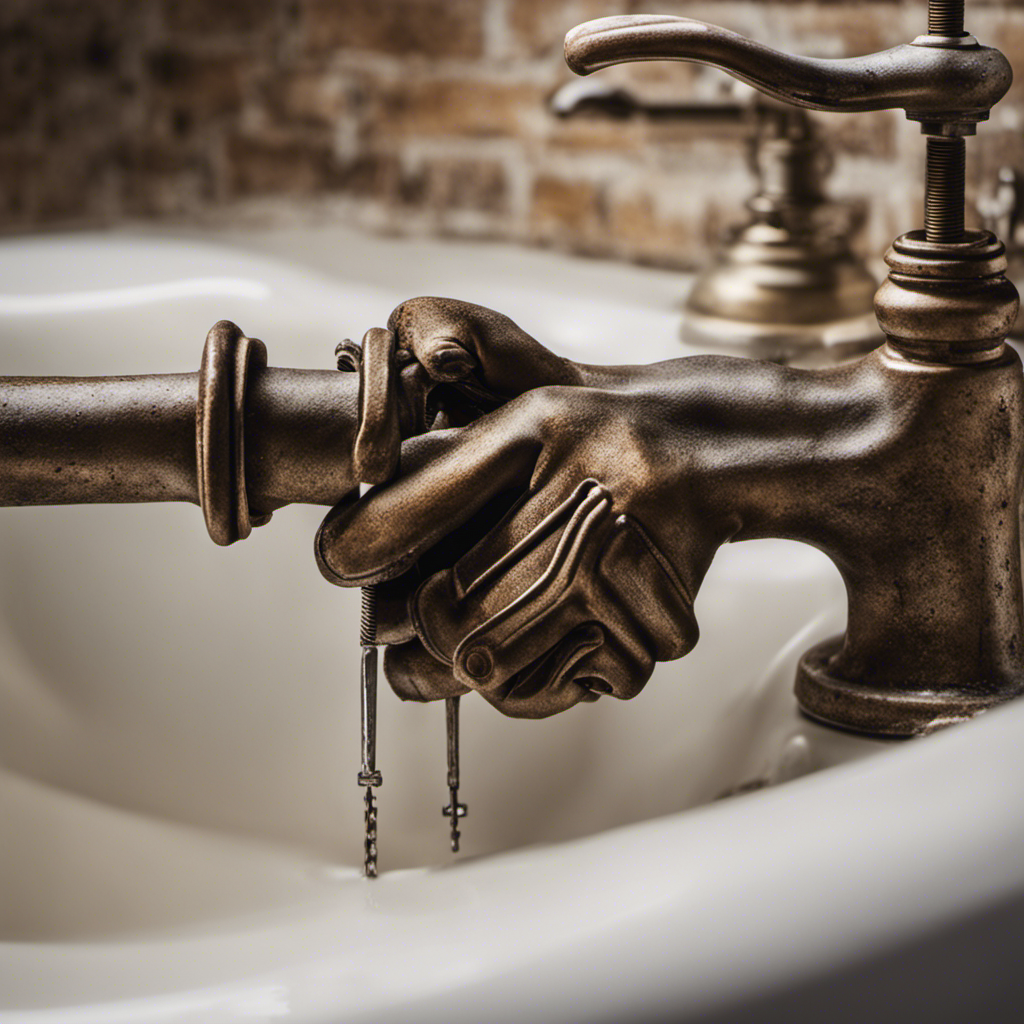
Having the right replacement materials is crucial for successfully repairing a leaky bathtub faucet. When it comes to fixing a leak, one of the first steps is removing the faucet handle. This can typically be done by locating a small screw or cap on the handle and using a screwdriver or Allen wrench to loosen and remove it.
Once the handle is off, you can then access the inner components of the faucet. Identifying the correct replacement materials is essential for a proper fix. This includes finding the right O-rings, washers, and cartridges that match the specific make and model of your faucet.
It’s important to consult the manufacturer’s guidelines or seek professional advice to ensure you get the right replacement materials for a successful repair.
Shut off the Water Supply to the Bathtub
To fix a leaking bathtub faucet, start by shutting off the water supply to the bathtub. This is an important step to prevent any further water damage and ensure your safety during the repair process. Here are four simple steps to help you shut off the water supply:
-
Locate the water shut-off valves: Look for the hot and cold water shut-off valves, usually located beneath the sink or behind an access panel near the bathtub.
-
Turn off the water supply: Rotate the valves clockwise until they are fully closed. This will stop the flow of water to the bathtub.
-
Drain the remaining water: To release any remaining water in the pipes, turn on the bathtub faucet and let it run until the water stops flowing.
-
Test the water supply: Check if the water is completely shut off by turning on the faucets in the nearby sinks. If no water comes out, you have successfully shut off the water supply to the bathtub.
Remove the Faucet Handle
Now that we have shut off the water supply to the bathtub, it’s time to move on to the next step in fixing a leaking bathtub faucet: removing the faucet handle.
This is an important step because it will allow us to access the internal components of the faucet and determine the cause of the leak.
To remove the faucet handle, start by locating the small screw or cap on the handle. This may be hidden under a decorative cover or labeled with an ‘H’ or ‘C’ for hot and cold. Use a screwdriver or Allen wrench to loosen and remove the screw.
Once the screw is removed, gently pull the handle straight off, being careful not to damage any surrounding fixtures.
With the faucet handle removed, we are now one step closer to fixing the leak and replacing the faucet if necessary.
Inspect and Replace the O-Ring or Washer
When it comes to fixing a leaking bathtub faucet, it’s important to understand the difference between an O-ring and a washer. Both components play a crucial role in preventing leaks, but they serve different purposes.
In this discussion, I will explain the common causes of leaks in these components and provide step-by-step instructions for a DIY repair.
O-Ring Vs. Washer
Replace the worn-out O-ring or washer in your bathtub faucet to stop the leak. As a homeowner, I have dealt with my fair share of leaky faucets, and understanding the difference between an O-ring and a washer is crucial for effective maintenance. Here are four key points to consider:
-
O-ring maintenance: O-rings are small rubber rings that create a watertight seal in your faucet. Over time, they can become brittle or worn out, leading to leaks. Regularly inspect and replace O-rings to prevent this issue.
-
Washer replacement: Washers are another common component in faucets that can cause leaks. They are typically made of rubber or nylon and are located inside the valve seat. If your faucet continues to leak after replacing the O-ring, it may be time to replace the washer.
-
Identifying the problem: When diagnosing a leak, it’s important to determine whether the issue lies with the O-ring or the washer. This can be done by disassembling the faucet and inspecting the condition of each component.
-
Choosing the right replacement: When replacing the O-ring or washer, make sure to choose the correct size and material to ensure a proper fit and long-lasting repair.
Common Causes of Leaks
To prevent leaks in your bathtub, it’s important to understand the common causes of plumbing issues.
One of the main causes of bathtub leaks is worn-out caulking. Over time, the caulk around the tub can deteriorate, allowing water to seep through and cause damage.
Another common culprit is loose or damaged pipes. If the pipes are not properly secured or have cracks or holes, water can escape and create leaks.
Additionally, faulty faucet valves can lead to leaks. These valves control the flow of water in your bathtub, and if they are worn or damaged, they can cause leaks.
To prevent bathtub leaks, regularly inspect and replace worn-out caulk, ensure pipes are secure and in good condition, and promptly repair or replace faulty faucet valves.
DIY Repair Steps
One of the first things you’ll want to check is the condition of the caulk around the edges of your tub. If it’s cracked or damaged, water can seep through and cause a leak.
Here are four DIY repair tips for bathtub faucet maintenance:
-
Turn off the water supply: Before starting any repairs, make sure to turn off the water supply to your bathtub. This will prevent any further water damage and allow you to work safely.
-
Remove the faucet handle: Use a screwdriver or Allen wrench to remove the handle of the faucet. This will give you access to the cartridge or valve stem.
-
Replace the cartridge or valve stem: Inspect the cartridge or valve stem for any signs of damage or wear. If necessary, replace it with a new one to fix the leak.
-
Reassemble and test: Once you’ve replaced the cartridge or valve stem, reassemble the faucet handle and turn on the water supply to test for any leaks. If everything looks good, you’ve successfully repaired your leaking bathtub faucet!
Remember to always follow safety precautions and consult a professional if you’re unsure about any steps.
Check and Clean the Valve Seat
Make sure you’re checking and cleaning the valve seat to address the leaking bathtub faucet. Cleaning the valve seat is an essential step in fixing a leaking faucet, as buildup and debris can prevent a proper seal. Here are some cleaning techniques and preventive measures to follow:
| Cleaning Techniques | Preventive Measures |
|---|---|
| Use a soft cloth or brush to remove any dirt or grime from the valve seat. | Regularly clean the valve seat to prevent buildup and ensure a tight seal. |
| Apply a mixture of vinegar and water to dissolve mineral deposits. Scrub gently to remove any remaining residue. | Install a water softener to reduce the buildup of minerals in the water, preventing future leaks. |
| Inspect the valve seat for any signs of damage or wear. If necessary, replace the valve seat. | Avoid using harsh chemicals or abrasive cleaners that can damage the valve seat. |
Replace the Cartridge or Valve Stem
If the issue persists, you should consider replacing either the cartridge or valve stem to address the problem with your bathtub faucet. Here are four steps to help you with the process:
-
Turn off the water supply: Before starting any repairs, it’s crucial to shut off the water supply to the faucet. This will prevent any accidental leaks or water damage during the replacement.
-
Remove the handle and trim: Use a screwdriver or Allen wrench to remove the handle and trim of the faucet. This will give you access to the cartridge or valve stem.
-
Replace the cartridge: If your faucet has a cartridge, carefully remove the old one and replace it with a new one. Make sure to follow the manufacturer’s instructions for proper installation.
-
Replace the valve stem: If your faucet has a valve stem, remove the old one and replace it with a new one. Again, refer to the manufacturer’s instructions for the correct installation process.
Reassemble the Faucet Handle
To reassemble the faucet handle, simply align the trim and press it firmly into place. It may seem like a simple task, but it’s an important step in troubleshooting faucet leaks. When a faucet handle is not properly reinstalled, it can lead to further leaks and even damage to the faucet.
To ensure a proper reinstallation, follow these steps:
- Start by removing any debris or old sealant from the handle and trim.
- Align the trim with the handle and make sure they fit together snugly.
- Press the trim firmly into place, ensuring that it is fully seated on the handle.
Turn the Water Supply Back on and Test for Leaks
I’ll start by discussing the importance of checking the water supply before proceeding with the leak testing process.
It’s essential to ensure that the water supply is turned back on to properly test for leaks.
Once the water supply is checked, I’ll explain the step-by-step process of leak testing, including how to identify and fix any leaks that may be present.
Water Supply Check
The first step in fixing a leaking bathtub faucet is checking the water supply. This is crucial because the issue might not actually be with the faucet itself, but with the water pressure or a damaged pipe. To ensure a thorough check, follow these steps:
-
Turn off the water supply: Locate the shut-off valve near the faucet and turn it clockwise to shut off the water flow.
-
Check the water pressure: Turn on another faucet in your house and see if the water pressure is low. If it is, the problem might be with the main water supply.
-
Inspect the pipes: Look for any visible leaks or signs of damage on the pipes leading to the bathtub faucet. If you notice any issues, they will need to be repaired or replaced.
-
Test the water supply: Turn on the water supply again and observe if there are any leaks or irregularities. If the issue persists, further troubleshooting will be necessary.
Leak Testing Process
Now that we have checked the water supply and ensured that it is not the cause of the leaking bathtub faucet, it’s time to move on to the next step: leak testing. This process involves identifying the source of the leak and taking necessary measures to prevent potential water damage.
To make leak detection easier, I have created a table below that outlines common signs of a bathtub faucet leak and recommended solutions. This table aims to provide you with a quick reference guide to help you identify and address any leaks effectively.
| Signs of a Bathtub Faucet Leak | Possible Solutions |
|---|---|
| Dripping or leaking faucet | Replace worn-out washers or O-rings, tighten loose parts, or replace the entire faucet |
| Water pooling around the faucet handle | Replace faulty valve or cartridge |
| Water leaking from the showerhead or spout when the faucet is turned off | Replace faulty diverter valve or cartridge |
| Sudden increase in water bill | Call a professional plumber to inspect and fix the issue |
Additional Troubleshooting Tips and Final Thoughts
If you’ve tried the previous troubleshooting steps and the leaking bathtub faucet persists, you may need to call a professional plumber. However, before you make that call, there are a few additional troubleshooting steps you can try to fix the issue yourself. Here are some final tips and tricks:
-
Check the valve seat: Over time, the valve seat can become worn or corroded, causing leaks. Use a valve seat wrench to remove the valve seat and inspect it for any damage. If necessary, replace the valve seat.
-
Replace the washers and O-rings: The washers and O-rings are common culprits for leaks. Turn off the water supply, disassemble the faucet, and replace these components with new ones.
-
Use plumber’s tape: Apply plumber’s tape to the threads of any loose connections to create a tight seal and prevent leaks.
-
Consider a complete faucet replacement: If all else fails, it might be time to invest in a new faucet. Upgrading to a newer, more efficient model can save you money in the long run and eliminate the hassle of dealing with a leaking faucet.
Frequently Asked Questions
How Long Does It Usually Take to Fix a Leaking Bathtub Faucet?
Usually takes about an hour to fix a leaking bathtub faucet. First, identify the problem by following troubleshooting steps. Then, gather necessary tools, turn off water supply, and replace faulty parts.
Can a Leaking Bathtub Faucet Cause Any Other Damage to My Bathroom?
A leaking bathtub faucet can cause potential water damage to your bathroom. If left unrepaired, it can lead to mold growth, rotting of wood, and even structural issues. Fixing it promptly can save you from costly repairs.
Are There Any Specific Safety Precautions I Should Take Before Fixing a Leaking Bathtub Faucet?
Before fixing a leaking bathtub faucet, it’s important to take safety precautions. This includes turning off the water supply, wearing protective gloves, and using the necessary tools like a wrench or pliers.
What Are Some Common Signs That Indicate a Leaking Bathtub Faucet Needs to Be Fixed?
It’s amazing how a leaking bathtub faucet can go unnoticed, but once you start seeing water stains, mold, and a higher water bill, it’s time to fix that pesky leak.
If I Am Unable to Fix the Leaking Bathtub Faucet on My Own, Should I Hire a Professional Plumber?
If I can’t fix the leaking bathtub faucet, hiring a professional plumber has advantages and disadvantages. The advantage is their expertise, but the disadvantage is the cost. It’s important to weigh the options and choose what’s best for your situation.
Conclusion
So there you have it, a step-by-step guide on how to fix a leaking bathtub faucet.
By assessing the extent of the leak, gathering the necessary tools, and shutting off the water supply, you’re already on your way to a solution.
Remember to inspect and replace the O-ring or washer, as well as the cartridge or valve stem if needed.
Reassemble the faucet handle, turn the water supply back on, and test for leaks.
With these troubleshooting tips, you’ll have your bathtub faucet working perfectly in no time.
Happy fixing!
