
I’ve always heard that a dripping faucet can drive you crazy, and boy, were they right! But don’t worry, because I’ve got you covered.
In this article, I’ll walk you through the step-by-step process of fixing that pesky leak in your bathtub faucet. With just a few tools and some basic know-how, you’ll be able to put an end to that annoying drip and save yourself from the headache.
So let’s dive in and get that faucet back in working order!
Key Takeaways
- Identify the source of the leak, whether it is coming from the handle or the spout.
- Gather the necessary tools and materials, such as a wrench and replacement gasket, to fix the leak.
- Disassemble the faucet carefully, inspecting each component for any damage or wear.
- Replace any faulty parts with appropriate replacements or seek professional help if unsure or if the problem is complex.

Skater STB4N-A My Neighbor Totoro Insulated Stainless Steel Tumbler, 13.5 fl oz (400 ml), Studio Ghibli
- Capacity: 13.5 fl oz (400 ml)
- Size: Diameter 3.1 x Height 5.8 inches
- Insulation: Double-wall vacuum insulated
As an affiliate, we earn on qualifying purchases.
Identifying the Source of the Leak
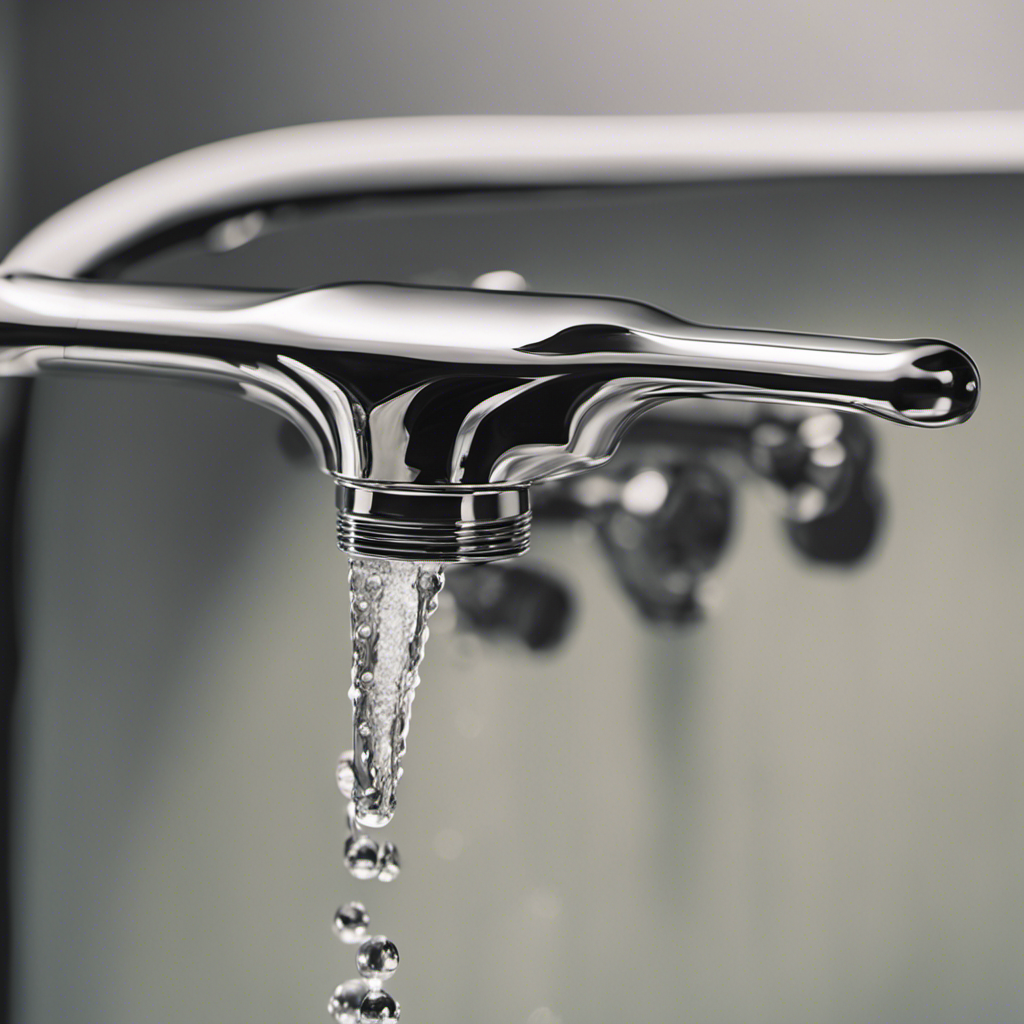
You should start by checking if the leak is coming from the faucet handle or the spout. This will help you identify the source of the problem and determine the appropriate troubleshooting techniques.
If the leak is coming from the handle, it is often caused by a worn-out O-ring or a loose packing nut. To fix this, you can try tightening the packing nut or replacing the O-ring.
On the other hand, if the leak is coming from the spout, it could be due to a worn-out washer or a faulty cartridge. In this case, you may need to replace the washer or the cartridge to stop the leak.
Once you have identified the source of the leak, you can move on to gathering the necessary tools and materials to fix it.
Gathering the Necessary Tools and Materials
To gather the necessary tools and materials, start by checking if you have a wrench and a replacement gasket. These are essential for fixing a leaking faucet in the bathtub.
Once you have these items, you can proceed with the repair process. It is important to choose the right replacement parts to ensure a proper fix. Look for a gasket that matches the size and shape of the existing one. Additionally, consider purchasing a faucet repair kit, which usually includes all the necessary components. This will save you time and ensure that you have everything you need.
When selecting replacement parts, opt for high-quality materials to prevent future leaks. Investing in durable components will help prolong the lifespan of your faucet and reduce the chances of encountering similar issues in the future.
Disassembling the Faucet
Once you’ve gathered all the necessary tools and materials, it’s time to start disassembling the faucet. This step is crucial in identifying and fixing common faucet problems. Here’s how to do it:
-
Turn off the water supply: Before disassembling the faucet, make sure to shut off the water supply to avoid any flooding or accidents.
-
Remove the handle: Most faucets have a screw or a cap that holds the handle in place. Use a screwdriver or a wrench to loosen and remove it.
- Inspect the handle for any cracks or damage.
- Check if the handle is loose or wobbly, which could indicate a problem with the cartridge or stem.
-
Take out the cartridge or stem: Use a specialized tool or pliers to carefully remove the cartridge or stem from the faucet body.
- Examine the cartridge or stem for any signs of wear, corrosion, or blockage.
- Look for any damaged O-rings or rubber gaskets that may need to be replaced.
Replacing Faulty Parts
When replacing faulty parts in your bathtub faucet, start by identifying the specific component that needs to be replaced. This could be a worn-out washer, a damaged O-ring, or a corroded valve.
Once you have identified the problem, you can then proceed to find the appropriate replacement part. In some cases, you may be able to find alternative solutions, such as using a generic part that fits your faucet. However, if you are unsure or if the problem seems more complex, it is always advisable to seek professional help. They have the expertise and tools necessary to fix the issue effectively and efficiently.
By finding the right replacement part and seeking professional help when needed, you can ensure that your bathtub faucet is repaired correctly.
Now let’s move on to the next step of reassembling and testing the repaired faucet.
Reassembling and Testing the Repaired Faucet
After replacing the faulty parts, you can now reassemble and test your faucet to ensure it is working properly.
To successfully reassemble your faucet, follow these techniques:
- Begin by carefully placing the components back in their respective positions, ensuring they are aligned correctly.
- Use the appropriate tools to tighten any screws or nuts securely, but be careful not to overtighten, as this can cause damage.
Testing your reassembled faucet is crucial to confirm the effectiveness of your repair. Here are some common mistakes to avoid during this process:
- Neglecting to turn off the water supply before testing can lead to water leakage and potential damage.
- Failing to check for any remaining leaks after reassembling the faucet can result in ongoing issues.
Conclusion
In conclusion, repairing a leaking faucet in the bathtub is a task that requires patience and precision. By identifying the source of the leak and gathering the necessary tools and materials, one can embark on the journey of disassembling and replacing faulty parts.
With careful reassembly and a thorough test, the once dripping faucet can be transformed into a harmonious symphony of flowing water. So, fear not the leaky faucet, for with a little know-how and determination, you can conquer the drips and restore serenity to your bathtub oasis.