Are you tired of dealing with a leaky bathtub? You’re not alone.
Did you know that on average, a leaky bathtub can waste up to 200 gallons of water per month?
But don’t worry, fixing it yourself is easier than you think. In this article, we will guide you through the step-by-step process of identifying the source of the leak, gathering the necessary tools, and repairing or replacing the faulty components.
Get ready to say goodbye to that annoying drip and hello to a perfectly functioning bathtub.
Key Takeaways
- Identifying the source of the leak is crucial, including checking the drain, inspecting the faucet, and examining visible pipes for cracks or water stains.
- Gathering the necessary tools and materials, such as a wrench, pliers, bucket, plumber’s tape, and waterproofing products, is essential for the repair process.
- Disassembling the bathtub fixtures carefully, turning off the water supply, and keeping track of the proper order of disassembly are important steps.
- Repairing or replacing faulty components, such as tightening loose screws, clearing drain blockages, and replacing worn-out seals or gaskets, is necessary for fixing the leak.
Identifying the Source of the Leak
To identify the source of the leak, you’ll need to check the drain, faucet, and any visible pipes.
Leaky bathtubs are a common household issue that can be caused by various factors. The most common causes include worn-out seals, loose connections, or damaged pipes.
Begin by inspecting the drain for any signs of leakage. Look for water pooling around the drain and check if the drain stopper is properly sealing.
Next, examine the faucet for any drips or leaks when it’s turned off.
Lastly, inspect any visible pipes for cracks or water stains.
If the source of the leak is not apparent or if you’re unsure about fixing it yourself, it’s best to seek professional assistance to avoid further damage and ensure the problem is properly resolved.
Gathering the Necessary Tools and Materials
You’ll need a wrench, pliers, a bucket, and some plumber’s tape to gather the necessary tools and materials for this task. Before you start fixing the leaky bathtub, it’s important to gather everything you need for a successful repair. Here’s what you’ll need:
- Wrench: A wrench will help you tighten any loose connections or remove stubborn nuts and bolts.
- Pliers: Pliers are useful for gripping and twisting pipes or fittings, making it easier to disassemble and reassemble parts.
- Bucket: Having a bucket handy is essential for catching any water that may leak during the repair process.
- Plumber’s tape: This waterproof tape is crucial for properly sealing the bathtub edges, preventing any future leaks.
Using waterproofing products, like plumber’s tape, ensures long-lasting results and prevents water from seeping through the edges of the bathtub. So, gather these tools and materials, and get ready to fix that leaky bathtub once and for all.
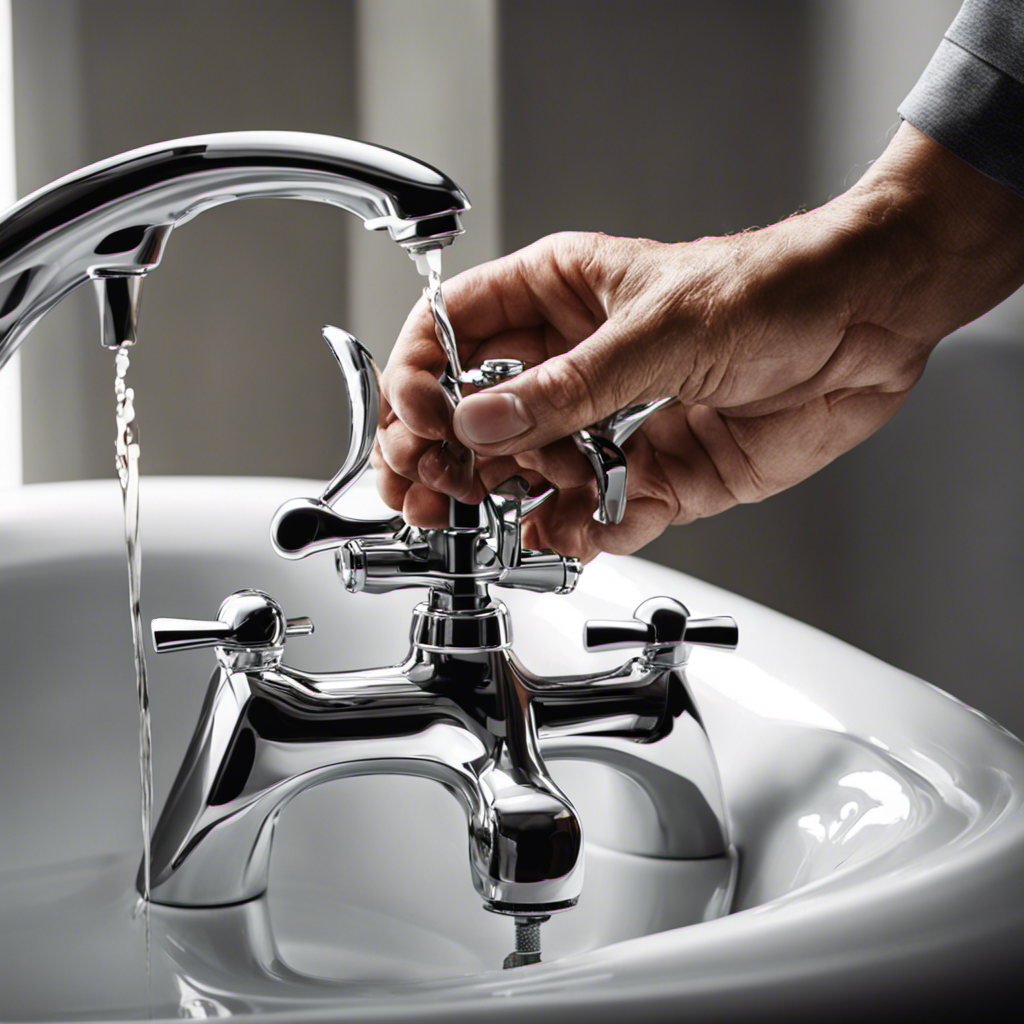
Disassembling the Bathtub Fixtures
Using pliers, carefully remove the fixtures from the bathtub. This step is essential in fixing a leaky bathtub and preventing future leaks.
To avoid common mistakes during disassembly, make sure to turn off the water supply to the bathtub before starting. Failure to do so can lead to water damage and further complications.
Additionally, take note of the proper order of disassembly to ensure an easier reassembly process later on. It is also crucial to handle the fixtures with care to avoid any damage or breakage.
Keep track of the screws, nuts, and other small parts by placing them in a container or bag to prevent loss.
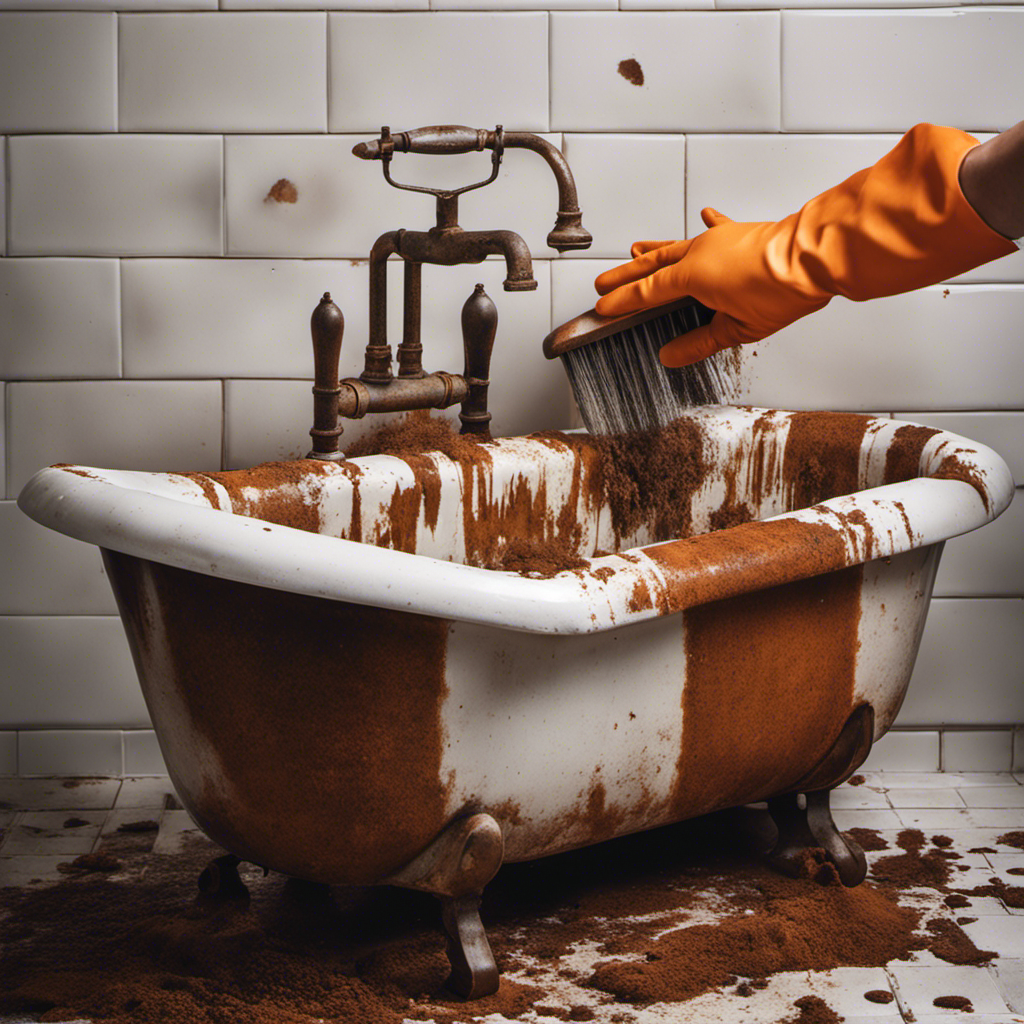
Repairing or Replacing the Faulty Components
First, check the faulty components for any signs of damage or wear and tear.
To repair or replace the faulty components, follow these steps:
-
Inspect the faucet for any cracks or leaks. Tighten any loose screws or fittings.
-
Examine the bathtub drain for any clogs or blockages. Use a plunger or a drain snake to clear the blockage.
-
Check the seals and gaskets around the edges of the bathtub. Replace any worn-out seals or gaskets to prevent leaks.
Repairing techniques for common bathtub leaks include using plumber’s tape, applying waterproof caulking, or replacing damaged parts. By addressing these issues, you can effectively repair your bathtub and prevent further leaks.
Once you have repaired or replaced the faulty components, it’s time to reassemble and test the bathtub for leaks.
Reassembling and Testing the Bathtub for Leaks
After reassembling the bathtub, it’s important to test for any potential leaks. Proper reassembly is crucial to ensuring a leak-free bathtub.
To begin, fill the tub with water until it reaches the overflow drain. This will help simulate normal usage conditions.
Next, inspect the area around the drain, faucet, and handles for any signs of water leakage. Pay close attention to the connections and joints.
If no leaks are detected, let the water sit for a minimum of 15 minutes and observe any changes in water level. A decrease in water level indicates a possible leak.
Additionally, you can run the shower and check for leaks in the showerhead and any other fixtures.
Testing methods like these ensure that your bathtub is properly reassembled and free from any leaks, providing you with peace of mind.
Frequently Asked Questions
How Much Does It Cost to Hire a Professional Plumber to Fix a Leaky Bathtub?
Hiring a professional plumber to fix a leaky bathtub can vary in cost. It’s important to compare prices and consider the DIY option. However, a professional can provide expertise and ensure the job is done correctly.
Are There Any Temporary Fixes I Can Use to Stop the Leak Until I Have Time to Repair It?
You’re in a leaky situation, but fear not! There are temporary solutions and DIY hacks to stop the drip-drip until you can fully repair it. Let’s dive into these practical options.
Can I Use Regular Household Tools Instead of Buying Specialized Tools for the Repair?
You can definitely fix a leaky bathtub without buying specialized tools. There are alternative household tools you can use. DIY is possible even without any tools, but having the right ones makes it easier.
How Long Does It Typically Take to Fix a Leaky Bathtub?
On average, fixing a leaky bathtub can take anywhere from a few hours to a full day, depending on the severity of the leak and the complexity of the repair. Common causes of bathtub leaks include worn-out seals and faulty plumbing connections.
Are There Any Safety Precautions I Should Take When Disassembling the Bathtub Fixtures?
When disassembling bathtub fixtures, it’s important to take safety precautions. Make sure to turn off the water supply, wear protective gloves and goggles, and use the right tools for the job.
Conclusion
Now that you’ve successfully fixed your leaky bathtub, imagine stepping into a warm, soothing bath without the worry of water seeping through the cracks.
With your newfound knowledge and practical skills, you can confidently tackle any plumbing issue that comes your way.
Remember, a leaky bathtub doesn’t have to be a hassle anymore. You have the power to fix it yourself and enjoy a relaxing, leak-free bathing experience.
So go ahead, indulge in the tranquility of a perfectly sealed bathtub.