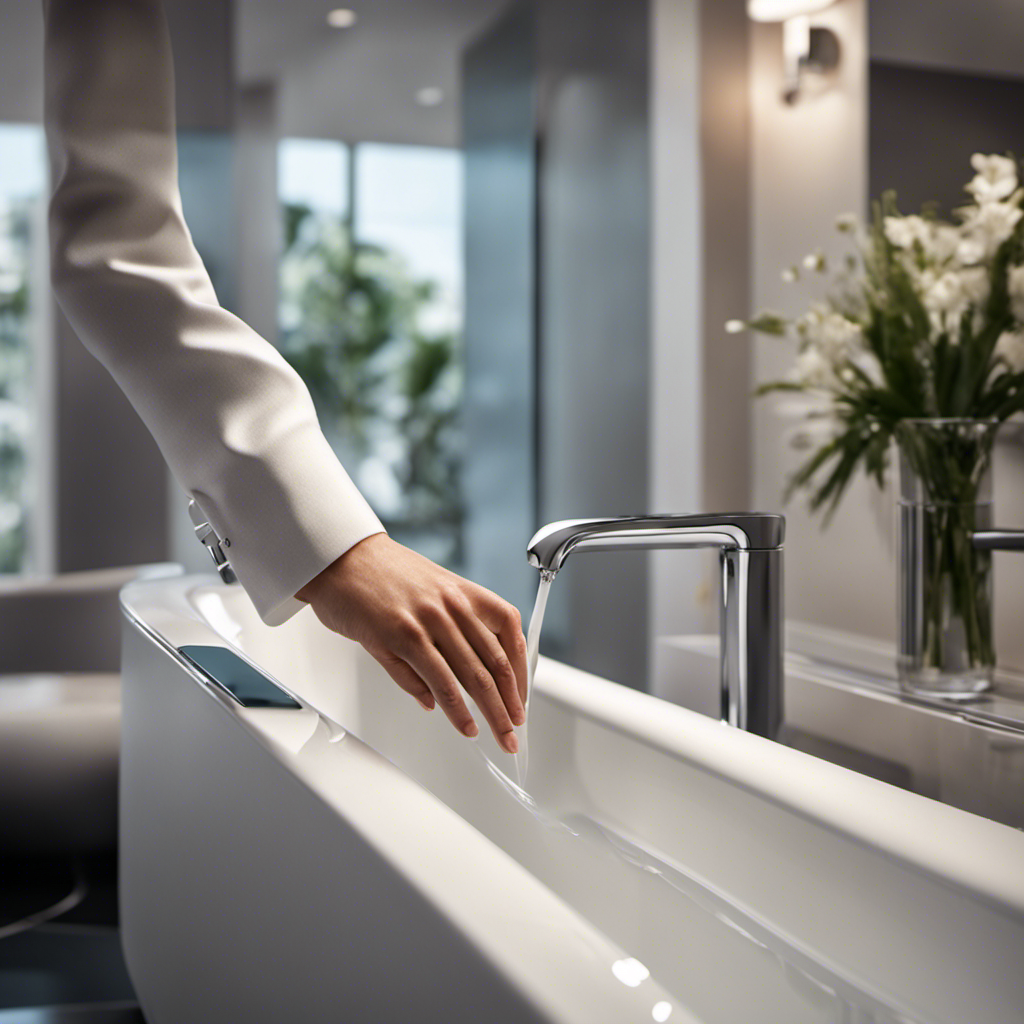
Hey there! Ever had a leaky bathtub drain driving you crazy? Well, I’ve got some great news for you.
In this article, I’m going to show you step-by-step how to fix that annoying leak and put an end to your bathtub troubles. Trust me, it’s easier than you might think.
With just a few tools and a little bit of know-how, you’ll have your bathtub drain working like new in no time.
So, let’s dive in and get that leak under control!
Key Takeaways
- Examine the bathtub drain for visible signs of damage such as water stains, rust, or puddles of water.
- Use a waterproof sealant designed for plumbing repairs and apply it around the edge of the drain cover for a watertight seal.
- Remove the old gasket and clean the area before applying plumber’s putty or silicone caulk around the drain flange.
- Properly maintain the drain with regular cleaning and use a drain strainer to prevent future leaks.

WOODBRIDGE 67" Stone Resin Freestanding Soaking Tub, Modern Oval Solid Surface Bathtub with Integrated Slotted Overflow & Drain, Matte White
✅ Superior Heat Performance: Designed with thick solid walls to retain warmth longer for a relaxing soak. The...
As an affiliate, we earn on qualifying purchases.
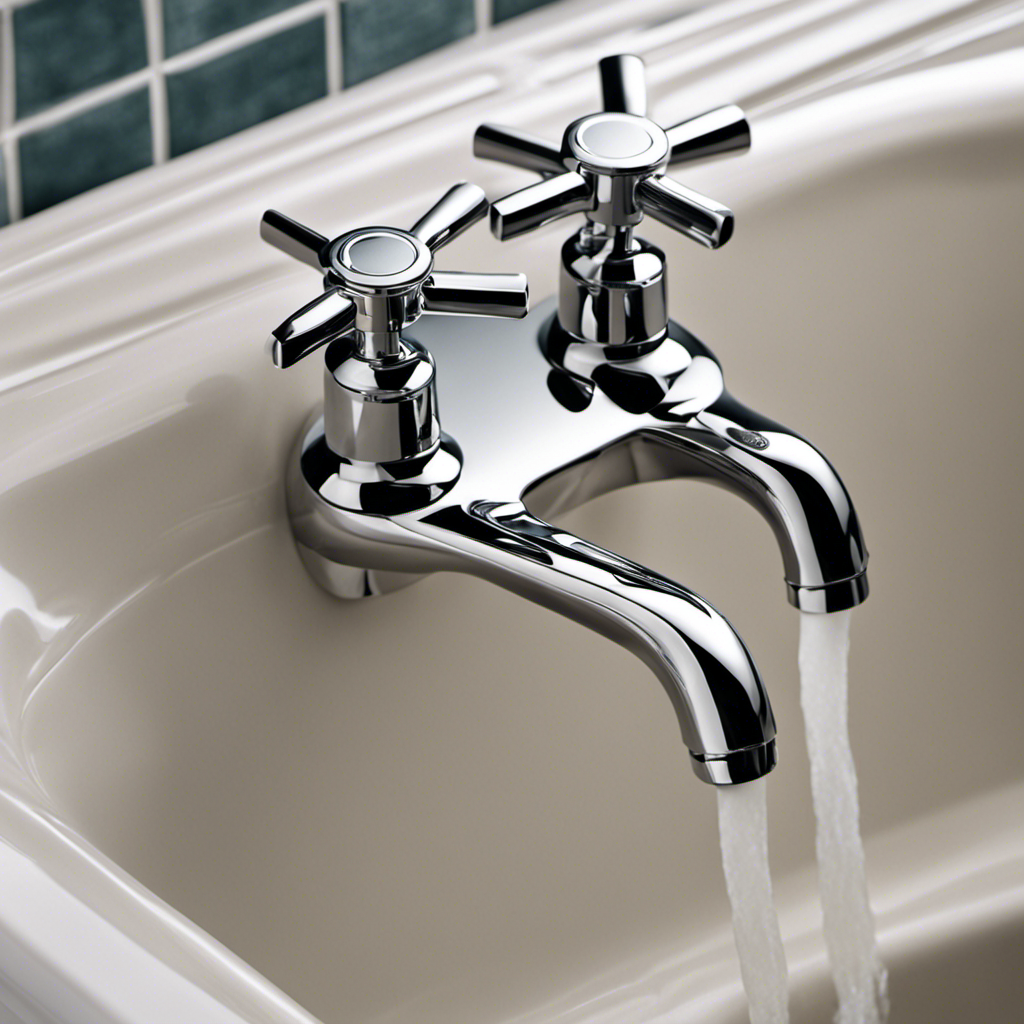
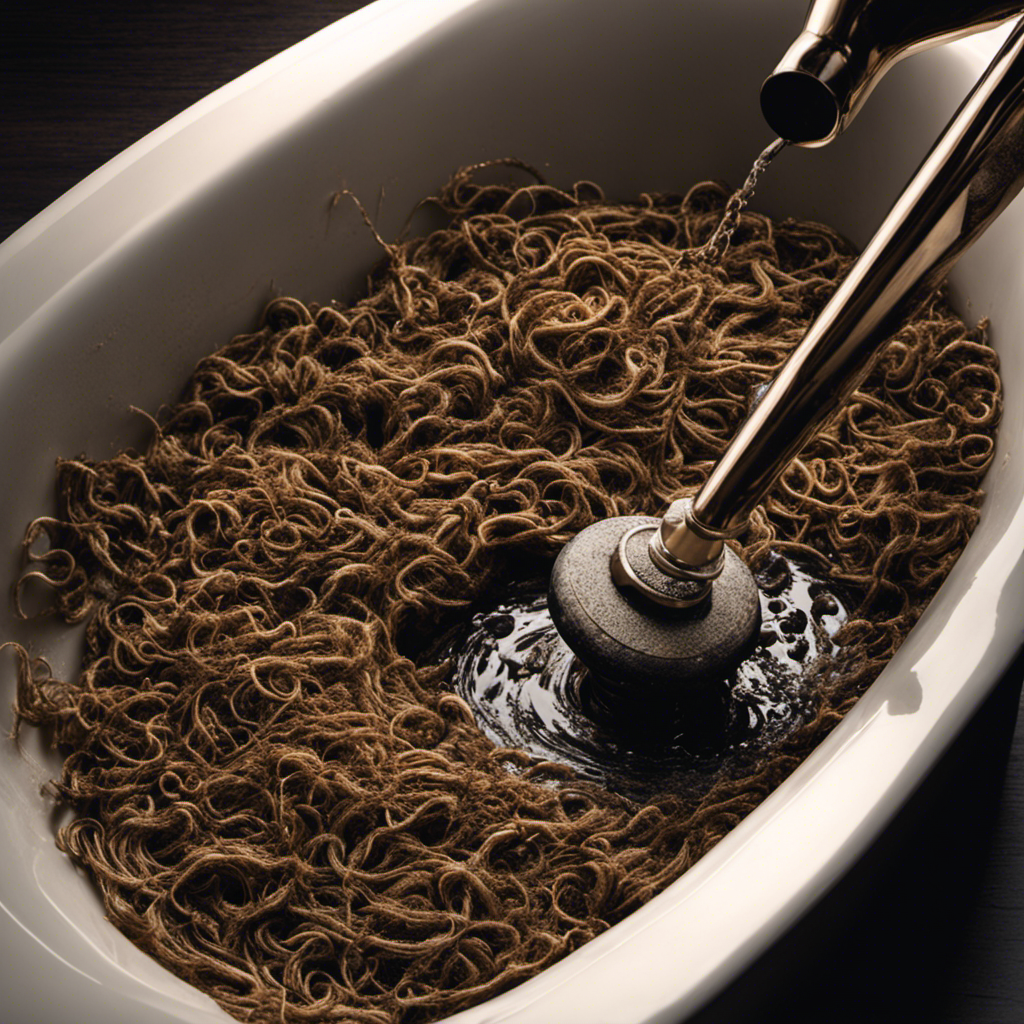
Identifying the Source of the Leak
To find out where the leak is coming from, you should start by examining the bathtub drain. Common causes of bathtub drain leaks include worn-out gaskets, loose connections, or cracked pipes.
Begin by removing the drain cover and inspecting the area for any visible signs of damage. Look for water stains, rust, or puddles of water around the drain. If you notice any of these signs, it’s likely that the leak is originating from the drain itself.
To prevent future bathtub drain leaks, make sure to clean the drain regularly and avoid pouring any harsh chemicals down the drain. Additionally, be cautious when using excessive force when closing or opening the drain stopper, as this can cause damage to the gaskets or pipes. By taking these preventative measures, you can reduce the chances of experiencing a bathtub drain leak in the future.
Now, let’s move on to gathering the necessary tools and materials.

MEDUNJESS 65'' Stone Resin Solid Surface Freestanding Bathtub, Modern Elegant Design Soaking Stand Alone Tub, Light Gray, Drain and Overflow Included
Specification - Exterior Dimension: 64.96"(L) x 33.46"(W) x 25.19"(H) x 14.72"(D) – Effective Tub Capacity: 71 Gallons.Weight about...
As an affiliate, we earn on qualifying purchases.
Gathering the Necessary Tools and Materials
First, you’ll need to gather all the tools and materials necessary for the job.
To fix a leaky bathtub drain, there are a few key items you’ll need. Start by choosing the right sealant for the job. Look for a waterproof sealant specifically designed for plumbing repairs.
Additionally, you’ll need a wrench or pliers to remove the drain cover, a screwdriver to unscrew any screws holding the cover in place, and a bucket to catch any water that may spill out during the process.
It’s important to properly clean the drain area before applying the sealant. Use a brush or cloth to remove any debris or residue that may prevent a proper seal.
With all the necessary tools and materials gathered, you can now move on to removing the bathtub drain cover and addressing the leak.

MEDUNJESS 51" Stone Resin Freestanding Bathtub, Modern Oval Solid Surface Soaking Tub, Solid Surface Stand Alone Bathtub with Drain & Integrated Slotted Overflow Matte White AM303-1300
【Specification】Exterior Dimension: 51"L x 26.77"W x 22"T. Soaking Depth: 15". Effective Capacity: 60 gallon. 0.47 inch extremely thin...
As an affiliate, we earn on qualifying purchases.
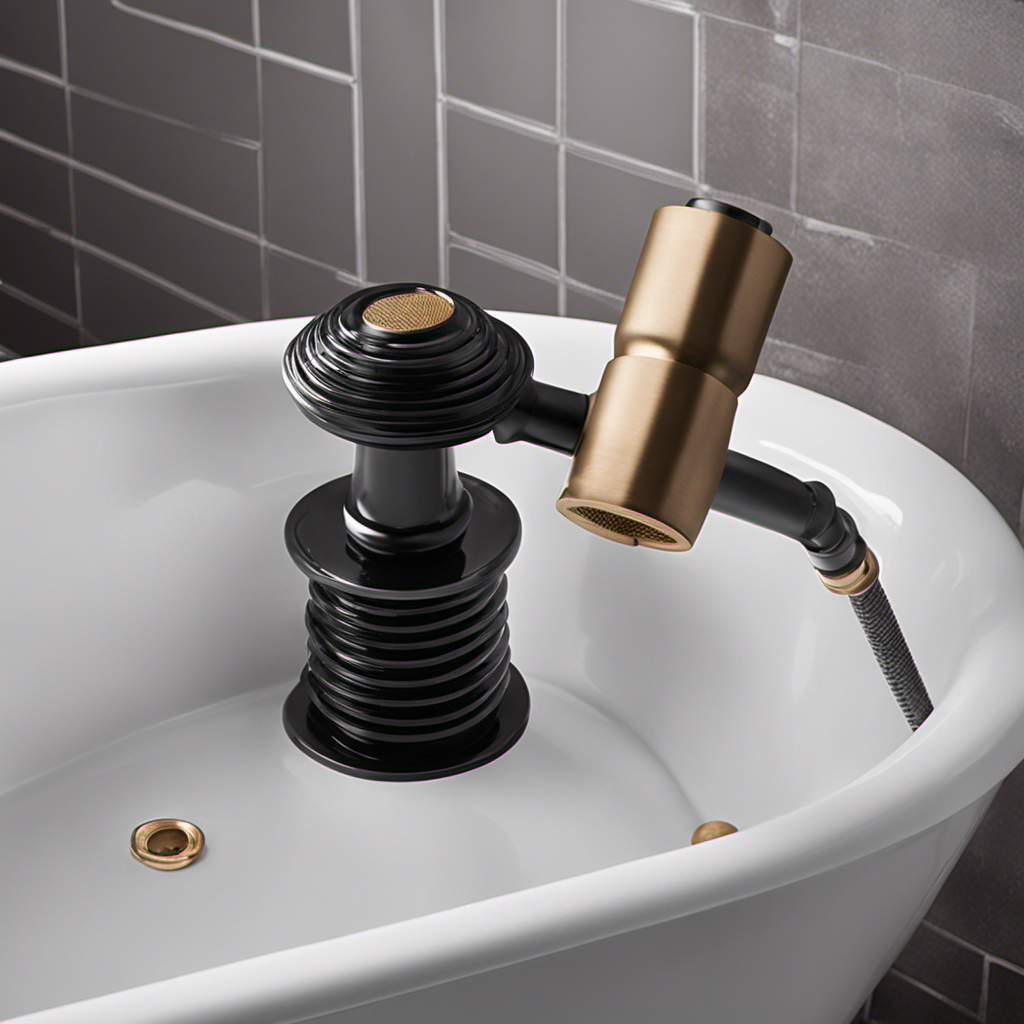
Removing the Bathtub Drain Cover
Once you have all the necessary tools and materials gathered, you can easily remove the cover from your bathtub drain. Here’s how:
- Locate the screws on the cover and use a screwdriver to unscrew them.
- Gently lift the cover using a pair of pliers or a flathead screwdriver if it’s stuck.
- If the cover is sealed with silicone, use a utility knife to cut through the seal and remove it.
- Clean the cover and the drain opening to remove any debris or buildup.
- Apply a thin layer of plumber’s putty or silicone caulk around the edge of the cover before reattaching it to create a watertight seal.
Proper maintenance techniques, such as regular cleaning and using a drain strainer, can help prevent future leaks.
Now that the cover is removed, let’s move on to repairing or replacing the faulty components.

WOODBRIDGE 67 in. x 31.5 in. Stone Resin Luxury Contemporary Solid Surface Freestanding Bathtub in Matte White
[DIMENSIONS]: Exterior: 66-7/8" L x 31-1/2" W x 26-2/5" H, Water Depth to Overflow: 14-1/6" Deep. – Effective...
As an affiliate, we earn on qualifying purchases.
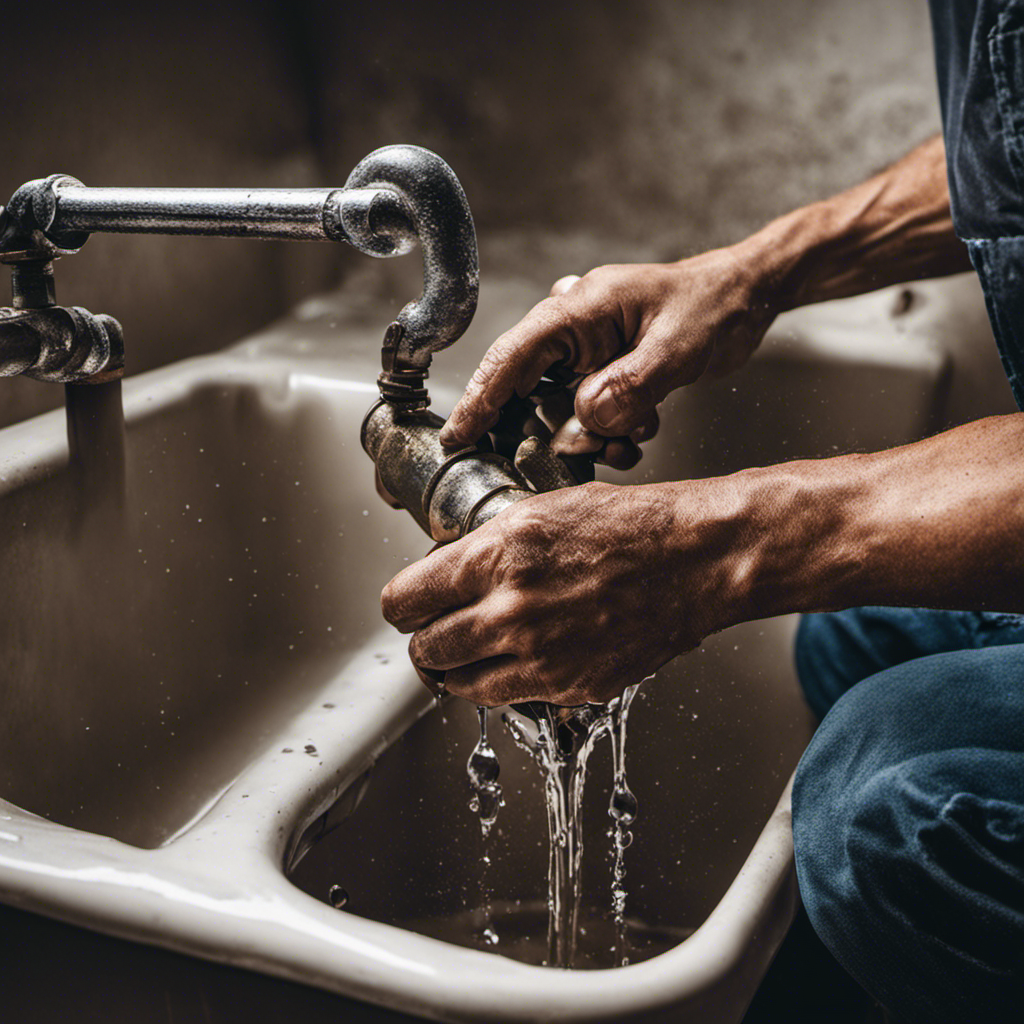
Repairing or Replacing the Faulty Components
Now that you’ve removed the cover, it’s time to identify and fix any faulty components causing the issue.
The most common cause of a leaky bathtub drain is a worn-out or damaged gasket. To repair this, start by removing the old gasket using a screwdriver or pliers. Then, clean the area thoroughly to ensure a proper seal.
Next, apply a layer of plumber’s putty or silicone caulk around the drain flange. This will create a watertight seal when you tighten the drain back in place.
Another common mistake is not properly tightening the drain. Use a wrench to tighten it securely, but be cautious not to overtighten and damage the drain or surrounding plumbing.
Reinstalling the Bathtub Drain Cover
To reinstall the cover, simply place it over the drain and use a screwdriver to secure it in place. It’s important to ensure that the cover is properly sealed to prevent any future leaks. Here’s how you can do it:
-
Clean the drain area thoroughly to remove any dirt or debris.
-
Apply a thin layer of plumber’s putty around the edge of the drain.
-
Carefully position the cover over the drain, making sure it aligns properly.
-
Press down firmly on the cover to create a tight seal with the putty.
-
Use a screwdriver to tighten the screws on the cover, ensuring that it is securely fastened.
Conclusion
In conclusion, fixing a leaky bathtub drain is a relatively simple task that can save you from costly water damage. By identifying the source of the leak, gathering the necessary tools and materials, and repairing or replacing the faulty components, you can easily resolve the issue.
Did you know that according to a study by the Environmental Protection Agency, a leaky faucet can waste up to 3,000 gallons of water per year? Taking the time to fix your bathtub drain can help conserve water and save you money in the long run.