As I stand in my bathroom, water steadily dripping from my leaky bathtub faucet, I realize it’s time to tackle this annoying problem once and for all.
In this step-by-step guide, I will show you how to fix a leaky bathtub faucet with three handles.
With a few simple tools and a little bit of patience, you’ll be able to disassemble, replace, and reassemble the faulty components, ultimately putting an end to that incessant drip.
Let’s get started!
Key Takeaways
- Identify the source of the leak (handle or spout) and turn off the water supply.
- Inspect and replace the O-ring if damaged, or replace the entire valve stem assembly if necessary.
- Use the appropriate tools such as a wrench, pliers, and screwdriver to disassemble and reassemble the faucet handle.
- Prevent future leaks by regularly checking for signs of leakage, replacing worn-out components, and ensuring tight connections.

DANCO Bathtub and Shower 3-Handle Remodel/Rebuild Trim Kit for Gerber Faucets | Knob Handle | 11B-1H, 11B-1C, 11B-4D | Chrome (39617)
EASY UPGRADE – The classic chrome finish will update and complement your existing bathroom decor without any expensive…
As an affiliate, we earn on qualifying purchases.
As an affiliate, we earn on qualifying purchases.
Identifying the Problem
First, you’ll want to check if the leak is coming from the faucet handle or the spout. This will help you identify the problem and determine the appropriate troubleshooting steps.
If the leak is coming from the faucet handle, the common causes could be a worn-out O-ring or a faulty valve stem. To troubleshoot this issue, start by turning off the water supply to the faucet. Then, remove the handle by loosening the screw or nut holding it in place.
Inspect the O-ring for any signs of damage or wear, and replace it if necessary. If the O-ring is fine, the problem may lie with the valve stem. In this case, you’ll need to replace the entire valve stem assembly.
Once the necessary repairs or replacements have been made, reassemble the faucet handle and turn on the water supply to check if the leak has been resolved.
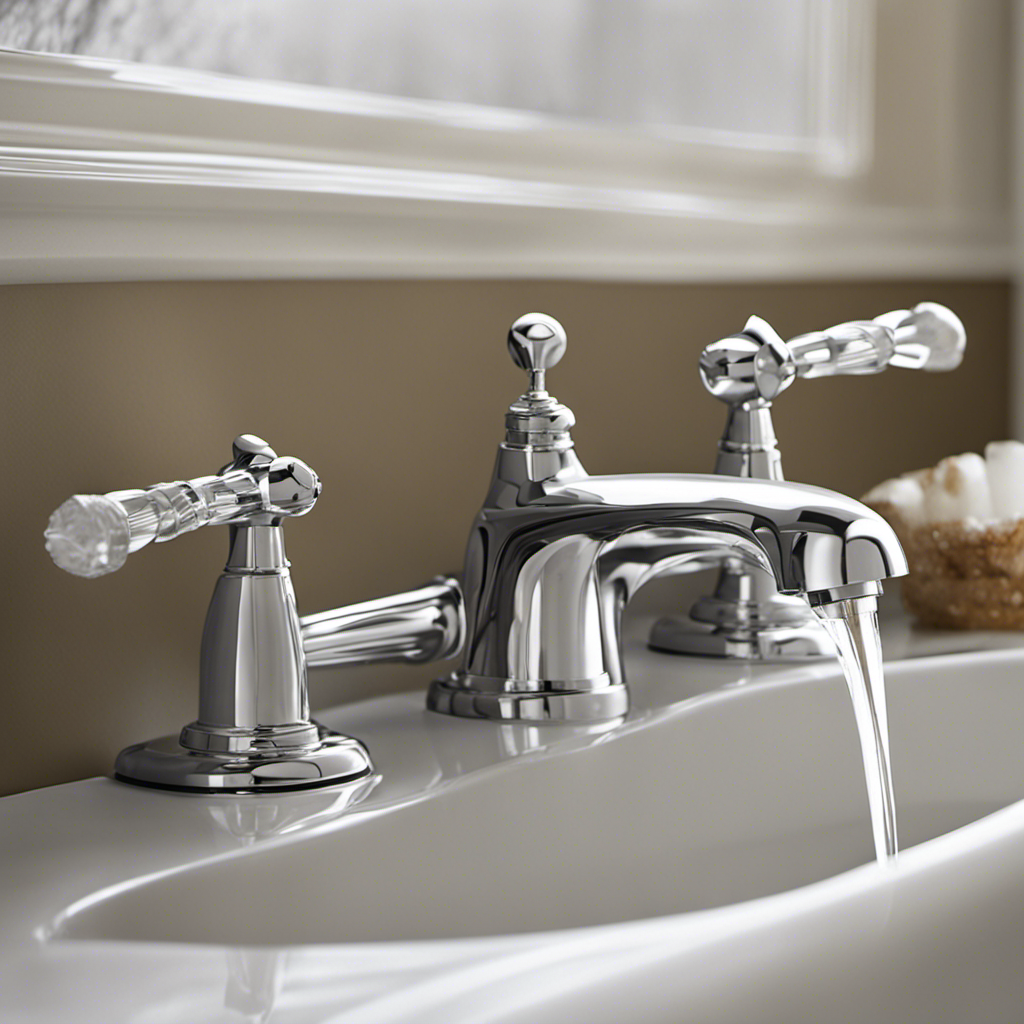
3 handle bathtub faucet replacement parts
As an affiliate, we earn on qualifying purchases.
As an affiliate, we earn on qualifying purchases.
Gathering the Necessary Tools
To gather the necessary tools, you’ll need a wrench, pliers, and a screwdriver. These tools will be essential in fixing the leaky bathtub faucet. Here are the steps to gather the tools:
- Grab a wrench to loosen and tighten the faucet components.
- Use pliers to grip and turn small parts.
- Have a screwdriver on hand to remove screws and access hidden components.
Common causes of bathtub faucet leaks include worn-out washers, damaged cartridges, and loose connections. To prevent future leaks, follow these tips:
- Regularly check for any signs of water leakage.
- Replace worn-out washers and cartridges promptly.
- Ensure all connections are tight and secure.
- Consider installing a water-saving faucet to reduce wear and tear.

360 Pcs O Ring Assortment Kit,Rubber Washer Orings, Black 24 Sizes Pressure Washer O Ring Kit for Faucet, Hose, Automotive, Air Gas Plumbing Sealing Repair O Rings
Premium Material: These assorted o rings are made of outstanding rubber material with good air tightness and high…
As an affiliate, we earn on qualifying purchases.
As an affiliate, we earn on qualifying purchases.
Disassembling the Faucet Handle
Now, you’ll need to carefully remove the screws holding the faucet handle in place. Using a screwdriver, unscrew the screws counterclockwise until they are loose enough to be pulled out. Once the screws are removed, the handle should easily come off. Set the handle aside.
Locate the valve stem underneath. This is the part responsible for controlling the water flow. To repair the valve stem, first, examine it for any signs of damage or wear. If it appears worn or damaged, it may need to be replaced.
Next, lubricate the O rings located on the valve stem with a silicone-based lubricant. This will help create a watertight seal and prevent leaks.
Once the valve stem is repaired and the O rings are lubricated, you can move on to the next step of fixing the leaky bathtub faucet.
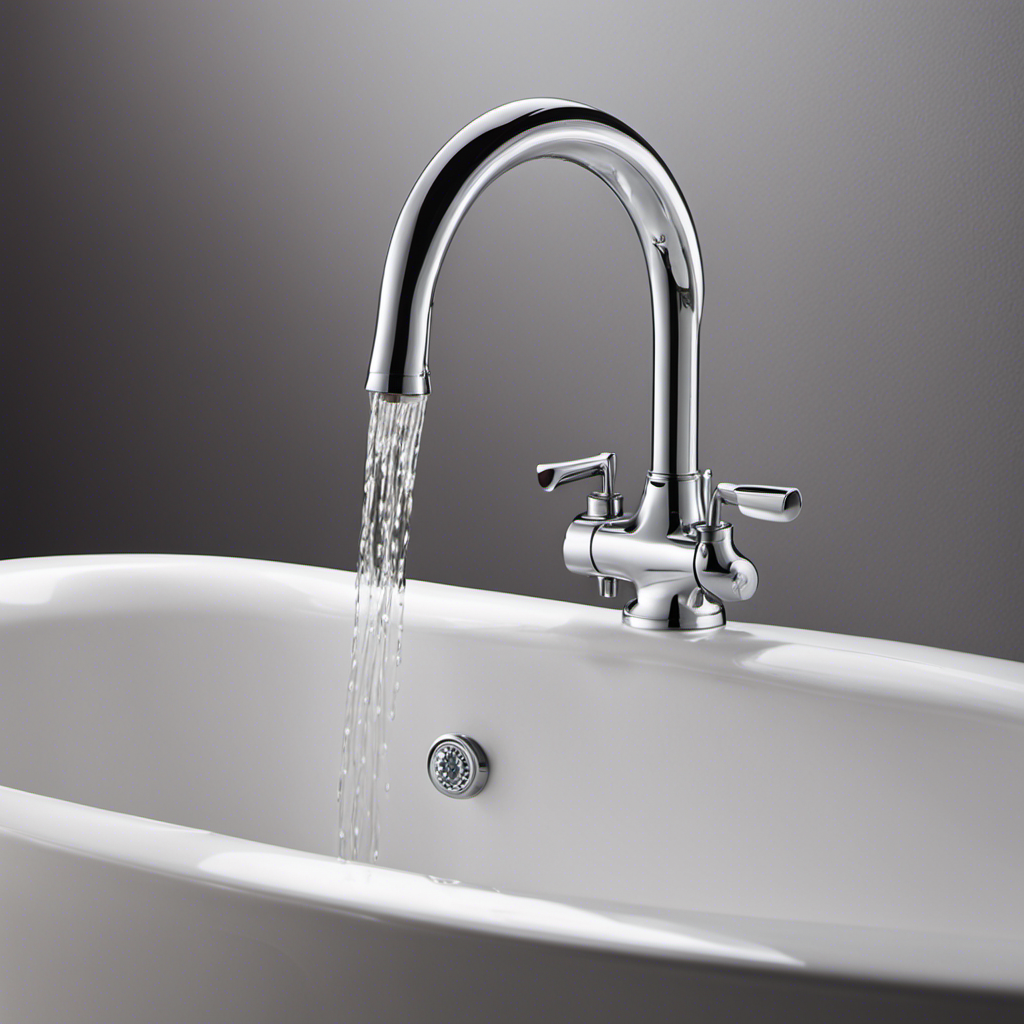
faucet valve stem assembly
As an affiliate, we earn on qualifying purchases.
As an affiliate, we earn on qualifying purchases.
Replacing the Faulty Components
Once you have identified the faulty components, you can start replacing them with new ones. Repairing the faucet mechanism is a step-by-step process that requires troubleshooting common issues. Here’s what you need to do:
- Remove the old cartridge by unscrewing the retaining nut.
- Install the new cartridge by aligning it properly and tightening the retaining nut.
- Replace the O-rings by removing the old ones and sliding the new ones into place.
- Install the new handle by attaching it to the cartridge stem and tightening the set screw.
By following these steps, you can effectively replace the faulty components and fix your leaky bathtub faucet.
Once you have completed this process, you can move on to reassembling and testing the faucet to ensure it is working properly.
Reassembling and Testing the Faucet
After completing the replacement of the faulty components, it’s time to put the faucet back together and make sure it’s functioning correctly. To reassemble the faucet, follow these steps:
- Install the new cartridge by inserting it into the valve body and securing it with the retaining nut.
- Reattach the handle by sliding it onto the cartridge stem and tightening the set screw.
- Replace the escutcheon plate by screwing it back onto the valve body.
- Connect the spout by sliding it onto the valve body and tightening the set screw.
- Finally, turn on the water supply and test the faucet for any leaks.
To troubleshoot common leaks, check for loose connections, worn-out washers, or damaged O-rings. Proper maintenance is essential for long-lasting faucets. Regularly clean the aerator, check for any leaks, and lubricate moving parts as needed. By following these steps and practicing proper maintenance, your faucet will work efficiently and last for years to come.
| Step | Procedure |
|---|---|
| 1 | Install the new cartridge |
| 2 | Reattach the handle |
| 3 | Replace the escutcheon plate |
| 4 | Connect the spout |
| 5 | Test for leaks |
Frequently Asked Questions
How Much Will It Cost to Fix a Leaky Bathtub Faucet With 3 Handles?
To fix a leaky bathtub faucet with 3 handles, you might wonder about the cost estimate. It depends on whether you choose to DIY or hire a professional. Let’s explore both options in detail.
Can I Use a Different Brand of Replacement Parts for My Bathtub Faucet?
Yes, you can use a different brand of replacement parts for your bathtub faucet. However, there may be compatibility issues and it could affect the quality and performance. It’s important to consider the pros and cons before making a decision.
How Long Does It Typically Take to Fix a Leaky Bathtub Faucet With 3 Handles?
Fixing a leaky bathtub faucet with 3 handles can vary in time depending on the cause. Properly diagnosing the issue, like worn-out gaskets or valve seats, is crucial. Avoid common mistakes, such as overtightening, to ensure a successful repair.
Is It Necessary to Turn off the Water Supply Before Disassembling the Faucet Handle?
Yes, it is important to turn off the water supply before disassembling the faucet handle. This prevents any water from leaking out and allows for a safer and more effective repair process.
What Should I Do if I Encounter Rusted or Stuck Components While Disassembling the Faucet Handle?
If I encounter rusted or stuck components while disassembling the faucet handle, I should try using penetrating oil or a rust dissolver to loosen them. If that doesn’t work, I may need to replace the affected parts.
Conclusion
So there you have it, folks! By following these simple steps, you can fix that leaky bathtub faucet like a pro.
With just a few tools and a little bit of elbow grease, you’ll be amazed at the difference you can make. Say goodbye to the annoying drip-drip-drip and hello to a fully functional faucet that will make your bathing experience a dream come true.
Don’t let that leaky faucet dampen your day any longer, take action now and be the hero of your bathroom!