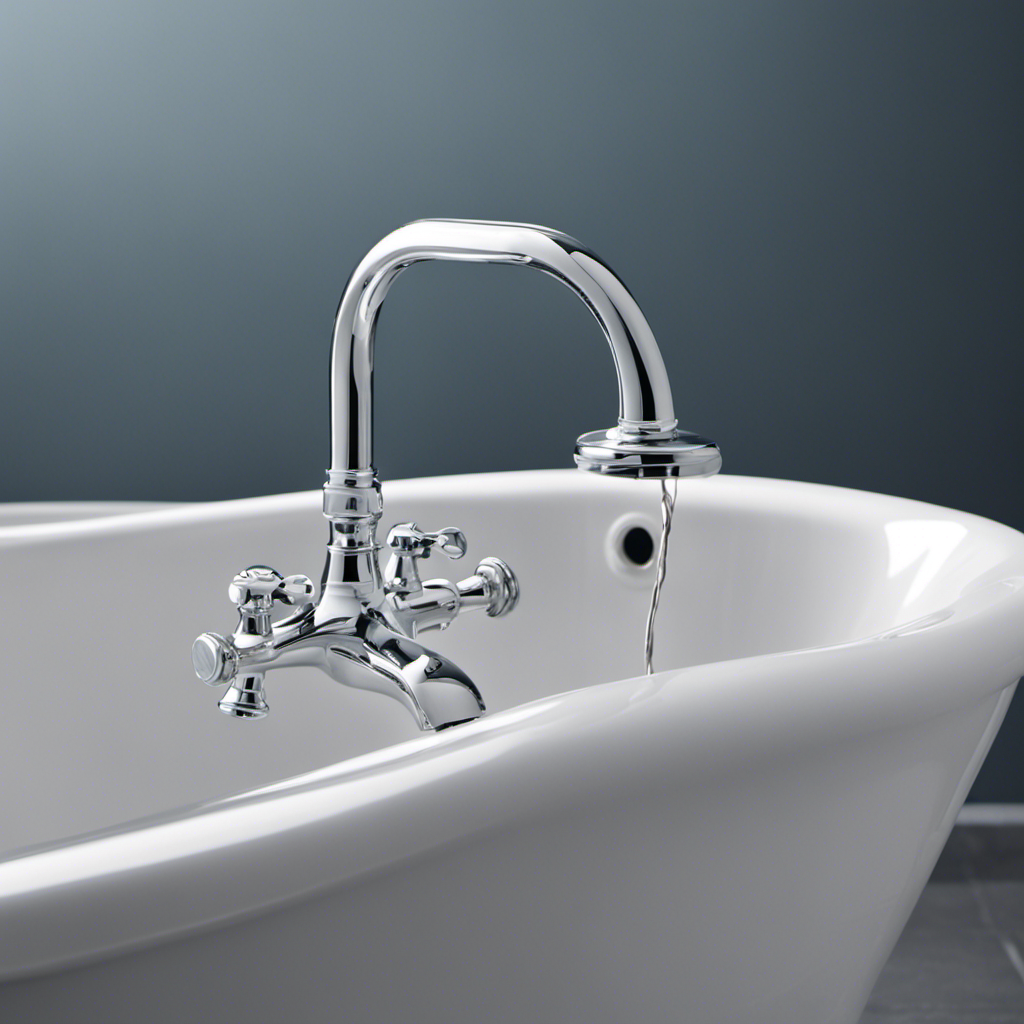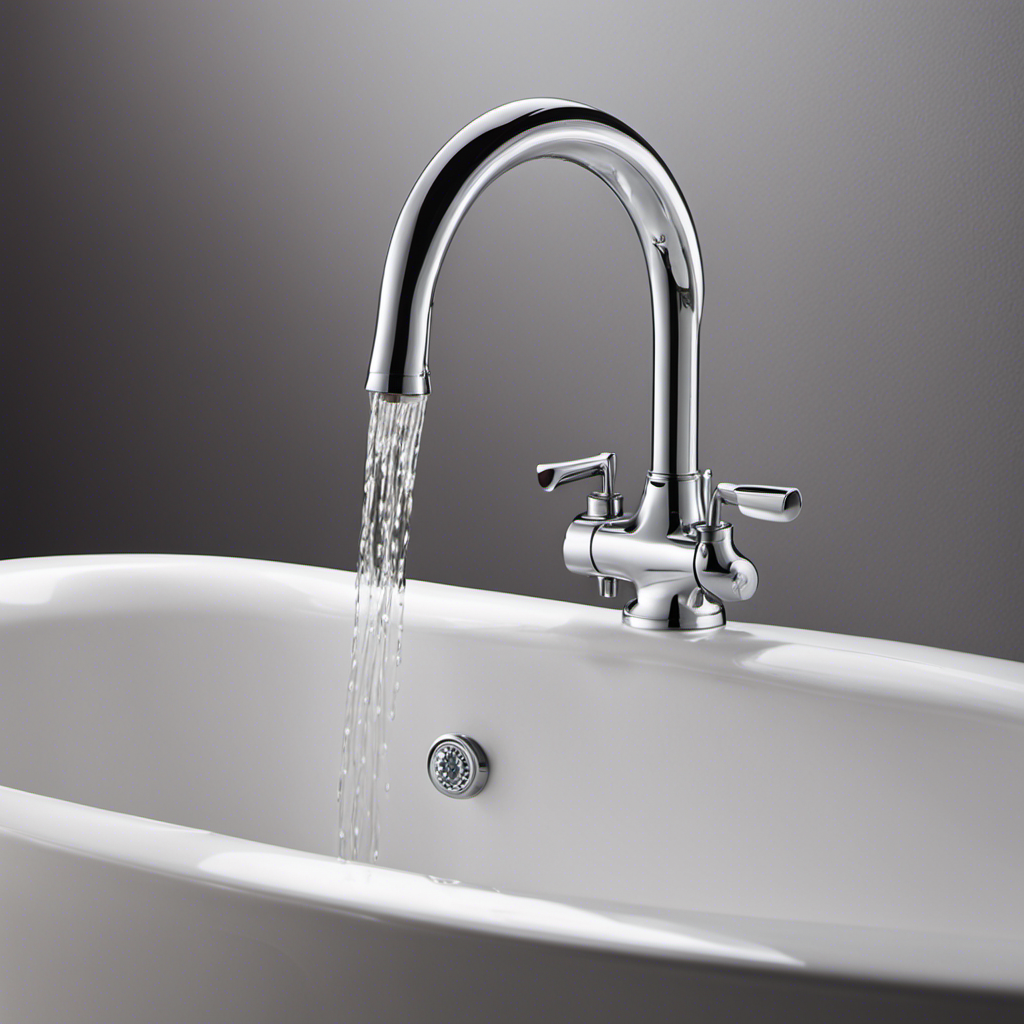
Hey there! Did you know that a leaky bathtub faucet can waste up to 3,000 gallons of water per year? That’s enough to fill almost 45 bathtubs!
If you’re tired of the constant drip and the rising water bill, I’ve got you covered. In this article, I’ll walk you through the step-by-step process of fixing a leaky bathtub faucet, specifically the single handle Delta model.
With a few tools and a little know-how, you’ll have that annoying leak taken care of in no time. Let’s get started!
Key Takeaways
- Turn off the water supply to the bathtub before starting any repairs
- Gather the necessary tools and materials such as adjustable wrench, screwdriver, Allen wrench, pliers, replacement cartridge, plumber’s tape, clean cloth, and bucket
- Shut off the water supply by locating the water supply valve and turning it clockwise to prevent potential flooding or water damage
- Remove the handle and cartridge by unscrewing the handle using an Allen wrench, lifting the handle off the faucet, and replacing the cartridge after turning off the water supply

Shower Faucet Set, 12" Ceiling Mount Rainfall Shower System with 2 Rain Shower Head and Multi-function Handheld Head Push Button Diverter Shower Faucet Trim Kit (12", Matte Black)
COMPREHENSIVE SHOWER SYSTEM- This shower faucet set comes with two shower heads that can be used together or...
As an affiliate, we earn on qualifying purchases.
Identifying the Source of the Leak
You’ll want to start by turning off the water supply to the bathtub to prevent any further leakage.
Identifying the source of the leak is crucial in fixing a leaky bathtub faucet. One common cause of bathtub faucet leaks is a worn-out or damaged cartridge. Over time, the cartridge can become worn or cracked, causing water to leak.
Another possible cause is a faulty O-ring or gasket. These small rubber components can deteriorate over time, leading to leaks.
Additionally, a loose or damaged valve seat can cause a leaky faucet.
It’s important to be aware of the common signs of a leaky bathtub faucet, such as dripping or running water, water stains on the bathtub or surrounding area, and a noticeable increase in water usage.

VANFOXLE Shower Faucet Set Matte Black Shower System,Push Button Diverter Shower Faucet with 2 in 1 Handheld,Ceiling Mount 10 Inch Shower Head with 6 Inch Wall Mount Shower Head
Push Button Diverter: Vanfoxle has developed an improved version of water control —— Replacing the traditional square-shaped controller...
As an affiliate, we earn on qualifying purchases.
Gathering the Necessary Tools and Materials
To gather all the necessary tools and materials, start by making a list of everything you’ll need. This will ensure that you have everything on hand and prevent any unnecessary trips to the hardware store. Here is a table outlining the tools and materials you’ll need:
| Tools | Materials |
|---|---|
| Adjustable wrench | Replacement cartridge |
| Screwdriver | Plumber’s tape |
| Allen wrench | Clean cloth |
| Pliers | Bucket |
Once you have gathered these tools and materials, you will be well-equipped to tackle the task of fixing your leaky bathtub faucet. However, if you are unable to find some of these specific tools, don’t worry! There are often alternative solutions available. For example, if you don’t have an adjustable wrench, you can use a pair of pliers instead. By being resourceful and finding alternative solutions, you can successfully fix your faucet and prevent future leaks.

gotonovo Rainfall Bathroom Shower System Rain Shower Head and Handle Set Wall Mounted Shower Complete Combo Solid Brass Pressure Balancing Shower Mixer Valve 10 Inch Matte Black
1. 10-Inch Rainfall Shower Head – Luxurious Shower Experience: Oversized 10-inch square rainfall shower head delivers wide, even...
As an affiliate, we earn on qualifying purchases.
Shutting off the Water Supply
When it comes to fixing a leaky bathtub faucet, it’s important to know how to properly shut off the water supply.
The first step is to locate the water supply valve, which is typically found near the bathtub or in the basement. Once you’ve located the valve, simply turn it clockwise to shut off the water flow.
It’s crucial to shut off the water before attempting any repairs to avoid any potential flooding or water damage.
Water Supply Valve Location
First, locate the water supply valve for your single handle Delta bathtub faucet. This valve is crucial for shutting off the water supply before you start fixing the leak. You can usually find the water supply valve behind the bathtub or in the basement near the water heater.
If you’re having trouble finding it, don’t hesitate to seek the help of a professional plumber. They have the expertise and tools to quickly locate the valve for you. In the meantime, it’s a good idea to have alternative water sources available, such as bottled water or water from another part of your home, in case you need to shut off the main water supply.
Now that you know where to find the water supply valve, let’s move on to the shut-off procedure steps.
Shut-Off Procedure Steps
Now that you’ve located the water supply valve, it’s time to proceed with the shut-off procedure steps.
Shutting off the water supply is an essential part of any plumbing maintenance task, as it prevents water from flowing while you work on the faucet.
To begin, turn the valve clockwise until it is fully closed. This will stop the water flow and ensure no leaks occur during the repair process.
By shutting off the water supply, you also reduce the water pressure in the pipes, making it safer to work on the faucet without any unexpected bursts or sprays.
Importance of Shutting off
To ensure the safety of your plumbing system and prevent any unexpected bursts or sprays, it’s important to shut off the water supply before beginning any maintenance tasks. Regular maintenance is crucial to keep your bathtub faucet in good working condition. Here are a few reasons why shutting off the water supply properly is essential:
-
Avoid water damage: Failing to shut off the water supply can lead to leaks and water damage, which can be costly to repair.
-
Prevent accidents: Accidentally turning on the faucet while working on it can result in water spraying everywhere, causing slips and falls.
-
Protect your home: Proper shut-off prevents water from flowing into the pipes, reducing the risk of flooding and potential structural damage.
Now that we understand the importance of shutting off the water supply, let’s move on to the next step: removing the handle and cartridge.

Gabrylly Shower System, Wall Mounted Shower Faucets Sets Complete for Bathroom with High Pressure 10" Rain Shower head and 3-Setting Handheld Shower Head Set, 2 Way Shower Valve Kit, Brushed Nickel
【Pressure Balance Shower Valve】Constructed of solid brass materials, The Shower Fixtures with a rough-in valve will be no...
As an affiliate, we earn on qualifying purchases.
Removing the Handle and Cartridge
You’ll need to unscrew the handle to access the cartridge. To remove the handle, locate the set screw on the side or underneath the handle and use an Allen wrench to loosen it. Once the set screw is removed, you can simply lift the handle off the faucet. Next, you’ll need to replace the cartridge. Here is a helpful table to guide you through the process:
| Step | Action |
|---|---|
| 1 | Turn off the water supply to the faucet |
| 2 | Remove the handle |
| 3 | Unscrew the bonnet nut |
| 4 | Take out the old cartridge |
| 5 | Insert the new cartridge and secure it with the bonnet nut |
Remember to consult your faucet’s manual for specific instructions. By following these steps, you’ll be able to easily remove the handle and replace the cartridge, resolving the leaky bathtub faucet issue.
Inspecting and Replacing Faulty Parts
When it comes to fixing a leaky faucet, there are a few key points to keep in mind.
First, it’s important to identify the source of the leak to ensure you choose the right replacement part.
Once you know what needs to be replaced, the next step is to carefully select the correct replacement to ensure a proper fit.
Identifying the Leak Source
First, check if the leak is coming from the handles or the spout. This will help you identify the source of the problem and determine the necessary repair techniques. Common causes of leaks in a bathtub faucet include worn-out seals, faulty cartridges, and loose connections.
Here are some steps to help you troubleshoot the issue:
-
Inspect the handles: Check for any visible signs of water dripping or pooling around the handles. If you notice a leak, it could be due to a worn-out seal that needs to be replaced.
-
Examine the spout: Look for any water leakage around the spout area. A faulty cartridge may be causing the leak, and replacing it should resolve the issue.
-
Check the connections: Inspect the connections between the faucet and the water supply lines. If the connections are loose, tighten them to stop the leak.
Choosing the Right Replacement
To choose the right replacement for your leaky bathtub faucet, consider the brand, type, and size of the replacement part needed.
There are various replacement options available in the market, so it’s important to make an informed decision.
Start by determining the brand of your current faucet, as different brands may have specific replacement parts.
Then, identify the type of faucet you have, whether it’s a cartridge, ball, or ceramic disk type. This will help you narrow down your search for the appropriate replacement.
Lastly, measure the size of the replacement part needed, such as the cartridge or valve stem.
Once you have gathered this information, you can proceed with the installation process confidently, knowing that you have chosen the right replacement for your leaky bathtub faucet.
Step-By-Step Replacement Process
Now that you have all the necessary information, you can begin the step-by-step replacement process for your leaky bathtub faucet.
Here are a few important things to keep in mind:
- Take your time: Rushing through the process can lead to mistakes and potentially make the problem worse.
- Use the right tools: Make sure you have the proper tools for the job, such as a wrench and pliers, to ensure a smooth replacement process.
- Follow the instructions: Each faucet may have slightly different instructions, so it’s important to carefully read and follow the manufacturer’s guidelines.
By avoiding common mistakes during faucet replacement and following these tips, you can ensure a successful and leak-free bathtub faucet.
Now, let’s move on to the next step: reassembling and testing the faucet.
Reassembling and Testing the Faucet
After tightening all the screws, you can now reassemble the faucet and test it for leaks. Reassembling the faucet is a crucial step to ensure its proper functioning. Here are some reassembling techniques and troubleshooting tips to help you complete the process smoothly:
| Reassembling Techniques | Troubleshooting Tips |
|---|---|
| 1. Refer to the manufacturer’s instructions to ensure correct placement of each component. | 1. If there are any leaks, check if the O-rings or washers are properly seated. |
| 2. Apply plumber’s grease or silicone lubricant to the rubber parts to ensure a tight seal. | 2. Check if the cartridge or valve is installed correctly and securely. |
| 3. Use a wrench or pliers to tighten the nuts and bolts securely, but be careful not to overtighten and damage the parts. | 3. Double-check all connections and make sure they are tight and secure. |
Once you have reassembled the faucet, turn on the water supply and test for any leaks. If there are still leaks, repeat the troubleshooting steps or consider seeking professional help. Remember, patience and attention to detail are key when reassembling and testing a faucet.
Conclusion
So there you have it, folks. Fixing a leaky bathtub faucet is just a simple task that anyone can do, right?
Wrong. It’s definitely not as easy as it seems. But don’t worry, with a little patience, some basic tools, and a whole lot of frustration, you might just be able to stop that annoying drip.
Just remember, it’s all about trial and error, and who doesn’t love a good challenge? So go ahead, take a stab at it, and let the fun begin!
Good luck!