Leaky bathtub spouts can be quite the hassle. As a seasoned DIY enthusiast, I’ve encountered my fair share of plumbing predicaments. Today, I’ll guide you through the process of fixing that pesky leak, step by step.
From identifying the cause to reassembling and testing the spout, you’ll gain the confidence and know-how to tackle this repair with ease.
So, let’s dive in and bid farewell to that annoying drip.
Key Takeaways
- Identifying the cause of the leak is crucial for making necessary repairs.
- Gathering the necessary tools and materials ensures a smooth repair process.
- Proper preparation steps help avoid potential pitfalls and ensure a successful repair.
- Following instructions is important to avoid further damage, save time and money, and achieve lasting results.
Top picks for "leaky bathtub spout"
Open Amazon search results for this keyword.
As an affiliate, we earn on qualifying purchases.
Identifying the Cause of the Leak
Before you can fix the leaky bathtub spout, it’s important to identify the cause of the leak. As a seasoned plumber, I have developed troubleshooting techniques to quickly determine the common causes behind these leaks.
One common cause is a faulty washer or O-ring. Over time, these small components can wear out or become damaged, leading to water leakage.
Another possible culprit is a corroded valve seat. The constant exposure to water can cause the valve seat to rust, resulting in a leaky spout.
Additionally, a loose or improperly installed spout can also cause water to escape. By carefully inspecting these areas and using my expertise, I can pinpoint the exact cause of the leak and proceed with the necessary repairs.
Gathering the Necessary Tools and Materials
When it comes to fixing a leaky bathtub spout, having the right tools and materials is crucial. From a pipe wrench to plumber’s tape, gathering the necessary equipment beforehand will ensure a smooth repair process.
Additionally, proper preparation steps are essential for a successful fix. This includes shutting off the water supply and draining the pipes.
Required Tools and Materials
To fix a leaky bathtub spout, you’ll need a few tools and materials. Here are the necessary items you’ll need:
-
Adjustable wrench: This tool will help you loosen and tighten the connections on the spout.
-
Pipe thread tape: Also known as Teflon tape, this will create a watertight seal when wrapping it around the threaded connections.
-
Replacement parts: Depending on the cause of the leak, you may need to replace the spout diverter, O-rings, or the entire spout assembly.
-
Plumbers putty: This will be used to create a seal between the spout and the wall.
Having these tools and materials ready will ensure a smooth bathtub spout installation and help you fix the issue efficiently.
Now that you have everything you need, let’s move on to the proper preparation steps.
Proper Preparation Steps
Make sure you have all the necessary tools and materials ready before starting the proper preparation steps. When it comes to fixing a leaky bathtub spout, proper preparation is key to ensuring a successful repair.
One of the most important preparation techniques is to turn off the water supply to the bathtub to avoid any accidental water damage. It’s also essential to gather all the required tools, such as a screwdriver, pliers, and a replacement spout, before beginning the repair process.
Common mistakes in preparation include not having the correct tools on hand or failing to shut off the water supply, resulting in unnecessary complications. By following these proper preparation steps, you can avoid potential pitfalls and ensure a smooth and efficient repair process.
Now, let’s move on to the importance of following instructions.
Importance of Following Instructions
Remember, it’s crucial to follow the instructions carefully to ensure a successful repair. As someone who has dealt with many leaky bathtub spouts, I can attest to the importance of clear communication and the benefits of following step by step instructions.
Here are four reasons why it’s essential to follow instructions when fixing a leaky bathtub spout:
-
Avoid further damage: By following the instructions, you can prevent causing additional problems that could worsen the leak or damage other parts of the bathtub.
-
Save time and money: Clear communication and step by step instructions help you complete the repair efficiently, saving you both time and money in the long run.
-
Ensure safety: Proper instructions guide you in using the right tools and techniques, reducing the risk of accidents or injuries during the repair process.
-
Achieve lasting results: By following instructions precisely, you can fix the leaky bathtub spout effectively, ensuring a long-lasting solution that eliminates the need for frequent repairs.
Turning Off the Water Supply
First, locate the shut-off valve for the water supply. It is essential to know how to turn off the water in case of emergencies or when fixing a leaky bathtub spout.
To start, find the shut-off valve near the water meter or inside the house. Turn the valve clockwise until it is fully closed. This will stop the water flow to the entire house.
It is crucial to take some safety precautions before turning off the water. Make sure to inform everyone in the house about the water shut-off. Also, prepare buckets or containers to catch any remaining water in the pipes.
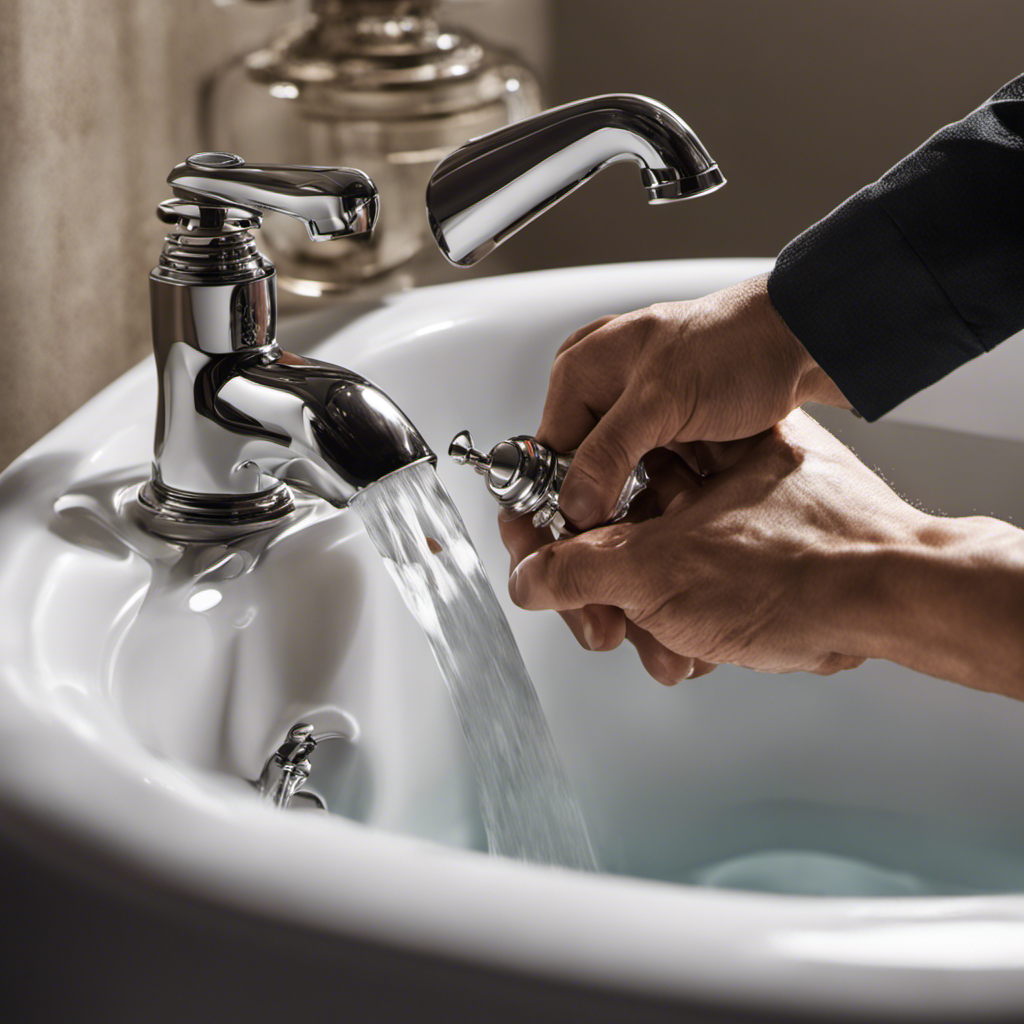
Removing the Bathtub Spout
When it comes to removing a bathtub spout, it’s important to have the proper tool for the job. Using the wrong tool can result in damage to the spout or surrounding fixtures.
Additionally, there can be potential complications during the removal process, such as stubborn or corroded spouts that may require additional steps or professional assistance.
Proper Tool for Removal
To remove the leaky bathtub spout, you’ll need to use a specialized tool called a spout remover. This tool is essential for a smooth and hassle-free removal process.
Here are four reasons why using a spout remover is vital for this task:
-
Precision: The spout remover is designed specifically for this purpose, ensuring a precise and accurate removal of the spout without causing any damage to the surrounding fixtures.
-
Efficiency: With its unique design and functionality, the spout remover allows for a quick and efficient removal process, saving you time and effort.
-
Safety: By using the spout remover, you can avoid potential injuries or accidents that may occur when trying to remove the spout with improper tools or methods.
-
Versatility: The spout remover is compatible with various types of bathtub spouts, making it a versatile tool for any bathtub spout installation or repair task.
Potential Complications During Removal
If you don’t use the appropriate tool, you might encounter complications while removing the spout. It’s important to choose the right tool for the job to prevent potential challenges and minimize the risk of damage. Here are some tips for preventing damage and ensuring a smooth removal process:
| Potential Challenges | Tips for Preventing Damage |
|---|---|
| Rusty or stuck spout | Apply penetrating oil and let it sit for a few minutes before attempting to remove the spout. Use a spout wrench for added leverage. |
| Fragile or brittle spout | Be gentle when applying pressure and use a spout removal tool specifically designed for delicate spouts. |
| Hidden set screw | Look for a small hole or indentation on the underside of the spout and use an Allen wrench to remove the set screw. |
| Stripped threads | Use caution and avoid excessive force when turning the spout. If the threads are stripped, you may need to replace the entire spout. |
| Stubborn caulk or adhesive | Use a caulk softener or adhesive remover to loosen the caulk or adhesive before attempting to remove the spout. |
Inspecting and Cleaning the Spout Components
First, check if the spout is securely attached to the wall. This is a crucial step in troubleshooting a leaky bathtub spout. Once you’ve ensured its stability, it’s time to inspect and clean the spout components. Here are some expert tips to help you through the process:
-
Inspect the diverter valve: This small, hidden component can often be the culprit behind a leaky spout. Carefully examine it for any signs of damage or wear.
-
Clean the aerator: Over time, mineral deposits can accumulate in the aerator, obstructing water flow and causing leaks. Remove the aerator and soak it in vinegar overnight to dissolve the deposits.
-
Examine the O-rings: These rubber seals can deteriorate over time, leading to leaks. Inspect them for cracks or tears and replace if necessary.
-
Check the cartridge: If all else fails, the cartridge might be the problem. Remove it and inspect it for any signs of damage. Replace if needed.
Replacing the O-ring or Washer
Inspect the O-ring or washer for any signs of damage or wear and replace it if necessary. The O-ring or washer is a crucial component in ensuring a watertight seal in the bathtub spout. Over time, these parts can deteriorate, causing leaks.
To replace the O-ring or washer, follow these steps:
- Turn off the water supply to the bathtub.
- Remove the spout by unscrewing it counterclockwise.
- Locate the O-ring or washer inside the spout.
- Carefully remove the damaged or worn-out part.
- Insert a new O-ring or washer of the correct size.
- Reattach the spout by screwing it back on clockwise.
- Turn on the water supply and check for any leaks.
Reassembling and Testing the Bathtub Spout
After reassembling the parts, turn on the water supply and check for any remaining leaks. It is crucial to follow proper reassembling techniques to ensure a successful repair.
Here are some troubleshooting tips to help you along the way:
-
Inspect for damage: Carefully examine all the components for any signs of wear or damage, such as cracks or corrosion.
-
Apply lubrication: Before reassembling, apply plumber’s grease or silicone lubricant to the O-ring or washer to ensure a tight seal.
-
Tighten securely: Use a wrench or pliers to tighten the spout onto the pipe, making sure it is snug but not over-tightened to avoid damaging the threads.
-
Test for leaks: Once reassembled, turn on the water supply and observe the spout for any leaks. If there are still leaks, double-check the components and repeat the reassembling process.
Following these reassembling techniques and troubleshooting tips will help you fix a leaky bathtub spout effectively.
Conclusion
In conclusion, fixing a leaky bathtub spout is a task that anyone can tackle with the right tools and a little know-how. By identifying the cause of the leak, gathering the necessary tools and materials, and following the steps to remove, inspect, and clean the spout components, you’ll be well on your way to a watertight bathtub.
Remember to replace the O-ring or washer if necessary and test your handiwork before reassembling. With a little patience and determination, you’ll have a leak-free bathtub in no time, and your bathroom will thank you for it.