
Hey there!
Have you ever dealt with a leaky Moen bathtub faucet? It’s such a frustrating problem, but fear not! I’m here to help you fix it.
In this article, I’ll guide you through the step-by-step process of repairing your faulty faucet. By the end, you’ll have the knowledge and confidence to tackle this issue head-on.
So let’s jump right in and get that leaky faucet under control!
Key Takeaways
- Leaks in Moen bathtub faucets can be caused by worn-out or damaged cartridges, loose or faulty handles, or worn-out O-rings or seals.
- Gathering the necessary tools and regularly inspecting the faucet for signs of wear and tear can help identify and prevent leaks.
- Proper disassembly of the faucet allows for identification of any issues with the components, such as worn-out rubber seals, loose parts, or mineral build-up.
- Repairing or replacing faulty parts, such as rubber seals or cartridges, and properly reassembling the faucet can ensure proper functionality and prevent leaks.

gotonovo Rainfall Bathroom Shower System Rain Shower Head and Handle Set Wall Mounted Shower Complete Combo Solid Brass Pressure Balancing Shower Mixer Valve 10 Inch Matte Black
1. 10-Inch Rainfall Shower Head – Luxurious Shower Experience: Oversized 10-inch square rainfall shower head delivers wide, even...
As an affiliate, we earn on qualifying purchases.
Understanding the Problem
To fix a leaky Moen bathtub faucet, you’ll need to understand what’s causing the leak. Leaks in Moen bathtub faucets can be caused by several common issues.
One of the most common causes is a worn-out or damaged cartridge. The cartridge is responsible for controlling the flow of water, and over time, it can become worn or damaged, leading to leaks.
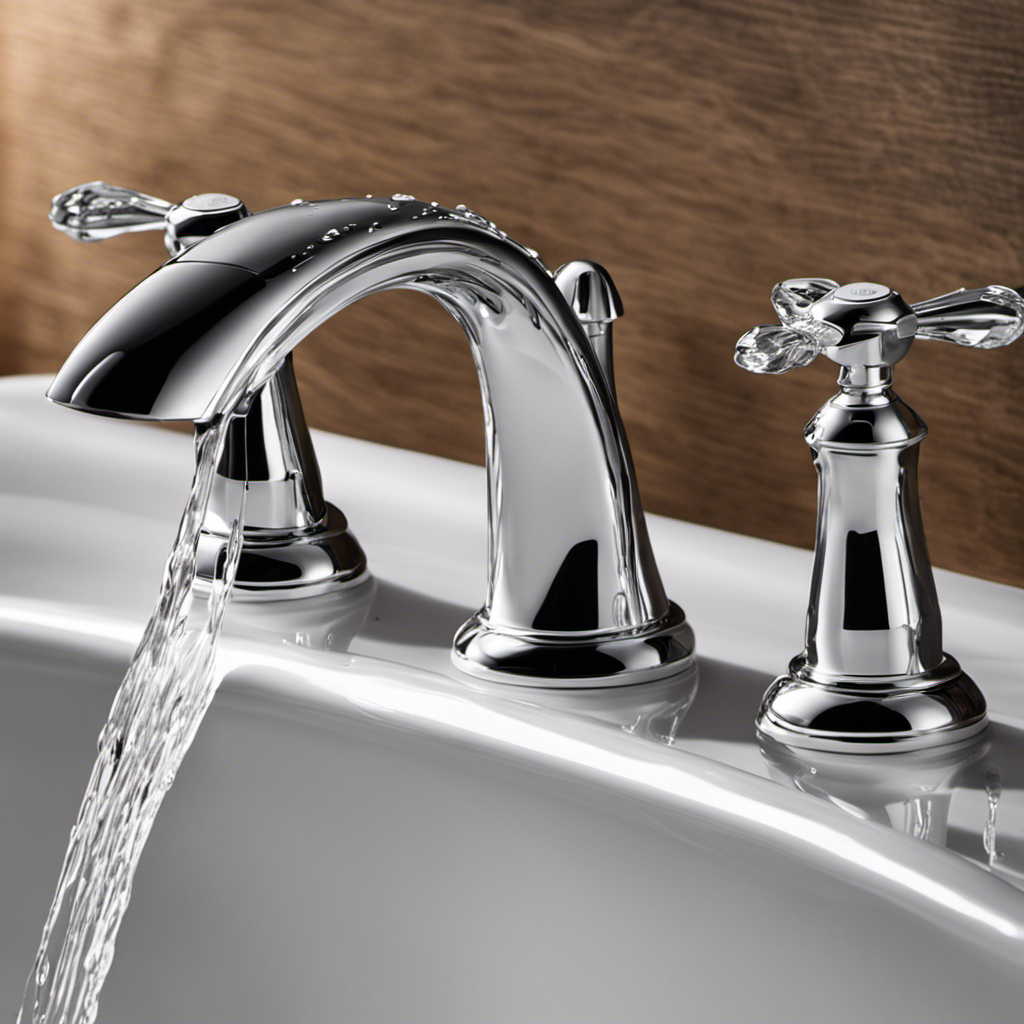
Another common cause is a loose or faulty handle. If the handle is loose or not properly aligned, it can cause water to leak from the faucet.
Additionally, a worn-out O-ring or seal can also be the culprit behind a leaky faucet.
When troubleshooting a leaky Moen bathtub faucet, start by checking the cartridge. If it appears worn or damaged, replacing it should solve the issue. Tightening the handle or replacing it, if necessary, can also help stop the leak.

hansgrohe Ecostat Modern Pressure Balance Shower Valve Trim in Chrome, 04233000
Comfort thermostat concealed for 1 outlet: either shower head or handheld shower
As an affiliate, we earn on qualifying purchases.
Gathering the Necessary Tools
Start by gathering all the tools you’ll need for the job. When it comes to fixing a leaky Moen bathtub faucet, it’s important to be prepared.
Some common causes of bathtub faucet leaks include worn-out seals, damaged cartridges, or loose connections.
To prevent future leaks in Moen faucets, there are a few tips to keep in mind. First, make sure to regularly inspect the faucet for any signs of wear and tear. Replace any worn-out seals or cartridges promptly.
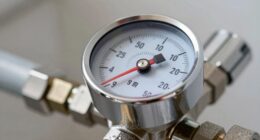
Additionally, avoid using excessive force when turning the faucet handle, as this can cause damage over time. Finally, consider installing a water pressure regulator to prevent high water pressure, which can contribute to leaks.

Dreyoo 2 Pieces Pressure Balancing Cartridge and Valve Stem Assembly, Compatible with 971-2500 and 974-2910, Compatible with Pfister 0X8/JX8/VB8/JV8 Deep Casting Valve, for Single Handle Tub/Shower
Compatibility: the valve stem assembly is compatible with Pfister 971-2500, the pressure balancing cartridge is compatible with Pfister...
As an affiliate, we earn on qualifying purchases.
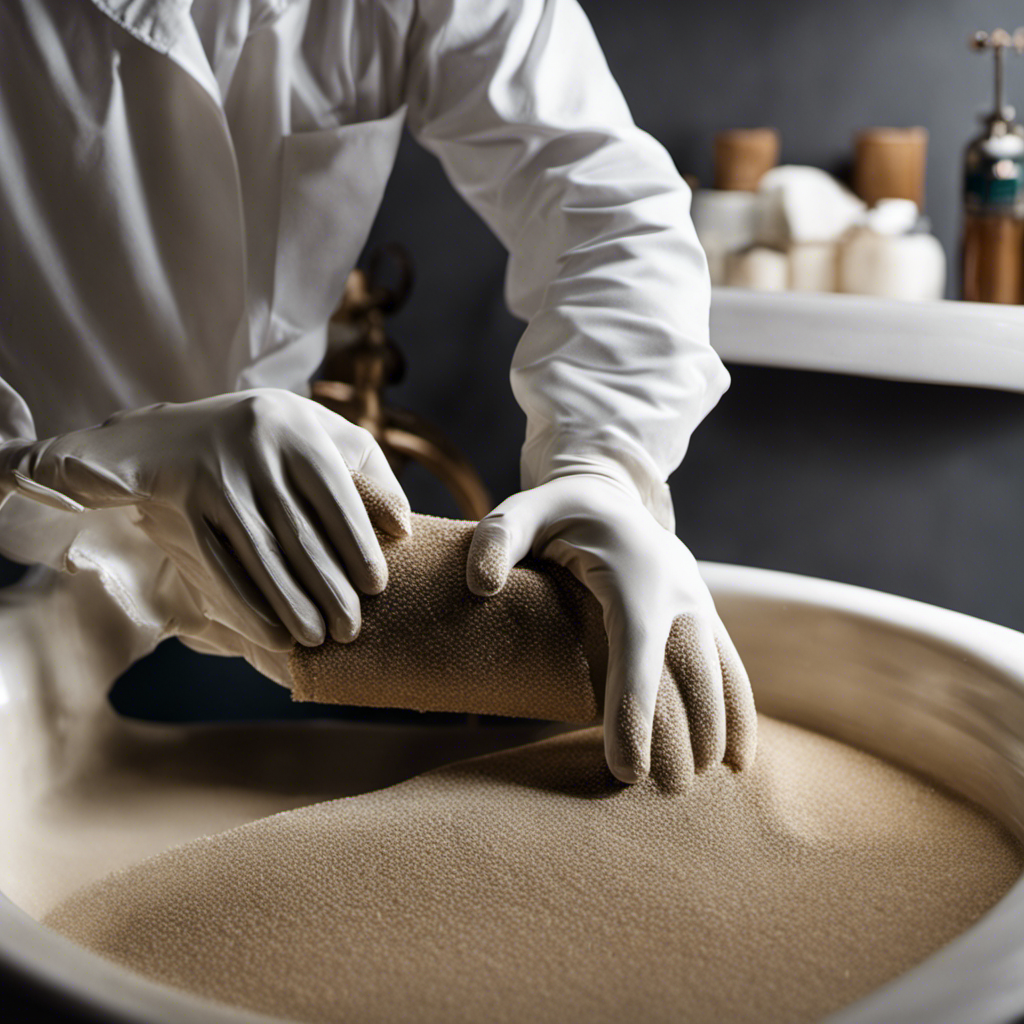
Disassembling the Faucet
When disassembling the faucet, you’ll want to begin by turning off the water supply valves. This is crucial to avoid any potential water damage or accidents.
Common causes of bathtub faucet leaks can include worn out rubber seals, loose parts, or mineral build-up. It’s important to inspect these components while disassembling the faucet to identify any issues.
To prevent future leaks in Moen faucets, regular maintenance is key. Cleaning the aerator and showerhead regularly can help prevent mineral build-up. Additionally, checking and tightening all the connections periodically can help prevent any leaks from occurring.
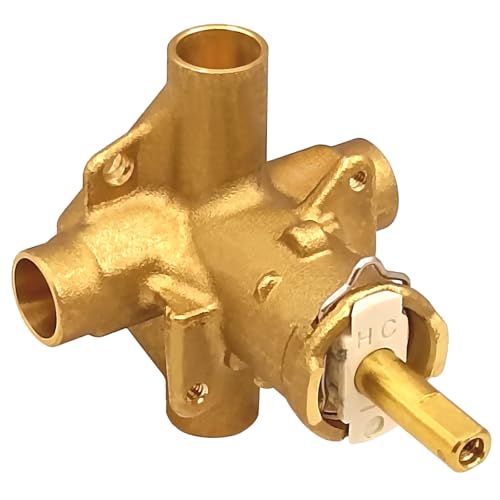
Replacement for 2520 Pressure Balancing Tub and Shower Valve, 4 Ports, 1/2 Inch CC Connections, Brass
【TUB AND SHOWER VALVE】: The brass tub and shower valve is a 4 port valve. It has a...
As an affiliate, we earn on qualifying purchases.
Repairing or Replacing Faulty Parts
If you’re experiencing any issues with your Moen bathtub faucet, it’s best to check and replace any worn-out rubber seals or loose parts. This will ensure that your faucet functions properly and doesn’t leak.
Here are some troubleshooting tips and common causes to consider:
-
Check the rubber seals: Over time, rubber seals can wear out or become damaged, causing leaks. Inspect them for any signs of deterioration or cracks.
-
Tighten loose parts: Loose parts, such as nuts or screws, can also cause leaks. Use a wrench or screwdriver to tighten them securely.
-
Replace faulty cartridges: The cartridge is responsible for controlling the flow of water. If it’s damaged or worn out, it can result in leaks. Replace the cartridge if necessary.
Reassembling and Testing the Faucet
To ensure proper functionality, reassemble and test the faucet after replacing any faulty parts.
After identifying the common causes of leaky bathtub faucets, it is important to follow a step-by-step guide to reassemble a Moen bathtub faucet correctly.
Start by placing the handle adapter onto the cartridge stem, aligning the tab with the slot. Then, insert the handle screw through the handle and tighten it securely.
Next, attach the handle to the handle adapter and ensure it is properly aligned. Once that is done, reattach the escutcheon plate and tighten the screws.
Finally, turn on the water supply and test the faucet for any leaks or irregularities.
Conclusion
So there you have it, a step-by-step guide on how to fix a leaky Moen bathtub faucet.
By understanding the problem and gathering the necessary tools, you can easily disassemble and repair or replace any faulty parts.
Remember to be precise and knowledgeable throughout the process to ensure a successful fix.
Did you know that according to a recent study, a leaky faucet can waste up to 3,000 gallons of water per year?
So not only will fixing your faucet save you money, but it will also help conserve water.
Happy fixing!