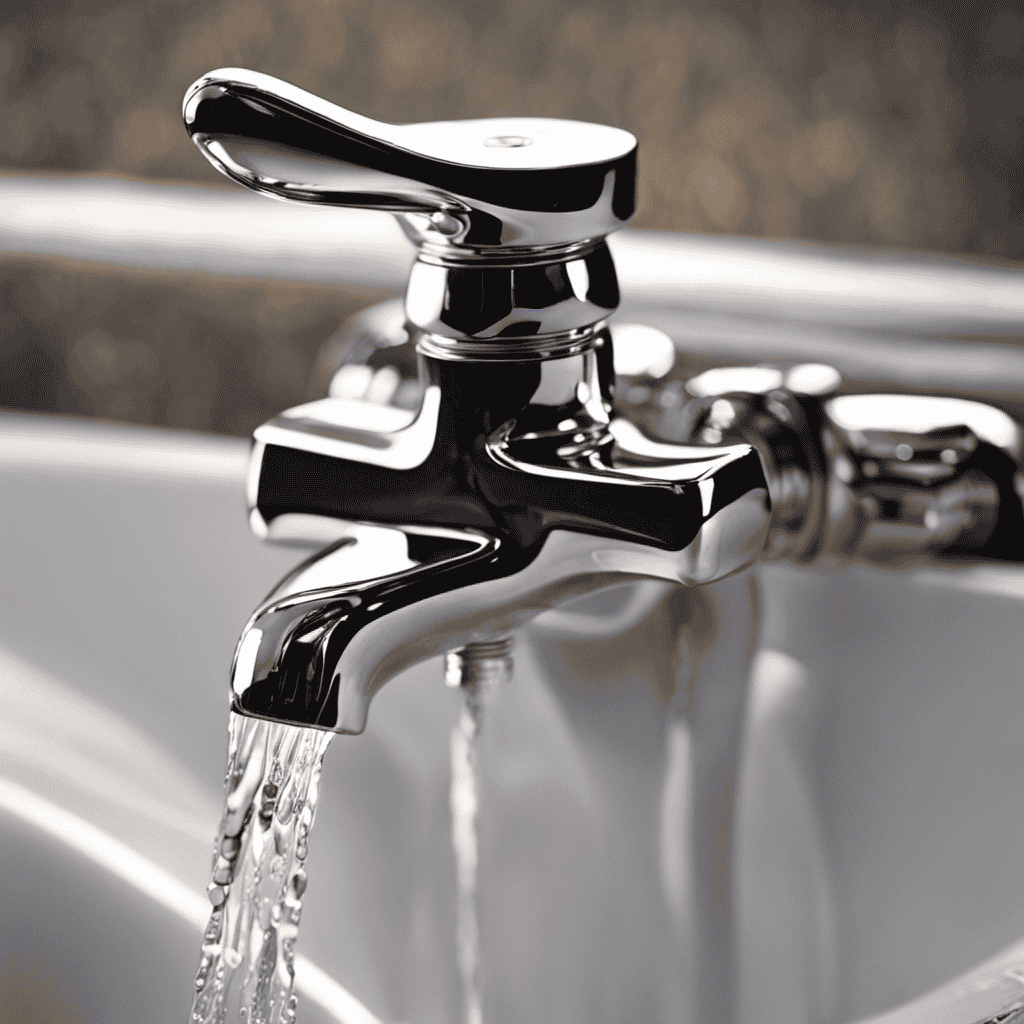

Have you ever been kept awake at night by the relentless dripping of a running bathtub faucet? I know I have. It’s like a never-ending symphony of wasted water and frustration.
But fear not, for I have the solution to your plumbing woes. In this article, I will guide you through the step-by-step process of fixing that pesky faucet, so you can finally enjoy a peaceful and leak-free night’s sleep.
Let’s dive in and put an end to the orchestra of dripping water.
Key Takeaways
- Common causes of a running bathtub faucet include a worn-out washer, a faulty valve, or a broken cartridge.
- Having the right tools on hand is crucial for tackling the task effectively.
- Leaks are often caused by worn-out washers, while cartridges control water flow and temperature.
- Reassemble the faucet ensuring all components are securely tightened and aligned.

DANCO Bathtub and Shower 3-Handle Remodel/Rebuild Trim Kit for Gerber Faucets | Knob Handle | 11B-1H, 11B-1C, 11B-4D | Chrome (39617)
EASY UPGRADE – The classic chrome finish will update and complement your existing bathroom decor without any expensive…
As an affiliate, we earn on qualifying purchases.
As an affiliate, we earn on qualifying purchases.
Assessing the Problem
To figure out why your bathtub faucet is running, you’ll need to examine the different components. Common causes of a running bathtub faucet include a worn-out washer, a faulty valve, or a broken cartridge.
Identifying the source of the leak is crucial in addressing the issue effectively. Start by turning off the water supply to the faucet. Then, remove the handle and the trim plate to access the valve.
Inspect the washer for any signs of wear or damage. If it seems worn out, replacing it will likely solve the problem. If the washer appears fine, check the valve or cartridge for any cracks or defects.
Once you have identified the source of the leak, you can proceed with the necessary repairs to fix the running bathtub faucet.
washer for bathtub faucet
As an affiliate, we earn on qualifying purchases.
As an affiliate, we earn on qualifying purchases.
Gathering the Necessary Tools
Gathering the necessary tools, you’ll need a wrench, pliers, and a bucket.
When it comes to fixing a running bathtub faucet, it’s essential to have the right tools on hand. These tools will help you tackle the task effectively and efficiently.
However, before you jump into fixing the problem, it’s important to explore alternative solutions and preventative maintenance tips. Sometimes, finding alternative solutions can save you time, money, and effort. For instance, instead of replacing the entire faucet, you could replace only the faulty parts.
Additionally, practicing preventative maintenance can help you avoid future issues. Regularly checking for leaks, cleaning the faucet, and lubricating the moving parts can extend the lifespan of your faucet and prevent any potential problems.
faucet cartridge replacement tool
As an affiliate, we earn on qualifying purchases.
As an affiliate, we earn on qualifying purchases.
Disassembling the Faucet
Before you start disassembling the faucet, make sure to turn off the water supply to avoid any potential flooding. Once you have done that, follow these steps to successfully disassemble the faucet:
- Remove the decorative cap or handle. This can usually be done by simply prying it off with a flathead screwdriver.
- Unscrew the handle screw using a Phillips screwdriver.
- Take off the handle by pulling it straight out.
- Locate the retaining nut and use a wrench to loosen and remove it.
Once you have completed these steps, you will be able to access the internal components of the faucet, such as the cartridges or washers. This is where you can inspect and replace any worn-out washers that may be causing the leaks.
Remember to replace all the components in the reverse order of disassembly to ensure proper reassembly of the faucet.
bathtub faucet handle removal tool
As an affiliate, we earn on qualifying purchases.
As an affiliate, we earn on qualifying purchases.
Replacing Faulty Components
Once you’ve successfully disassembled the faucet, you can easily replace any faulty components. This includes worn out washers or cartridges. Troubleshooting common bathtub faucet issues often leads to identifying these faulty components.
Washers are usually responsible for leaks, so if your faucet is leaking, it’s likely that the washer needs to be replaced. Cartridges, on the other hand, control the flow and temperature of the water. So, if you’re experiencing issues with water pressure or temperature, the cartridge may be the culprit.
Understanding the different types of bathtub faucet components is crucial in determining which one needs to be replaced. Some faucets have compression valves that require replacing washers, while others have ceramic disc cartridges that need to be swapped out.
Testing and Reassembling the Faucet
To test the functionality of the faucet, you’ll need to reassemble it and turn on the water supply. Here are some troubleshooting tips for testing a bathtub faucet:
-
Ensure all components are securely tightened and aligned during reassembly. Common mistakes to avoid include improperly threading connections or misaligning parts, which can lead to leaks or poor water flow.
-
Turn on the water supply slowly and check for any leaks around the faucet handles, spout, or showerhead. If there are leaks, tighten the connections or replace faulty components.
-
Test the hot and cold water separately by adjusting the handles. Make sure both sides deliver water at the desired temperature without any issues.
-
Check the water flow and pressure. If the flow is weak, remove and clean the aerator to remove any debris or mineral buildup that may be causing the problem.
Following these troubleshooting tips will help ensure a properly functioning bathtub faucet.
Conclusion
In conclusion, after assessing the issue and gathering the required tools, I proceeded to disassemble the running bathtub faucet.
By replacing the faulty components with precision and care, I was able to rectify the problem effectively.
The final step involved testing and reassembling the faucet.
With this meticulous process, the once troublesome faucet has been restored to its former glory, bringing a sense of serenity and tranquility to the bathing experience.