
Having a slow drip bathtub faucet can be a frustrating and wasteful problem. But fear not, because I’m here to help you fix it!
In this article, I will guide you through the step-by-step process of:
- Identifying the problem
- Gathering the necessary tools
- Disassembling the faucet
- Replacing the faulty parts
- Reassembling and testing the faucet
By the end of this guide, you’ll be able to tackle that pesky drip and enjoy a leak-free bathtub experience.
Let’s get started!
Key Takeaways
- Identify whether the slow drip is from the hot or cold water side
- Regularly clean and inspect the faucet components to prevent drips
- Disassemble the faucet to determine the exact cause of the slow drip
- Have the necessary tools and replacement components on hand to fix the faulty parts

Instant Pot 4QT RIO Mini 7-in-1 Multi-Cooker, Pressure Cooker, Slow cook, Sauté, Steam, Rice Maker, Yogurt, & Warmer, Black, 4 Quarts
- 7-in-1 Multi-Cooker Functions: Pressure, slow, sauté, steam, rice, yogurt, warm
- Compact and Space-Saving: Mini size with full cooking surface
- Ideal for Small Meals: 4-quart capacity for up to 4 servings
As an affiliate, we earn on qualifying purchases.
Identifying the Problem
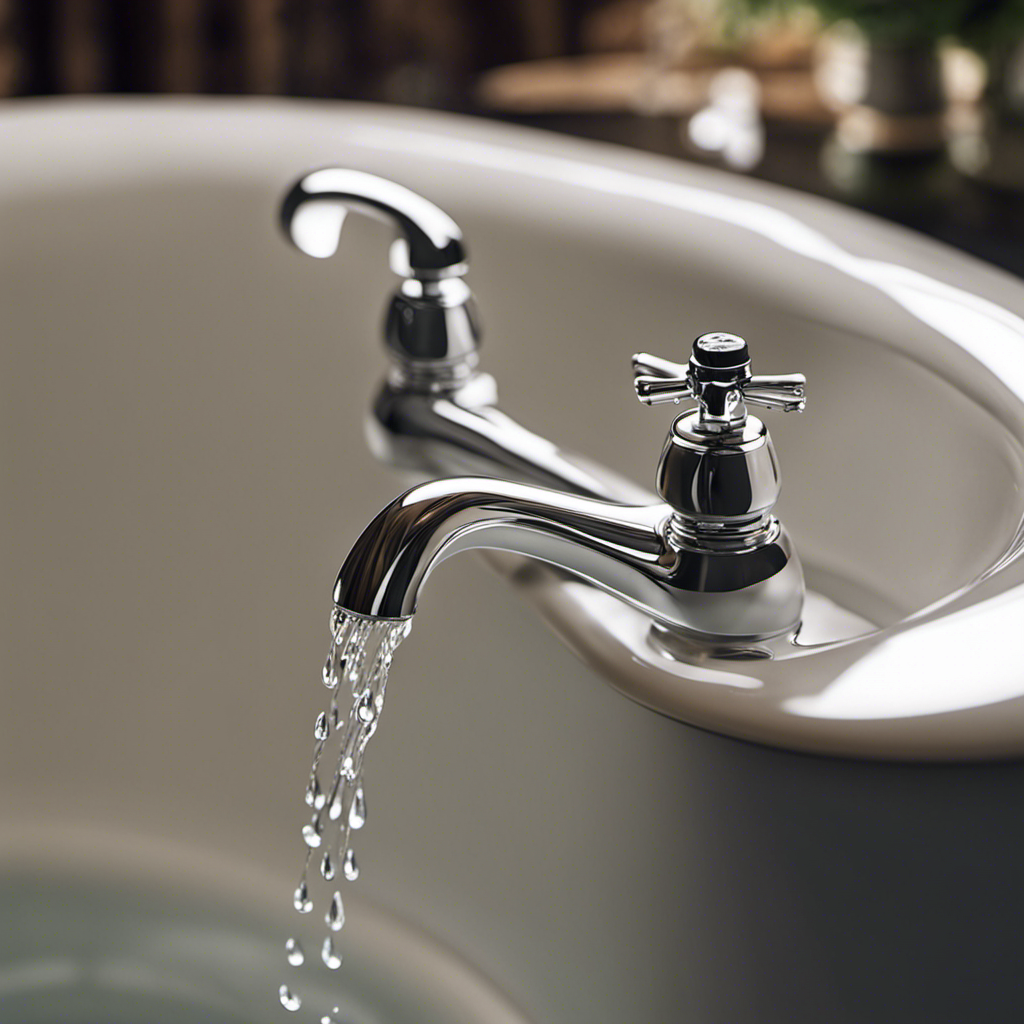
First, you’ll want to check if the slow drip is coming from the hot or cold water side of the faucet. This is important because the causes and potential solutions may vary depending on which side is affected.
Common causes of a slow drip from the hot water side include a worn-out or damaged cartridge, a faulty O-ring, or a loose handle.
On the other hand, if the slow drip is from the cold water side, it could be due to a worn-out washer, a faulty valve seat, or a loose stem.
To determine the exact cause, you may need to disassemble the faucet and inspect the components. Once you have identified the problem, you can move on to gathering the necessary tools for the repair.
Gathering the Necessary Tools
Once you’ve gathered all the necessary tools, you’ll be ready to start troubleshooting the issue. Common causes of slow drip bathtub faucets can include worn-out washers, damaged valve seats, or faulty O-rings.
To maintain a drip-free bathtub faucet, it is important to regularly clean and inspect the components, as well as replace any worn or damaged parts. Some tips for maintaining a drip-free bathtub faucet include using a soft cloth to wipe away any debris or mineral buildup, and using a silicone-based lubricant on the O-rings to prevent them from drying out.
Disassembling the Faucet
To begin disassembling your faucet, you’ll want to locate the screws that are holding the handle in place. These screws can usually be found underneath a decorative cap or cover on the handle. Once you’ve located the screws, use a screwdriver to loosen and remove them.
After removing the screws, carefully lift the handle off the faucet to expose the inner components.
Here are some common causes of slow dripping in bathtub faucets and tips for maintaining a drip-free faucet:
- Worn out or damaged O-rings: Replace the O-rings to ensure a proper seal.
- Corroded valve seat: Clean or replace the valve seat to prevent leakage.
- Loose or worn out washer: Tighten or replace the washer to stop the drip.
- Mineral build-up: Remove any mineral build-up from the faucet to restore proper flow.
- Improperly adjusted water pressure: Adjust the water pressure to prevent dripping.
Replacing the Faulty Parts
When replacing the faulty parts, make sure to have the necessary tools and replacement components on hand. One of the common mistakes people make is not properly identifying the faulty part before attempting to replace it.
Take the time to thoroughly inspect the faucet and determine which component is causing the slow drip. Once identified, carefully remove the old part using the appropriate tools.
It’s important to note that sometimes a slow drip can be caused by a buildup of mineral deposits. In such cases, an alternative solution would be to clean the affected part rather than replacing it. This can be done by soaking the component in a vinegar solution to dissolve the deposits.
After replacing or cleaning the faulty part, proceed to the next step of reassembling and testing the faucet.
Reassembling and Testing the Faucet
Now that you have successfully identified and replaced the faulty part, it’s time to reassemble and test your faucet to ensure it is functioning properly. Follow these steps to complete the process:
-
Connect the replacement part to the main body of the faucet using the appropriate fittings.
-
Tighten all the connections using a wrench, ensuring they are snug but not over-tightened.
-
Turn on the water supply and check for any leaks around the connections.
-
Adjust the water pressure to your desired level using the water pressure adjustment valve, if necessary.
-
Finally, lubricate the faucet components using a silicone-based lubricant to ensure smooth operation and prevent future problems.
Once you have completed these steps, turn on the faucet and observe its performance. Check for any drips, leaks, or irregular water flow. If everything looks good, congratulations! You have successfully reassembled and tested your faucet.
Conclusion
After spending hours disassembling and replacing the faulty parts of my slow drip bathtub faucet, I eagerly reassembled it and turned on the water.
My heart raced as I anxiously waited to see if my efforts had paid off. Slowly, a droplet formed at the spout. My heart sank.
The suspense was unbearable. What could be causing this persistent drip? Was there another faulty component? My mind raced with possibilities as I prepared to dive back into the task of fixing my stubborn faucet.