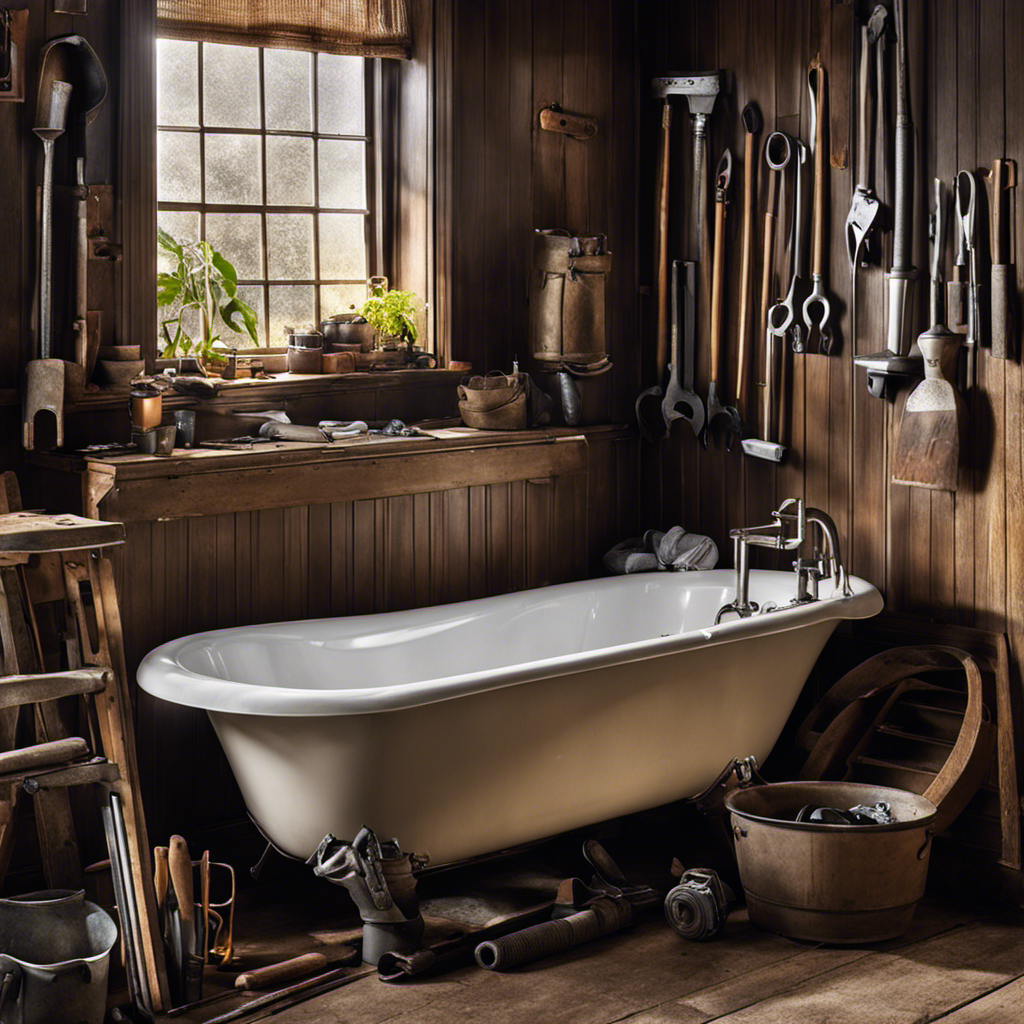
I’ve had it up to here with my old leaky bathtub faucet! It’s been driving me crazy with its constant drip-drip-drip.
But fear not, fellow homeowners, for I have discovered the ultimate solution to this maddening problem. In this article, I will guide you through the step-by-step process of fixing that pesky faucet once and for all.
With a few simple tools and a little bit of elbow grease, you’ll be saying goodbye to that annoying drip in no time.
Let’s get started!
Key Takeaways
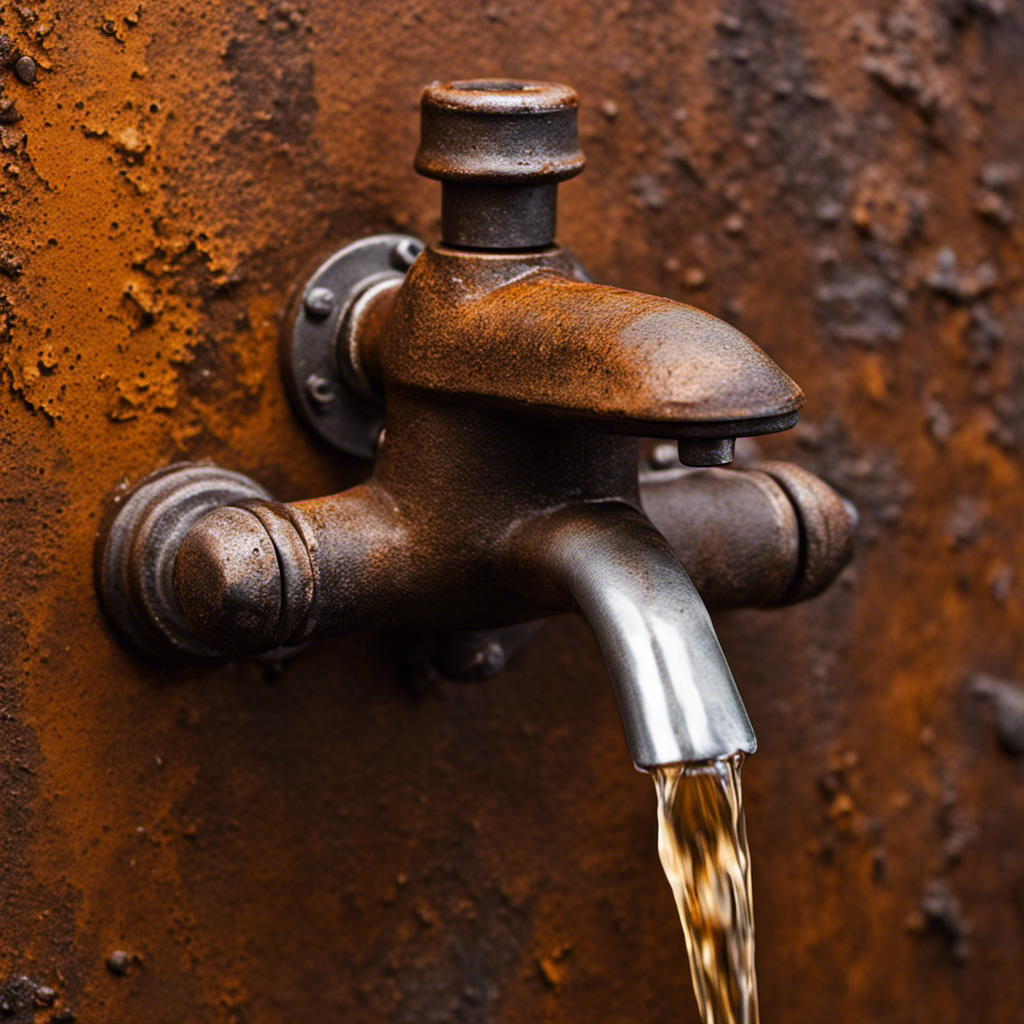
- Water dripping continuously when handle is closed
- Constant stream of water from spout when handle is off
- Decrease in water pressure
- Strange noises coming from the faucet

DANCO Bathtub and Shower 3-Handle Remodel/Rebuild Trim Kit for Gerber Faucets | Knob Handle | 11B-1H, 11B-1C, 11B-4D | Chrome (39617)
EASY UPGRADE – The classic chrome finish will update and complement your existing bathroom decor without any expensive…
As an affiliate, we earn on qualifying purchases.
As an affiliate, we earn on qualifying purchases.
Identifying the Problem
You’ll need to start by figuring out what’s causing the leak in your old bathtub faucet. Troubleshooting common issues is the first step in identifying the problem.
One sign of a faulty faucet is water dripping continuously even when the handle is tightly closed. Another sign is a constant stream of water flowing from the spout, even when the handle is turned off. Additionally, if you notice a decrease in water pressure or hear strange noises coming from the faucet, these can also indicate a problem.
By carefully observing these signs, you can determine the cause of the leak and move forward with the necessary repairs.
Now that you’ve identified the issue, it’s time to gather the necessary tools.

360 Pcs O Ring Assortment Kit,Rubber Washer Orings, Black 24 Sizes Pressure Washer O Ring Kit for Faucet, Hose, Automotive, Air Gas Plumbing Sealing Repair O Rings
Premium Material: These assorted o rings are made of outstanding rubber material with good air tightness and high…
As an affiliate, we earn on qualifying purchases.
As an affiliate, we earn on qualifying purchases.
Gathering the Necessary Tools
To gather the necessary tools for the task at hand, make sure you have a wrench, pliers, a screwdriver, and a bucket. These tools are essential for fixing a leaky bathtub faucet.
Here are four items you need to address when dealing with a leaky bathtub faucet:
-
Common causes of bathtub faucet leaks: Leaks can be caused by worn-out washers, damaged O-rings, or corroded valve seats. Identifying the specific cause will help you determine the best course of action.
-
Tips for preventing future leaks in bathtub faucets: Regular maintenance is key to preventing leaks. Replace worn-out washers and O-rings periodically, and avoid using excessive force when turning the faucet handles.

DURATECH 10-Piece Shower Valve Socket Wrench Set with Bar Handles, Metric, 6-22mm, for Removing Tub & Shower Valve, Home Plumbing Repairs
This dual-ended wrench with two sizes in one wrench offers more versatility for various tasks. The hex-shaped bodies…
As an affiliate, we earn on qualifying purchases.
As an affiliate, we earn on qualifying purchases.
Turning off the Water Supply
First, locate the shut-off valve and turn it clockwise to stop the water supply to the bathtub. This step is crucial to ensure no water is flowing while working on the faucet.
Common causes of bathtub faucet leaks can include worn-out washers, damaged O-rings, or loose connections. Regular maintenance is essential to prevent future leaks. Inspect the faucet for signs of wear and tear, such as corrosion or dripping. Replace worn-out parts promptly and tighten any loose connections.
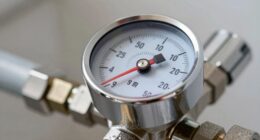
Consider installing a water pressure regulator to prevent excessive pressure on the faucet, which can lead to leaks.
By taking these preventive steps, you can minimize the chances of experiencing future leaks in your bathtub faucet.
Now, let’s move on to disassembling the faucet.
leaky bathtub faucet repair tools
As an affiliate, we earn on qualifying purchases.
As an affiliate, we earn on qualifying purchases.
Disassembling the Faucet
Now, it’s time to take apart the different components of the faucet. Here’s what you need to do:
-
Start by turning off the water supply to the faucet. This is crucial to avoid any accidents or further water damage.
-
Remove the handle of the faucet using a screwdriver or an Allen wrench, depending on the type of faucet you have.
-
Once the handle is off, locate the cartridge or valve stem. This is the part responsible for controlling the flow of water. Inspect it for any signs of damage or wear.
-
To replace the O ring, remove the cartridge or valve stem and carefully slide off the old O ring. Replace it with a new one that matches the size and shape.
Next, we’ll move on to cleaning the aerator and replacing any worn-out components.
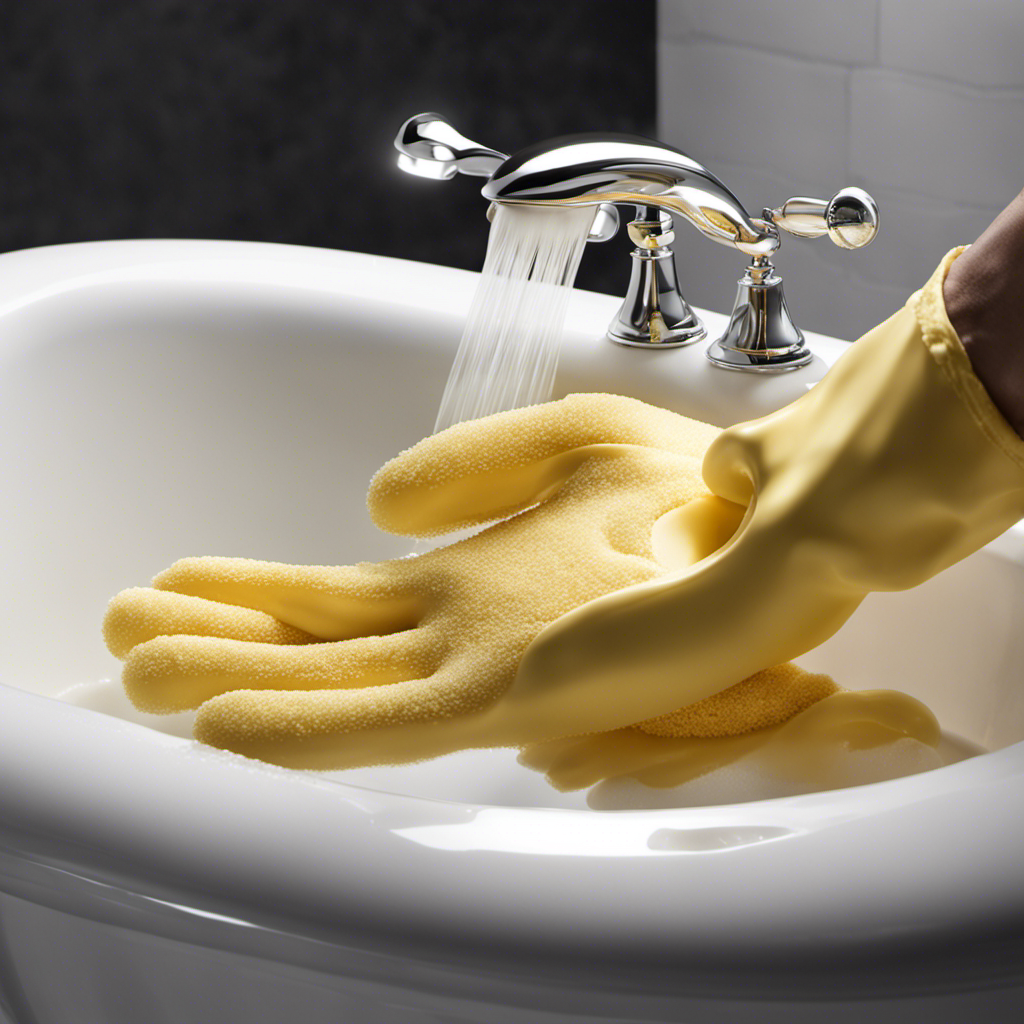
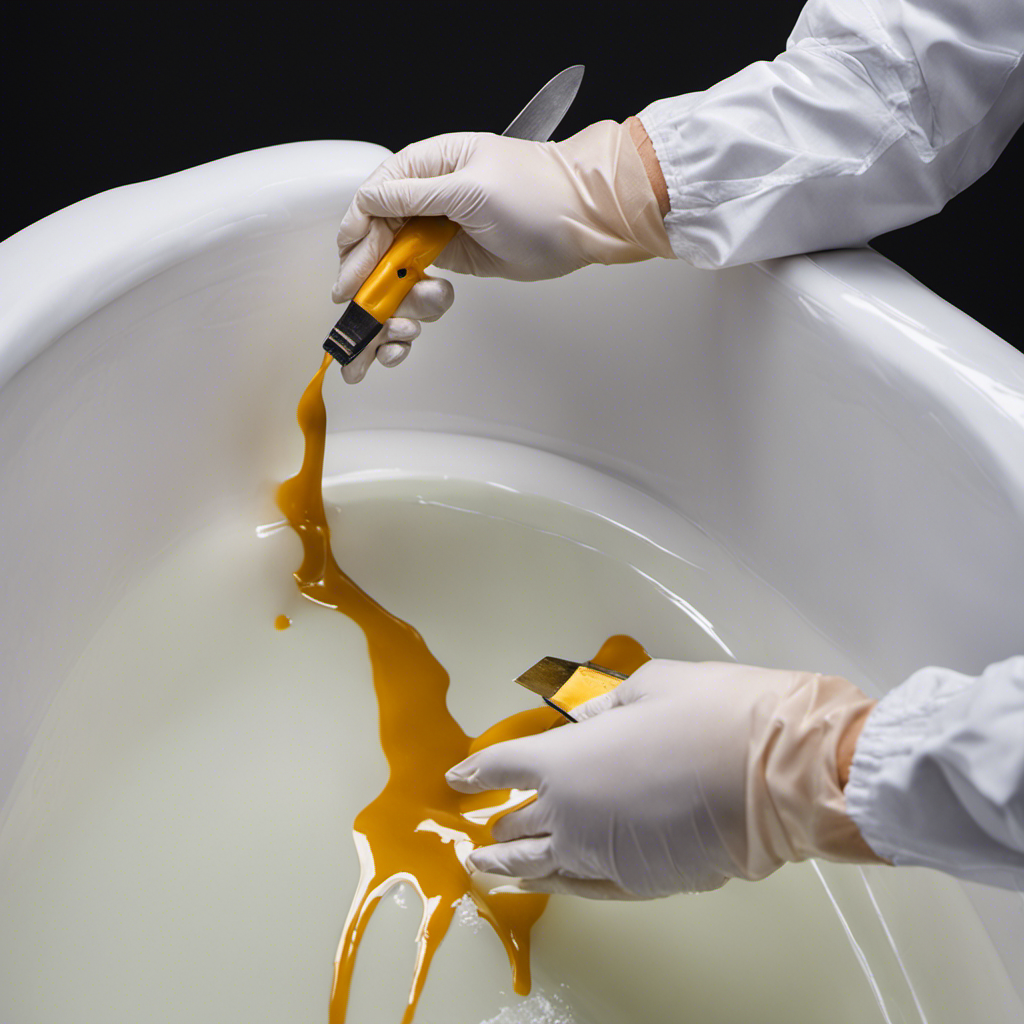
Replacing Worn-Out Components
Once you have replaced the O ring, it’s important to inspect the aerator and any other components that may be worn-out.
When it comes to finding affordable replacement parts, it can be a bit challenging, but not impossible. One common mistake to avoid is settling for the first option you come across. Take your time to research and compare prices from different suppliers. Look for reputable online retailers or local hardware stores that offer quality components at reasonable prices.
Another mistake is not checking the specifications of the replacement parts. Make sure the new components are compatible with your faucet model to ensure a proper fit and functionality.
Frequently Asked Questions
How Can I Prevent My Bathtub Faucet From Leaking in the Future?
To prevent future leaks and maintain bathtub faucets, I regularly inspect and clean the faucet, replace worn-out parts, and ensure proper installation. I also avoid excessive force when turning the handle and use a plumber’s tape for a secure seal.
Can I Use Any Type of Wrench to Disassemble the Faucet?
Yes, you can use various wrench types to disassemble the faucet. It’s important to choose the right one to avoid damaging the fixtures. Understanding common faucet problems helps determine the appropriate wrench for the job.
Is There a Special Technique to Turning off the Water Supply to the Bathtub?
To turn off the water supply to the bathtub, locate the shut-off valve near the fixture. Use a wrench to turn the valve clockwise until it is fully closed. Avoid common mistakes such as using the wrong tool or not fully closing the valve.
What Should I Do if the Faucet Still Leaks After Replacing Worn-Out Components?
If the faucet still leaks after replacing worn-out components, there could be several common causes. I will now explain the troubleshooting steps to identify and fix the issue effectively.
Are There Any Safety Precautions I Should Take When Disassembling the Faucet?
When disassembling a faucet, it’s crucial to prioritize safety. To prevent water damage and potential health hazards, turn off the water supply, wear protective goggles and gloves, and proceed with caution.
Conclusion
In conclusion, fixing an old leaky bathtub faucet requires several steps. First, you need to identify the problem and gather the necessary tools. Once you have everything you need, you should turn off the water supply to the faucet. After that, you can begin disassembling the faucet to access the worn-out components. Finally, you can replace these components to complete the repair. It is important to exercise caution and precision throughout the process to ensure a long-lasting solution. With determination and attention to detail, you’ll have your bathtub faucet working like new again in no time.