I know fixing a bathtub might seem like a daunting task, but I’m here to show you that it’s actually quite manageable.
In this article, I’ll guide you through the steps to assess the damage, gather the necessary tools and materials, and fix leaks, cracks, and even rejuvenate your bathtub.
With a little bit of patience and the right instructions, you’ll be able to tackle this project and have your bathtub looking as good as new in no time.
Key Takeaways
- Small cracks, chips, and minor staining can often be repaired using bathtub repair kits.
- Extensive damage may require replacing the entire bathtub, and hiring a professional is recommended for major structural issues.
- Gathering the necessary tools and materials, such as a plunger, drain snake, screwdrivers, caulking, epoxy putty, or waterproof adhesive, is essential for successful repairs.
- Removing and replacing the bathtub drain, fixing leaks and cracks, and refinishing and rejuvenating the bathtub are key steps in the repair process.
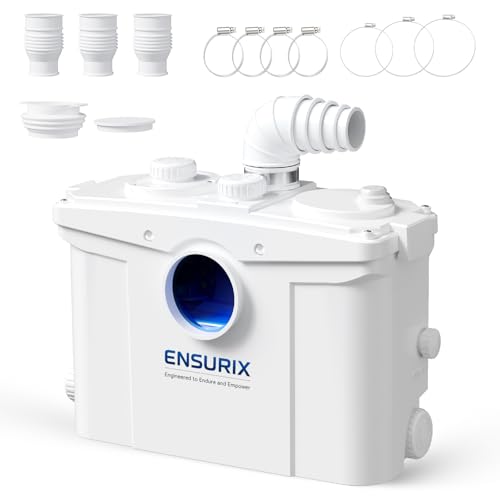
Ensurix 1200W Macerator Pump – 2800GPH, 28FT Vertical Lift Toilet Water Pump with Anti-Backflow, PCB Smart Control, IPX4 Waterproof, Macerator Pump Basement for Toilet, Sink, Bathroom etc.
STRONG POWER & HIGH EFFICIENCY – Equipped with a 1.6HP motor, this macerator pump supports 28ft vertical and...
As an affiliate, we earn on qualifying purchases.
Assess the Damage
First, you’ll need to assess the damage to your bathtub. When deciding whether to repair or replace your bathtub, it is important to consider the extent of the damage. If you notice small cracks, chips, or minor staining, these issues can often be repaired without replacing the entire bathtub. DIY repairs can be done using bathtub repair kits available in hardware stores.
However, if the damage is extensive, such as large cracks or major structural issues, it may be necessary to replace the bathtub entirely. In such cases, it is recommended to hire a professional to ensure proper installation and to avoid any further damage.
Assessing the damage accurately will help you make an informed decision on whether to repair or replace your bathtub.

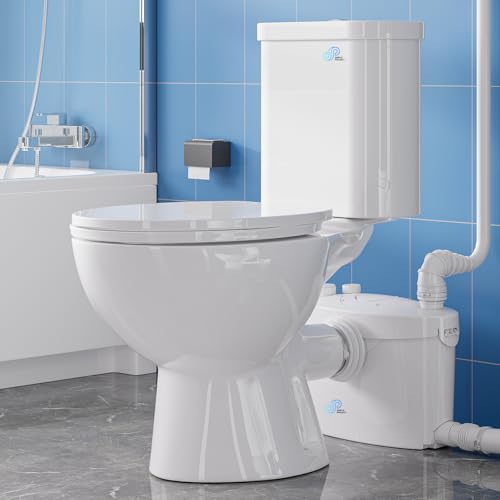
600W Macerating Toilet for Basement,Upflush Toilet System Connect Dual Flush & Rear Outlet Toilet, Sink & Tub,included Toilet Bowl, Water Tank & Macerator Pump SUPERFLO
Macerating toilet system: Toilet pump sewage upwards to 32.8 feet and/or 263 feet horizontally, effectively solving sewage problems...
As an affiliate, we earn on qualifying purchases.
Gather Necessary Tools and Materials
Before starting, make sure you have all the necessary tools and materials for the job. You don’t always have to hire a professional right away. Many repairs can be done with a little bit of knowledge and the right tools.
First, check if you have a plunger, a drain snake, and a set of screwdrivers. These are essential for unclogging drains, fixing leaks, or replacing parts.
Additionally, you may need caulking, epoxy putty, or waterproof adhesive for sealing cracks or repairing chips. Remember to always prioritize safety and follow instructions carefully.
If you find the job too challenging or if you lack the necessary tools, it’s always advisable to seek professional help.
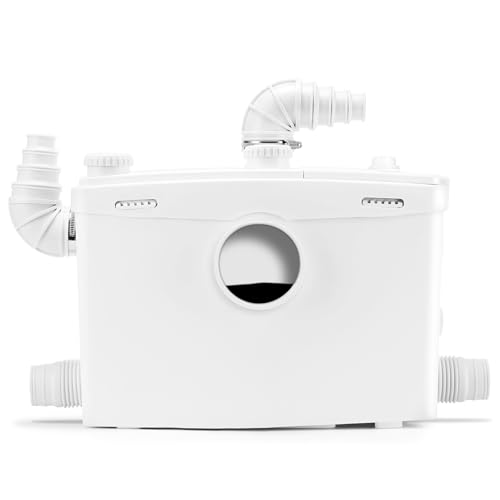
Simple Project 750W PRO Macerating Toilet System - High Powerful, Upflush Toilet for Basement with 4 Water Inlet & Attics, Dual Flush Toilets with Macerator Pump, Quiet Operation, Space Saving
【Powerful 750W Macerator Pump】This compost toilet Equipped with a 750W motor and sharp stainless steel blades to efficiently...
As an affiliate, we earn on qualifying purchases.
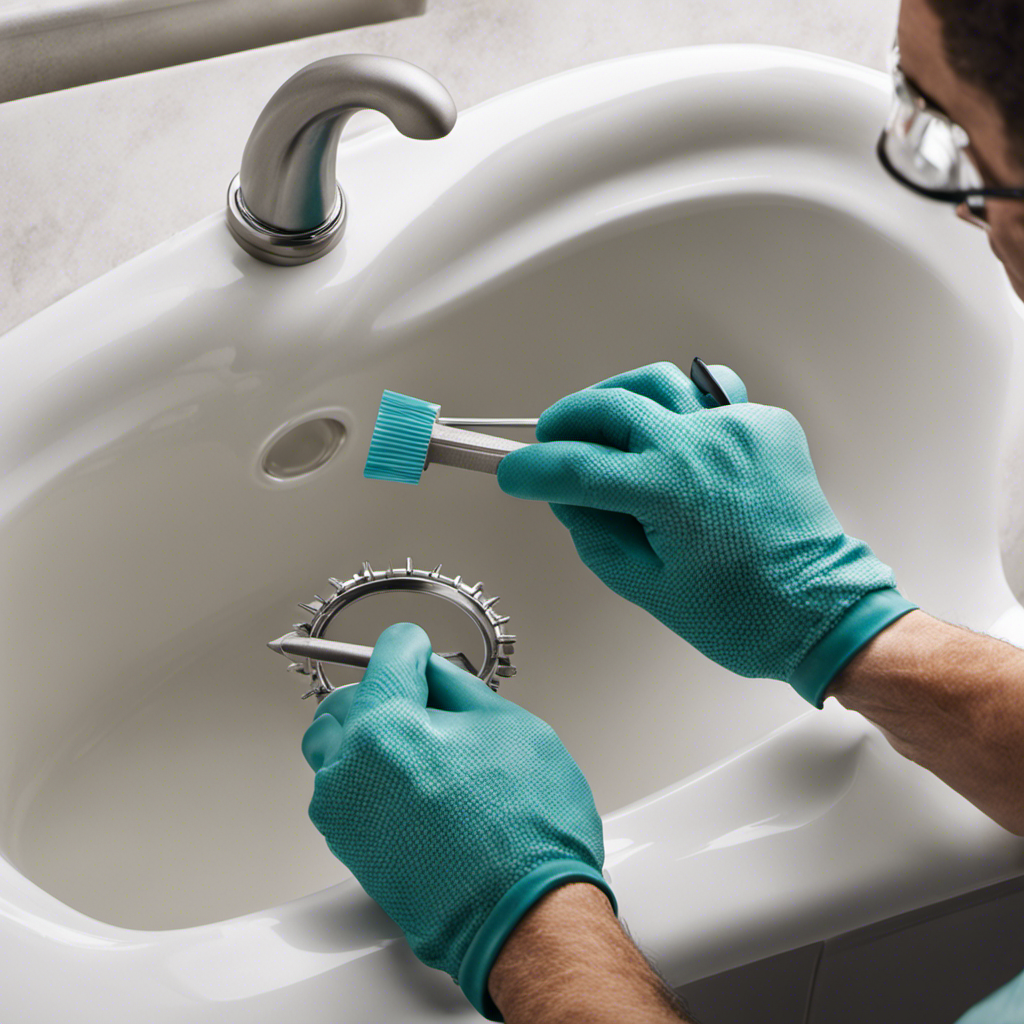
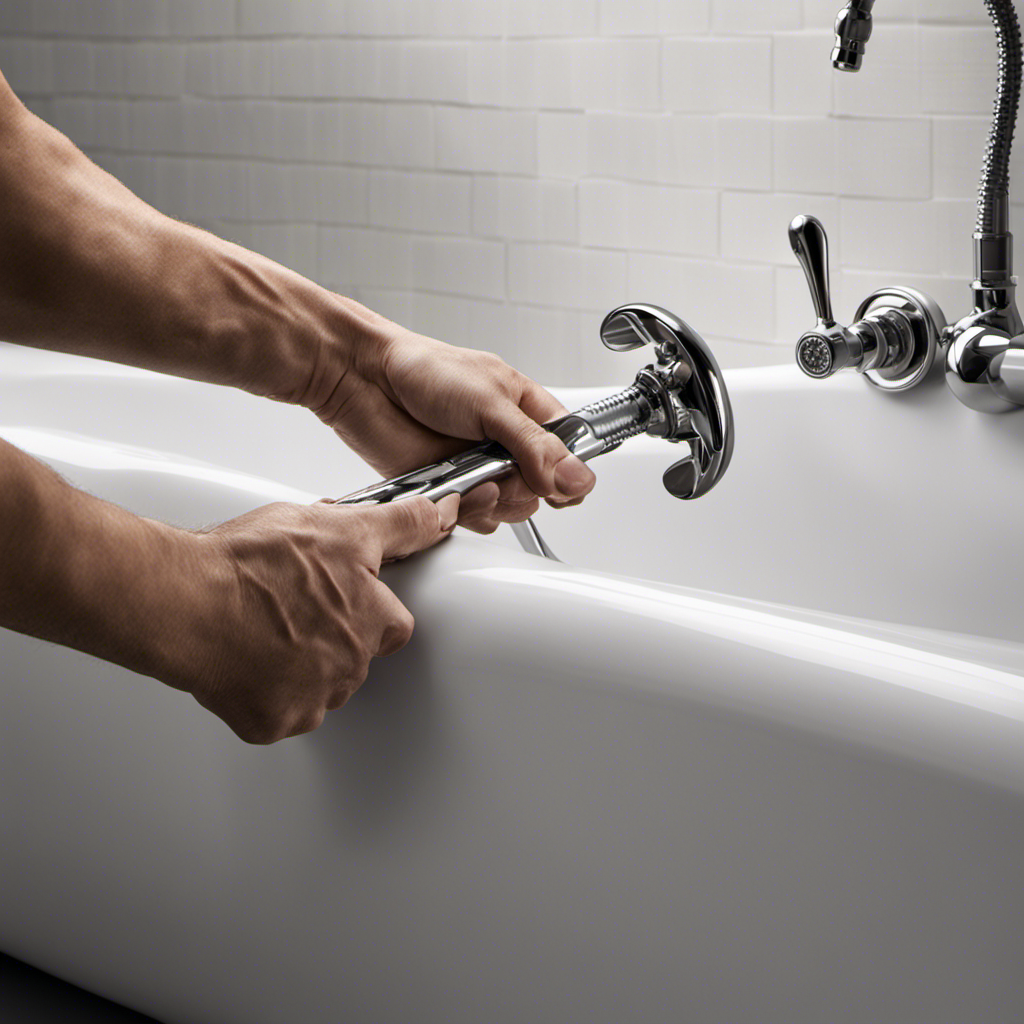
Remove and Replace the Bathtub Drain
To remove and replace the bathtub drain, you’ll need a drain wrench and a pair of pliers.
First, locate the drain stopper and unscrew it counterclockwise using the drain wrench.
Once the stopper is removed, use the pliers to grip the crossbars of the drain flange and turn it counterclockwise to loosen it. Be careful not to apply too much force as it may damage the drain pipe.
Once the flange is loose, lift it out of the drain hole.
To install the new drain, place a small amount of plumber’s putty around the underside of the flange and insert it into the drain hole.
Use the pliers to tighten the flange by turning it clockwise.
1500W Macerator Pump with Grinding Blade Toilet Pump Utility Sink Pump Upflush to 32.8FT 2800GPH Macerating Toilet System with 4 Water Inlets 2 Outlets for Toilet Sink Shower Laundry Kitchen Basement
FULLY AUTOMATIC MACERATOR PUMP : 1500W | 110V-120V/60Hz | 32.8 ft Vertical/328 ft Horizontal | 8000 RMP. Designed...
As an affiliate, we earn on qualifying purchases.
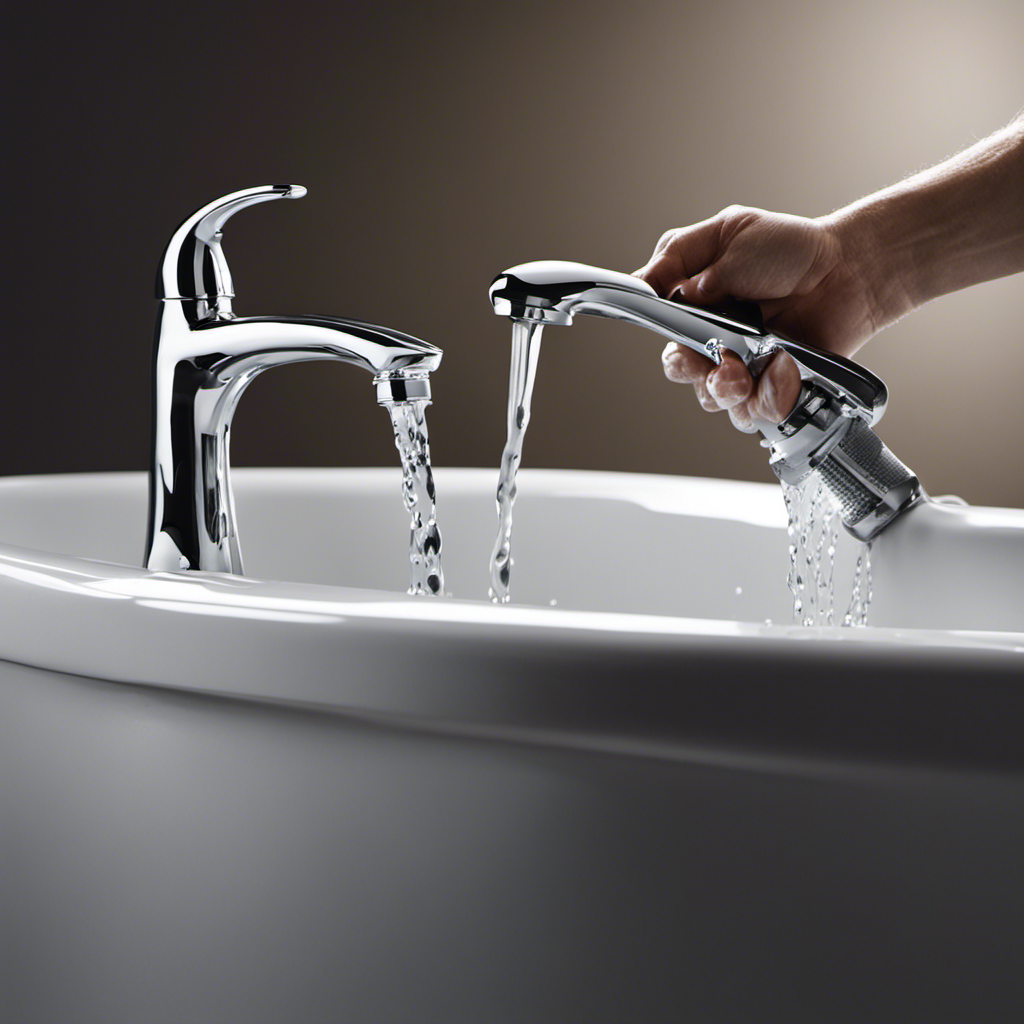
Fixing Leaks and Cracks in the Bathtub
If you notice any leaks or cracks in the bathtub, you can try using a waterproof sealant to patch them up. This is a common method for repairing fiberglass bathtubs.
First, thoroughly clean and dry the affected area. Then, apply the sealant directly on the crack or leak, ensuring full coverage. If the crack is deep, you may need to use a fiberglass repair kit to reinforce the area before applying the sealant.
Additionally, it’s important to regularly inspect and seal the grout around the bathtub to prevent water from seeping into the walls or floor.
Once you have successfully repaired the leaks and cracks, you can proceed to the next step of refinishing and rejuvenating the bathtub.
Refinishing and Rejuvenating the Bathtub
Once you’ve repaired any leaks or cracks, you can start refinishing and rejuvenating the tub. Here are three steps to follow for a successful bathtub makeover:
-
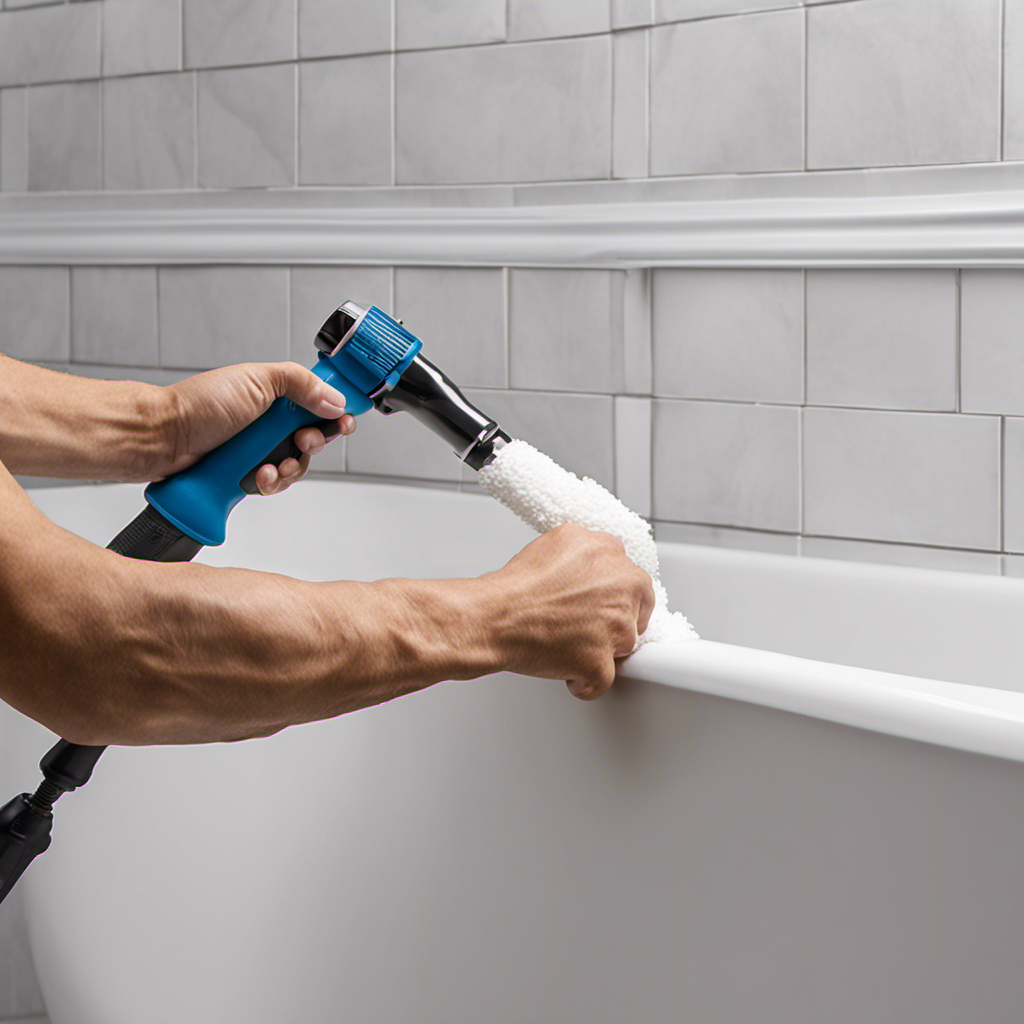
Re-caulking the bathtub:
- Remove the old caulk using a caulk remover tool or a putty knife.
- Clean the area thoroughly to ensure proper adhesion.
- Apply a new bead of silicone caulk, using a caulk gun, and smooth it with a caulk smoother or your finger.
- Allow it to dry completely before moving on to the next step.
-
Sanding the surface:
- Use sandpaper or a sanding block to lightly sand the entire bathtub surface.
- This will help remove any remaining rough patches or old paint.
- Make sure to wipe away any dust or debris before proceeding.
-
Applying a new coat of paint:
- Choose a high-quality bathtub paint that is specifically designed for this purpose.
- Apply the paint evenly using a paintbrush or roller, following the manufacturer’s instructions.
- Allow sufficient drying time between coats, and apply multiple coats if needed for complete coverage.
- Once the paint is dry, your tub will look like new again!
Remember to always follow proper safety precautions and ventilate the area well during the refinishing process.
Conclusion
In conclusion, fixing a bathtub may seem like a daunting task, but with the right tools and materials, it can be easily accomplished.
By assessing the damage, removing and replacing the bathtub drain, and fixing any leaks or cracks, your bathtub can be restored to its former glory.
And don’t forget the final touch of refinishing and rejuvenating the bathtub for a polished finish.
So, roll up your sleeves and get ready to tackle this project – it’s time to bring your bathtub back to life, no ‘bath’ and beyond!