
Hey there! I’m here to spill the beans on how to fix that pesky chip in your bathtub.
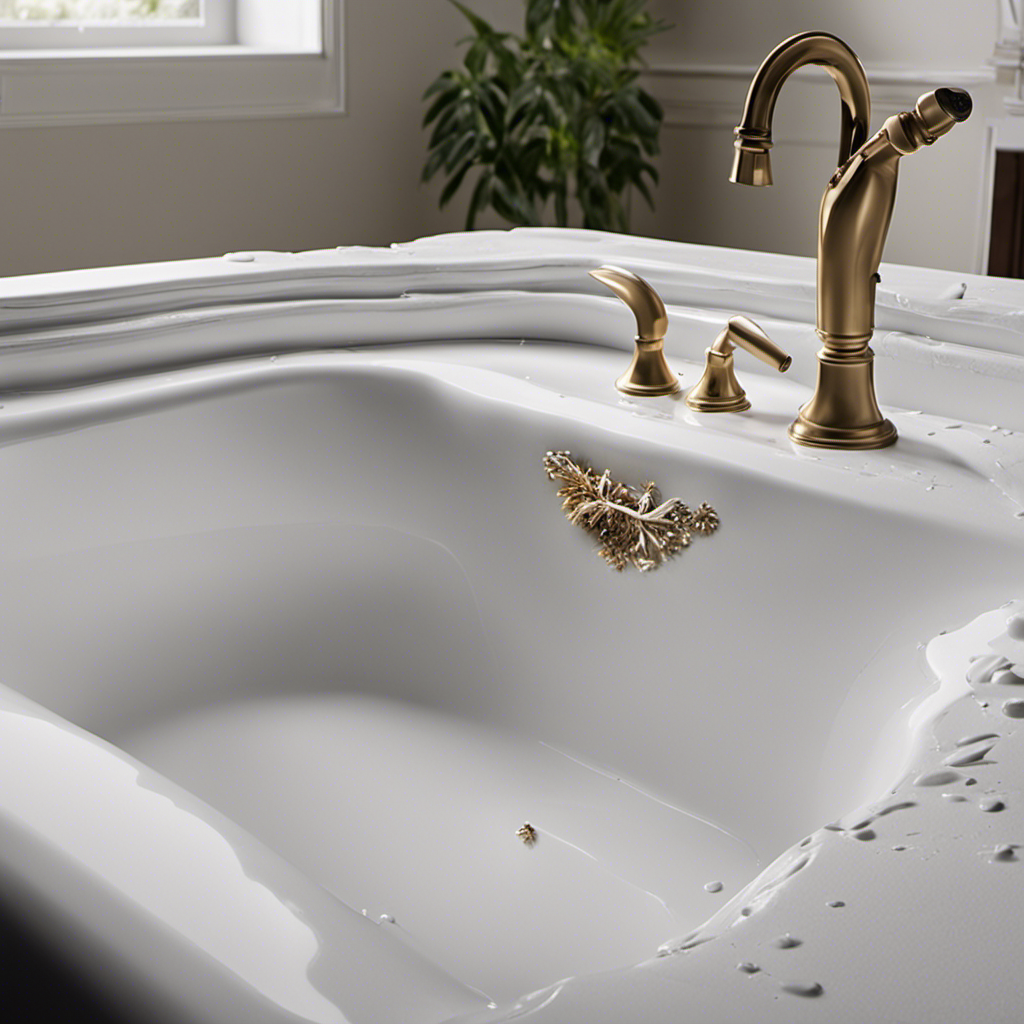
Picture this: you’re enjoying a nice, relaxing soak when you notice a tiny chip. Don’t fret! With a few simple steps and some common tools, you’ll have your bathtub looking good as new in no time.
So, let’s dive in and get your bathtub chip fixed, shall we?
Key Takeaways
- Determine the size and depth of the chip to assess the severity of the damage.
- Small chips may only require a DIY repair, while larger or deeper chips may need professional assistance.
- Clean and prepare the chipped area properly before starting the repair.
- Choose the right epoxy filler for durability and water-resistance, and apply it evenly to the chip using a putty knife.
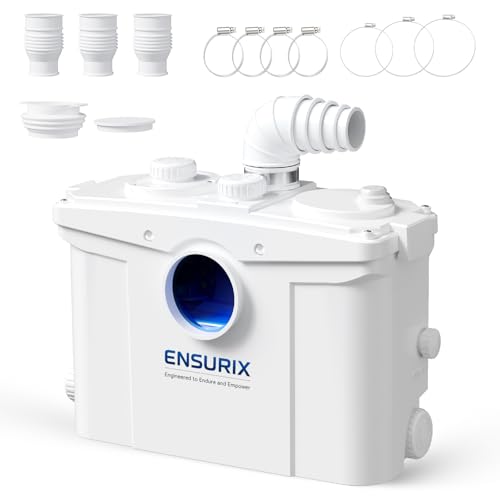
Ensurix 1200W Macerator Pump – 2800GPH, 28FT Vertical Lift Toilet Water Pump with Anti-Backflow, PCB Smart Control, IPX4 Waterproof, Macerator Pump Basement for Toilet, Sink, Bathroom etc.
STRONG POWER & HIGH EFFICIENCY – Equipped with a 1.6HP motor, this macerator pump supports 28ft vertical and...
As an affiliate, we earn on qualifying purchases.
Assess the Chip Size
Before proceeding with any repairs, it’s important to assess the size of the bathtub chip. Assessing chip severity is crucial in determining the appropriate repair options.
To begin, carefully examine the chip to determine its size and depth. A small chip, less than a quarter of an inch in diameter, may only require a simple DIY repair. However, if the chip is larger or deeper, it may require professional assistance.
Assessing the severity of the chip will also help determine the type of repair needed. For minor chips, a touch-up kit or epoxy resin can be used to fill in the damaged area. In more severe cases, a bathtub refinishing or replacement may be necessary.

600W Macerating Toilet for Basement,Upflush Toilet System Connect Dual Flush & Rear Outlet Toilet, Sink & Tub,included Toilet Bowl, Water Tank & Macerator Pump SUPERFLO
Macerating toilet system: Toilet pump sewage upwards to 32.8 feet and/or 263 feet horizontally, effectively solving sewage problems...
As an affiliate, we earn on qualifying purchases.
Gather the Necessary Tools and Materials
Once you’ve gathered all the necessary tools and materials, you can start repairing the chip in your bathtub.
The first step is to choose the right epoxy filler for the job. Look for a filler specifically designed for bathtub repairs, as it will provide the best adhesion and durability.
Proper cleaning techniques are also crucial to ensure a successful repair. Begin by thoroughly cleaning the chipped area with a mild cleaner and a soft cloth. Remove any dirt, grime, or soap scum, as these can interfere with the epoxy’s ability to bond to the surface.
Once the area is clean and dry, you can proceed to the next step of cleaning and preparing the chipped area for the repair.
Simple Project 750W PRO Macerating Toilet System - High Powerful, Upflush Toilet for Basement with 4 Water Inlet & Attics, Dual Flush Toilets with Macerator Pump, Quiet Operation, Space Saving
【Powerful 750W Macerator Pump】This compost toilet Equipped with a 750W motor and sharp stainless steel blades to efficiently...
As an affiliate, we earn on qualifying purchases.
Clean and Prepare the Chipped Area
To get started, you’ll want to make sure the chipped area is thoroughly cleaned and prepared for the repair. Here are some steps to follow:
- Use a mild detergent and warm water to clean the chip. Make sure to remove any dirt, grime, or soap residue.
- Dry the area completely with a clean towel or cloth.
- Sand the chipped area gently using fine-grit sandpaper. This will help roughen up the surface for better adhesion.
- Clean the area again to remove any sanding dust.
By following these simple cleaning and preparation steps, you are ensuring that the repairing techniques will be more effective and long-lasting. Taking proper care of your bathtub chip with these maintenance tips will result in a successful repair.
Now, let’s move on to the next step: applying the epoxy filler to the chip.
1500W Macerator Pump with Grinding Blade Toilet Pump Utility Sink Pump Upflush to 32.8FT 2800GPH Macerating Toilet System with 4 Water Inlets 2 Outlets for Toilet Sink Shower Laundry Kitchen Basement
FULLY AUTOMATIC MACERATOR PUMP : 1500W | 110V-120V/60Hz | 32.8 ft Vertical/328 ft Horizontal | 8000 RMP. Designed...
As an affiliate, we earn on qualifying purchases.
Apply the Epoxy Filler to the Chip
Start by mixing the epoxy filler according to the manufacturer’s instructions, making sure to blend it thoroughly.
When it comes to applying epoxy filler to a bathtub chip, there are a few tips to keep in mind.
First, choose the right epoxy filler for the job. Look for one specifically designed for bathtub repairs, as it will be more durable and water-resistant.
Next, clean the chipped area and remove any loose debris before applying the filler. Use a putty knife or a similar tool to carefully spread the filler over the chip, making sure to fill it completely.
Smooth out the surface with the putty knife, and allow the filler to dry completely before sanding and refinishing the area.
Smooth and Level the Filled Chip
Once the epoxy filler has fully dried and hardened, the next step is to sand the repaired chip. This helps to smooth and level the surface, ensuring a seamless finish.
After sanding, it’s important to apply a finishing seal to protect the repaired area and enhance its durability.
Sanding the Repaired Chip
To carefully smooth out the repaired chip in your bathtub, you’ll need to use fine-grit sandpaper. Sanding is an important step in achieving a seamless finish. Here are some techniques to keep in mind:
- Start with a light touch: Apply gentle pressure as you sand the repaired area.
- Use circular motions: Move the sandpaper in small circles to even out the surface and blend it with the surrounding area.
- Gradually increase the pressure: As you progress, apply slightly more pressure to remove any remaining imperfections.
- Check your progress often: Stop and feel the surface regularly to ensure it’s smooth and level.
Once you’ve finished sanding, wipe away any dust and debris before applying the finishing touches.
Applying a Finishing Seal
To complete the bathtub repair, make sure you apply a finishing seal to protect the surface and give it a polished look.
Applying a clear coat is essential in sealing the repaired chip and preventing further damage.
When choosing the right sealant, consider the type of bathtub material you have. For acrylic or fiberglass tubs, opt for a clear acrylic sealant that is specifically designed for these surfaces.
If you have a porcelain or enamel tub, a clear epoxy or enamel sealant is recommended.
Before applying the sealant, ensure that the repaired chip is clean and dry. Use a brush or sponge to carefully apply the sealant, following the instructions on the product.
Allow it to dry completely before using the bathtub again.
Sand and Blend the Repair With the Surrounding Surface
Start by sanding and blending the repair with the surrounding surface to create a smooth finish. This step is crucial in achieving a flawless repair. Here are some blending techniques that can help you achieve optimal results:
- Gently sand the repaired area with fine-grit sandpaper to create a smooth surface.
- Use a damp sponge or cloth to wipe away any dust or debris.
- Apply a small amount of color-matching touch-up paint to the repaired area.
- Use a soft brush or sponge to blend the paint into the surrounding surface, feathering the edges for a seamless finish.
Seal and Protect the Repaired Chip
When it comes to repairing a chip in a bathtub, it’s important to not only fix the damage but also ensure that it is properly sealed and protected.
Waterproofing the repaired chip is crucial to prevent any water damage or leakage in the future. Additionally, using a long-lasting chip protection product will help maintain the integrity of the repair and prevent further damage.
Lastly, mastering the proper sealant application techniques will ensure a seamless finish and a durable repair that will stand the test of time.
Waterproofing the Repaired Chip
Ensure you thoroughly seal the repaired chip to prevent any water damage. Waterproofing the chip is essential to protect it from further damage and to ensure its longevity.
Here are some effective waterproofing techniques and tips to prevent future chips:
- Apply a waterproof epoxy resin to the repaired chip, creating a strong barrier against water penetration.
- Use a waterproof sealant specifically designed for bathtubs to provide an additional layer of protection.
- Consider using a waterproof tape or adhesive to reinforce the seal and prevent any water from seeping through.
- Regularly inspect the seal and reapply waterproofing products as needed to maintain its effectiveness.
By following these waterproofing techniques and taking preventive measures, you can protect your bathtub from future chips and ensure its durability.
Now, let’s move on to the next section about long-lasting chip protection.
Long-Lasting Chip Protection
After waterproofing the repaired chip, the next step is to ensure long-lasting chip prevention by choosing the right bathtub sealant. This is crucial to maintain the integrity of the repair and protect your bathtub from further damage. When selecting a sealant, there are a few important factors to consider.
Firstly, opt for a sealant specifically designed for bathtubs and showers. These sealants are formulated to withstand constant exposure to water and provide excellent adhesion to various surfaces. Secondly, choose a sealant with mold and mildew resistance properties to prevent the growth of unsightly and unhealthy contaminants. Lastly, consider the color and finish of the sealant to ensure it matches your bathtub’s aesthetics.
To simplify your decision-making process, here is a helpful table comparing some popular bathtub sealants:
| Sealant Name | Features | Price |
|---|---|---|
| Silicone Sealant | Waterproof, flexible, mold-resistant | $10-$15 |
| Acrylic Sealant | Easy to apply, paintable, durable | $8-$12 |
| Epoxy Sealant | Strong adhesion, chemical-resistant | $15-$20 |
| Polyurethane Sealant | High elasticity, UV-resistant | $12-$18 |
| Latex Sealant | Quick-drying, water-based, affordable | $5-$10 |
Sealant Application Techniques
To properly apply the sealant, start by preparing the surface by cleaning it thoroughly and ensuring it is dry. Once the surface is ready, follow these steps to achieve a successful sealant application:
- Gently squeeze the sealant tube to dispense a small amount onto the chip.
- Use a small brush or applicator to spread the sealant evenly over the chip.
- Allow the sealant to dry completely before using the bathtub.
If desired, choose a sealant color that matches your bathtub to achieve a seamless repair. Sealant color options can vary depending on the brand, but common options include white, almond, and clear. These colors are designed to blend in with most bathtub materials and provide a professional-looking finish.
While sealants are a popular choice for chip repair, there are alternative methods available. Some options include using bathtub repair kits, epoxy resin, or even hiring a professional to do the repair. Each method has its pros and cons, so consider your specific situation and needs before deciding on the best approach.
Conclusion
In conclusion, fixing a bathtub chip is a simple and cost-effective solution. By assessing the chip size and gathering the necessary tools and materials, one can easily clean and prepare the chipped area.
Applying epoxy filler and smoothing it out will ensure a seamless repair. Lastly, sanding and blending the repair with the surrounding surface, as well as sealing and protecting it, will leave your bathtub looking brand new.
Remember, a little effort can go a long way in restoring your chipped bathtub to its former glory!