Did you know that over 50% of homeowners will encounter a crack in their bathtub at some point? If you find yourself facing this common issue, fear not!
This article will guide you through the process of fixing a bathtub crack step by step. From assessing the damage to applying the repair product, you’ll learn the necessary tools and techniques to restore your tub to its former glory.
So grab your supplies and let’s get started!
Key Takeaways
- Assess the severity of the crack and determine if it is a hairline crack or deeper.
- Gather the necessary tools and choose the right repair product for the bathtub material.
- Prepare the crack by cleaning it, removing debris, and creating a clean and even surface.
- Apply the repair product evenly, allow it to cure, and then sand and smooth the surface for a seamless finish.

59 Inch Corner Jetted Tub - Luxury White Whirlpool Plastic Acrylic Bathtub with 7 Color Light Perfect for Couples' Relaxation and Wellness Home Spa, Ergonomical Designed Bathtub with Water Message
[Ergonomic Design for Ultimate Comfort] Featuring dual headrests and ergonomically angled sides, this bathtub delivers exceptional support for...
As an affiliate, we earn on qualifying purchases.
Assessing the Damage
Before you begin fixing the bathtub crack, it’s important to assess the extent of the damage. Evaluating the severity of the crack is crucial in determining the appropriate course of action.
Start by examining the crack closely. Check if it is a hairline crack or a more significant one that runs deeper. Inspect the surrounding area for any signs of water damage or mold growth.
If the crack is small and superficial, you may be able to repair it yourself using a bathtub repair kit. However, if the crack is large, deep, or extends beyond the surface, it is advisable to consult a professional.
They have the expertise and tools to handle more severe damages and ensure a proper, long-lasting repair.

Empava 59" Corner Whirlpool Bathtub for 2-Person, Luxury Jetted Spa Tub with 10 Hydro Massage Jets, Built-in Heater, Chromatherapy LED Lights & Constant Heat System, ETL Certified Acrylic Tub
Dual-Person Hydrotherapy: Experience couples' relaxation in this corner tub featuring 10 strategically placed jets powered by a 1.0...
As an affiliate, we earn on qualifying purchases.
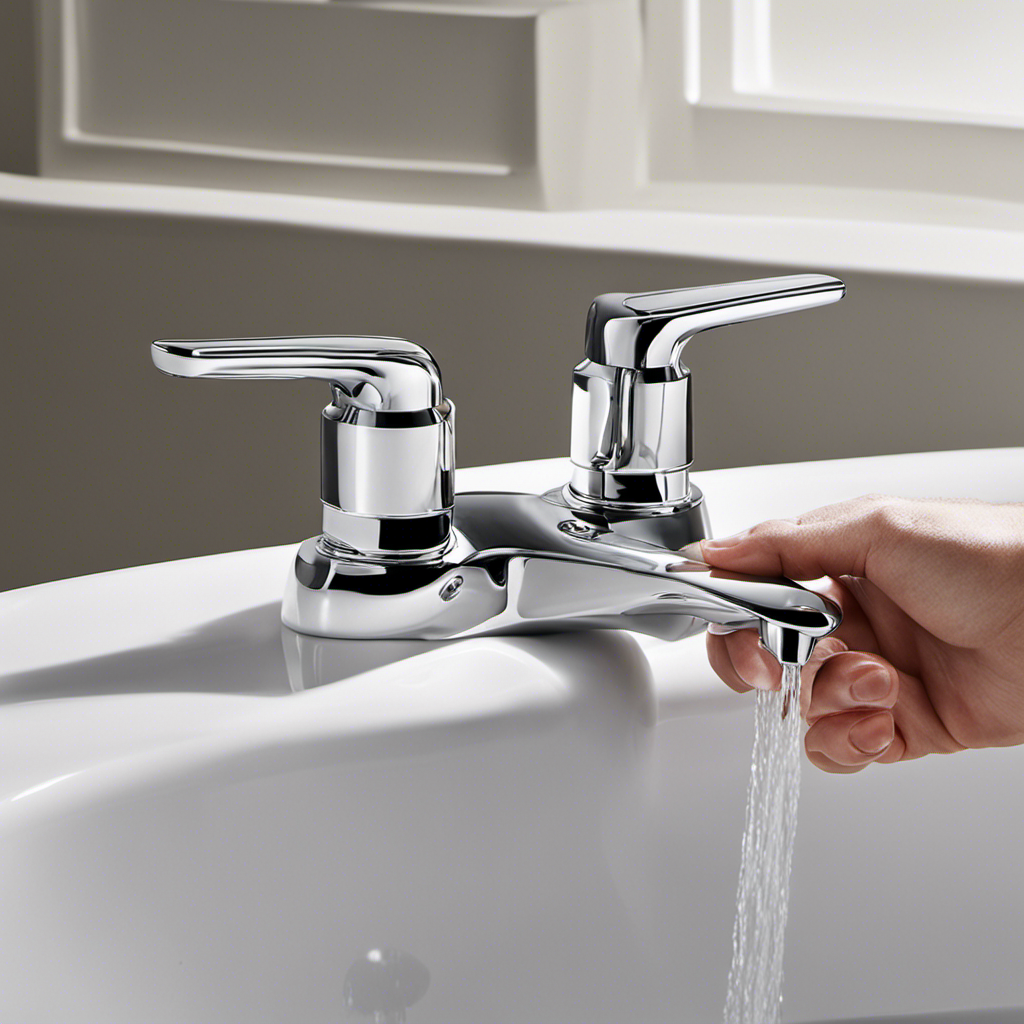
Gathering the Necessary Tools
To gather the necessary tools, you’ll need a putty knife, sandpaper, and epoxy adhesive. These tools are essential for repairing a bathtub crack effectively.
Here’s what you need to do:
-
Choosing the right repair product: Before starting the repair process, it’s crucial to select the appropriate repair product for your bathtub material. Different materials require different types of epoxy adhesives or repair kits. Ensure that you choose a product specifically designed for repairing cracks in bathtubs.
-
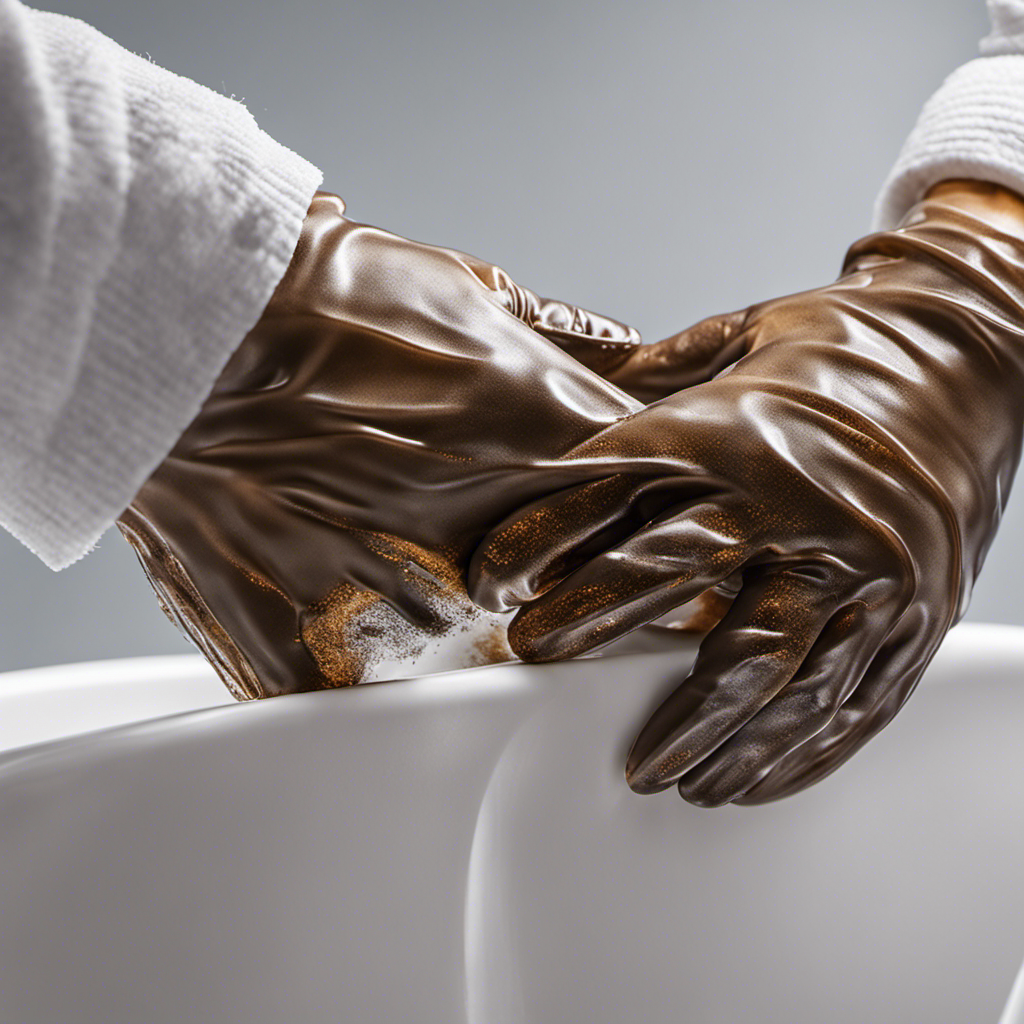
Safety precautions during the repair process: Your safety is paramount. Make sure to wear protective gloves and safety goggles to prevent injuries. It is also advisable to work in a well-ventilated area to avoid inhaling any fumes from the epoxy adhesive. Additionally, keep children and pets away from the repair area to prevent accidents.

Empava Whirlpool Bathtub Massage Soaking SPA Chromatherapy Jets Tub Model 2021 59JT005
Outer Dimensions: 59 in. W x 59 in. D x 25.59 in. H, 100 gallons of water capacity,...
As an affiliate, we earn on qualifying purchases.
Preparing the Crack
Now, you’ll start by preparing the crack for repair.
Before you can fix a bathtub crack, it’s crucial to properly prepare the damaged area. This step will ensure that the repair is successful and long-lasting.
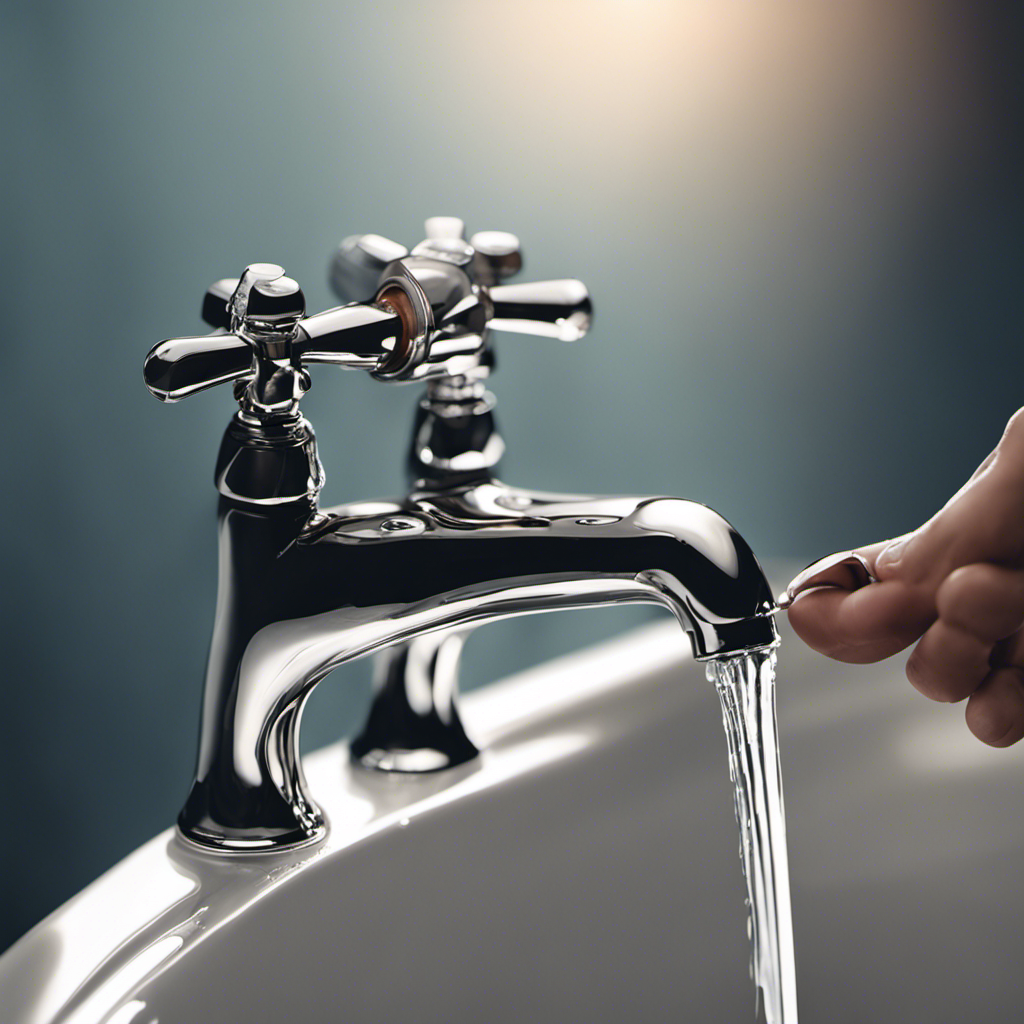
To begin, you’ll need to clean the crack thoroughly using a mild detergent and water. Make sure to remove any dirt, debris, or loose pieces of the bathtub surface.
Next, use a sandpaper or a grinding tool to smooth the edges of the crack. This will create a clean and even surface for the repair material to adhere to.
Once the crack is clean and smooth, you can proceed with the chosen repair technique and sealing method to fix the bathtub crack effectively.

Empava Whirlpool Tub,48 in Freestanding Air Jetted Bathtub, Japanese Soaking Tub with Pre-Molded Seat, 36 Air Jets for Spa-Like Relaxation, Glossy White Luxury Acrylic Design
Luxurious Air Jet Massage System: Equipped with 36 precision air pinhole jets powered by a ½ HP air...
As an affiliate, we earn on qualifying purchases.
Applying the Repair Product
Once the crack has been properly prepared, you’ll want to apply the repair product to ensure a seamless and durable fix. Follow these steps to master the applying technique:
-
Choose the right repair product: Select a bathtub repair kit specifically designed for your type of bathtub material, such as acrylic or porcelain. This ensures compatibility and maximizes the chances of a successful repair.
-
Read the instructions: Before applying the repair product, carefully read the manufacturer’s instructions. Pay attention to any specific preparation or application techniques recommended for optimal results.
-
Apply the repair product: Using a putty knife or a spatula, apply the repair product evenly over the crack, making sure to completely fill the damaged area. Smooth out the surface to create a seamless finish. Allow the product to cure according to the manufacturer’s instructions.
Sanding and Smoothing the Surface
Smooth out the surface by sanding it gently with fine-grit sandpaper to create a seamless finish. This step is crucial in preparing the repaired area for buffing and polishing, as well as filling and sealing. By sanding the surface, you are not only removing any rough edges or unevenness, but also creating a smooth and level base for further treatment. Start by using a 220-grit sandpaper and progress to a 320-grit for a finer finish. Be sure to sand in a circular motion, applying light pressure to avoid damaging the surrounding area. Once the surface is smooth and even, you can proceed with buffing and polishing to restore its shine and appearance. Additionally, filling and sealing any remaining cracks or imperfections will ensure a durable and long-lasting repair.
| Sandpaper Grit | Purpose |
|---|---|
| 220 | Removes rough edges and unevenness |
| 320 | Creates a smoother finish |
Remember to wear protective gloves and eyewear while sanding to prevent any injuries.
Finishing Touches and Maintenance
To maintain the repaired surface, regularly clean and apply a protective wax coating to keep it looking shiny and new.
Here are three important steps to follow for bathtub crack prevention and maintaining the bathtub finish:
-
Clean the surface: Use a non-abrasive cleaner to remove dirt, soap scum, and stains from the bathtub. Avoid using harsh chemicals or abrasive scrubbers that can damage the finish.
-
Apply protective wax coating: After cleaning, apply a thin layer of bathtub wax using a soft cloth or sponge. This wax creates a protective barrier that helps prevent cracks and keeps the surface looking glossy.
-
Regular maintenance: Make it a habit to clean and wax your bathtub at least once a month. This will help maintain the finish and prevent any cracks from forming.
Frequently Asked Questions
How Long Does It Take for the Repair Product to Fully Cure?
To speed up the curing process of bathtub crack repair product, you can apply multiple layers. However, keep in mind that each layer needs time to fully cure. The time it takes for the product to fully cure depends on the specific brand and instructions.
Can I Use a Different Type of Repair Product for a Bathtub Crack?
Yes, you can use an alternative repair product for a bathtub crack. However, there may be potential drawbacks such as limited durability and a less seamless appearance compared to specialized bathtub repair products.
Can I Still Use My Bathtub While the Repair Product Is Drying?
You can still use your bathtub while the repair product is drying. However, it is recommended to avoid placing any heavy objects or applying excessive pressure on the repaired area to prevent further damage.
Will the Repaired Crack Be as Strong as the Original Bathtub Material?
When you repair a bathtub crack, the durability of the repaired crack depends on the repair method used. For example, if you use a high-quality epoxy resin, the repaired crack can be as strong as the original material.
How Often Should I Perform Maintenance on the Repaired Crack to Ensure Its Longevity?
To ensure the longevity of your repaired crack, perform regular maintenance according to the recommended frequency. Effective maintenance techniques include inspecting for new cracks, sealing any small cracks promptly, and avoiding harsh chemicals or abrasive cleaners that can damage the repair.
Conclusion
Now that you’ve successfully repaired your bathtub crack, you can bask in the satisfaction of a job well done.
Like a skilled surgeon, you assessed the damage, gathered your trusty tools, and prepared the crack for its much-needed makeover.
With precision and finesse, you applied the repair product, transforming the once-unsightly blemish into a seamless work of art.
The sanding and smoothing process was like a soothing massage, leaving the surface silky and flawless.
Finally, with the finishing touches complete, your bathtub is ready to reign supreme in your bathroom sanctuary.
Remember to maintain it regularly, ensuring its longevity and continued beauty.