Are you tired of dealing with a malfunctioning bathtub diverter that disrupts your relaxing bath time? Look no further!
In this article, we will guide you through the step-by-step process of fixing your bathtub diverter. With just a few simple tools and materials, you’ll be able to disassemble, repair or replace faulty parts, and reassemble your diverter with ease.
Get ready to enjoy a perfectly functioning bathtub diverter and indulge in a soothing bath experience like never before!
Key Takeaways
- Locate the bathtub diverter on the tub spout or behind the faucet handle.
- Gather the necessary tools and materials for repairing common problems.
- Disassemble the bathtub diverter by unscrewing the handle, removing the trim sleeve and escutcheon plate, and inspecting the diverter stem.
- Repair or replace the faulty parts using compatible replacement components and ensure tight connections when reassembling.
Identifying the Bathtub Diverter
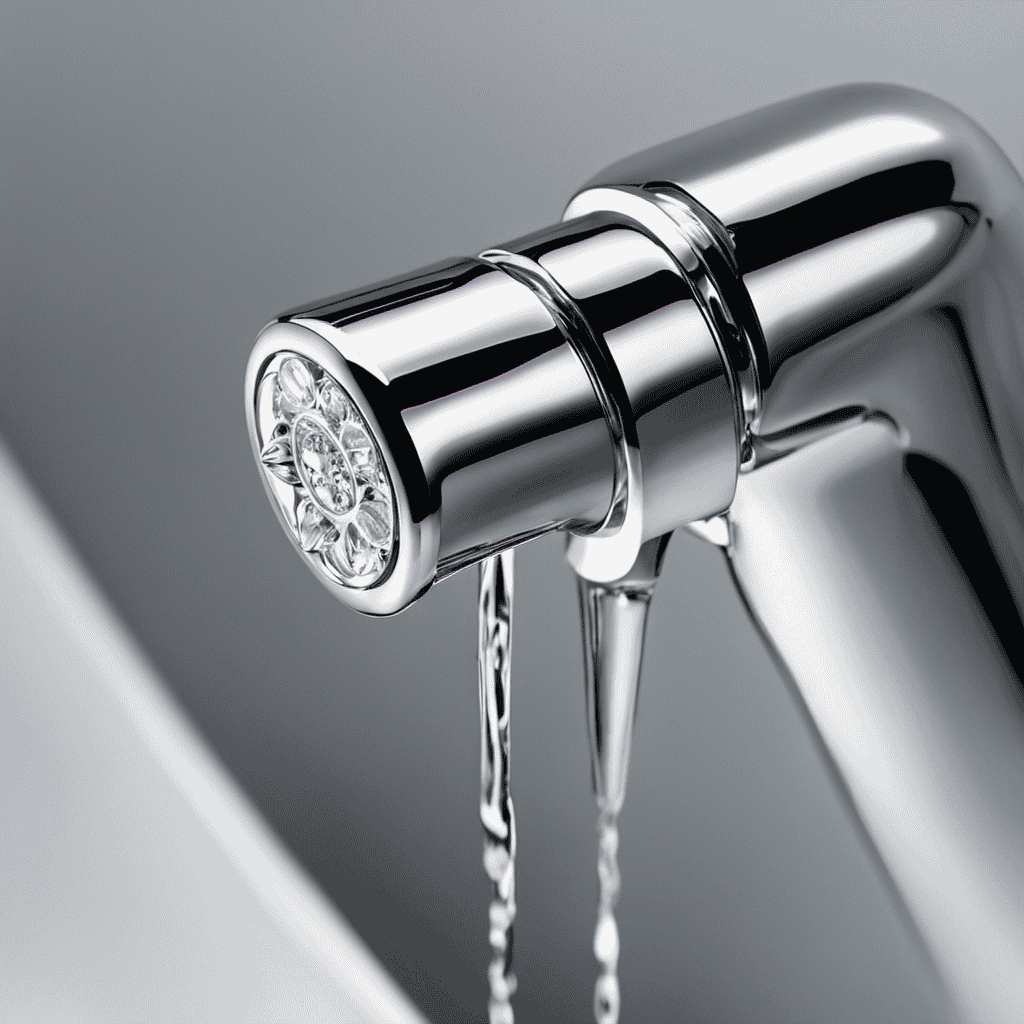
The first step in fixing a bathtub diverter is identifying where it is located. The bathtub diverter is a small device that controls the flow of water between the tub faucet and the showerhead. Common bathtub diverter problems include leaks, low water pressure, or the inability to divert water from the faucet to the showerhead.
To troubleshoot the bathtub diverter, start by locating it. In most cases, the diverter is found on the tub spout or behind the faucet handle. Look for a small lever or button that can be pulled or pushed to divert the water. If you are unsure, consult the manufacturer’s instructions or seek professional help.
Identifying the location of the bathtub diverter is crucial for successfully fixing any issues.
Gathering the Necessary Tools and Materials
To gather the necessary tools and materials, you’ll need a flathead screwdriver, an adjustable wrench, plumber’s tape, and a replacement diverter valve. These items are essential for repairing common bathtub diverter problems. The diverter valve is responsible for controlling the flow of water between the tub faucet and the showerhead. Over time, it can become worn out or clogged, leading to issues such as low water pressure or water leaking from the spout when the shower is on. By following a step-by-step bathtub diverter repair guide, you can easily fix these problems yourself. Here is a table that outlines the tools and materials needed for the repair:
| Tool/Material | Description |
|---|---|
| Flathead Screwdriver | Used for removing screws |
| Adjustable Wrench | Used for tightening or loosening nuts and bolts |
| Plumber’s Tape | Used for sealing pipe connections |
| Replacement Diverter Valve | Used to replace the faulty diverter valve |
Now that you have the necessary tools and materials, let’s move on to the next step in repairing your bathtub diverter.
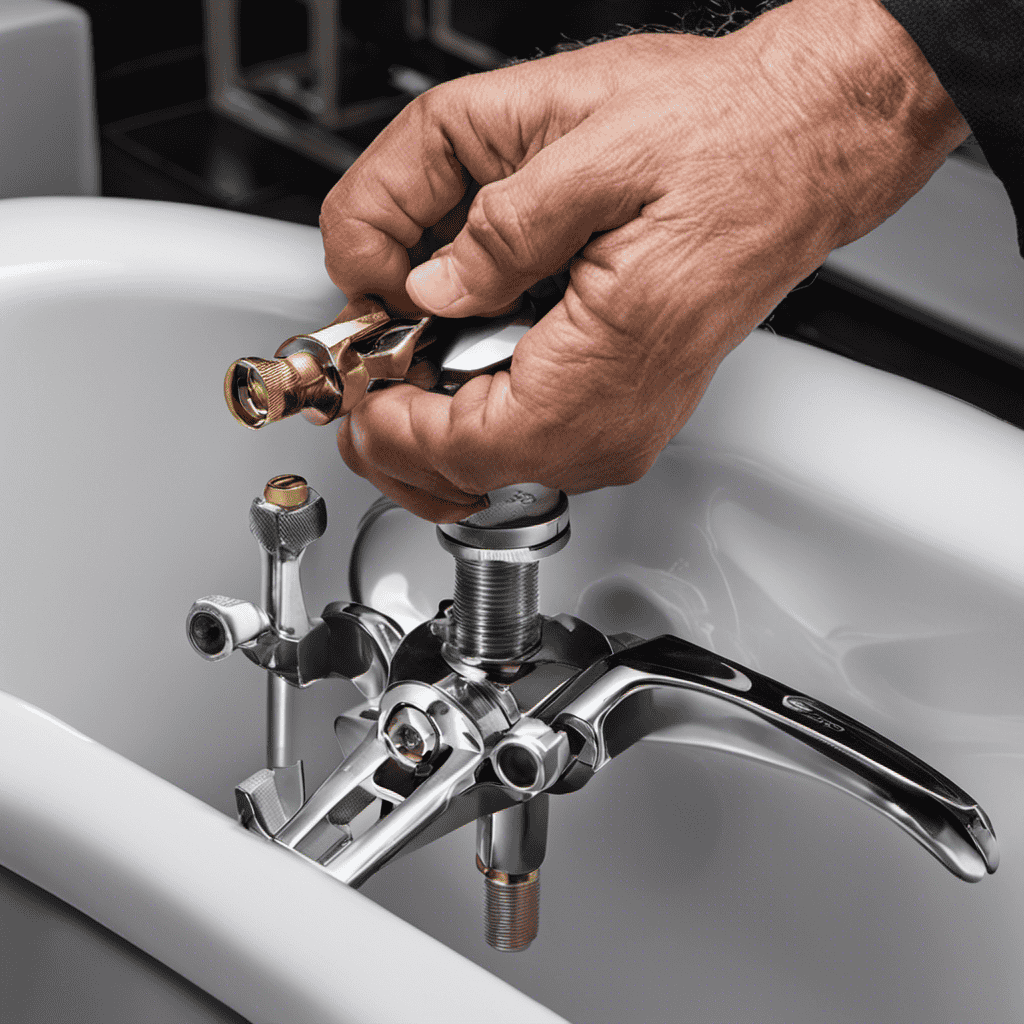
Disassembling the Bathtub Diverter
Now, you’ll want to start by unscrewing the diverter handle to access the inner components. The common bathtub diverter issues include leaks, insufficient water flow, and improper water direction.
Troubleshooting the bathtub diverter requires disassembling it step by step. After removing the handle, you’ll need to unscrew the trim sleeve and remove the escutcheon plate.
Next, locate the diverter stem and use a wrench to loosen the packing nut. Once the packing nut is removed, you can easily pull out the diverter stem. Inspect the stem for any damage or debris that might be causing the issues.
If necessary, clean the diverter stem thoroughly or replace it altogether. Now that you’ve successfully disassembled the bathtub diverter, it’s time to move on to repairing or replacing the faulty parts.
Repairing or Replacing the Faulty Parts
Once you’ve identified the faulty parts, you’ll need to gather the necessary tools and replacement components for the repair or replacement process. Common bathtub diverter issues include leaks, a stuck diverter, or a weak water flow. Troubleshooting bathtub diverter problems involves determining the cause of the issue and then addressing it accordingly.
To repair or replace the faulty parts, you’ll need a few essential tools such as a screwdriver, pliers, and an adjustable wrench. Additionally, you’ll need replacement components like a new diverter valve or cartridge, depending on the type of diverter you have. It’s crucial to ensure that the replacement parts are compatible with your specific bathtub model.
To begin the repair process, turn off the water supply to the bathtub and remove the handle and trim plate. Once exposed, you can access the diverter valve or cartridge. Use your tools to carefully remove the faulty part and replace it with the new one. Ensure everything is securely tightened and reassemble the handle and trim plate.
Reassembling and Testing the Bathtub Diverter
After reassembling the components, make sure to turn on the water supply and test the functionality of your repaired or replaced bathtub diverter. To troubleshoot common issues and ensure proper water flow, follow these steps:
-
Check for leaks: Ensure all connections are tight and there are no water leaks around the diverter.
-
Adjust water flow: Use the diverter handle to switch between the bathtub spout and showerhead. Make sure the water flows smoothly from both outlets.
-
Test temperature control: Turn on the hot and cold water knobs to check if the diverter accurately adjusts the water temperature.
Here is an example of a table that shows the different settings and their corresponding water flow:
| Setting | Water Flow |
|---|---|
| Bathtub | Water comes out of the spout |
| Shower | Water comes out of the showerhead |
| Off | No water flow |
Conclusion
To conclude, fixing a bathtub diverter is a task that requires some time and effort, but with the right tools and knowledge, you can successfully repair or replace the faulty parts.
By disassembling and inspecting the diverter, you can identify the problem and take the necessary steps to fix it. Whether it’s a simple repair or a complete replacement, following the proper procedures will ensure a functioning bathtub diverter.
So don’t let a malfunctioning diverter dampen your bathing experience; take action and enjoy a fully functional bathtub once again!