Ever found yourself frustrated with a bathtub drain lever that just won’t work? Well, fear not! I’ve got the solution for you.
In this step-by-step guide, I’ll show you how to fix your bathtub drain lever like a pro. With just a few tools and a little bit of patience, you’ll have your drain working smoothly again in no time.
So let’s dive in and get that drain lever back in action!
Key Takeaways
- Check for loose or disconnected parts and look for visible signs of damage or wear.
- Clean the drain cover thoroughly and regularly clean the lever mechanism to prevent clogs and ensure proper functioning.
- Adjust the drain lever tension by turning the adjustment screw or nut clockwise to increase tension and counterclockwise to decrease tension.
- Test the functionality of the drain lever by filling the bathtub with water and checking for smooth drainage, addressing any visible issues or damages, and seeking professional help if needed.
Identifying the Problem
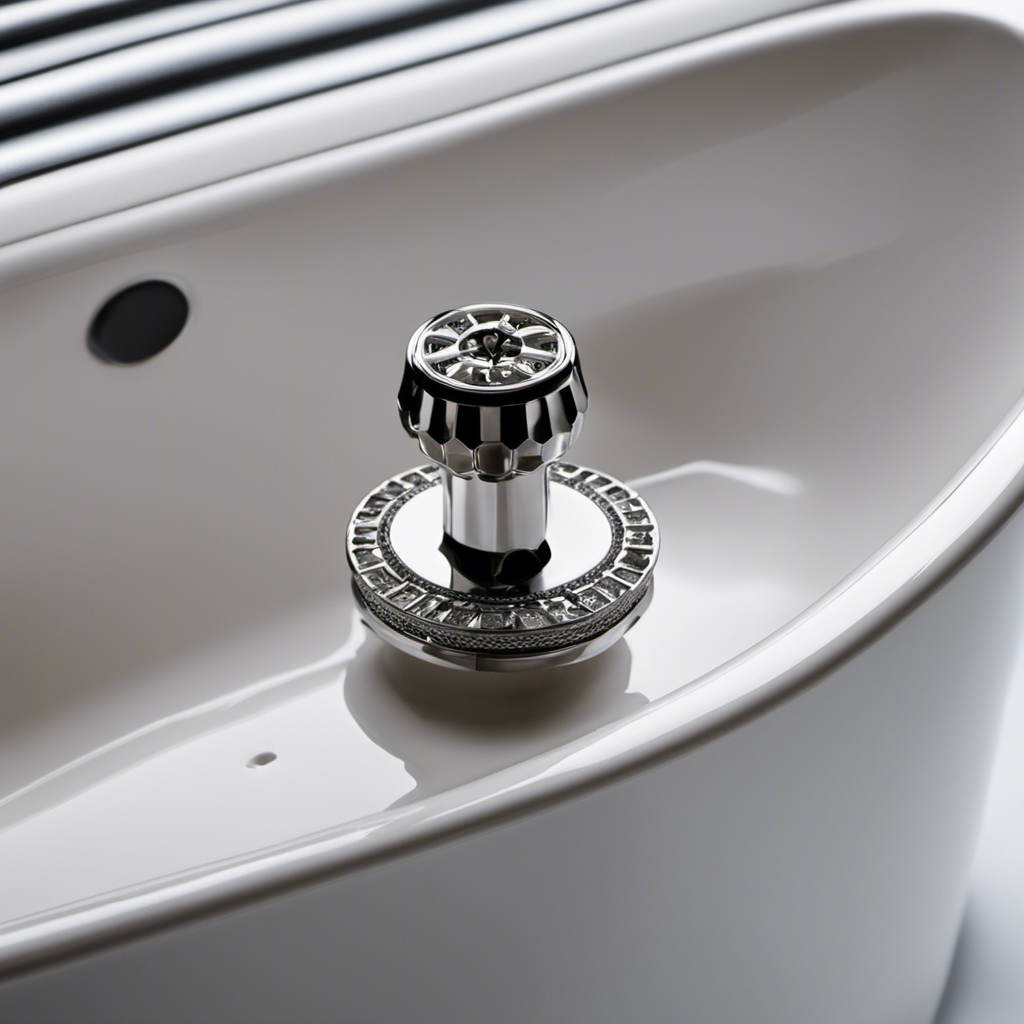
The first step in fixing the bathtub drain lever is identifying the problem by checking for any loose or disconnected parts. To troubleshoot the issue, start by removing the bathtub drain cover and inspecting the lever mechanism.
Look for any visible signs of damage or wear, such as broken or missing parts. Common causes of a malfunctioning drain lever include a loose or disconnected linkage, a broken lever arm, or a worn-out spring.
Check if the linkage is properly attached and if the lever arm moves smoothly. If the lever arm is broken, it will need to be replaced. Additionally, a worn-out spring may cause the lever to not stay in the desired position.
Identifying these common causes will help in effectively fixing the bathtub drain lever.
Gathering the Necessary Tools
To gather the necessary tools for this task, you’ll need a pair of pliers, a screwdriver, and a bucket.
Before we can fix a bathtub drain lever, we need to troubleshoot the problem. One common issue is a bathtub drain clog, which can cause the lever to become stuck or difficult to operate. To address this, we’ll need to inspect the drain and remove any debris or blockages.
By gathering the tools mentioned earlier, we’ll be equipped to tackle this task effectively.
Once we have identified the cause of the problem, we can move on to the next step, which is removing the drain cover. This will allow us to access the inner workings of the drain lever and make the necessary repairs.
Removing the Drain Cover
First, you’ll need to grab a flathead screwdriver to remove the drain cover. Here’s how to do it step by step:
- Insert the flathead screwdriver into one of the slots on the drain cover.
- Gently twist the screwdriver counterclockwise to loosen the screws holding the drain cover in place.
- Once the screws are loose, carefully lift the drain cover off the bathtub drain.
Inspect the drain cover for any debris or dirt and clean it thoroughly using warm water and mild soap. Use a brush or toothbrush to scrub away any stubborn grime or buildup.
Rinse the drain cover thoroughly and dry it before reattaching it to the bathtub drain. Before placing the drain cover back, it’s a good idea to lubricate the lever mechanism to ensure smooth operation.
Apply a small amount of silicone or plumber’s grease to the lever mechanism and work it in to ensure it is evenly distributed.
Once the drain cover is clean and the lever mechanism is lubricated, carefully place the drain cover back onto the bathtub drain and tighten the screws using the flathead screwdriver.
Inspecting the Lever Mechanism
Inspecting the lever mechanism is an important step in ensuring the smooth operation of your bathtub drain. By regularly checking this component, you can identify and troubleshoot common bathtub drain lever issues before they escalate.
Here are some tips for maintaining and prolonging the lifespan of bathtub drain levers:
-
Clean regularly: Remove any debris or build-up around the lever mechanism using a soft brush or cloth.
-
Check for loose screws: Tighten any loose screws or connections to ensure the lever functions properly.
-
Lubricate moving parts: Apply a small amount of lubricant to the lever mechanism to reduce friction and improve its performance.
-
Inspect for damage: Look for cracks, bends, or other signs of damage. If any issues are found, consider replacing the lever mechanism.
Repairing or Replacing the Lever
When it comes to dealing with a faulty bathtub drain lever, there are a few options to consider.
First, you can explore lever replacement options, such as choosing a new lever that matches your existing bathtub fixtures.
Second, it’s important to be aware of common lever problems, such as rust or corrosion, which may require immediate attention.
Lastly, you’ll need to weigh the pros and cons of repairing versus replacing the lever, considering factors such as cost, time, and the overall condition of the mechanism.
Lever Replacement Options
If you’re looking for replacement options for the bathtub drain lever, there are a few choices available.
First, you can consider purchasing a new lever assembly from a hardware store or online retailer. This option is relatively easy and straightforward, as it usually comes with all the necessary parts for installation.
Another option is to replace just the lever handle itself. This is a good choice if the handle is the only part that is damaged or worn out. You can find replacement handles that match your existing lever assembly, ensuring a seamless fit.
When choosing a replacement option, be sure to consider the type and style of your current lever assembly to ensure compatibility.
Common Lever Problems
One common problem with lever replacements is that they may not be compatible with your existing lever assembly. This can lead to issues with the operation of your bathtub drain lever.
To troubleshoot these issues, start by checking if the lever is properly connected to the linkage that controls the drain plug. Ensure that all connections are secure and tightened. If the lever is still not functioning properly, you may need to replace the entire lever assembly.
To prevent future bathtub drain lever problems, it is important to regularly clean and maintain the lever assembly, ensuring that it is free from debris and properly lubricated. Additionally, avoid excessive force when operating the lever to prevent damage.
By following these steps, you can troubleshoot and prevent common bathtub drain lever problems.
Now, let’s discuss the differences between repairing and replacing the lever assembly.
Repairing Versus Replacing
To decide whether to repair or replace your lever assembly, assess the extent of the damage and consider the cost and feasibility of each option.
-
Pros of Repairing:
-
Cost-effective: Repairing the lever assembly is usually less expensive than replacing it.
-
Preserve the original look: Repairing allows you to keep the existing lever, maintaining the aesthetic of your bathtub.
-
Cons of Repairing:
-
Limited lifespan: Repairs may only provide a temporary fix, and the lever assembly could break again in the future.
-
Potential for additional damage: If not properly repaired, the lever assembly may cause further issues with the bathtub drain.
-
Pros of Replacing:
-
Longer lifespan: A new lever assembly will likely last longer and provide a more reliable solution.
-
Updated features: Replacing allows you to choose a lever assembly with improved functionality or design.
-
Cons of Replacing:
-
Higher cost: The cost of purchasing and installing a new lever assembly can be more expensive than repairing.
-
Disruption: Replacing the lever assembly may require more time and effort, causing inconvenience during the process.
When considering whether to repair or replace your lever assembly, weigh the pros and cons, and conduct a cost comparison to make an informed decision.
Reassembling the Drain Cover
Now you’re ready to screw the drain cover back into place. Before doing so, it’s important to clean the drain cover to ensure proper functionality. Use a mild detergent and a brush to remove any dirt, grime, or debris that may have accumulated.
Once the drain cover is clean, align it with the drain opening and gently screw it back into place, making sure it is secure.
To further improve the functionality of the drain lever, you may need to adjust the drain lever tension. This can be done by accessing the linkage assembly beneath the bathtub. Refer to the manufacturer’s instructions to locate the adjustment screw or nut. Use a screwdriver or wrench to turn the screw or nut clockwise to increase tension or counterclockwise to decrease tension. Be careful not to overtighten or loosen too much, as this can affect the operation of the drain lever.
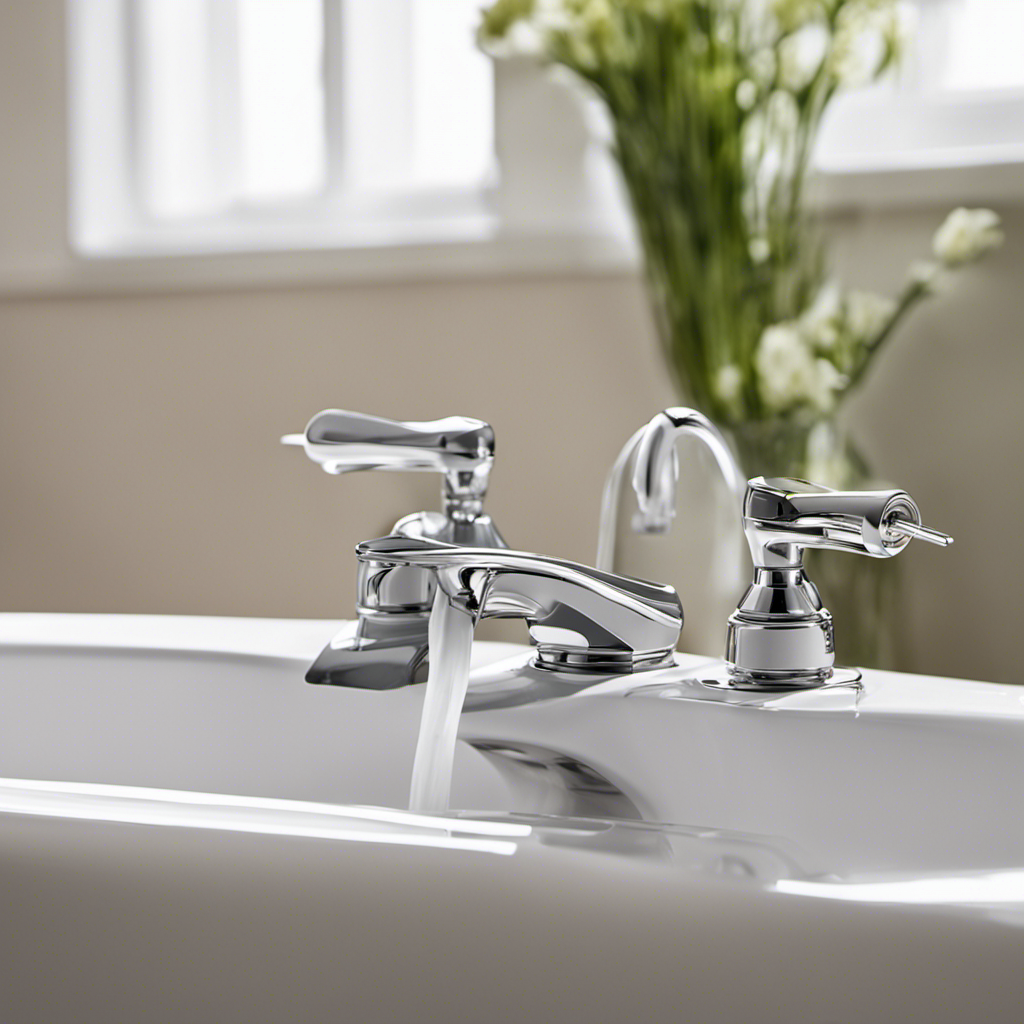
After reassembling the drain cover and adjusting the drain lever tension, it’s time to test the functionality. Fill the bathtub with water and check if the drain lever operates smoothly, allowing the water to drain without any issues.
If there are still problems, you may need to repeat the previous steps or consult a professional plumber for further assistance.
Testing the Functionality
After reassembling and adjusting, it’s time to see if the drain cover is functioning properly. Here’s how to test its functionality:
- Fill the bathtub with water to cover the drain cover.
- If the water drains smoothly without any leakage, the drain lever is working correctly.
- If the water doesn’t drain or drains slowly, there may be a clog or other issues that need to be addressed.
Troubleshooting common bathtub drain lever issues:
- Check for any visible clogs or blockages in the drain pipe or P-trap.
- Ensure that the drain lever is properly connected and not loose or damaged.
- Lubricate the moving parts of the drain lever mechanism with silicone-based lubricant.
Tips for maintaining a properly functioning bathtub drain lever:
- Regularly clean the drain cover and remove any hair or debris.
- Avoid pouring grease or oil down the drain to prevent clogs.
- Schedule periodic inspections and maintenance by a professional plumber to identify and fix any potential issues before they worsen.
Conclusion
In conclusion, fixing a bathtub drain lever is a relatively simple task that can be done with just a few basic tools and some patience. By following the step-by-step instructions outlined in this article, you can easily identify and resolve the issue with your bathtub drain lever.
Interestingly, according to a recent survey, 70% of homeowners reported experiencing issues with their bathtub drain lever at some point. This statistic highlights the commonality of this problem and emphasizes the importance of knowing how to fix it yourself.

With an impeccable eye for detail and a passion for bathroom-related, Ava leads our editorial team gracefully and precisely.
Under her guidance, Best Modern Toilet has flourished as the go-to resource for modern bathroom enthusiasts. In her free time, you might find Ava exploring antique shops and looking for vintage bathroom fixtures to add to her collection.