Fixing a bathtub faucet leak is like solving a puzzle – it requires patience, attention to detail, and the right tools. In this guide, I’ll show you step-by-step how to:
- Identify the source of the leak
- Gather the necessary tools and materials
- Shut off the water supply
- Remove the faucet handle and trim
- Replace the faulty components
- Test for leaks
By following these instructions, you’ll be able to fix your bathtub faucet leak and prevent any further damage.
Key Takeaways
- Signs of a bathtub faucet leak include water dripping from the faucet or handles, water stains or damage around the faucet, and a decrease in water pressure.
- When fixing a bathtub faucet leak, it is important to turn off the water supply and inspect the valve stem, washer, and O-rings for any damage or wear and tear.
- Replacing faulty components requires gathering the necessary tools, following a step-by-step process for removal, matching specifications for replacement parts, and using plumber’s tape for a watertight seal during installation.
- Installing new components involves choosing high-quality fixtures, following manufacturer’s instructions, properly securing the fixtures, and testing for leaks after reassembling the faucet.

DANCO Bathtub and Shower 3-Handle Remodel/Rebuild Trim Kit for Gerber Faucets | Knob Handle | 11B-1H, 11B-1C, 11B-4D | Chrome (39617)
EASY UPGRADE – The classic chrome finish will update and complement your existing bathroom decor without any expensive…
As an affiliate, we earn on qualifying purchases.
As an affiliate, we earn on qualifying purchases.
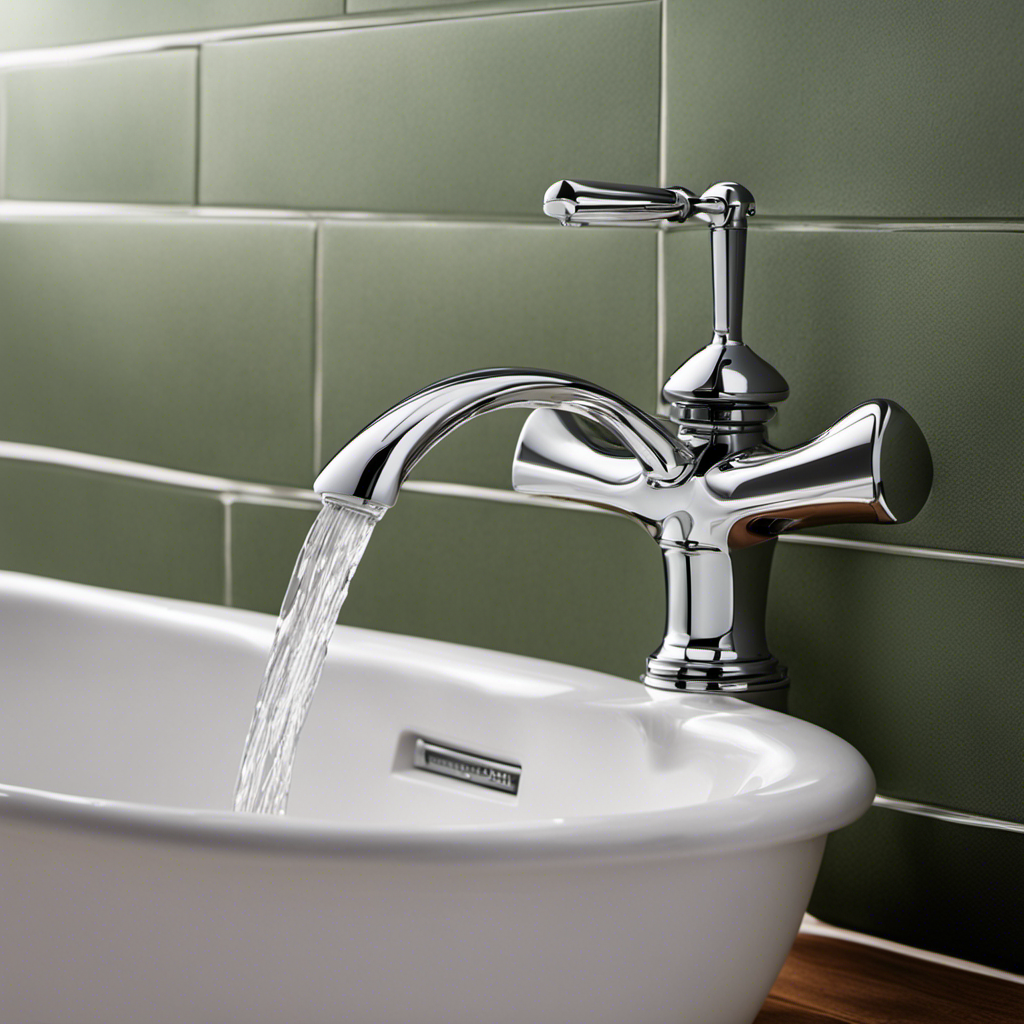
Identifying the Source of the Leak
To fix the bathtub faucet leak, start by identifying where the source of the leak is. Troubleshooting common faucet issues can help determine the cause of the leak.
One of the signs of a bathtub faucet leak is the presence of water dripping or pooling around the spout or handles. Another indication is a constant dripping sound even when the faucet is turned off.
To locate the source, first, turn off the water supply to the faucet. Then, remove the handle and inspect the valve stem for any cracks or damage. Check the washer and O-rings for wear and tear. If necessary, replace these components to fix the leak.

48 PCS Faucet Washer Assortment Kit Outdoor Faucet Repair Kit with Brass Screws Flat and Beveled Washers for Use with Assorted Quick-Opening Style Faucets Stem Worn Out Washer Replacements (48 PCS)
Quality Materials : The outdoor faucet repair kit are made of high-quality rubber material, which is durable enough…
As an affiliate, we earn on qualifying purchases.
As an affiliate, we earn on qualifying purchases.
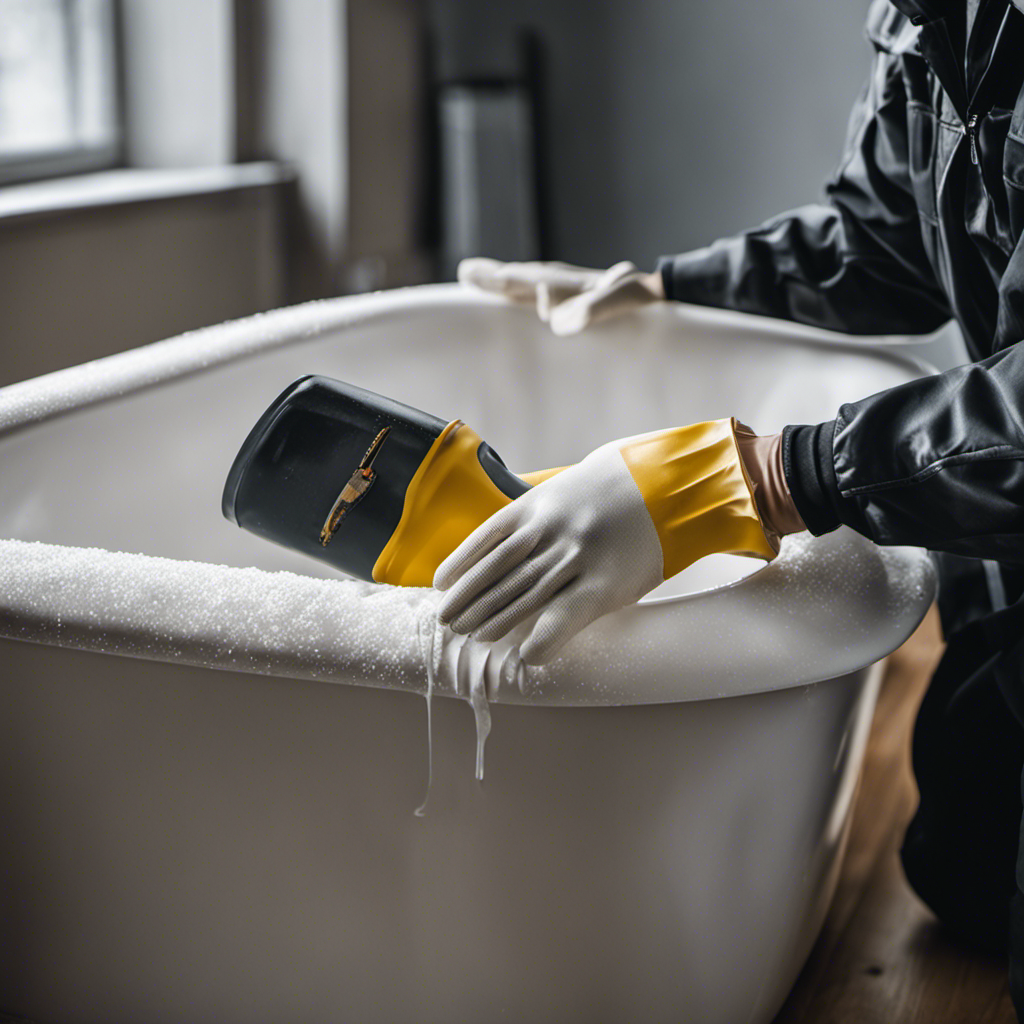
Gathering the Necessary Tools and Materials
First, you’ll need to make sure you have all the tools and materials necessary for the task at hand. Here’s what you’ll need:
- Adjustable wrench: This will help you remove the faucet handle and other components.
- Screwdriver: Depending on the type of faucet, you may need a flathead or Phillips head screwdriver to loosen screws.
- Replacement parts: Choosing the right replacement parts is crucial. Make sure to identify the specific model and brand of your faucet to ensure compatibility.
- Plumber’s tape: This will help create a watertight seal when reassembling the faucet.
When fixing a bathtub faucet leak, it’s important to avoid common mistakes such as overtightening screws or using incorrect replacement parts. These can cause further damage and make the problem worse.
Once you have gathered all the necessary tools and materials, you can move on to the next step of shutting off the water supply.

Danco 88103 Repair Kit for Delta/Peerless Single-Handle Faucets, Pack of 1, Black, White, Stainless Steel
Designed for repair on single-handle faucets
As an affiliate, we earn on qualifying purchases.
As an affiliate, we earn on qualifying purchases.
Shutting Off the Water Supply
Before beginning the repair process, it’s crucial to shut off the water supply to prevent any potential flooding. To do this, locate the shut off valve for your bathtub faucet. In most cases, the shut off valve can be found under the sink or behind an access panel near the bathtub.
Once you have located the valve, turn it clockwise until it is fully closed. This will ensure that no water flows into the faucet while you are working on it.
After shutting off the water, you can proceed to the next step of removing the faucet handle and trim. This will allow you to access the inner components of the faucet and identify the source of the leak.

D-NYX 1, 4 or 5 Rolls 1/2 Inch(W) X 520 Inches(L) Teflon Plumbers Tape, Duct Sealant Tape for Shower Head, Plumbing Thread Tap, Water Pipe Sealing Plumbers PTFE Thread Seal (1 Pack)
SIZE: Teflon tape roll has a width of 1/2 inch and a length of 520 inches, which can…
As an affiliate, we earn on qualifying purchases.
As an affiliate, we earn on qualifying purchases.
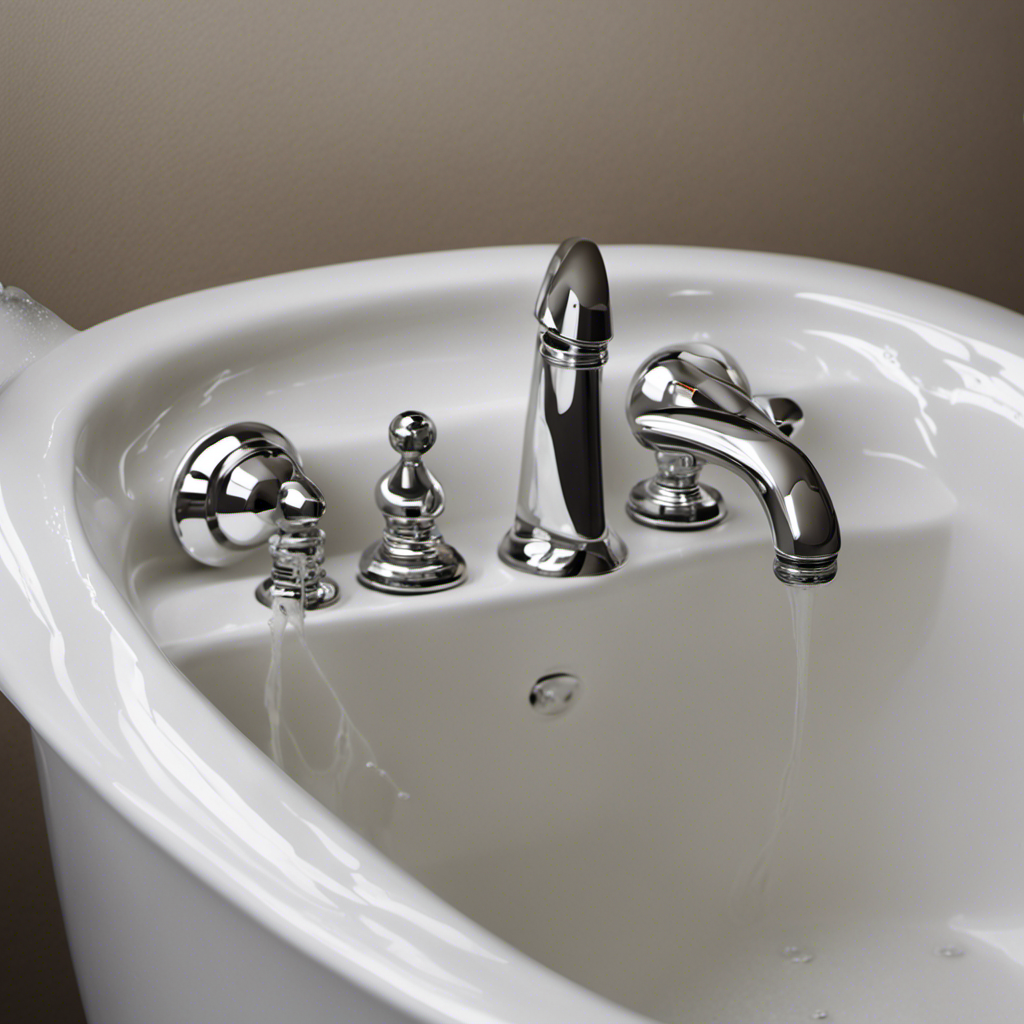
Removing the Faucet Handle and Trim
Once you’ve shut off the water supply, you can proceed with removing the faucet handle and trim. This is an important step in fixing a leaky bathtub and replacing the faucet handle. Here’s how you can do it:
- Start by locating the screw that holds the handle in place. It is usually located under a decorative cap or cover.
- Use a screwdriver to remove the screw and carefully pull off the handle.
Next, you need to remove the trim, which is the decorative plate that surrounds the handle. Gently pry it off using a putty knife or a flathead screwdriver.
Finally, unscrew the trim screws that hold the trim in place and remove it from the wall.
Replacing the Faulty Components
To successfully replace the faulty components of a bathtub faucet, there are a few key points to consider.
First, gather the necessary tools for the replacement, including an adjustable wrench, pliers, and a screwdriver.
Next, follow the step-by-step process for removing the faucet. This includes turning off the water supply, disconnecting any remaining water lines, and removing the old components.
Tools Needed for Replacement
To replace the bathtub faucet, you’ll need a few tools such as a wrench and pliers. Here are the essential tools you’ll require for a successful faucet replacement:
- Adjustable wrench: This versatile tool allows you to tighten or loosen nuts and bolts of different sizes.
- Slip-joint pliers: These pliers have adjustable jaws that can grip and turn various sizes of nuts and fittings.
- Screwdriver set: A set of different-sized screwdrivers will come in handy for removing screws and other fasteners.
- Plumber’s tape: Also known as Teflon tape, this thin white tape helps create a watertight seal when wrapping around the threaded connections.
When choosing the right replacement parts, make sure to match the specifications of your current faucet. Take note of the brand, model, and any special features.
Additionally, follow these tips for a successful faucet replacement: turn off the water supply, drain any remaining water, and carefully follow the manufacturer’s instructions for installation.
Steps for Removing Faucet
Before starting, make sure you have all the necessary tools for removing the faucet. It is important to have a wrench, screwdriver, plumber’s tape, and a cloth to protect the surface of the bathtub.
The first step in removing a faucet is to turn off the water supply. Look for the shut-off valves underneath the sink or behind the bathtub.
Once the water is turned off, use the wrench to loosen the nuts connecting the faucet to the pipes. Gently remove the faucet from the bathtub, taking care not to damage any surrounding fixtures.
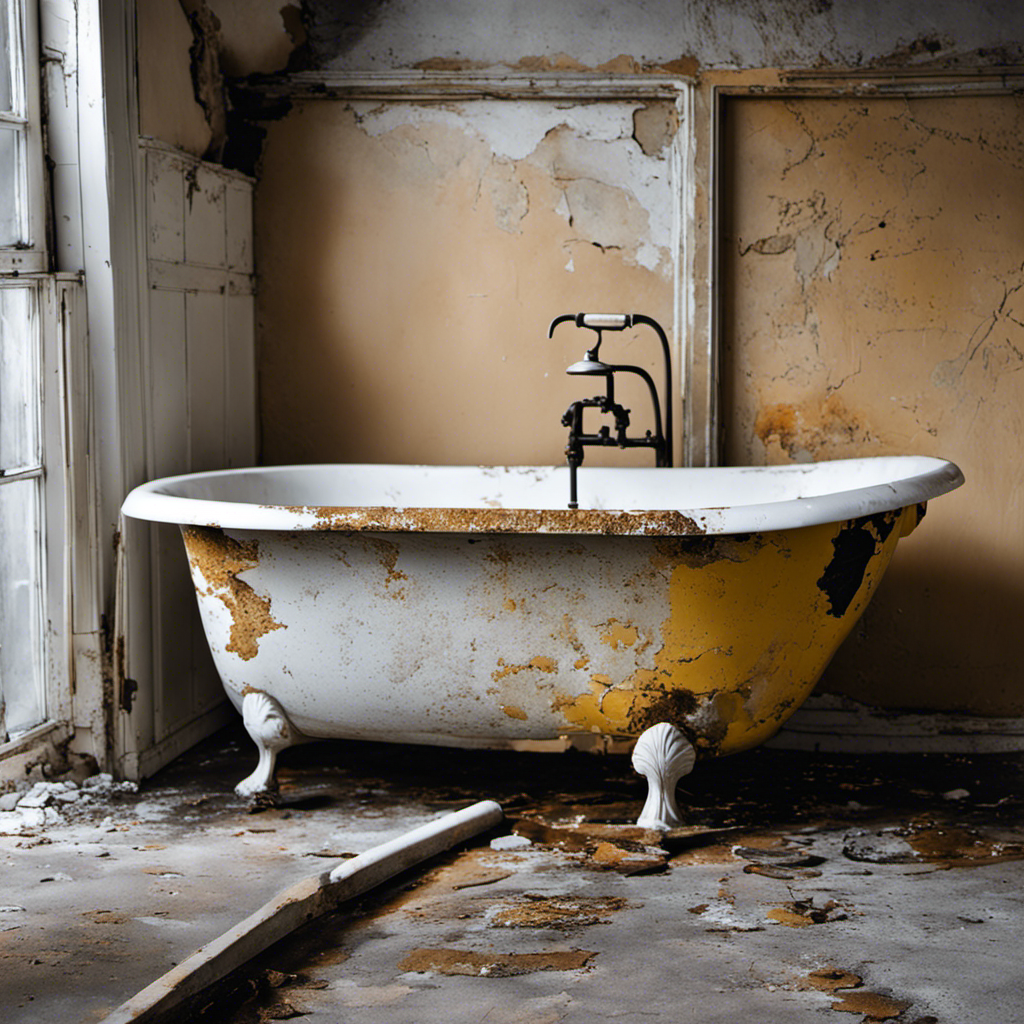
Common causes of faucet leaks include worn out washers, damaged valves, or loose connections. By following these steps and identifying the cause of the leak, you can successfully repair your faucet and prevent further damage.
Installing New Components
Now that we have successfully removed the old faucet, it’s time to move on to the next step: installing new components. This is an important part of the process as it ensures that your bathtub faucet is functioning properly and leak-free.
To help you navigate through this step, here are some key considerations:
-
Choose the right fixtures: Select high-quality fixtures that are compatible with your bathtub and plumbing system.
-
Gather the necessary tools: Make sure you have all the tools required for the installation, such as a wrench, plumber’s tape, and a screwdriver.
-
Follow the manufacturer’s instructions: Carefully read and follow the instructions provided by the manufacturer to ensure a successful installation.
-
Secure the fixtures properly: Use the appropriate techniques to securely fasten the fixtures and prevent any potential leaks.
By following these steps, you can ensure a smooth and effective installation of your new bathtub faucet components.
Now, let’s move on to the next section and learn how to test for leaks and reassemble the faucet.
Testing for Leaks and Reassembling the Faucet
To test for leaks and reassemble the faucet, start by turning off the water supply to the bathtub. This is crucial to avoid any accidental water flow during the process.
Once the water supply is turned off, you can begin by replacing the faucet cartridge, which is often the cause of leaks. Carefully remove the old cartridge and replace it with a new one, ensuring a proper fit.
Next, you need to seal the faucet base to prevent any water leakage. Use a silicone-based plumber’s putty or a waterproof sealant to create a tight seal around the base of the faucet. This will help prevent any water from seeping through and causing further leaks.
After sealing the faucet base, you can proceed to reassemble the faucet, making sure all the components are securely in place.
Conclusion
In conclusion, fixing a bathtub faucet leak is a manageable task that can be easily accomplished with the right tools and knowledge. By following the steps outlined in this article, you can save both water and money by addressing the issue promptly.
Did you know that a leaking faucet can waste up to 3,000 gallons of water per year? Taking the time to fix it not only helps the environment but also prevents further damage to your plumbing system.
So, don’t delay, get your faucet leak fixed today!