
Did you know that a faulty bathtub shower diverter is one of the most common plumbing issues homeowners face? Well, fear not, because I’m here to guide you through the process of fixing it.
In this article, I will share with you the tools and materials you’ll need, as well as provide a step-by-step guide to disassembling, cleaning, and replacing the faulty parts.
By the end, you’ll be able to confidently reassemble and test your diverter, ensuring a smooth and hassle-free shower experience.
Key Takeaways
- The diverter directs water flow between the tub faucet and the showerhead.
- Common problems include water leaking from the spout, incomplete water diversion, and a stiff or difficult-to-operate handle.
- Troubleshooting tips include checking for loose connections or damaged parts, cleaning or replacing the diverter valve, and ensuring proper water pressure.
- Regular maintenance such as cleaning, inspecting for leaks, and lubricating moving parts can help prolong the diverter’s lifespan.
Understanding the Bathtub Shower Diverter
To understand how to fix your bathtub shower diverter, you need to know how it works and what signs indicate it needs repair.
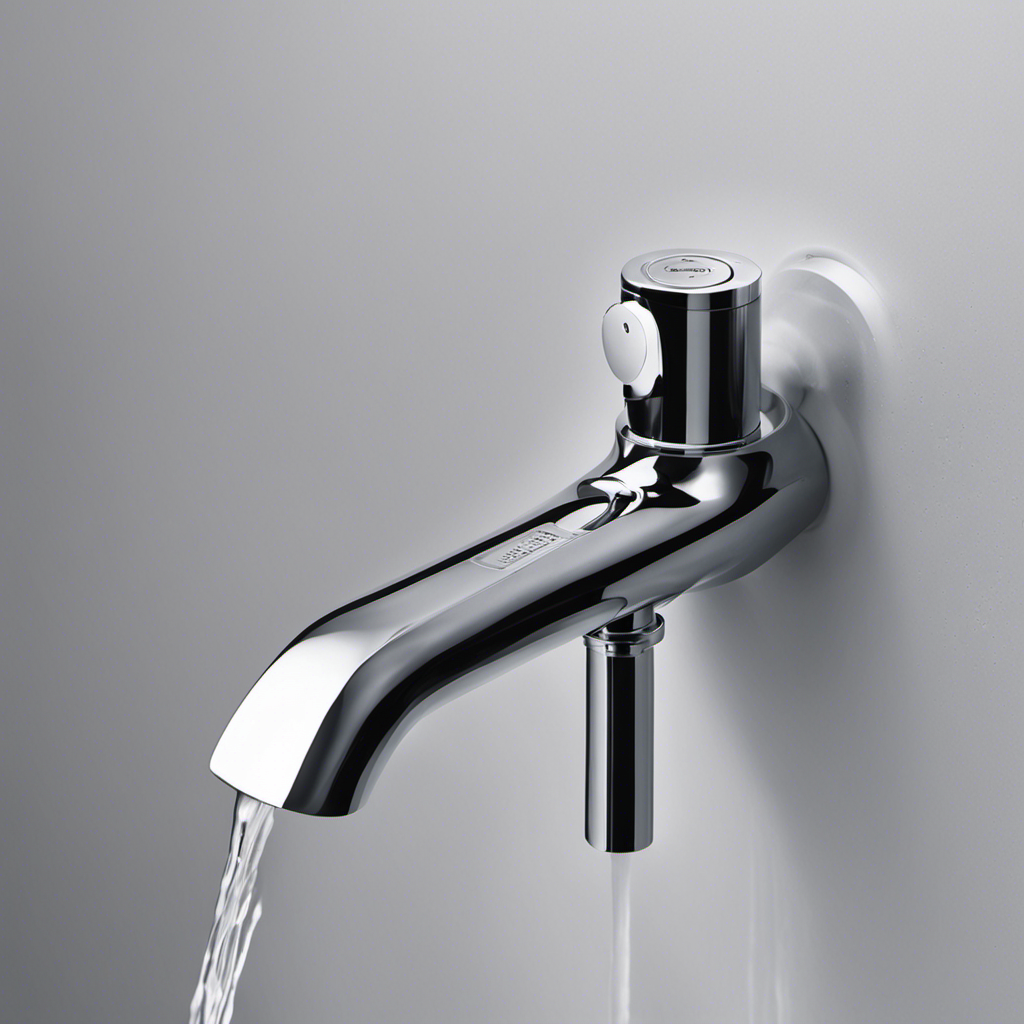
The bathtub shower diverter is a mechanism that directs water flow between the tub faucet and the showerhead. Common diverter problems include water leaking from the spout when the shower is on, water not fully diverting to the showerhead, or the diverter handle being stiff or difficult to operate.
Troubleshooting tips for these issues include checking for any loose connections or damaged parts, cleaning or replacing the diverter valve, and ensuring proper water pressure.
By identifying these common problems and employing the appropriate troubleshooting tips, you can successfully repair your bathtub shower diverter and restore its functionality.
Now let’s move on to the tools and materials needed for the repair.
Tools and Materials Needed for the Repair
You’ll need a few tools and materials to get started on the repair, such as an adjustable wrench and plumber’s tape. These essential items will help you fix your bathtub shower diverter with ease.
To begin, make sure you have a replacement diverter valve on hand, as this is often the cause of the problem. If you’re experiencing issues with water flow or leaks, it’s important to troubleshoot and identify the problem before proceeding with the repair.
Common repair techniques include cleaning or replacing the diverter, tightening any loose connections, and applying plumber’s tape to prevent leaks.
Step-by-Step Guide to Disassembling the Diverter
Start by gathering the necessary tools and materials for disassembling the diverter. Here are four items you’ll need:
- Adjustable wrench: This’ll help you loosen and tighten the nuts on the diverter.
- Screwdriver: You’ll need this to remove any screws holding the diverter in place.
- Plumber’s tape: This’ll come in handy when reassembling the diverter to ensure a watertight seal.
- Replacement diverter cartridge: If your diverter is beyond repair, you’ll need a new cartridge.
When disassembling the diverter, it’s important to be patient and gentle. Common mistakes to avoid include using excessive force, which can damage the diverter, and not paying attention to the order in which the parts are removed.
Take note of how the diverter is put together before disassembling it, as this’ll make reassembly easier.
Troubleshooting tips can include checking for any clogs or debris in the diverter, which can cause it to malfunction.
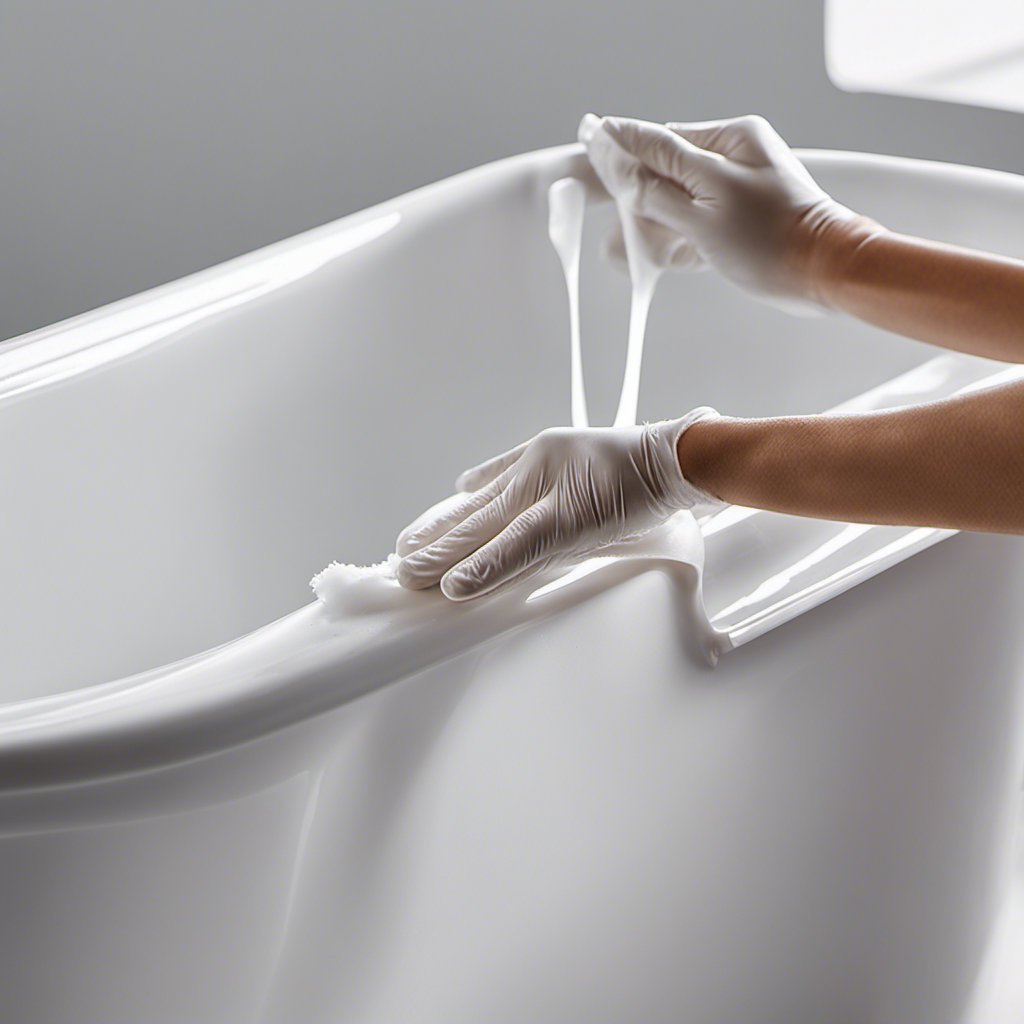
Cleaning and Inspecting the Diverter Components
When it comes to maintaining the longevity of your bathtub shower diverter, proper cleaning techniques are essential. Regularly cleaning the diverter components using gentle soap and water can help remove any built-up grime or debris that may affect its performance.
In addition to cleaning, it’s also important to identify potential issues such as leaks or loose connections, as addressing these problems early on can prevent further damage and ensure the diverter functions properly for years to come.
Lastly, to maximize the lifespan of your diverter, it’s crucial to follow maintenance tips such as avoiding harsh chemicals, checking for any signs of wear and tear, and scheduling regular inspections by a professional plumber.
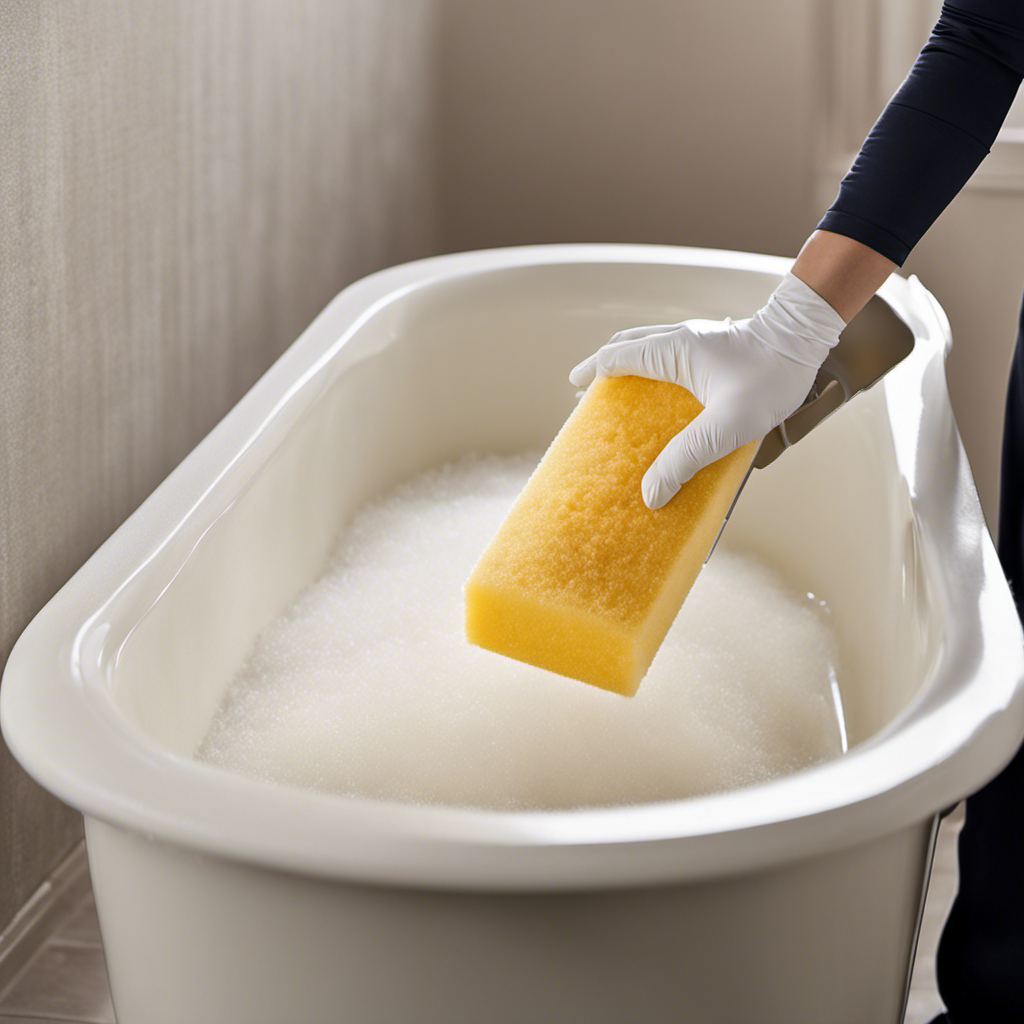
Proper Cleaning Techniques
To properly clean the bathtub shower diverter, make sure you regularly remove any accumulated soap scum and mineral deposits. Here are some cleaning techniques and troubleshooting tips to help you maintain your diverter:
-
Start by removing the showerhead from the diverter. Use a wrench to loosen the connection and gently twist it off.
-
Mix a solution of equal parts white vinegar and water. Dip a soft cloth or sponge into the solution and scrub the diverter thoroughly. Pay special attention to the areas where soap scum and mineral deposits tend to accumulate.
-
If the diverter is still dirty, you can use a toothbrush or an old toothbrush to scrub the hard-to-reach areas. Be sure to rinse the diverter thoroughly with water after cleaning.
-
If you notice any leaks or problems with the diverter after cleaning, it may be necessary to replace the cartridge or call a professional plumber for assistance.
Identifying Potential Issues
If you notice any leaks or problems, it’s important to identify potential issues with your bathtub shower diverter. Diagnosing leaks can be done by examining the diverter valve and its components.
Start by turning on the shower and checking if water is leaking from the spout or the showerhead. If water is coming from both, it could be a sign of a faulty diverter valve.
Troubleshooting common problems involves checking for loose connections or worn-out washers. A loose connection can cause water to leak around the diverter handle, while a worn-out washer can cause water to leak from the spout when the shower is turned on.
Maintenance Tips for Longevity
Regular maintenance is essential for ensuring a long lifespan of your bathtub shower diverter. To keep your diverter in optimal condition, follow these cleaning techniques and preventive measures:
-
Clean the diverter regularly: Use a mild soap and warm water to clean the diverter, removing any soap scum or mineral deposits that can affect its performance.
-
Inspect for leaks: Check for any signs of leaks, such as water pooling around the diverter or a decrease in water pressure. Addressing leaks promptly can prevent further damage.
-
Lubricate moving parts: Apply a small amount of plumber’s grease to the moving parts of the diverter, such as the spindle or stem. This will ensure smooth operation and prevent sticking.
-
Avoid excessive force: When using the diverter, avoid forcing the handle or pulling it too hard. Gentle and controlled movements will help prevent damage to the internal components.
Replacing Faulty Diverter Parts
When it comes to bathtub shower diverters, there are a few common problems that homeowners often encounter. These can include leaks, improper water flow, or difficulties switching between the tub and shower functions.
In order to fix these issues, it is important to choose the right replacement parts and properly install them. By addressing these key points, I will guide you through the process of replacing faulty diverter parts and ensuring a successful installation.
Common Diverter Problems
One common problem with bathtub shower diverters is that they may become stuck in either the up or down position. When this happens, it can be frustrating and inconvenient. However, troubleshooting diverter problems doesn’t have to be difficult. Here are some common diverter issues and how to fix them:
-
Diverter is stuck in the up position: This can be caused by mineral buildup or a faulty diverter valve. To fix it, try cleaning the diverter with a vinegar solution or replace the valve if necessary.
-
Diverter is stuck in the down position: This could be due to a worn-out diverter cartridge or a broken internal mechanism. Replace the cartridge or the entire diverter assembly if needed.
-
Diverter is leaking: Leaks can occur when the seals or gaskets inside the diverter are worn out. Replace the seals or gaskets to fix the leak.
-
Diverter is not diverting water properly: If the water is not flowing correctly between the tub and the showerhead, it could be due to a clogged diverter. Clean or replace the diverter to restore proper water flow.
Choosing Replacement Parts
Now that we have discussed some common problems with bathtub shower diverters, let’s move on to the next step: choosing replacement parts.
When it comes to finding compatible parts for your diverter, there are a few things you need to consider.
First, you need to identify the make and model of your diverter, as this will help you find the right parts. You can usually find this information on the diverter itself or in the product documentation.
Once you have this information, you can search online or visit a local hardware store to find the specific parts you need. Remember to double-check the dimensions and specifications to ensure a proper fit. If you’re unsure, don’t hesitate to ask for assistance from a professional.
Troubleshooting common issues with your diverter will become much easier once you have the correct replacement parts.
Proper Installation Techniques
Properly installing new replacement parts is crucial for ensuring optimal functionality of your bathtub shower diverter. Here are some installation tips and troubleshooting techniques to help you achieve a successful installation:
-
Gather the necessary tools: Before getting started, make sure you have all the required tools such as a wrench, screwdriver, and plumber’s tape.
-
Turn off the water supply: Before beginning the installation, shut off the water supply to avoid any potential leaks or water damage.
-
Remove the old diverter: Use a wrench or screwdriver to carefully remove the old diverter. Take note of the position and orientation of the parts for easier installation later.
-
Install the new diverter: Carefully insert the new diverter into the designated slot, ensuring a tight fit. Use plumber’s tape to create a watertight seal.
Reassembling and Testing the Diverter
To finish reassembling and testing the diverter, you’ll need to make sure all the parts fit snugly together before turning on the water.
Start by attaching the diverter stem to the valve body. Make sure it is secured tightly using a wrench.
Next, install the diverter handle and tighten the screw to hold it in place.
Connect the showerhead and the spout to their respective outlets, ensuring a tight seal by using plumber’s tape.
Once everything is connected, turn on the water and test the diverter. It should divert the water between the showerhead and the spout smoothly without any leaks or loss of pressure.
If you encounter any issues, such as water dripping from the spout while in shower mode or weak water flow, try cleaning or replacing the diverter cartridge.
These troubleshooting tips should help you identify and resolve any problems with your bathtub shower diverter.
Maintenance Tips to Prevent Future Diverter Issues
Regularly cleaning and inspecting the diverter cartridge can help prevent future issues with your bathtub shower system. Here are four maintenance tips to prevent leaks and troubleshoot any problems that may arise:
-
Clean the diverter cartridge: Remove any debris or mineral deposits that may have accumulated on the cartridge. Use a soft brush and warm soapy water to gently scrub the cartridge clean. Rinse thoroughly and dry before reassembling.
-
Check for leaks: After reassembling the diverter, turn on the water and check for any leaks around the cartridge. If you notice any leaks, tighten the cartridge or replace it if necessary.
-
Lubricate the cartridge: Apply a small amount of silicone lubricant to the o-rings and moving parts of the cartridge. This will help ensure smooth operation and prevent leaks.
-
Inspect the seals: Regularly examine the seals around the diverter cartridge for any signs of wear or damage. If you notice any issues, replace the seals to prevent leaks.
Conclusion
In conclusion, fixing a bathtub shower diverter may seem daunting, but it can be easily accomplished with the right tools and knowledge.
By following the step-by-step guide and taking proper care of the diverter, you can ensure its longevity and prevent future issues.
Did you know that a faulty diverter can waste up to 15 gallons of water per minute, according to a study conducted by plumbing experts? By fixing it promptly, you can save both water and money.
So, don’t hesitate to tackle this repair yourself and enjoy a properly functioning bathtub shower diverter once again.

Mateo’s flair for writing is matched only by his keen eye for design. As an interior designer turned writer, Mateo brings a unique perspective. He blends aesthetics with functionality in every piece he pens, providing readers with beautifully crafted content that’s also supremely useful.
Mateo loves exploring the latest bathroom tech trends and is our expert on smart toilets. When he’s not writing or designing, Mateo can be found sketching ideas for his next big project at local coffee shops.