Fixing a bathtub spout is like solving a puzzle; with the right tools and a little know-how, you can restore your bathroom to its former glory. In this article, I’ll guide you through the step-by-step process of:
- Identifying the problem
- Gathering the necessary tools
- Removing the old bathtub spout
- Installing the new one
- Testing it for any issues.
Get ready to roll up your sleeves, because we’re about to dive into the world of bathtub spout repairs.
Key Takeaways
- Check for common issues like low water pressure, leaks, or no water flow
- Gather the necessary tools before starting the repair process
- Remove the old bathtub spout by locating and loosening the set screw
- Install the new bathtub spout by choosing the right type and securing it properly

Slip Fit Tub Spout with Pull-Up Diverter for 1/2 inch Copper Tube, Chrome
Premium metal construction – Durability and reliability
As an affiliate, we earn on qualifying purchases.
As an affiliate, we earn on qualifying purchases.
Identifying the Problem
First, check if the water is coming out of the bathtub spout properly. Common issues can include low water pressure, leaks, or no water coming out at all.
To diagnose bathtub spout problems, follow these steps. First, remove the spout cover or plate. Look for any visible signs of damage, such as cracks or corrosion.
Next, check the diverter valve, which controls water flow between the spout and the showerhead. Ensure it is functioning properly and not stuck.
If the issue persists, it may be necessary to inspect the plumbing connections behind the spout. Look for any loose or damaged pipes or fittings.
bathtub spout diverter valve
As an affiliate, we earn on qualifying purchases.
As an affiliate, we earn on qualifying purchases.
Gathering the Necessary Tools
Before you begin, make sure you have all the necessary tools for the job. Choosing the right replacement spout and having the right tools are crucial for a successful installation.
Here are some tips to ensure a smooth and hassle-free process:
- Start by measuring the length and diameter of your current spout to ensure you choose the correct replacement.
- Consider the type of spout you prefer, such as a slip-on or a screw-on spout, and make sure the replacement matches your preference.
- Check the material of the replacement spout to ensure it is durable and can withstand water pressure.

HAUTMEC Tub Drain Remover Wrench Tool Heavy Duty Aluminum Shower Bathtub Drain Removal Tool PL0030
The dual ended tub drain wrench fits most inner diameter 1 3/8" and 1 1/2" tub drain shoe,ideal…
As an affiliate, we earn on qualifying purchases.
As an affiliate, we earn on qualifying purchases.
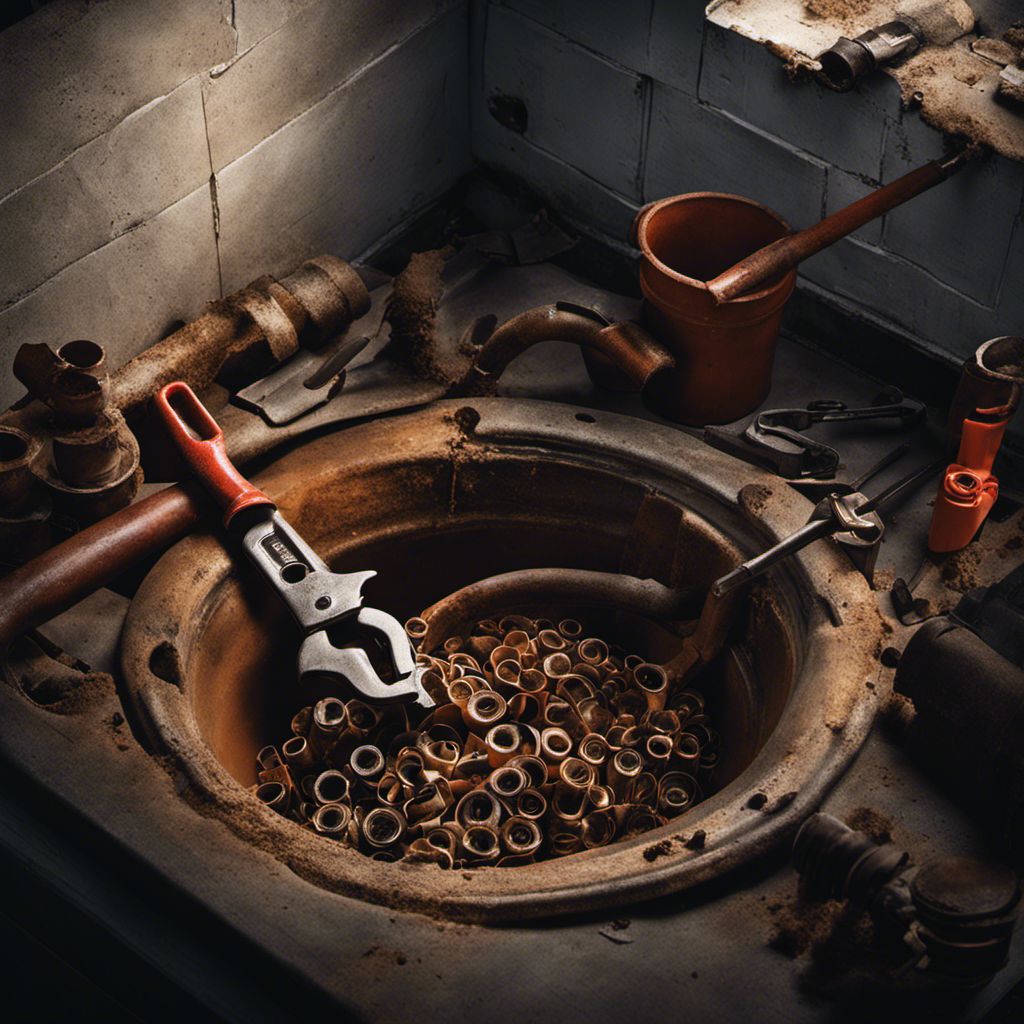
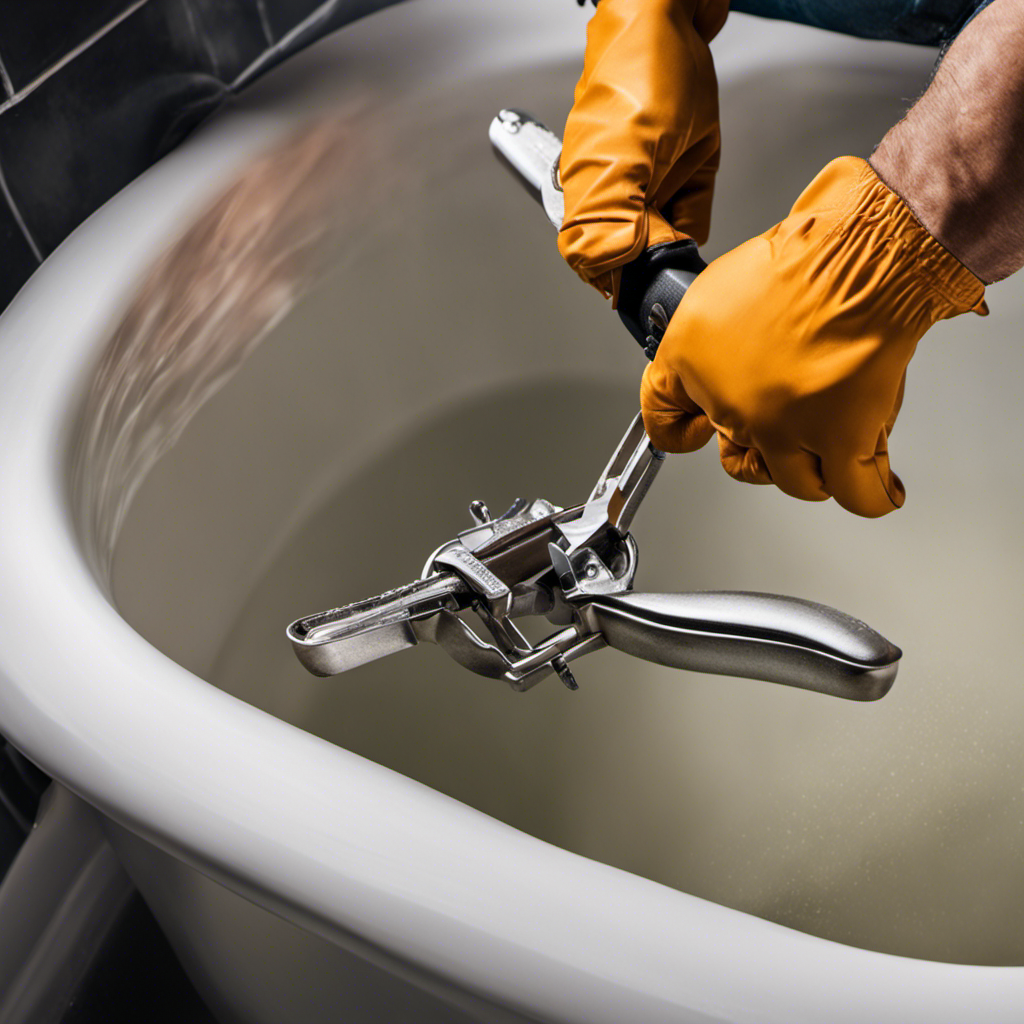
Removing the Old Bathtub Spout
To remove the old spout, you’ll need to locate and loosen the set screw underneath the spout using an Allen wrench. This step is crucial when repairing leaks or replacing worn out parts of the bathtub spout.
Begin by examining the spout for any visible screws or covers. Once you have identified the set screw, insert the Allen wrench into the screw and turn it counterclockwise to loosen it. Apply gentle pressure while turning to avoid damaging the screw or the spout.
Once the set screw is loose, carefully pull the old spout away from the wall, making sure not to force it.
With the old spout removed, you are now ready to install the new bathtub spout and complete the repair or replacement process.
slip-on bathtub spout
As an affiliate, we earn on qualifying purchases.
As an affiliate, we earn on qualifying purchases.
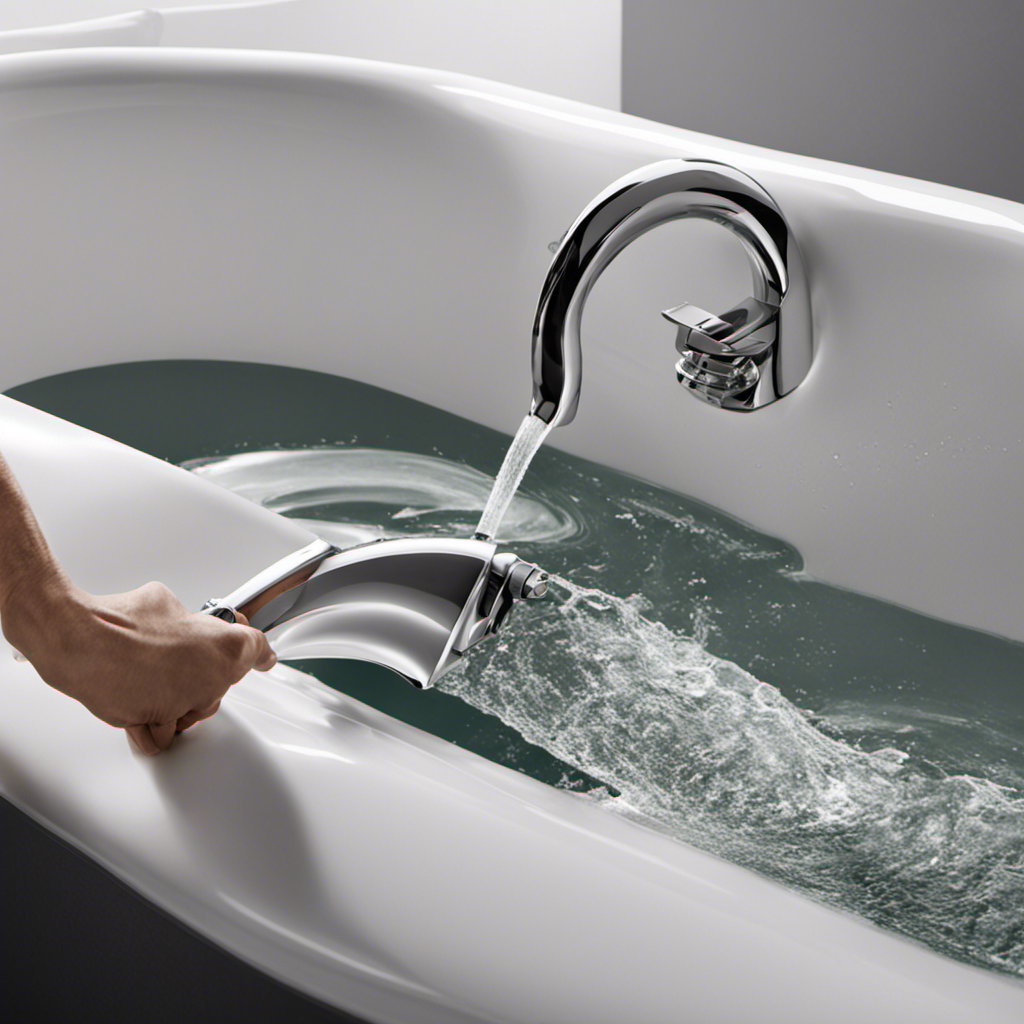
Installing the New Bathtub Spout
Now that you have removed the old spout, you can easily install the new one by following these steps.
-
Choose the right type of spout: There are different types of spouts available, such as slip-on spouts, threaded spouts, and diverter spouts. Make sure to select the one that matches your bathtub’s plumbing system.
-
Prepare the spout for installation: Before installing the new spout, ensure that the water supply is turned off. Clean the pipe threads and remove any debris or old plumber’s tape.
-
Install the new spout: Slide the slip-on spout onto the pipe and secure it with a screw. For threaded spouts, apply plumber’s tape to the pipe threads and screw the spout in place. If you have a diverter spout, make sure to connect the diverter valve properly.
Proper maintenance is crucial to ensure your new spout functions correctly and lasts longer. Regularly clean the spout and check for any leaks. By following these steps and maintaining your spout, you can enjoy a fully functional bathtub for years to come.
Testing and Troubleshooting
Make sure you check for any leaks or issues with the water flow after installing the new spout. Testing and troubleshooting are essential steps in ensuring the proper functioning of your bathtub spout. Here are some common bathtub spout issues and troubleshooting techniques to help you identify and resolve any problems:
| Common Issues | Troubleshooting Techniques |
|---|---|
| Low water pressure | Check for clogged aerator or diverter valve. Clean or replace if necessary. |
| Dripping spout | Inspect the O-ring and washer for damage. Replace if needed. |
| No water flow | Verify that the water supply valves are fully open. Check for any obstructions in the water lines. |
| Water leaks | Tighten the spout connection or replace worn-out seals. |
| Uneven water temperature | Adjust the mixing valve to balance hot and cold water flow. |
Conclusion
In conclusion, fixing a bathtub spout is a straightforward process that can be accomplished with a few simple steps.
By identifying the problem, gathering the necessary tools, removing the old spout, installing the new one, and testing for any issues, you can ensure a smoothly functioning bathtub.
Remember, a stitch in time saves nine, so don’t delay in addressing any spout problems.
With these instructions, you’ll be able to tackle the task confidently and efficiently.