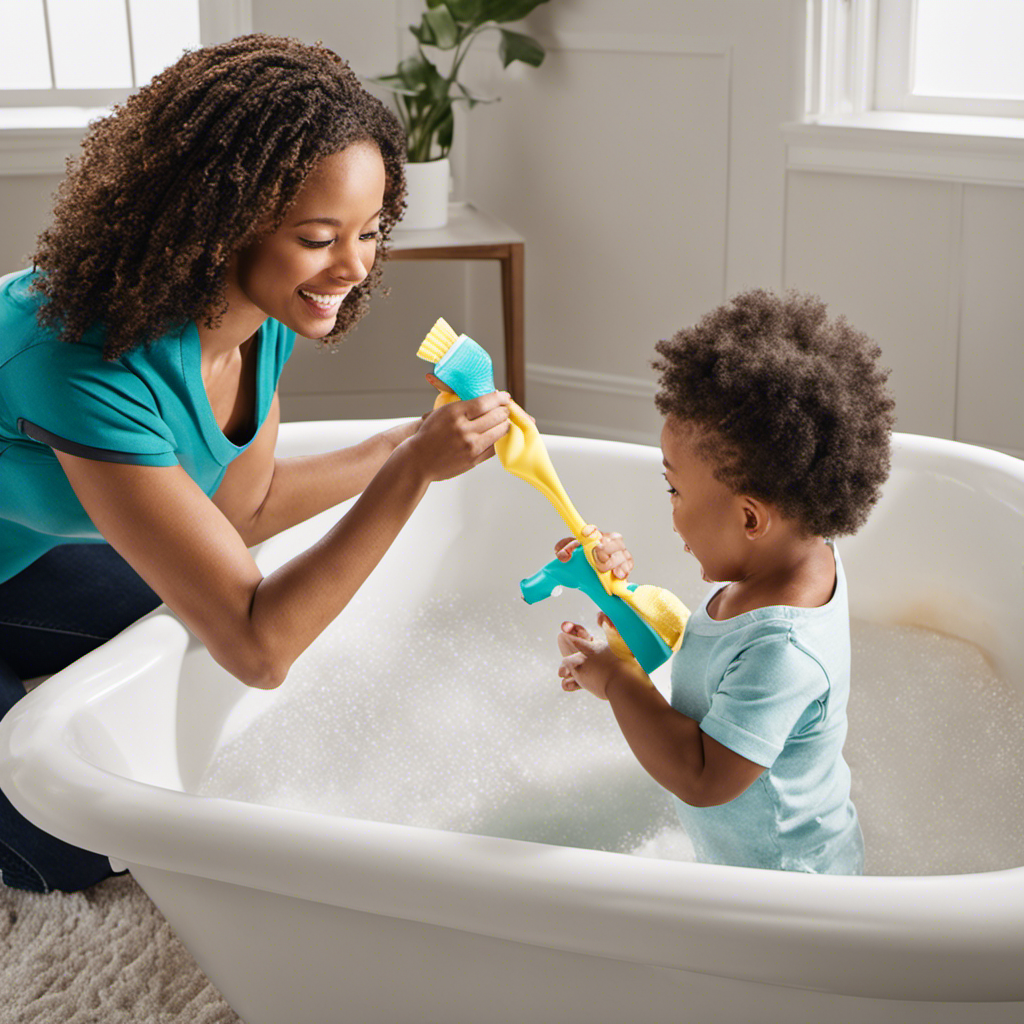
Are you tired of looking at that unsightly chip in your bathtub every time you step into the bathroom? Well, you’re in luck! In this article, we will show you exactly how to fix that chipped bathtub and restore it to its former glory.
With just a few simple steps and some basic supplies, you’ll be amazed at the results you can achieve.
So, let’s get started and say goodbye to that chip once and for all!
Key Takeaways
- Assess the size and depth of the chip and consider seeking professional help for larger chips or uncertainty.
- Gather the necessary supplies, including a bathtub repair kit designed for the specific material of your tub.
- Thoroughly clean and prepare the bathtub surface before applying the repair solution.
- Apply the repair solution according to instructions, allow it to dry completely, and sand and smooth the repaired areas for a seamless finish.

Tub Repair Kit White, Tub Chip and Bathtub Repair Kit for Enamel, Fiberglass, Acrylic, Porcelain, Patch and Repairs Chips, Crack, Scratches, Rust, Holes on Tubs, Toilet, Sink, Shower, Tray in Bathroom
Permanently Repair Bathtub Chips, Cracks and Holes: For Fiberglass, Enamel, Acrylic; restore a glossy, non-yellowing, leak-stopping and chip…
As an affiliate, we earn on qualifying purchases.
As an affiliate, we earn on qualifying purchases.
Assessing the Damage
Now, you’ll want to take a close look at the chipped area to assess the damage. Start by examining the size and depth of the chip. Is it just a small, shallow chip or a larger, deeper one? This initial evaluation will help determine the best course of action.
If the chip is small and superficial, you may be able to fix it yourself with a bathtub repair kit. These kits are readily available and can be an affordable option. However, if the chip is larger or if you’re unsure about the repair process, it’s recommended to seek professional help. They have the expertise and tools to evaluate the cost and provide an accurate estimate for the repair.
Tub Repair Kit White, Tub Chip and Bathtub Repair Kit for Enamel, Fiberglass, Acrylic, Porcelain, Patch and Repairs Chips, Crack, Scratches, Rust, Holes on Tubs, Toilet, Sink, Shower, Tray in Bathroom
Permanently Repair Bathtub Chips, Cracks and Holes: For Fiberglass, Enamel, Acrylic; restore a glossy, non-yellowing, leak-stopping and chip…
As an affiliate, we earn on qualifying purchases.
As an affiliate, we earn on qualifying purchases.
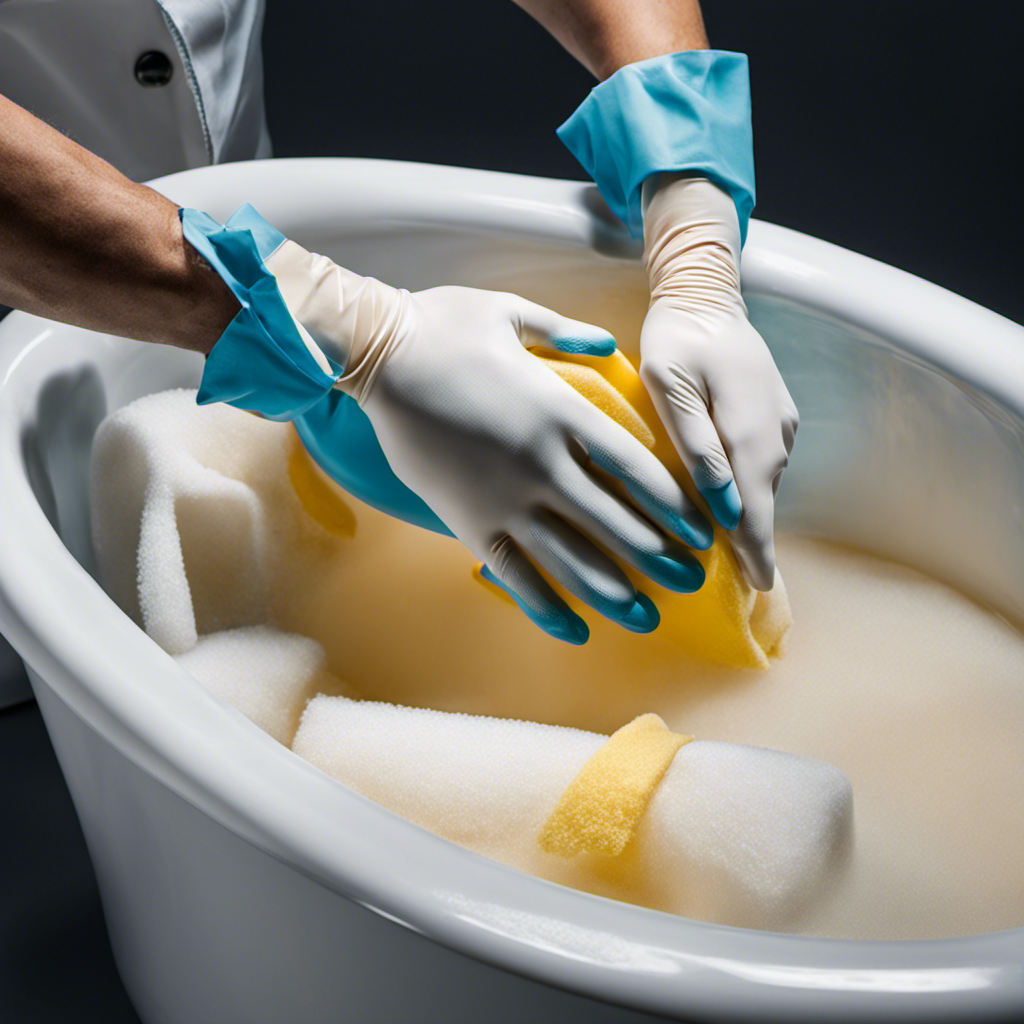
Gathering the Necessary Supplies
To gather the necessary supplies, you’ll need to make a quick trip to the hardware store.
When it comes to fixing a chipped bathtub, choosing the right repair kit is crucial. Look for a kit that is specifically designed for repairing bathtub chips and is compatible with the material of your tub, whether it’s porcelain, enamel, or fiberglass.
Make sure the kit includes all the necessary components, such as filler compound, adhesive, and color-matching options.
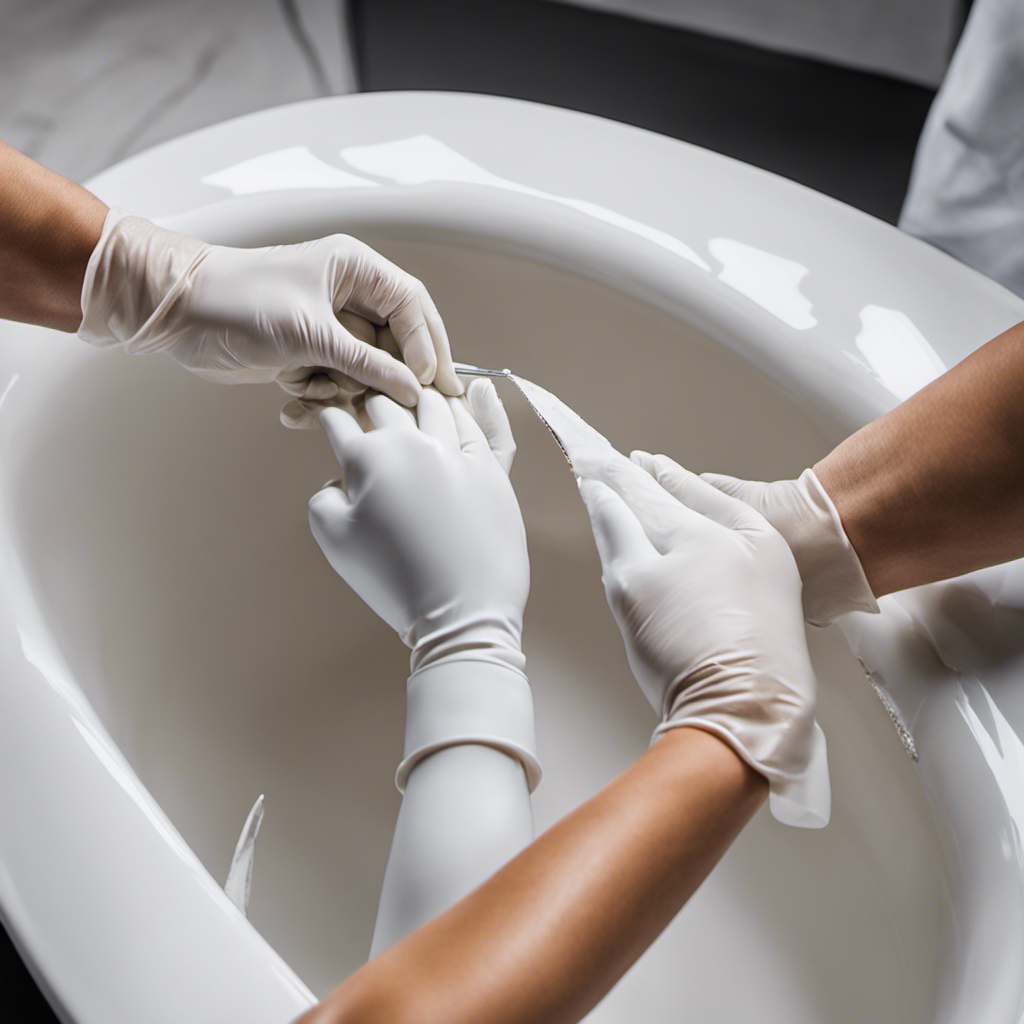
Before applying the repair kit, it’s important to remove the old caulking around the chip. Use a utility knife or a caulk remover tool to carefully cut and peel away the old caulking. This will ensure a clean surface for the repair kit to adhere to and provide a seamless finish.
Tub Repair Kit White, Tub Chip and Bathtub Repair Kit for Enamel, Fiberglass, Acrylic, Porcelain, Patch and Repairs Chips, Crack, Scratches, Rust, Holes on Tubs, Toilet, Sink, Shower, Tray in Bathroom
Permanently Repair Bathtub Chips, Cracks and Holes: For Fiberglass, Enamel, Acrylic; restore a glossy, non-yellowing, leak-stopping and chip…
As an affiliate, we earn on qualifying purchases.
As an affiliate, we earn on qualifying purchases.
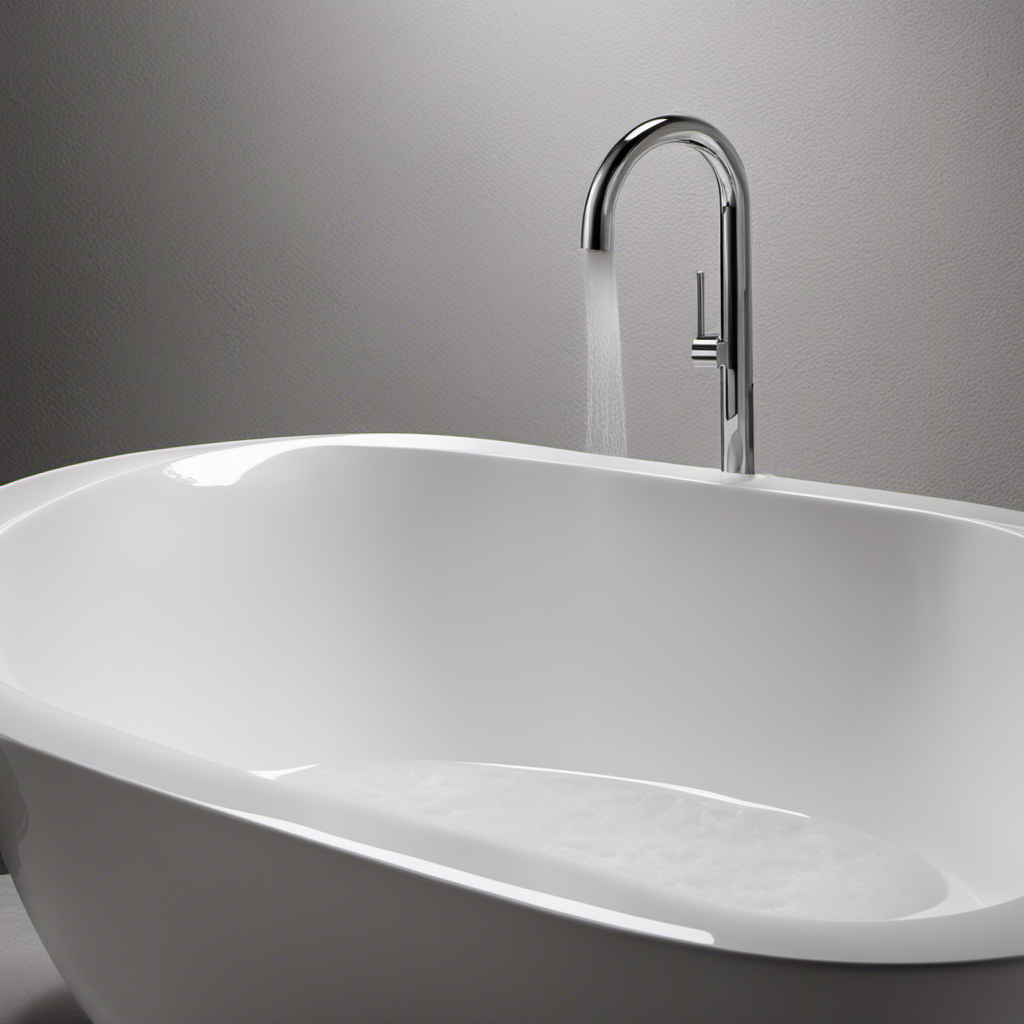
Preparing the Bathtub Surface
Before starting, it’s essential to prepare the surface of the bathtub for repair by removing any old caulking. This step is crucial to ensure that the repairs are effective and long-lasting. Here are three important things to keep in mind when preparing the bathtub surface:
-
Start by thoroughly cleaning the surface using a mild detergent and a non-abrasive sponge. This will remove any dirt, grime, or soap scum that may be present, allowing for better adhesion of the repair materials.
-
Next, inspect the bathtub for any minor scratches. These can be easily repaired using a bathtub repair kit, which typically includes a filler compound that can be applied to the scratched area and then sanded down for a smooth finish.
-
Finally, if there are any deep cracks in the bathtub, these will require a different approach. Use a bathtub repair epoxy or filler specifically designed for deep cracks. Apply the filler generously to the cracked area, ensuring that it fills the entire depth of the crack. Smooth out the surface and allow it to dry completely before proceeding with further repairs.

Tub, Tile and Shower Repair Kit (Color Match), Hupeyna Porcelain Repair Kit, Bathtub Repair Kit for Chips Dents Cracks Holes Scratchs, etc. Fiberglass Repair Set – Offer More Color Options
Versatile Porcelain Repair Kit. The bathtub repair kit has been tested and adjusted many times by professionals. Making…
As an affiliate, we earn on qualifying purchases.
As an affiliate, we earn on qualifying purchases.
Applying the Repair Solution
Once you’ve prepared the surface, apply the repair solution to the cracks and scratches, making sure to follow the instructions on the product packaging.
Choosing the right repair kit is crucial for a successful bathtub chip repair. Look for a kit specifically designed for repairing bathtubs, as it will have the necessary materials and instructions for a professional-looking finish.
Before applying the repair solution, clean the area thoroughly and remove any loose debris. Then, using the supplied applicator or a small brush, carefully fill in the cracks and scratches with the repair solution. Smooth out the surface using a putty knife or a plastic scraper.
Allow the repair solution to dry completely before using the bathtub.
To prevent future chips, avoid using abrasive cleaners and harsh chemicals that can damage the surface. Instead, opt for gentle cleaners and non-abrasive sponges.
Additionally, use mats or cushions in the bathtub to cushion heavy objects and reduce the risk of chips or scratches.
Sanding and Smoothing the Repair
After applying the repair solution, you’ll need to sand and smooth the repaired areas to ensure a seamless finish. This step is crucial in achieving professional repairs that blend seamlessly with the rest of your bathtub.
Here are three important things to keep in mind while sanding and smoothing the repair:
-
Use fine-grit sandpaper: Start by using a fine-grit sandpaper to gently sand the repaired areas. This will help to level out any unevenness and create a smooth surface.
-
Blend the edges: Pay close attention to the edges of the repaired areas. Use a light touch to feather the edges, gradually blending them into the surrounding surface. This will help to avoid any noticeable lines or marks.
-
Color matching: Once you have sanded and smoothed the repair, it’s important to ensure that the color matches the rest of your bathtub. Use a color matching kit or consult with a professional to find the closest match. Apply the appropriate color to the repaired areas to achieve a seamless finish.
Finishing and Sealing the Repaired Area
To achieve a seamless finish, it’s crucial to carefully apply the finishing sealant to the repaired area.
When it comes to choosing the right bathtub repair kit, you want to ensure that it matches the material and color of your bathtub. Look for a repair kit specifically designed for your bathtub type, whether it’s acrylic, porcelain, or fiberglass. These kits usually come with everything you need, including a filler compound, sandpaper, and a finishing sealant.
Once you have repaired the chipped area, it’s important to focus on color matching. Start by comparing the repaired area to the rest of the bathtub. You can try using a color chart provided in the repair kit, or you may need to mix different pigments to achieve a perfect match. Take your time and make small adjustments until the color blends seamlessly.
Frequently Asked Questions
Can I Use Regular Household Cleaning Products to Clean the Chipped Area Before Applying the Repair Solution?
Yes, you can use regular household cleaning products to clean the chipped area before applying the repair solution. It’s important to thoroughly clean and dry the area to ensure proper adhesion of the repair solution.
How Long Do I Need to Wait Before Using the Bathtub After Applying the Repair Solution?
Wait at least 24 hours before using the bathtub after applying the repair solution. This ensures that the solution has enough time to fully cure and harden, resulting in a smooth and even surface.
Is It Necessary to Remove All the Old Caulk Around the Repaired Area?
You don’t have to remove all the old caulk around the repaired area, but it’s recommended for a better finish. Hiring a professional for bathtub chip repair is an option, and there are DIY kits available too.
Can I Use a Hairdryer to Speed up the Drying Process of the Repair Solution?
Using a hairdryer can speed up the drying process of the repair solution. However, be cautious not to overheat the area. Alternatively, you can try using a fan or opening windows to promote air circulation.
Are There Any Specific Types of Paint That Should Be Used to Match the Color of the Bathtub Surface?
To match the color of your bathtub surface, it is important to use specific types of paint. Bathtub repair products can provide guidance on the right paint to choose. Proper surface preparation is crucial for a successful repair.
Conclusion
So there you have it – a step-by-step guide on how to fix a chipped bathtub. By following these simple instructions, you can restore your bathtub to its former glory in no time.
Just remember, like a skilled surgeon mending a broken bone, with the right tools and technique, you can make your bathtub look as good as new.
So don’t let a chipped bathtub be a thorn in your side any longer. Get to work and give your tub the TLC it deserves.