Hey there! So, you’ve got a little chip in your bathtub enamel, huh? Well, fear not, because I’ve got just the solution for you. In this article, I’m going to walk you through the step-by-step process of fixing those pesky chips yourself.
No need to call in the professionals just yet! With a few simple tools and materials, you’ll have your bathtub looking good as new in no time.
So, let’s roll up our sleeves and get to work, shall we?
Key Takeaways
- Harsh cleaning chemicals and abrasive materials can cause bathtub enamel chips.
- Minor chips can be repaired with DIY kits or touch-up paint.
- Moderate chips may require professional repair services or advanced DIY techniques.
- Severe chips should be repaired by professionals to restore structural integrity.
Understanding the Causes of Bathtub Enamel Chips
To understand why your bathtub enamel chips, you need to consider factors like harsh cleaning chemicals and accidental impacts.
The most common causes of bathtub enamel chips are abrasive cleaners, scrubbing with harsh materials, and dropping heavy objects onto the surface.
Harsh chemicals, such as bleach or ammonia-based cleaners, can weaken the enamel over time, making it more susceptible to chipping. Similarly, using abrasive materials like steel wool or hard-bristle brushes can wear away the enamel, creating small chips or cracks.
Accidental impacts, such as dropping a heavy shampoo bottle or knocking a metal object against the surface, can also cause chips in the enamel.
To prevent chipping, it’s important to use gentle cleaning products and avoid scrubbing with abrasive materials. Additionally, be mindful of any heavy objects that could potentially damage the enamel.
Now, let’s move on to assessing the damage and determining the severity of the chip.
Assessing the Damage: Determining the Severity of the Chip
Take a close look at the chip in your bathtub to determine how severe the damage is. Assessing the damage is crucial in evaluating the impact of the chip and determining the appropriate repair method. To help you with this process, here is a table that outlines the different levels of chip severity and the corresponding repair options:
| Severity Level | Description | Repair Method |
|---|---|---|
| Minor | Small, shallow chip with minimal enamel loss. | DIY repair kits or enamel touch-up paint can be used. |
| Moderate | Larger chip with noticeable enamel loss. | Professional repair services or DIY repair kits with more advanced techniques may be required. |
| Severe | Extensive enamel loss, exposing the underlying material. | Professional repair services are recommended to restore the bathtub’s structural integrity. |
Gathering the Necessary Tools and Materials for the Repair
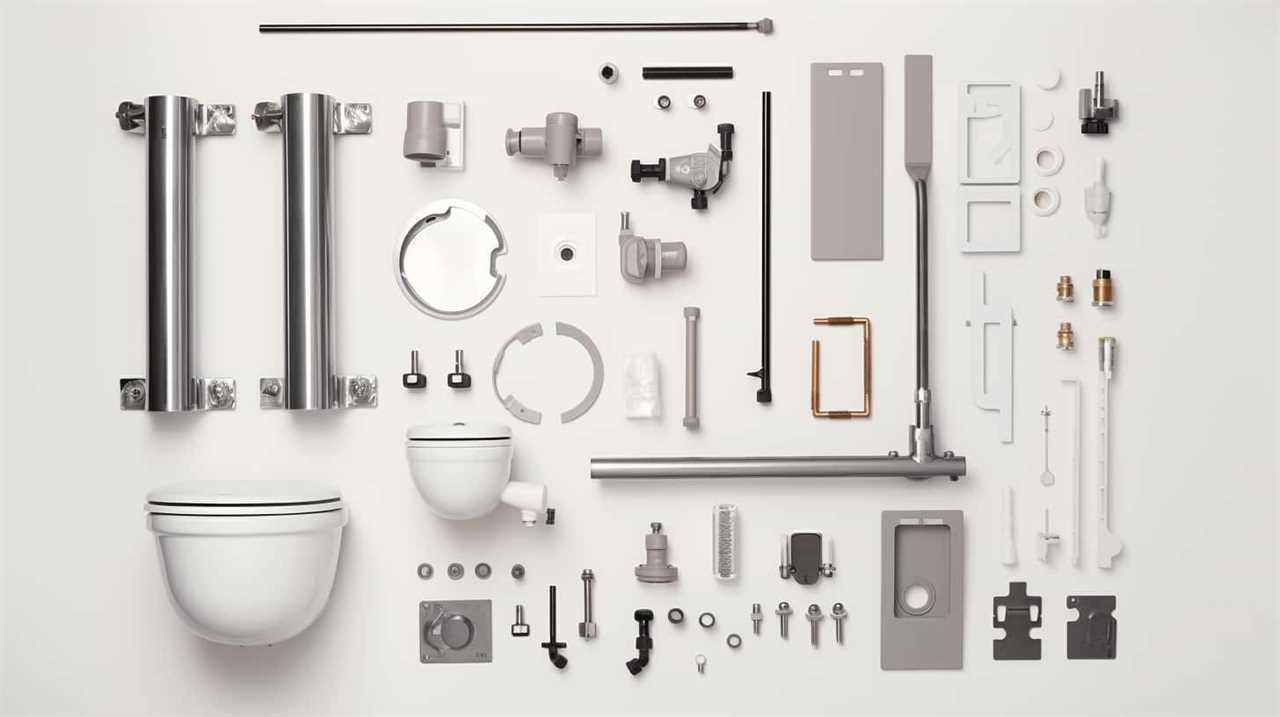
Before you can begin the repair process, it’s important to gather all the necessary tools and materials. Here are the items you will need:
-
Enamel repair kit: Choosing the right enamel repair kit is crucial for a successful repair. Look for a kit that matches the color of your bathtub enamel and provides all the necessary components.
-
Cleaning supplies: Before applying the repair solution, make sure the chipped area is clean and free from any debris. Gather some mild soap, water, and a soft cloth for cleaning.
-
Sandpaper: To smooth out the chipped area and create a seamless finish, you’ll need some fine-grit sandpaper. This will help in preparing the surface for the repair solution.
-
Protective gear: It’s important to protect yourself during the repair process. Gather some gloves, safety goggles, and a face mask to prevent any accidents or inhalation of harmful fumes.
By gathering these tools and materials, you’ll be well-prepared to tackle the repair process.
Now, let’s move on to the step-by-step guide for repairing small chips in bathtub enamel.
Step-by-Step Guide: Repairing Small Chips in Bathtub Enamel
Now that you have gathered all the necessary tools and materials, let’s dive into the step-by-step guide for repairing those small chips in your bathtub enamel.
Repairing bathtub enamel can be a DIY project if you follow the right techniques. Begin by cleaning the chipped area with a mild cleaner to remove any dirt or grime.
Next, use a fine-grit sandpaper to smooth the edges of the chip. Make sure to wipe away any dust before moving on to the next step.
Apply a porcelain repair compound to the chip, filling it in and smoothing it out with a putty knife. Allow the compound to dry completely before lightly sanding it and applying a second coat if necessary.
Finally, finish the repair by buffing the area with a soft cloth to restore the bathtub’s shine.
With these simple steps, you can easily repair small chips in your bathtub enamel using DIY techniques.
Professional Options: When to Seek Expert Help for Larger Chip Repairs
If you’re dealing with larger chips in your bathtub, it might be time to consider seeking expert help for professional options. While small chip repairs can often be done yourself, larger chips require more specialized techniques and tools. Here are four reasons why seeking professional help for larger chip repairs is a smart choice:
-
Expertise: Professionals have the knowledge and experience to assess the damage accurately and determine the best repair method.
-
Quality results: Professionals use high-quality materials and techniques to ensure a long-lasting repair that blends seamlessly with the rest of the tub.
-
Time-saving: DIY repairs can be time-consuming and may require multiple attempts. Professionals can complete the job efficiently, saving you time and hassle.
-
Affordable options: Contrary to popular belief, professional chip repairs can often be more cost-effective than DIY attempts, especially when you factor in the cost of materials and potential mistakes.
Conclusion
In conclusion, fixing chipped bathtub enamel is a task that can be done easily with the right tools and materials.
By understanding the causes of chips and assessing the severity of the damage, you can determine whether it’s a small repair that you can handle yourself or if you need to seek professional help for larger chip repairs.
With a step-by-step guide and the right techniques, you can restore the beauty of your bathtub and enjoy a smooth, flawless surface once again.
So don’t let those chips ruin your bathing experience; take action and restore your bathtub enamel today.


