
Oh, the joys of an unexpectedly chipped enamel bathtub! Fear not, for I am here to guide you through the process of fixing this seemingly daunting problem.
With just a few simple steps and some readily available supplies, you’ll have your bathtub looking good as new in no time.
So, roll up your sleeves and let’s dive right into the world of enamel repair, shall we?
Key Takeaways
- Assess the extent of the damage and evaluate if professional help is needed.
- Gather necessary supplies such as enamel repair product, sandpaper, and cleaning solution.
- Prepare the bathtub surface by thoroughly cleaning it before starting the repair process.
- Apply the enamel repair product in thin layers, allowing each layer to dry before smoothing out any bumps or ridges with sandpaper.

Tub Repair Kit White, Tub Chip and Bathtub Repair Kit for Enamel, Fiberglass, Acrylic, Porcelain, Patch and Repairs Chips, Crack, Scratches, Rust, Holes on Tubs, Toilet, Sink, Shower, Tray in Bathroom
- Instantly Restores Glossy White Finish: Covers chips, cracks, and scratches seamlessly
- Strong, Durable Coverage: Resists scratches, rust, and high temperatures
- Waterproof, Stain-Resistant Finish: Prevents yellowing and stains over time
As an affiliate, we earn on qualifying purchases.
As an affiliate, we earn on qualifying purchases.
Assessing the Damage
To start, you’ll want to check the extent of the damage on your chipped enamel bathtub. Evaluating the cost is an important step in determining whether you can fix it yourself or if you need to seek professional help.
Inspect the chipped area carefully, looking for any cracks or deeper damage. If the chip is small and shallow, you may be able to repair it yourself using a bathtub repair kit. These kits usually come with everything you need to fill in the chip and restore the enamel finish.
However, if the chip is large or the damage goes beyond the enamel layer, it’s best to seek professional help. They have the expertise and tools to handle more extensive repairs, ensuring a long-lasting solution.
Gathering the Necessary Supplies
You’ll need a few supplies to get started on repairing your chipped enamel bathtub. Here are the essential items you’ll need:
| Supplies | Description |
|---|---|
| Enamel repair product | Choose a high-quality enamel repair product that matches the color of your bathtub. Make sure it is specifically designed for enamel repairs. |
| Sandpaper | Use fine-grit sandpaper to smooth out the chipped area before applying the repair product. This will ensure a seamless finish. |
| Cleaning solution | Before repairing the chipped enamel, thoroughly clean the bathtub with a mild cleaning solution to remove any dirt or grime. Ensure the surface is dry before proceeding with the repair. |
To choose the right enamel repair product, read reviews and consult with experts. Additionally, here are a few tips to prevent future chipping in bathtubs:
- Avoid using abrasive cleaners or harsh chemicals that can damage the enamel.
- Use a non-slip mat or adhesive decals to prevent accidental slips and falls.
- Be cautious when handling heavy objects in the bathtub to avoid causing any impact damage.
- Regularly clean and maintain the bathtub to prevent buildup of dirt and grime, which can weaken the enamel over time.
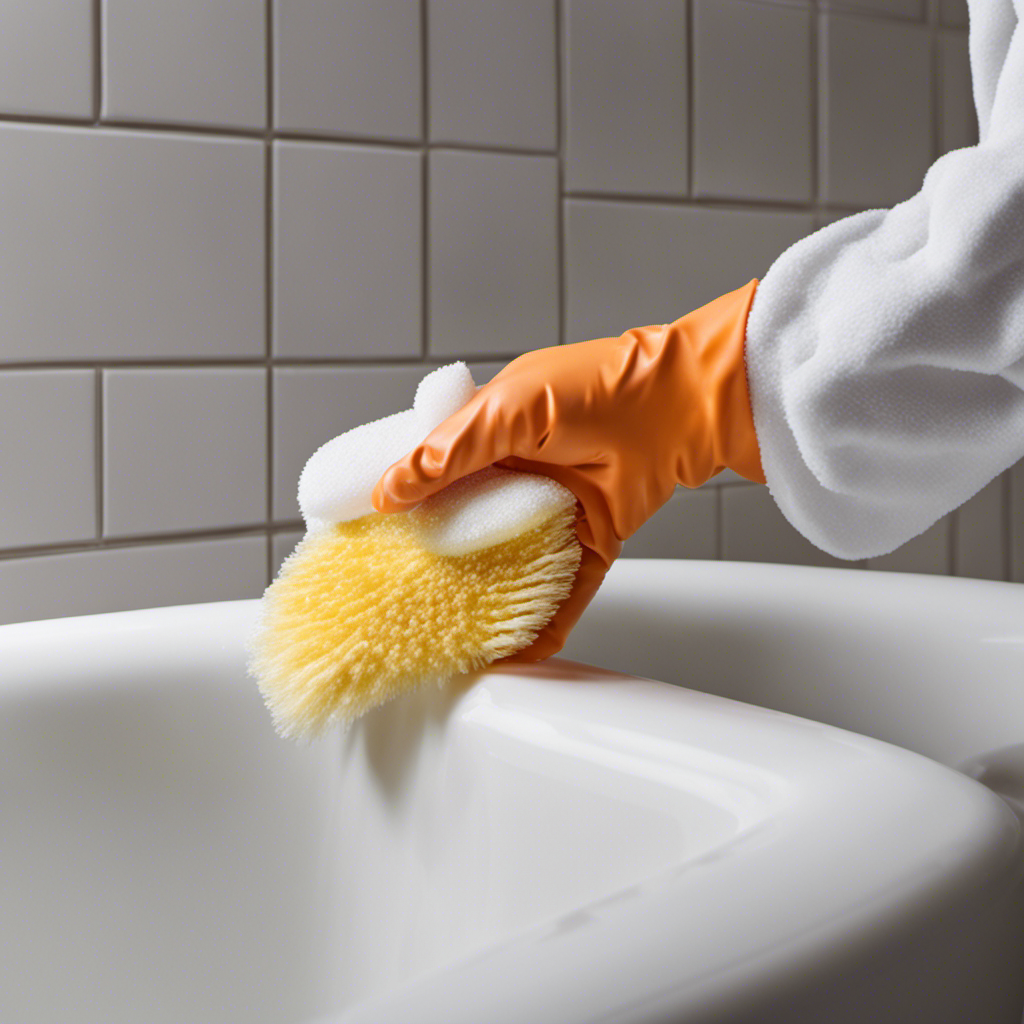
Preparing the Bathtub Surface
Before starting the repair process, make sure the bathtub surface is clean and dry. Cleaning the surface is crucial for a successful repair.
Start by removing any dirt, soap scum, or grime using a non-abrasive cleaner. Avoid using harsh chemicals or abrasive scrubbers as they can damage the enamel further. Instead, opt for mild soaps or vinegar solutions.
Rinse the surface thoroughly with water and dry it completely using a soft cloth.
Safety precautions should also be considered when cleaning the bathtub. Make sure to wear gloves and protective eyewear to avoid contact with cleaning chemicals. Additionally, ensure proper ventilation in the bathroom to minimize inhaling any fumes.
Following these cleaning tips and safety precautions will help create a suitable environment for repairing the chipped enamel bathtub.
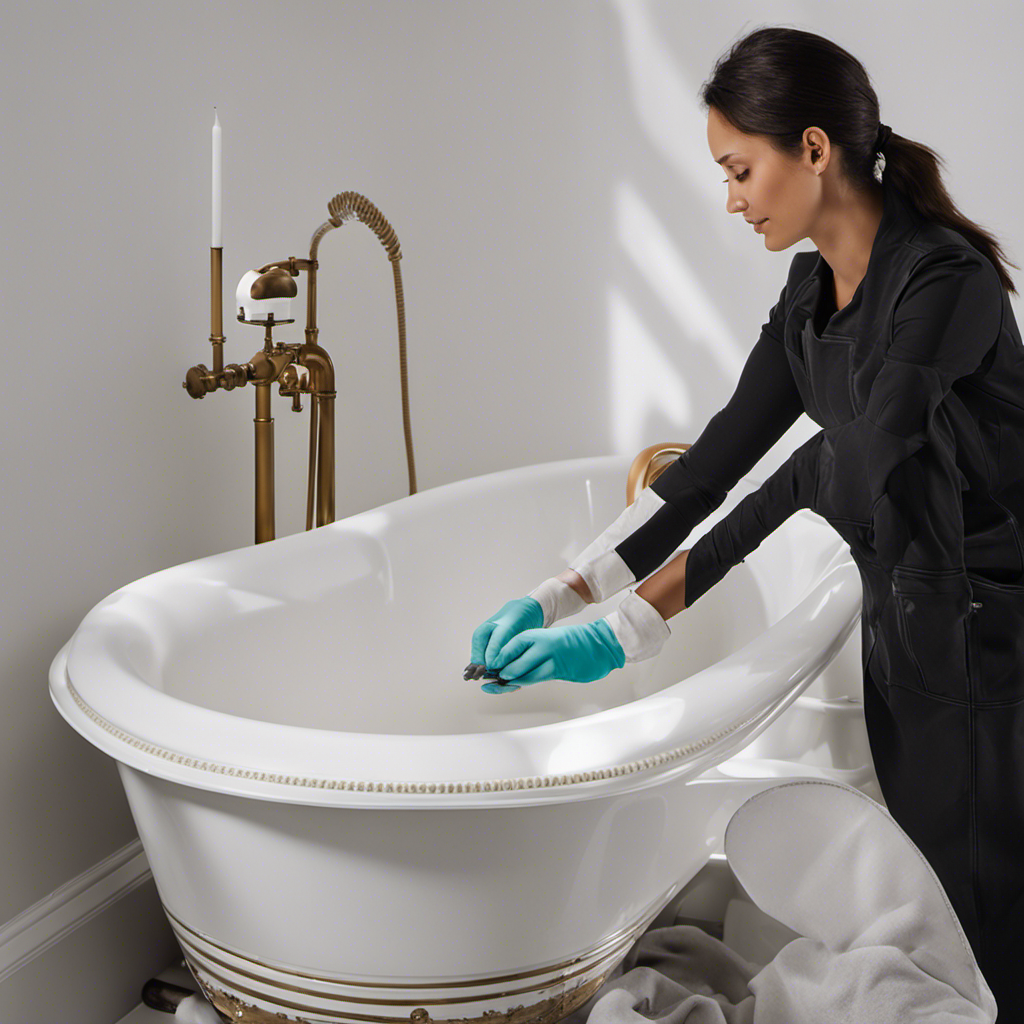
Applying the Enamel Repair Product
Start by applying the enamel repair product to the damaged area, making sure to cover it completely. This step is crucial in restoring the smooth finish of your chipped enamel bathtub.
Here are some tips to help you achieve the best results:
- Use a small brush or applicator to apply the enamel repair product. This will ensure precise application and prevent excess product from spreading to unaffected areas.
- Work in small sections to ensure even coverage. Apply the product in thin layers, allowing each layer to dry before applying the next.
- Smooth out any bumps or ridges using a fine-grit sandpaper. This will help achieve a seamless finish.
- Avoid applying too much pressure when sanding, as this can damage the enamel surface.
- Lastly, be patient and allow the repair product to fully cure before using your bathtub again.
Common mistakes to avoid:
- Rushing the application process, which can result in uneven coverage and a sloppy finish.
- Neglecting to read and follow the manufacturer’s instructions, which can lead to improper application and ineffective results.
Finishing and Maintaining the Repaired Surface
To maintain the repaired surface, regularly clean it using a non-abrasive cleaner and a soft cloth. This is essential for caring for the repaired surface and preventing future chipping. By keeping the surface clean, you can remove any dirt or debris that may cause further damage.
Avoid using abrasive cleaners or scrub brushes, as they can scratch the enamel and make it more prone to chipping. Instead, opt for a gentle, non-abrasive cleaner and a soft cloth to gently clean the surface. Be sure to rinse thoroughly and dry the surface completely to prevent any water spots or residue.
Conclusion
In conclusion, fixing a chipped enamel bathtub is a straightforward process that can be done with the right supplies and a little bit of effort.
By assessing the damage, gathering the necessary supplies, preparing the bathtub surface, applying the enamel repair product, and finishing and maintaining the repaired surface, you can restore your bathtub to its former glory.
Remember, like a skilled artist restoring a masterpiece, with patience and precision, your bathtub can once again shine brightly in your bathroom.