Hey there!
So, imagine this: you’re taking a relaxing bath in your bathtub, and suddenly you notice a chipped enamel. It’s a bummer, right? But don’t worry, because I’ve got you covered.
In this article, I’m going to show you how to fix that chipped enamel on your bathtub. We’ll go through the steps, from assessing the damage to finishing and maintaining the repaired enamel.
So grab your materials and let’s get started!
Key Takeaways
- Assess the severity and extent of the chipped area to determine the appropriate repair method.
- Consider using a DIY repair kit for minor chips, but seek professional help for extensive damage.
- Gather the necessary materials such as a putty knife and enamel repair solution designed for bathtubs.
- Clean the bathtub thoroughly before applying the repair and follow proper maintenance techniques for long-term durability.

Tub Repair Kit White, Tub Chip and Bathtub Repair Kit for Enamel, Fiberglass, Acrylic, Porcelain, Patch and Repairs Chips, Crack, Scratches, Rust, Holes on Tubs, Toilet, Sink, Shower, Tray in Bathroom
Permanently Repair Bathtub Chips, Cracks and Holes: For Fiberglass, Enamel, Acrylic; restore a glossy, non-yellowing, leak-stopping and chip…
As an affiliate, we earn on qualifying purchases.
As an affiliate, we earn on qualifying purchases.
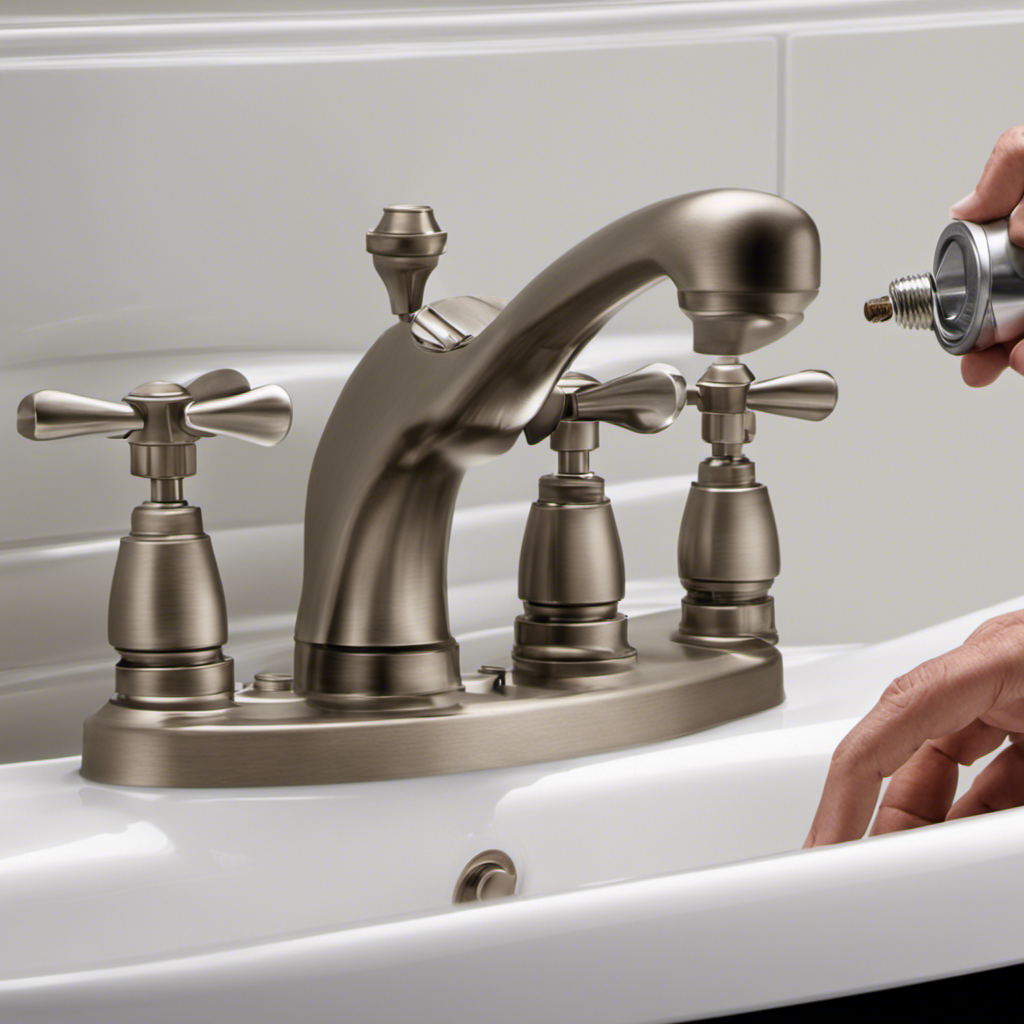
Assessing the Damage
Before you start fixing the chipped enamel on your bathtub, it’s important to assess the damage.
Evaluating the severity of the chipped enamel will help determine the appropriate repair options. Start by carefully inspecting the chipped area to see if it is just a small chip or if there are larger cracks or missing enamel.
If the chip is minor and does not expose the underlying material, you can consider using a DIY repair kit to fix it yourself. However, if the damage is extensive or if the chip exposes the underlying material, it is recommended to seek professional repair options.
A professional can assess the damage more accurately and provide a long-lasting solution, such as refinishing the entire bathtub or replacing the affected area.
Tub Repair Kit White, Tub Chip and Bathtub Repair Kit for Enamel, Fiberglass, Acrylic, Porcelain, Patch and Repairs Chips, Crack, Scratches, Rust, Holes on Tubs, Toilet, Sink, Shower, Tray in Bathroom
Permanently Repair Bathtub Chips, Cracks and Holes: For Fiberglass, Enamel, Acrylic; restore a glossy, non-yellowing, leak-stopping and chip…
As an affiliate, we earn on qualifying purchases.
As an affiliate, we earn on qualifying purchases.
Gathering the Materials
To gather the materials you’ll need for the project, start by grabbing a putty knife and a small container of enamel repair solution. When choosing the right enamel repair product, consider factors such as the color match, durability, and ease of application. Look for products specifically designed for bathtub enamel repairs.
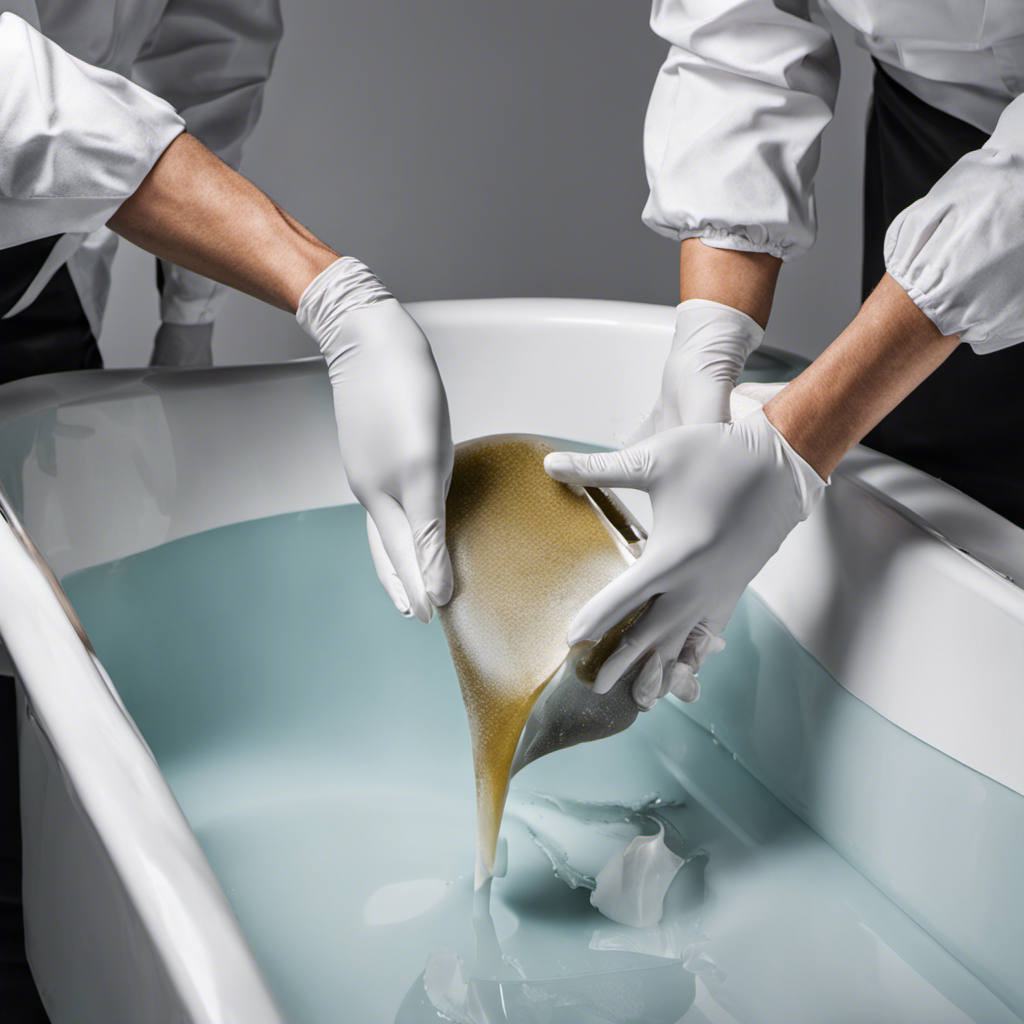
Cleaning the bathtub before applying the enamel repair is crucial to ensure proper adhesion and a smooth finish. Here are three steps to clean the bathtub effectively:
- Start by removing any loose debris or dirt using a soft brush or cloth.
- Use a mild detergent or a bathtub cleaner to scrub the surface thoroughly, paying attention to the chipped area.
- Rinse the bathtub with clean water and dry it completely before proceeding with the repair.

White Tub and Tile Touch-Up Paint,Semi-Gloss Waterproof Porcelain Repair Paint for Bathtubs, Sinks & Tiles, Covers Scratches Chips on Enamel and Acrylic (1.5 Fl Oz)
Fast Repair and Durable: Our white touch up paint features a high-quality acrylic resin formula, specifically designed for…
As an affiliate, we earn on qualifying purchases.
As an affiliate, we earn on qualifying purchases.
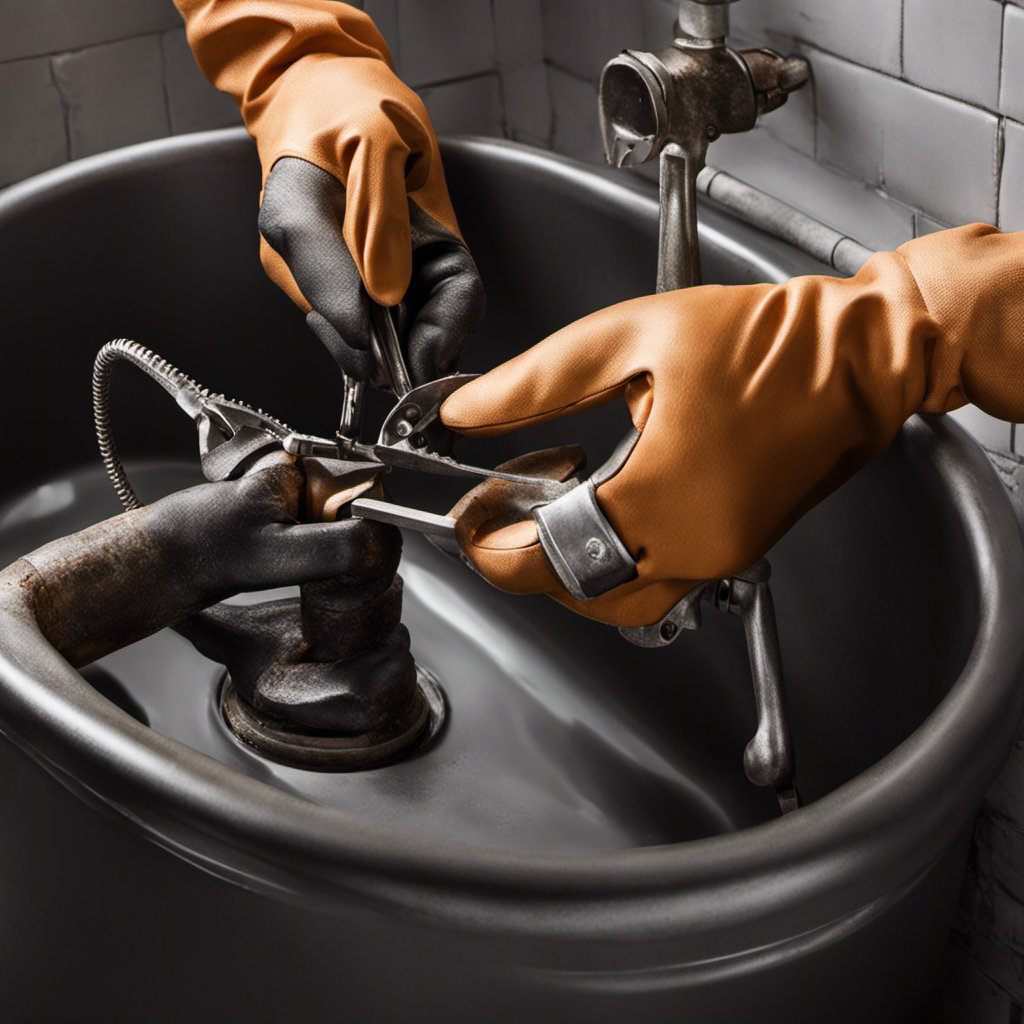
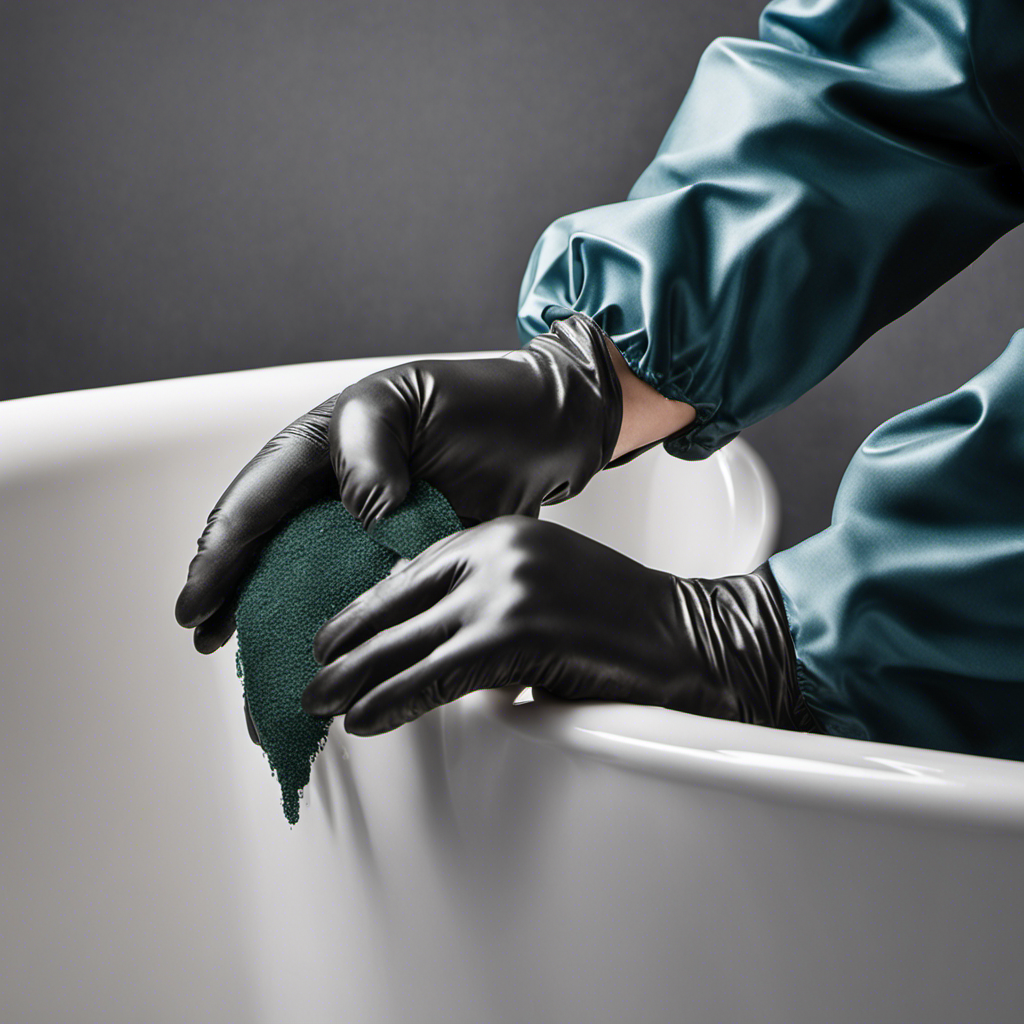
Preparing the Surface
When getting ready to repair the surface, make sure you thoroughly clean it using a mild detergent or bathtub cleaner. It is important to remove any dirt, grease, or soap scum that may be on the surface, as these can prevent the enamel repair from properly adhering.
I recommend wearing protective gear, such as gloves and goggles, to ensure your safety while cleaning. When choosing cleaning products, look for ones specifically designed for use on bathtubs and enamel surfaces. These products are usually non-abrasive and gentle enough to not damage the enamel further.
After cleaning, rinse the surface thoroughly with water to remove any residue.
Now that the surface is clean and prepped, you can proceed to the next step of applying the enamel repair.
Tub Repair Kit White, Tub Chip and Bathtub Repair Kit for Enamel, Fiberglass, Acrylic, Porcelain, Patch and Repairs Chips, Crack, Scratches, Rust, Holes on Tubs, Toilet, Sink, Shower, Tray in Bathroom
Permanently Repair Bathtub Chips, Cracks and Holes: For Fiberglass, Enamel, Acrylic; restore a glossy, non-yellowing, leak-stopping and chip…
As an affiliate, we earn on qualifying purchases.
As an affiliate, we earn on qualifying purchases.
Applying the Enamel Repair
Now that you’ve cleaned the surface, you can begin applying the enamel repair. It’s important to choose the right enamel repair products to ensure a successful and long-lasting fix. Here are some proper application techniques to guide you through the process:
-
Start by reading the instructions on the enamel repair product carefully. Different products may have specific requirements for application.
-
Use a small brush or applicator tool to apply the enamel repair product to the chipped area. Make sure to cover the entire chipped surface evenly.
-
Allow the enamel repair to dry completely before using the bathtub again. This may take several hours or even overnight, depending on the product’s instructions.
Finishing and Maintaining the Repaired Enamel
After the enamel repair has dried completely, it’s crucial to follow proper maintenance techniques to ensure the longevity of the repaired surface.
To keep the enamel looking its best and maintain its long-term durability, it’s important to use the right cleaning products. Avoid abrasive cleaners or scouring pads that can scratch the surface. Instead, opt for non-abrasive cleaners specifically designed for enamel surfaces. These cleaners are gentle yet effective at removing dirt and stains without causing damage.
Regularly clean the repaired area using a soft cloth or sponge and the appropriate cleaning product. This will help prevent the buildup of grime and keep the enamel looking shiny and new.
Conclusion
In conclusion, repairing chipped enamel on a bathtub is a task that can be easily accomplished with the right materials and technique.
By assessing the damage, gathering the necessary materials, preparing the surface, and applying the enamel repair, you can restore your bathtub to its former glory.
Remember, a stitch in time saves nine, so addressing the issue promptly will prevent further damage and save you from costly repairs down the line.
With a little effort and attention to detail, your bathtub will be as good as new.