Are you tired of staring at that unsightly crack in your bathtub? Well, fear not! In this article, we will guide you through the step-by-step process of fixing your cracked bathtub.
With a little effort and the right materials, you’ll have your bathtub looking as good as new in no time. So grab your tools and let’s get to work!
Key Takeaways
- Assess the length, width, and depth of the crack and consider professional repair or replacement for larger cracks.
- Gather necessary materials and tools for the repair, including acrylic, porcelain, ceramic, or fiberglass repair kits.
- Thoroughly clean and dry the cracked area before applying the appropriate repair solution based on size and severity.
- Allow the repair solution sufficient time to cure and harden, following the manufacturer’s instructions, and avoid water exposure until fully cured.
Assess the Extent of the Crack
To determine the severity of the crack, you’ll need to carefully inspect the bathtub. Start by examining the length and width of the crack. Measure it using a ruler or tape measure to get an accurate assessment.
Next, check the depth of the crack. Use a small flashlight to shine light into the crack and see how far it extends.
Assess if there are any signs of water leakage or damage around the crack. Look for discoloration or soft spots on the surrounding area.
Once you have assessed the severity of the crack, you can then determine the repair options. Small, shallow cracks may only require a simple patch, while larger, deeper cracks may need professional repair or even replacement of the entire bathtub.
Gather Necessary Materials and Tools
You’ll need a few materials and tools to get started on this project. Below is a table outlining the necessary items for repairing a cracked bathtub:
| Materials | Tools | Bathtub Repair Kits |
|---|---|---|
| Epoxy | Safety goggles | Acrylic repair kits |
| Fiberglass cloth | Dust mask | Porcelain repair kits |
| Sandpaper | Rubber gloves | Ceramic repair kits |
| Putty knife | Caulk gun | Fiberglass repair kits |
| Clean cloth | Paintbrush | Acrylic adhesive |
To prevent future cracks, it’s important to follow these tips:
- Avoid using heavy objects in the bathtub.
- Place non-slip mats or adhesive strips to prevent slips and falls.
- Clean the bathtub regularly to prevent the buildup of grime and mold.
- Use a bathtub liner for added protection.
- Be cautious when handling sharp objects near the bathtub.
Now that you have gathered the necessary materials and tools, it’s time to move on to the next step: cleaning and preparing the cracked area.
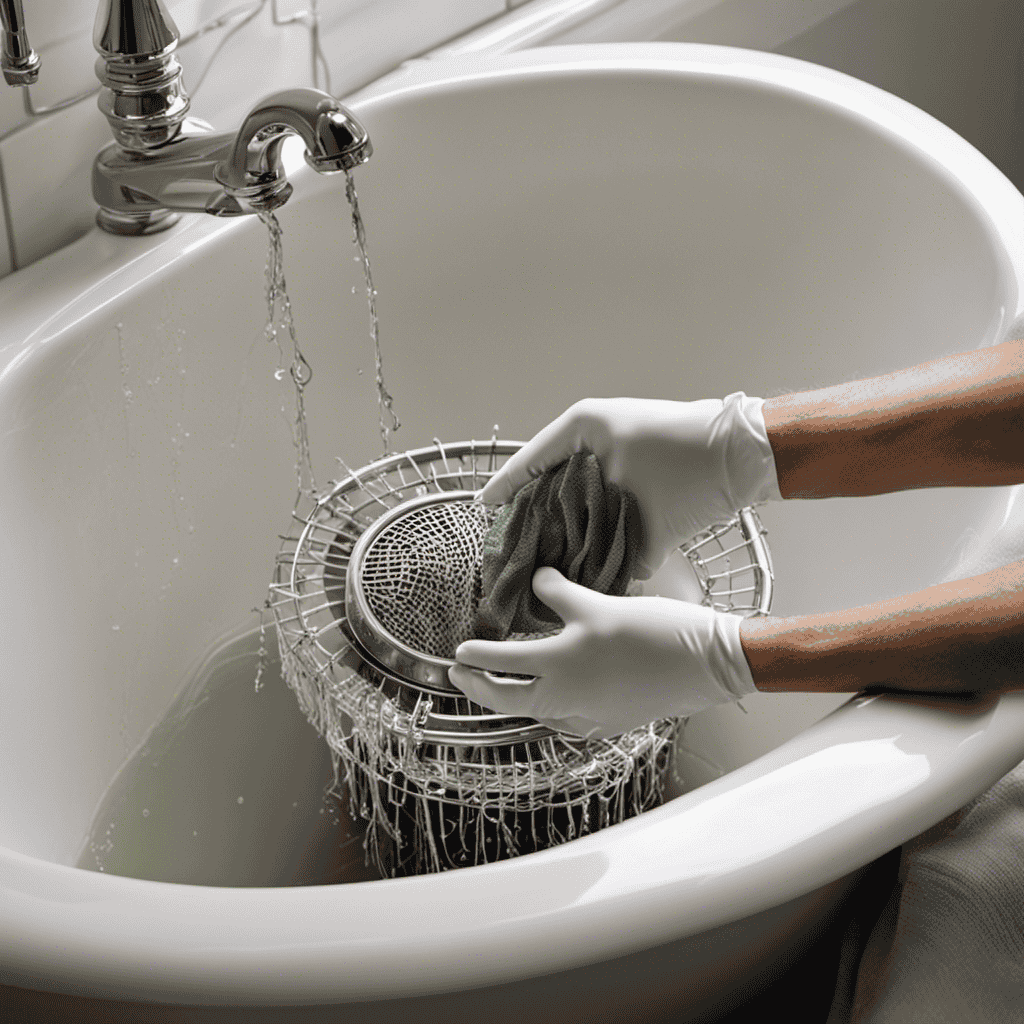
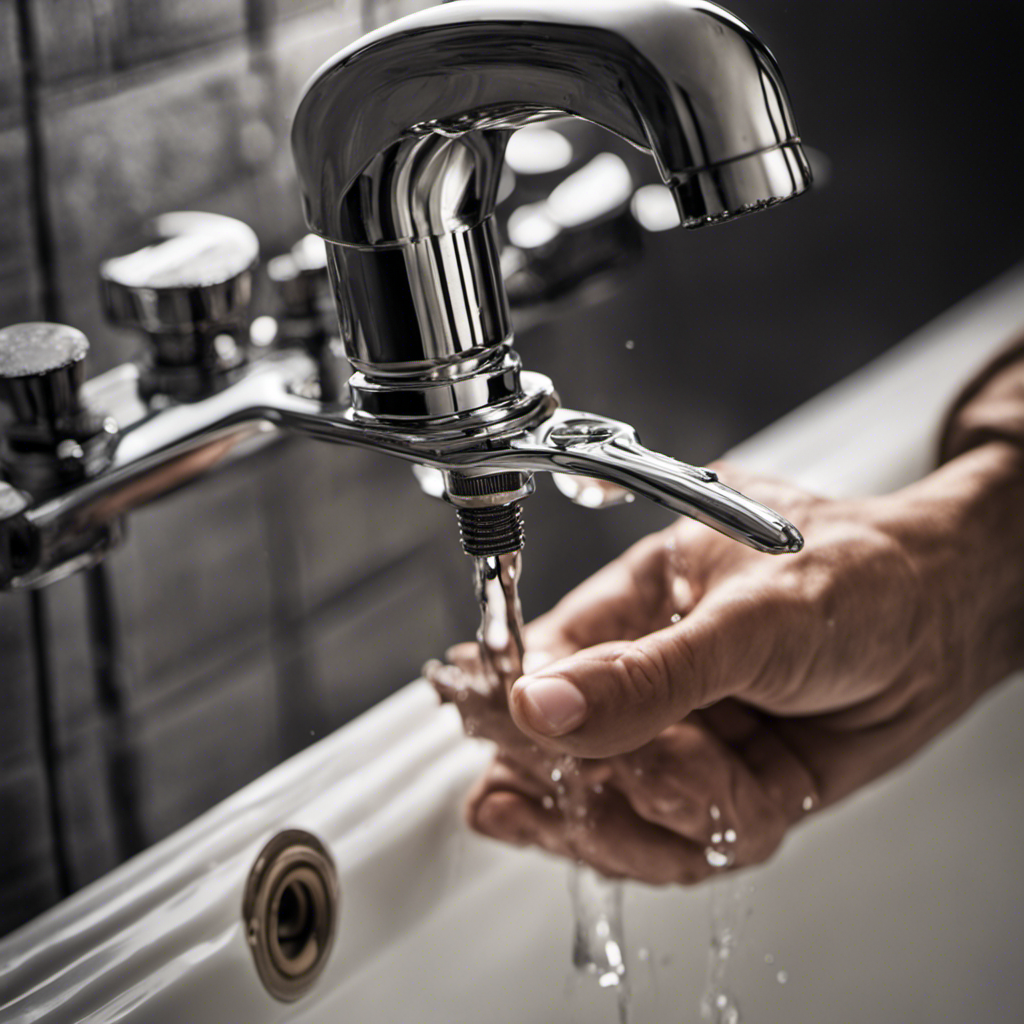
Clean and Prepare the Cracked Area
Before applying the repair solution to the cracked area of your bathtub, it is crucial to thoroughly clean the crack. Use a mild cleanser and a soft cloth to remove any dirt, grime, or residue from the surface.
Ensure that the crack is completely dry before proceeding to the next step. Once the crack is clean and dry, you can then apply the repair solution according to the manufacturer’s instructions.
Cleaning the Crack
Start by applying a small amount of cleaning solution to the crack in the bathtub. This step is essential to ensure proper adhesion of the repair solution later on. Here are three maintenance tips for cleaning the crack effectively:
-
Use a soft cloth or sponge to gently scrub the crack, removing any dirt, grime, or soap residue. Be thorough but careful not to apply too much pressure, as it may worsen the crack.
-
Rinse the crack with clean water to remove the cleaning solution completely. Make sure there is no residue left behind, as it can interfere with the repair process.
-
Dry the crack thoroughly using a clean, dry cloth. It is crucial to have a completely dry surface before applying the repair solution, as moisture can affect its effectiveness.
Once the crack is clean and dry, you can proceed to the next step of applying the repair solution, which will be discussed in the following section.
Applying Repair Solution
To properly apply the repair solution, make sure the crack is completely clean and dry. Begin by thoroughly cleaning the crack using a mild detergent and water. Scrub the area gently to remove any dirt, soap scum, or grime.
Once the crack is clean, rinse it thoroughly and dry it completely using a clean towel or cloth.
Now, it’s time to choose the right repair solution for your cracked bathtub. There are several options available, such as epoxy putty, waterproof sealant, or bathtub repair kits. Consider the size and severity of the crack, as well as the material of your bathtub, when selecting the repair solution.
Follow the manufacturer’s instructions carefully to ensure a successful repair.
Apply a Bathtub Repair Kit
You’ll want to grab a bathtub repair kit to fix the cracks in your tub. These kits are specially designed to provide an effective solution for repairing bathtub cracks.
Here are three key steps to follow when applying a bathtub repair kit:
-
Prep the surface: Begin by cleaning the cracked area thoroughly with a mild detergent and warm water. Use a non-abrasive scrub brush to remove any dirt or debris. Rinse the area and dry it completely before proceeding.
-
Apply the repair compound: Mix the components of the repair kit according to the instructions provided. Use a putty knife or a similar tool to apply the repair compound evenly over the cracked area. Make sure to fill the cracks completely and smooth out the surface.
-
Allow the repair to cure: Give the repair compound sufficient time to cure and harden. Follow the manufacturer’s instructions for the recommended curing time. Avoid using the bathtub until the repair is fully cured to ensure the best results.
Allow the Repair to Cure
To ensure a successful bathtub repair, it is crucial to allow the repair to cure properly. This involves following the recommended curing time provided by the manufacturer.
During this time, it is important to avoid any water exposure to the repaired area, as it may compromise the integrity of the repair.
Once the curing time has elapsed, it is advisable to test the durability of the repair by applying pressure or gently tapping on the repaired area to ensure it can withstand daily use.
Proper Curing Time
Make sure you let the bathtub repair compound cure for the recommended amount of time to ensure a strong and long-lasting fix. Proper maintenance is crucial for preventing cracks in your bathtub, but if they do occur, swift and effective repairs are necessary. Here are three key factors to consider when allowing the repair compound to cure properly:
-
Temperature: Maintain a consistent temperature in the room where the repair is taking place. Fluctuations in temperature can affect the curing process and compromise the strength of the repair.
-
Ventilation: Ensure proper ventilation to allow for adequate airflow. This promotes the evaporation of solvents and accelerates the curing time.
-
Time: Follow the manufacturer’s instructions for the recommended curing time. Rushing the process can lead to a weak repair, while giving it sufficient time will result in a durable fix.
By properly curing the repair compound, you are setting the stage for a successful repair.
Next, let’s explore how to avoid water exposure to protect your newly fixed bathtub.
Avoid Water Exposure
Now that you have allowed the bathtub to cure properly, it is important to avoid water exposure to prevent any leaks or further damage. After fixing the cracked bathtub, it is crucial to give it ample time to dry and harden. Avoid using the bathtub for at least 24 hours to ensure the repair is fully set.
Additionally, be cautious when cleaning the bathtub. Avoid using abrasive cleaners or scrubbing too vigorously, as this can cause the repaired area to weaken or crack again. Instead, opt for gentle cleaning solutions and a soft cloth.
By avoiding water exposure and taking care during cleaning, you can ensure the longevity of your repaired bathtub.
Now, let’s move on to the next step: testing for durability.
Test for Durability
After allowing the bathtub to cure, it’s time to test its durability. To ensure the longevity of your repaired bathtub, follow these steps for a thorough durability test:
-
Fill the bathtub with water up to the recommended level. This will simulate real-life usage and put the repaired area under stress.
-
Gradually increase the water temperature to a comfortable level. This will test the bathtub’s resistance to extreme temperatures.
-
Add a few drops of mild soap to the water and use a non-abrasive sponge to clean the surface. This will assess the bathtub’s resistance to cleaning agents.
By conducting this durability test, you can effectively assess the longevity of your bathtub repair and ensure its ability to withstand regular use and exposure to various conditions.
Remember to carefully observe and evaluate the repaired area for any signs of cracking or damage during the test.
Sand and Smooth the Repaired Area
To achieve a smooth finish, gently sand the repaired area of the cracked bathtub. Sanding techniques play a crucial role in ensuring that the surface becomes even and flawless.
Begin by using medium-grit sandpaper to remove any rough edges or excess filler material. Apply light pressure and move the sandpaper in circular motions. As you progress, switch to fine-grit sandpaper for a finer finish. Be cautious not to oversand and damage the surrounding area.
After sanding, wipe away any dust or debris using a clean cloth. To add the finishing touches, consider using a fine-grit sanding sponge to achieve a polished look. This will smoothen the surface further, creating a seamless transition between the repaired area and the rest of the bathtub.
Apply a Waterproof Sealant
You can use a waterproof sealant to protect the repaired area and prevent any water damage. Applying a waterproof sealant is an essential step in ensuring the longevity of your bathtub repair.
Here are three options for waterproof sealant alternatives:
-
Silicone Sealant: This popular choice provides excellent water resistance and flexibility. It forms a durable bond that prevents water from seeping into the repaired cracks.
-
Epoxy Resin: Known for its strong adhesive properties, epoxy resin creates a watertight seal that effectively seals cracks and prevents further damage.
-
Acrylic Sealant: This versatile sealant is easy to apply and offers good resistance against water. It forms a protective barrier that keeps moisture out and helps maintain the integrity of the repaired area.
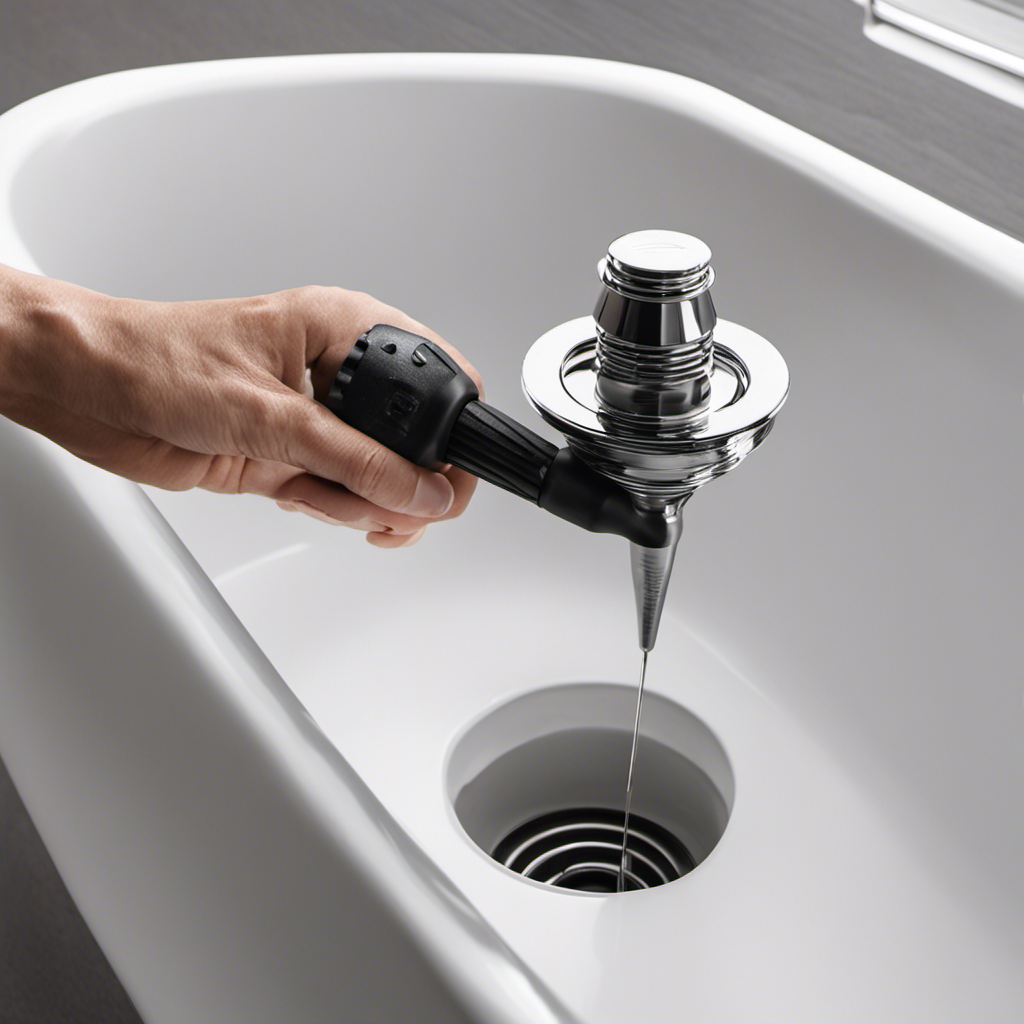
Test the Repaired Bathtub for Leaks
Now that you have successfully applied a waterproof sealant to your cracked bathtub, it is important to test the repaired area for any potential leaks.
To do this, you will need to check the water pressure of your bathtub. Start by closing the bathtub drain and filling it with water. Once it is filled, let the water sit for a few minutes and observe if there are any signs of water leakage around the repaired area. Keep in mind that even a small leak can lead to bigger issues in the future, so it is crucial to pay attention to any signs of water seepage.
Additionally, you can also use a water pressure gauge to measure the pressure in your bathtub. If the pressure drops significantly or if you notice any sudden changes, it may indicate a leak in the repaired area.
Frequently Asked Questions
Can I Use a DIY Bathtub Repair Kit for a Large Crack?
You can try using a DIY bathtub repair kit, but it may not be effective for large cracks. It’s best to consult bathtub repair professionals as they can provide alternative methods for bathtub crack repair.
How Long Does It Take for a Bathtub Repair Kit to Cure?
Bathtub repair kits vary in curing time, depending on the product. The best bathtub repair kits can take anywhere from a few hours to a couple of days to fully cure.
Can I Use Regular Household Cleaning Products to Clean the Cracked Area?
Using regular household cleaning products to clean a cracked bathtub is not recommended. Professional bathtub repair services offer the expertise and specialized products needed for effective repair and restoration.
How Soon Can I Use the Bathtub After Applying the Repair Kit?
After applying the repair kit, wait at least 24 hours before using the bathtub. This allows the repair to fully cure and ensures its effectiveness. Regular maintenance is crucial for maintaining the bathtub’s longevity.
Is It Necessary to Sand and Smooth the Repaired Area Before Applying a Waterproof Sealant?
Before applying a waterproof sealant, it is crucial to sand and smooth the repaired area. This step ensures proper adhesion and a seamless finish, preventing any water leakage or further damage.
Conclusion
Congratulations! You’ve successfully navigated the treacherous waters of bathtub repair and emerged victorious with a beautifully restored tub.
By assessing the crack and gathering the necessary materials, you’ve taken the first steps towards fixing the problem.
Next, you applied a bathtub repair kit, transforming the blemished surface into a seamless masterpiece.
But you didn’t stop there. You added the finishing touches of sanding, smoothing, and applying a waterproof sealant, fortifying your bathtub against future leaks.
Now, it’s time to enjoy the fruits of your labor. Take a well-deserved soak in your repaired oasis and revel in the triumph of conquering the cracked bathtub.

Mateo’s flair for writing is matched only by his keen eye for design. As an interior designer turned writer, Mateo brings a unique perspective. He blends aesthetics with functionality in every piece he pens, providing readers with beautifully crafted content that’s also supremely useful.
Mateo loves exploring the latest bathroom tech trends and is our expert on smart toilets. When he’s not writing or designing, Mateo can be found sketching ideas for his next big project at local coffee shops.