Have you ever stepped into your bathtub, only to discover unsightly cracks staring back at you? Don’t panic! With a little know-how and some basic tools, you can easily fix those cracks and restore your bathtub to its former glory.
Imagine your bathtub as a canvas, waiting for you to wield your repair skills like a master artist. In this article, we will guide you step-by-step on how to fix cracks in your bathtub, so you can enjoy a smooth and flawless bathing experience once again.
Key Takeaways
- Assess the size, location, and depth of the cracks to determine the extent of the damage and whether professional assistance is needed.
- Choose the right bathtub repair kit and gather all necessary tools and materials before starting repairs.
- Properly clean and sand the cracked areas to ensure a smooth surface for the repair.
- Apply the filler to the cracks, allow it to dry completely, and then sand and apply a protective coating for a durable and long-lasting repair.

Tub Repair Kit White, Tub Chip and Bathtub Repair Kit for Enamel, Fiberglass, Acrylic, Porcelain, Patch and Repairs Chips, Crack, Scratches, Rust, Holes on Tubs, Toilet, Sink, Shower, Tray in Bathroom
Permanently Repair Bathtub Chips, Cracks and Holes: For Fiberglass, Enamel, Acrylic; restore a glossy, non-yellowing, leak-stopping and chip…
As an affiliate, we earn on qualifying purchases.
As an affiliate, we earn on qualifying purchases.
Assessing the Damage
Now, you’ll need to take a closer look at the cracks in your bathtub to assess the damage.
Start by examining the size, location, and depth of each crack.
If the cracks are small and superficial, you can attempt to fix them yourself using simple repair techniques.
However, if the cracks are larger or extend beyond the surface layer, it may be best to seek professional assistance.
A professional can evaluate the severity of the damage and provide expert advice on the most suitable repair options.
Keep in mind that attempting to fix extensive cracks without proper knowledge and skills can lead to further damage.
So, it’s crucial to assess the cracks carefully before deciding whether to proceed with DIY repairs or seek professional help.
Now that you have assessed the damage, let’s move on to gathering the necessary tools and materials for the repair process.
bathtub repair filler
As an affiliate, we earn on qualifying purchases.
As an affiliate, we earn on qualifying purchases.
Gathering the Necessary Tools and Materials
To start, you’ll need to gather all the tools and materials required for the job. Here’s what you’ll need:
-
Choosing the right bathtub repair kit: There are various types of repair kits available in the market, each designed for specific types of cracks. Make sure to choose one that suits your bathtub’s material and the type of crack you’re dealing with.
-
Understanding different types of bathtub cracks: Before you start the repair process, it’s crucial to identify the type of crack you’re dealing with. Some common types include hairline cracks, surface cracks, and structural cracks. Understanding the nature of the crack will help you determine the appropriate repair method.
Once you have the necessary tools and materials, you can proceed with confidence to fix the cracks in your bathtub.
bathtub surface repair kit
As an affiliate, we earn on qualifying purchases.
As an affiliate, we earn on qualifying purchases.
Preparing the Surface
Before you start fixing the cracks in your bathtub, it’s important to prepare the surface properly.
This involves cleaning and sanding the area to remove any dirt, grime, or loose material.
Use a mild detergent and a scrub brush to clean the surface, then sand it with fine-grit sandpaper to create a smooth and even finish.
Once the surface is clean and sanded, you can proceed to apply primer and filler to ensure a strong and durable repair.
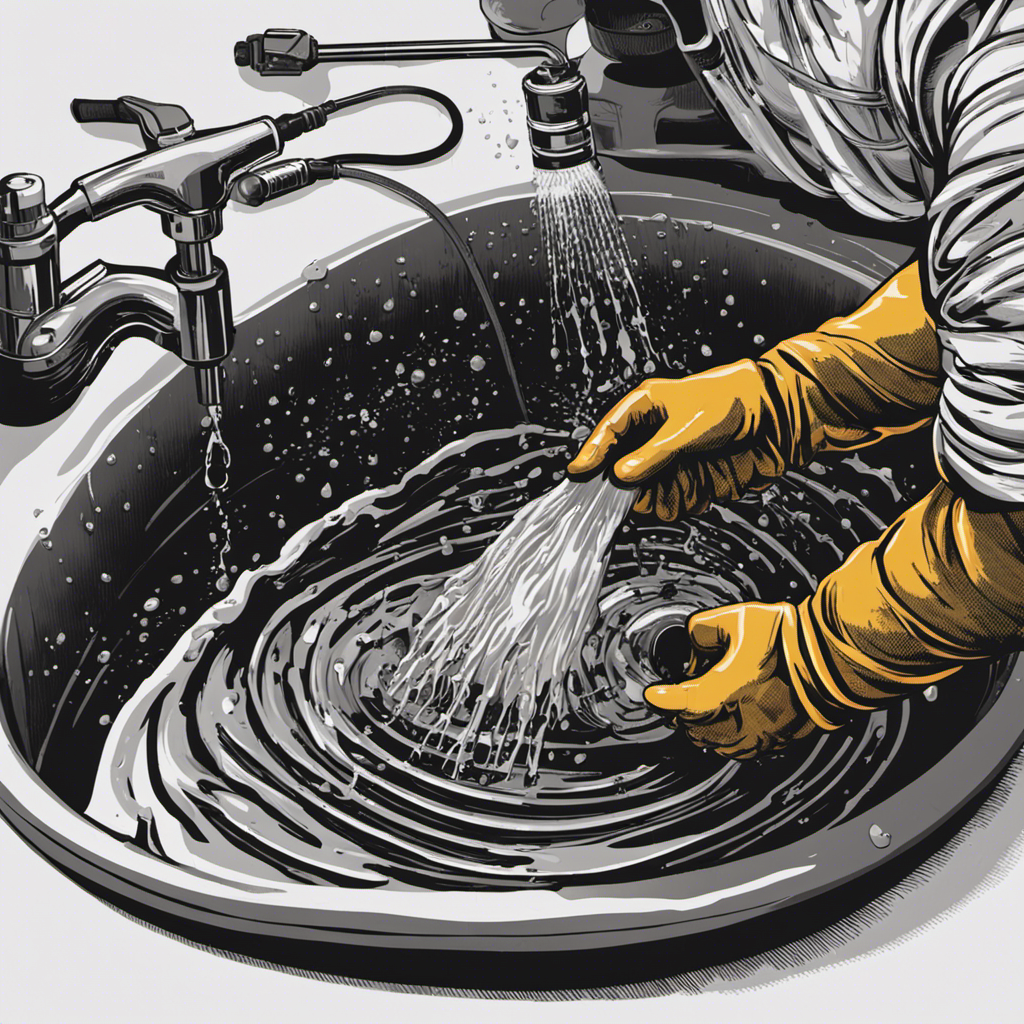
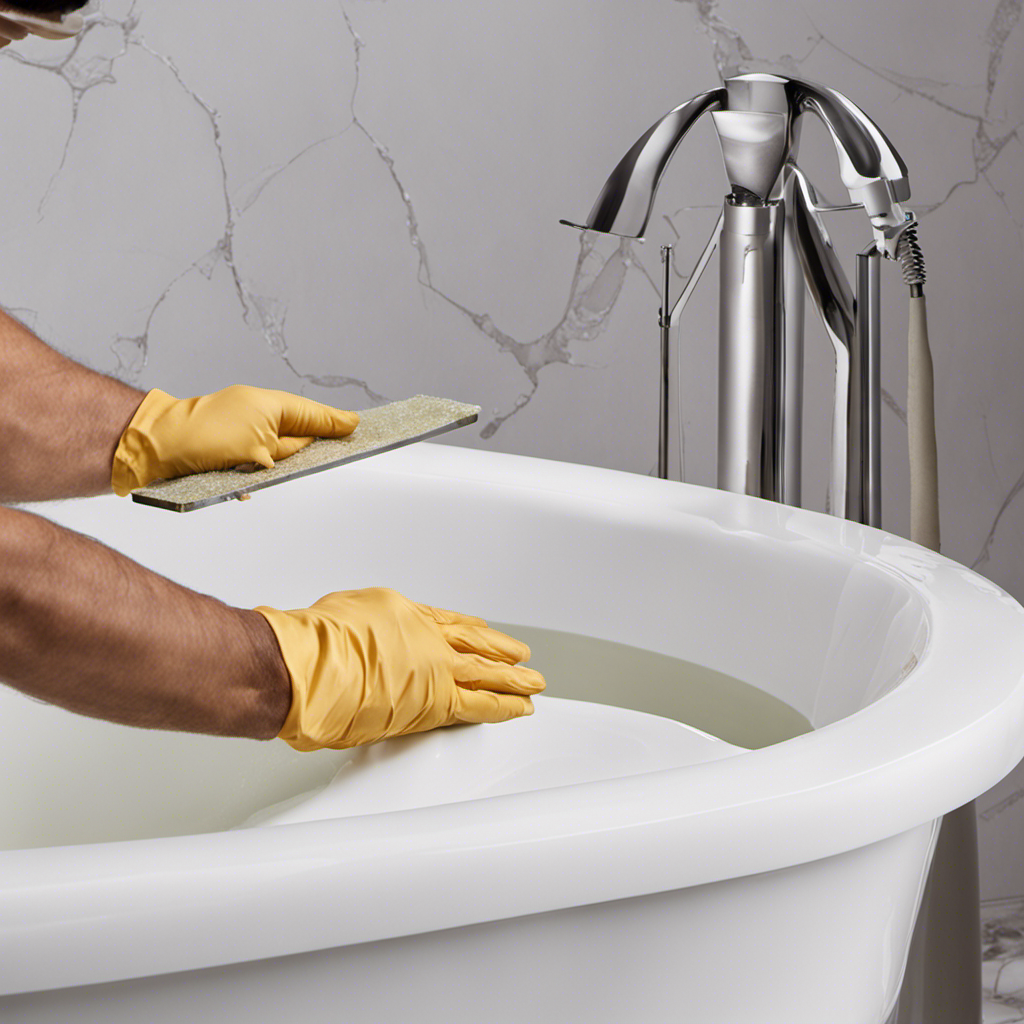
Cleaning and Sanding
First, you’ll need to thoroughly clean and sand the cracked areas of your bathtub. This is an essential step in preparing the surface for repair.
Here are some tips to help you with the cleaning and sanding process:
-
Start by choosing the right sandpaper. For minor cracks, a fine-grit sandpaper (around 220 grit) will suffice. However, for deeper cracks, you may need a coarser sandpaper (around 80 grit) to remove any loose debris and create a smooth surface.
-
Begin by cleaning the cracked areas with an effective cleaning solution. Use a mixture of warm water and mild detergent to remove any dirt, grime, or soap residue. Scrub gently with a sponge or soft brush.
-
Rinse the area thoroughly with clean water to remove any leftover cleaning solution.
-
Once the surface is dry, use the selected sandpaper to lightly sand the cracked areas. Sand in a circular motion, applying even pressure. This will help to smooth out any rough edges and create a better surface for the repair material to adhere to.
-
After sanding, clean the area again to remove any sanding dust and debris.
Applying Primer and Filler
Once the cleaning and sanding process is complete, you’ll be ready to apply primer and filler to the cracked areas. Applying primer is an essential step as it helps the filler adhere better and ensures a smooth finish. There are different types of primers available, such as epoxy, acrylic, and polyurethane. Choose the one that is suitable for your bathtub material. For fiberglass tubs, epoxy primers work best, while acrylic primers are suitable for acrylic tubs. When it comes to filler, there are various options like epoxy, polyester, and acrylic-based fillers. Consider the size and depth of the cracks to determine the best filler for your needs. Epoxy fillers are great for large cracks, while polyester or acrylic-based fillers work well for smaller cracks. Use the table below to compare the different materials and choose the right one for your bathtub repair:
| Primer Type | Suitable for | Advantages |
|---|---|---|
| Epoxy | Fiberglass | Strong and durable, excellent adhesion |
| Acrylic | Acrylic | Easy to apply, quick drying |
| Polyurethane | Various | Water-resistant, good for high-moisture areas |
bathtub crack filler and sealant
As an affiliate, we earn on qualifying purchases.
As an affiliate, we earn on qualifying purchases.
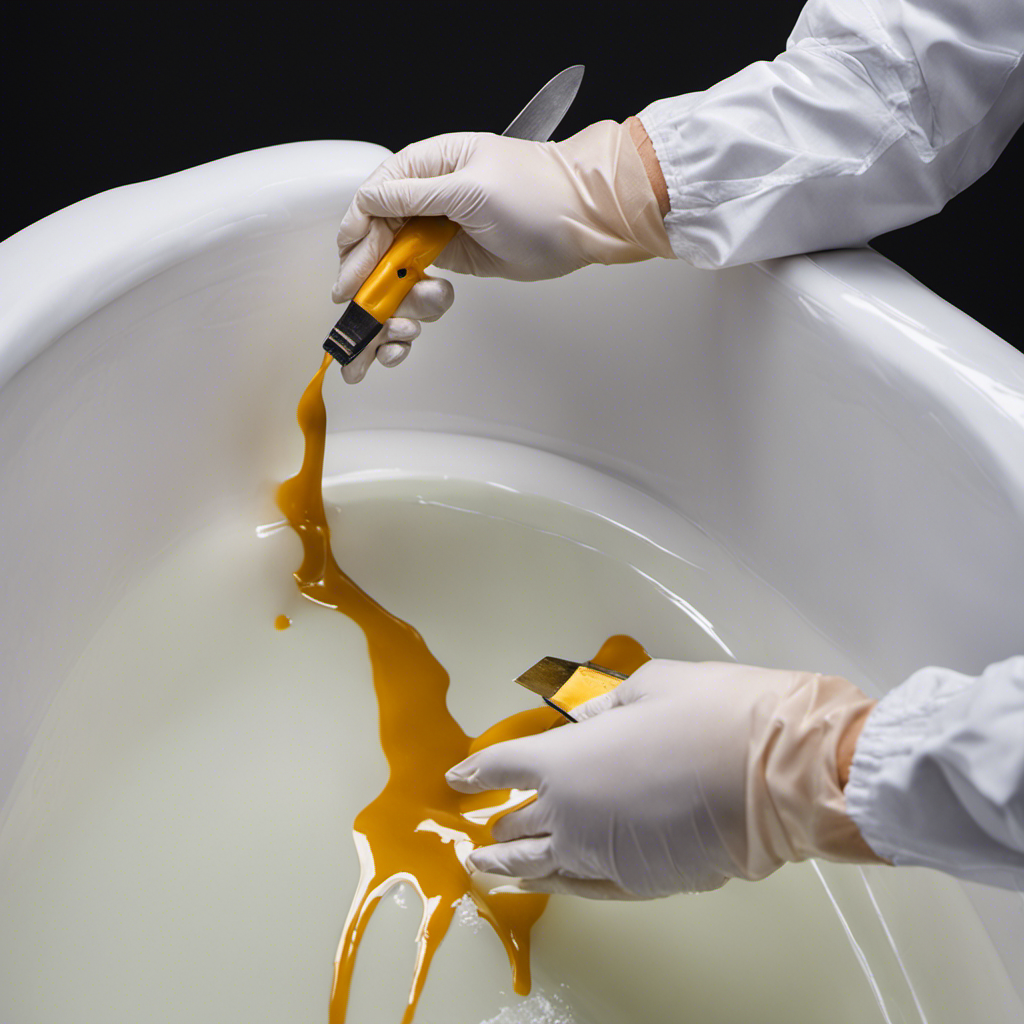
Filling and Repairing the Cracks
To fix cracks in the bathtub, you’ll need to start by cleaning the area thoroughly. Use a mild detergent and warm water to remove any dirt, grime, or soap scum. Once the area is clean and dry, you can begin filling and repairing the cracks.
Here are some techniques to help you with this task:
- Apply a bathtub repair kit that includes epoxy or acrylic filler.
- Mix the filler according to the manufacturer’s instructions.
- Use a putty knife or scraper to apply the filler to the cracks.
- Smooth out the filler with a wet finger or sponge.
- Allow the filler to dry completely before sanding it down for a smooth finish.
Sanding and Smoothing the Surface
After allowing the filler to dry completely, you can sand it down for a smooth finish. Sanding is an essential step in repairing cracks in a bathtub as it helps to level the surface and blend the repaired area with the rest of the tub. Here are some useful sanding techniques and tips to achieve a professional-looking result:
| Techniques | Tips |
|---|---|
| Start with coarse grit sandpaper | Use 120-grit sandpaper to remove excess filler and level the surface. |
| Progress to finer grits | Gradually move to 220-grit and then 400-grit sandpaper for a smoother finish. |
| Sand in circular motions | This helps to avoid creating noticeable grooves and ensures even sanding. |
| Keep the surface wet | Wet sanding minimizes dust and prevents the sandpaper from clogging. |
Remember to wear a dust mask and protective eyewear while sanding. Take your time and be gentle to avoid damaging the repaired area. Once you’ve achieved a smooth surface, you can proceed with refinishing or painting the bathtub to complete the repair.
Applying a Protective Coating
For a durable finish, make sure you apply a protective coating to prevent any future damage. This step is crucial in maintaining the integrity of your bathtub and ensuring it lasts for years to come. When applying sealant, it’s important to choose the right coating that suits your bathtub material and provides the necessary protection.
Here are some key factors to consider when selecting a coating:
- Material compatibility: Ensure that the coating is suitable for your bathtub material, such as acrylic, fiberglass, or porcelain.
- Waterproof properties: Look for a coating that has excellent waterproofing capabilities to prevent water damage.
- Durability: Opt for a coating that is resistant to scratching, chipping, and fading for long-lasting protection.
- Ease of application: Consider a coating that is easy to apply and dries quickly for a hassle-free process.
- Clear or colored: Decide whether you prefer a clear coating that maintains the bathtub’s original appearance or a colored coating for a different aesthetic.
Maintaining and Preventing Future Cracks
Regularly inspecting and sealing the edges and corners of your tub can help prevent any potential damage from developing.
Maintaining your bathtub is essential to prolong its lifespan and prevent cracks from forming.
Start by cleaning your tub regularly with a non-abrasive cleaner to remove any dirt or grime that can weaken the surface.
Next, inspect the edges and corners for any signs of wear or cracks. If you notice any, it’s important to address them promptly to prevent further damage.
Consider using bathtub refinishing products, such as epoxy or acrylic fillers, to repair small cracks. For larger cracks, you may need to consult a professional for bathtub refinishing services.
Additionally, avoid using harsh chemicals or abrasive scrubbers that can weaken the tub’s surface.
Implementing these maintenance practices will help keep your bathtub in excellent condition for years to come.
Frequently Asked Questions
Can I Use Regular Household Glue to Fix Cracks in My Bathtub?
Yes, you can use regular household glue to fix cracks in your bathtub. However, there are pros and cons to consider. It may provide a temporary fix, but it may not be as durable or long-lasting as other specialized bathtub repair products.
How Long Does It Take for the Protective Coating to Dry Before I Can Use the Bathtub Again?
To ensure your bathtub is ready for use, the protective coating needs to dry completely. This drying time may vary depending on the product used. Consider alternative coating options for faster drying.
Can I Use a Hairdryer to Speed up the Drying Process of the Filler Material?
You can use a hairdryer to speed up the drying process of the filler material in your bathtub cracks. However, it’s important to avoid using high heat as it may cause damage. There are also alternative drying methods you can consider.
What Kind of Protective Coating Is Best for Preventing Future Cracks in the Bathtub?
To prevent future cracks in your bathtub, the best protective coating is a high-quality epoxy resin. It forms a strong barrier against water damage and provides long-lasting durability. Remember, prevention is better than cure!
Is It Necessary to Remove the Bathtub Fixtures Before Repairing the Cracks?
You don’t have to remove the bathtub fixtures before repairing the cracks. There are different repair methods available that can be done with the fixtures in place.
Conclusion
In conclusion, fixing cracks in your bathtub doesn’t have to be a daunting task. By following the step-by-step guide provided, you can easily assess the damage, gather the necessary tools, and prepare the surface for repair.
With a little bit of filling, sanding, and smoothing, your bathtub will be as good as new. Don’t forget to apply a protective coating to ensure long-lasting results.
Remember, preventing future cracks is key, so be sure to maintain your bathtub regularly. With these tips in hand, you’ll have a bathtub that’s so flawless, it’ll make your neighbors green with envy!