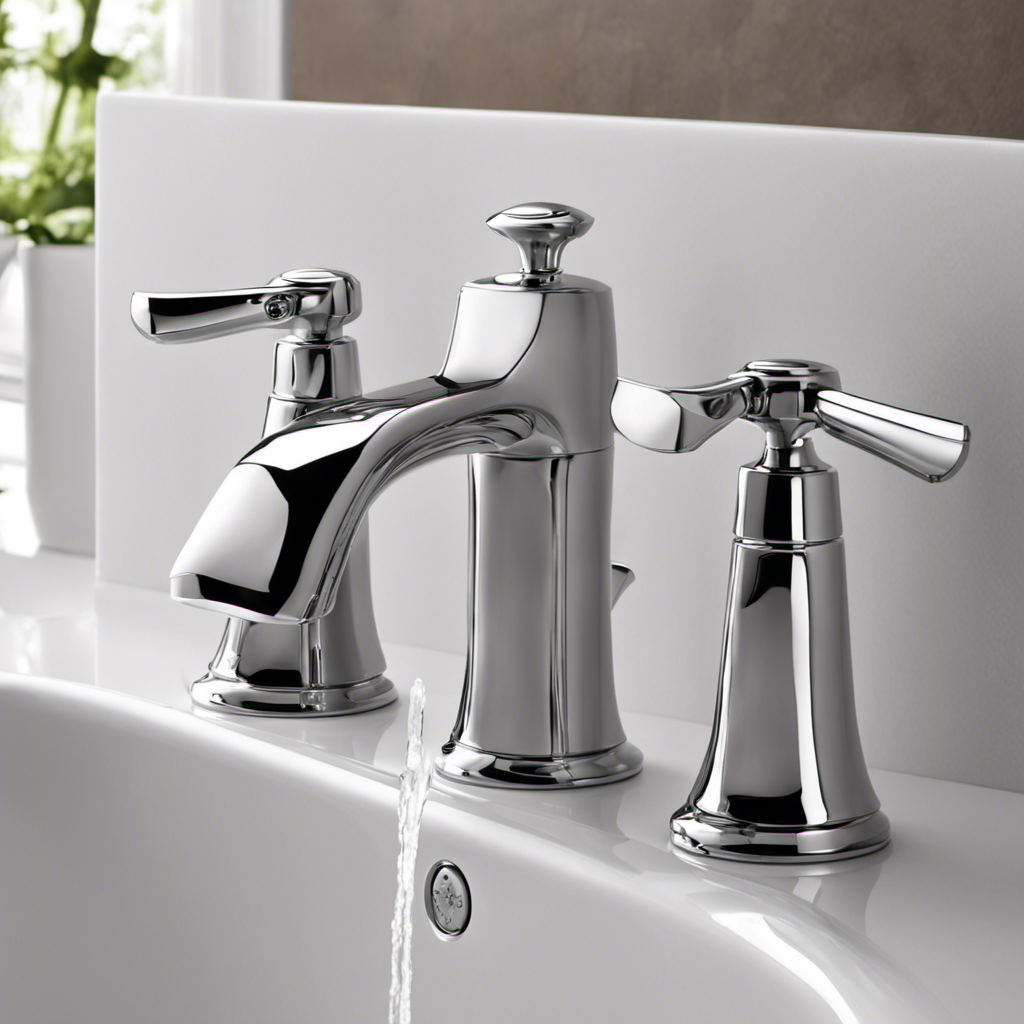
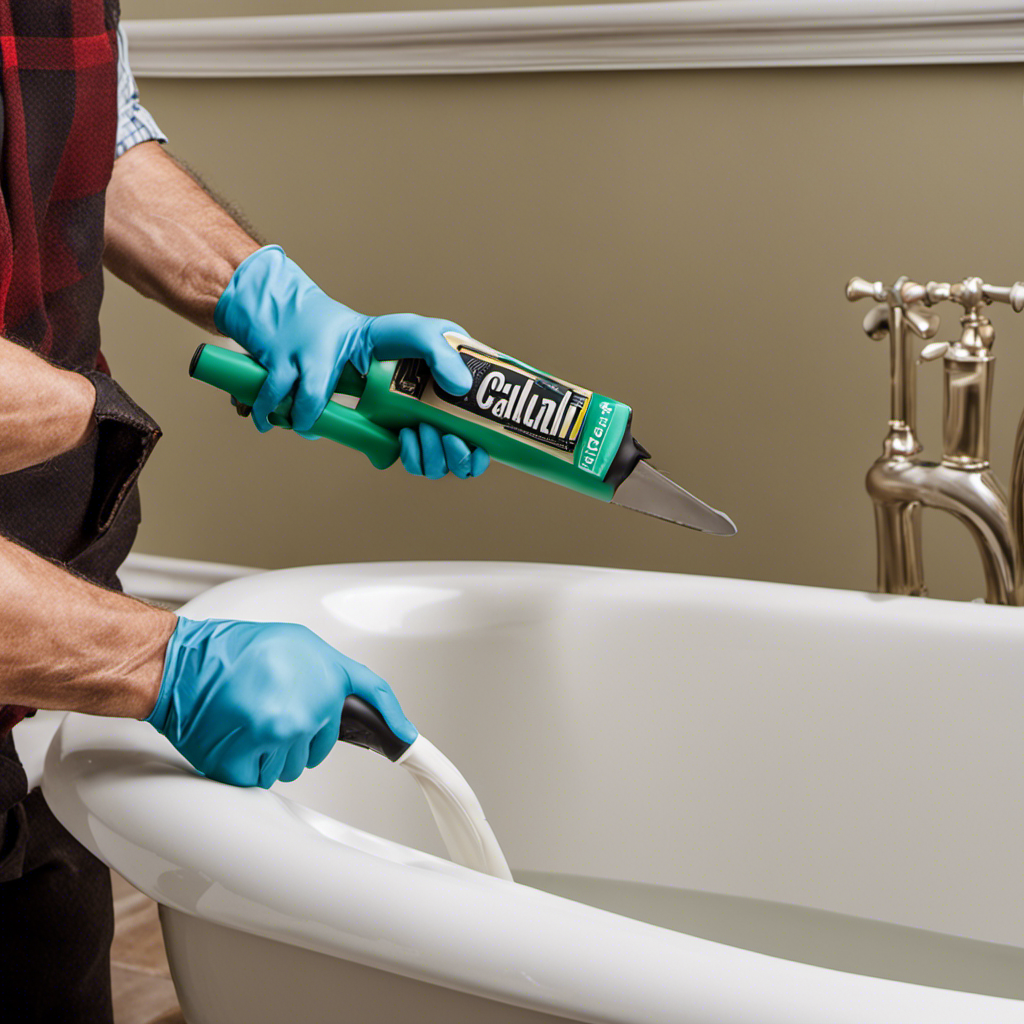
I’ve got a Delta bathtub faucet that’s been leaking for weeks, so I decided to take matters into my own hands and fix it myself.
In this article, I’ll walk you through the step-by-step process of repairing a Delta bathtub faucet.
We’ll cover everything from understanding the faucet to disassembling it, fixing common issues, and finally reassembling and testing it.
So, grab your tools and let’s get started on fixing that pesky leak!
Key Takeaways
- The most common issue with a Delta bathtub faucet is a leaky faucet caused by a faulty cartridge.
- Tools and materials needed for the repair include a screwdriver, adjustable wrench, replacement parts, plumber’s tape, and following manufacturer’s instructions.
- The steps to disassembling and fixing common issues include removing the faucet handle, unscrewing the trim sleeve and retaining nut, and addressing issues such as leaking faucet, low water pressure, no hot water, and dripping after shut-off.
- Tips for maintaining a Delta bathtub faucet include regularly cleaning with mild soap and water, checking for leaks or drips, avoiding harsh chemicals or abrasive cleaners, and preserving the finish of the faucet.
Understanding the Delta Bathtub Faucet
Understanding the Delta bathtub faucet is crucial for knowing how to fix it. When troubleshooting Delta faucets, it’s important to identify the specific issue you’re facing. One common problem is a leaky faucet, which can be caused by a faulty cartridge.
To fix this, you’ll need to replace the Delta faucet cartridge. Start by turning off the water supply to the bathtub. Next, remove the handle and the trim sleeve to access the cartridge. Use pliers or a cartridge removal tool to carefully remove the old cartridge. Then, insert the new cartridge and reassemble the faucet.
Turn on the water supply and test the faucet for any leaks. By understanding the inner workings of the Delta bathtub faucet, you’ll be equipped to tackle any troubleshooting and repair tasks with confidence.
Tools and Materials Needed for the Repair
To get started, you’ll need a few tools and materials for the repair. Here are the items you’ll need:
- Screwdriver: This will help you remove the screws holding the faucet in place.
- Adjustable wrench: You’ll need this to loosen and tighten the nuts and bolts.
- Replacement parts: Depending on the issue with your faucet, you may need to replace the cartridge, O-rings, or other components.
- Plumber’s tape: This will ensure a tight seal when reassembling the faucet.
When repairing a delta bathtub faucet, there are some common mistakes to avoid. First, make sure to turn off the water supply before starting the repair to prevent any accidents. Additionally, be careful not to overtighten the screws or nuts as this can cause damage. Finally, follow the manufacturer’s instructions carefully to ensure proper installation.
In addition to knowing how to fix your delta bathtub faucet, it’s important to maintain it properly. Here are some tips for maintaining a delta bathtub faucet.
Regularly clean the faucet with a mild soap and warm water to prevent buildup. Check for any leaks or drips and address them promptly to prevent further damage. Finally, avoid using harsh chemicals or abrasive cleaners as they can damage the finish of the faucet.
Step-by-Step Guide to Disassembling the Delta Bathtub Faucet
Start by turning off the water supply to your bathroom before you begin disassembling the faucet. Troubleshooting leaks and replacing faulty parts in your Delta bathtub faucet can be a straightforward process if you follow the proper steps. Here is a step-by-step guide to help you disassemble the faucet:
-
Gather the necessary tools and materials:
- Adjustable wrench
- Screwdriver (flathead and Phillips)
- Allen wrench
- Replacement parts (if needed)
-
Remove the faucet handle by locating the set screw and using an Allen wrench to loosen it. Once the set screw is removed, carefully pull off the handle.
-
Next, remove the trim sleeve by unscrewing it counterclockwise. Use an adjustable wrench to loosen it if necessary.
-
Finally, remove the valve cartridge by unscrewing the retaining nut. Use a pair of pliers or an adjustable wrench for this step.
By following these steps, you can successfully disassemble your Delta bathtub faucet and move on to fixing common issues with it.
[transition]Now that you have disassembled the faucet, let’s move on to fixing some of the common issues that may arise with your Delta bathtub faucet.
Fixing Common Issues With the Delta Bathtub Faucet
Now that you’ve disassembled it, let’s take a look at some common issues you might encounter with your Delta bathtub faucet. Here are some troubleshooting tips and maintenance tips to help you fix these problems:
-
Leaking faucet: Check if the washers and O-rings are worn out or damaged. Replace them if necessary.
-
Low water pressure: Clean the aerator and showerhead to remove any debris or mineral buildup that could be blocking the water flow.
-
No hot water: Ensure that the hot water supply valve is fully open. If it is, the issue might be with the cartridge or the temperature control valve.
-
Dripping after shut-off: The problem could be a faulty cartridge or valve seat. Try replacing them to resolve the issue.
Reassembling and Testing the Delta Bathtub Faucet
After reassembling the components, make sure to test the functionality of your Delta bathtub faucet.
Testing the faucet is an important step to ensure that it is working properly and that you have successfully fixed any issues.
To test the faucet, turn on both the hot and cold water supplies and check for any leaks or drips.
Make sure that the water flows smoothly and evenly from the faucet. If you notice any problems, such as a weak or uneven flow, you may need to troubleshoot further.
One troubleshooting tip is to check the water pressure by removing the aerator and cleaning it if necessary.
Additionally, you can inspect the cartridge for any signs of damage or wear.
Conclusion
In conclusion, repairing a Delta bathtub faucet is a manageable task that can save you time and money. By following the step-by-step guide and using the right tools and materials, you can easily disassemble, fix common issues, and reassemble the faucet.
Just like a skilled surgeon mending a broken bone, this process requires precision and attention to detail. So grab your tools and get ready to fix that Delta bathtub faucet like a pro!


