As a homeowner, nothing is more frustrating than dealing with a leaking bathtub. It’s like trying to fix a leaky faucet with a sieve.
But fear not, I’ve got you covered. In this article, I’ll guide you through the step-by-step process of fixing that pesky leak. From identifying the source to sealing and waterproofing, I’ll show you how to restore your bathtub to its watertight glory.
So grab your tools and let’s get started on this plumbing adventure.
Key Takeaways
- Common causes of bathtub leaks include worn-out seals, cracked pipes, and loose fittings.
- Signs of water damage include water stains or discoloration on walls or ceilings, musty odor, mold or mildew growth, decrease in water pressure, and continuous dripping sound.
- Pinpointing the exact location of the leak is important for determining the appropriate repair method.
- Proper application of waterproofing sealant after cleaning and roughening the bathtub surface is crucial for sealing and preventing future leaks.

Brondell Bidet Toilet Seat Non-Electric Swash Ecoseat, Fits Elongated Toilets, White - Dual Nozzle System, Ambient Water Temperature - Bidet with Easy Installation
CLEAN AND REFRESHING: With Brondell’s Ecoseat 101 Bidet, you’ll experience a soothing, freshwater wash that leaves you feeling...
As an affiliate, we earn on qualifying purchases.
Identifying the Source of the Leak
To fix a leaking bathtub, start by identifying the source of the leak. Common causes of bathtub leaks can include worn-out seals, cracked pipes, or loose fittings. One of the most common signs of water damage related to bathtub leaks is the presence of water stains or discoloration on walls or ceilings near the bathtub.
You might also notice a musty odor or the growth of mold or mildew in the surrounding areas. Another indicator is a decrease in water pressure or a continuous dripping sound. By pinpointing the exact location of the leak, you can determine the appropriate steps to fix it.
Once the source of the leak is identified, it’s time to gather the necessary tools and materials to proceed with the repair.

SAMODRA Bidet Attachment, Non-Electric Cold Water Bidet Toilet Seat Attachment with Pressure Controls, Retractable Self-Cleaning Dual Nozzles for Frontal & Rear Wash - Black
High Quality Parts: Bidet attachment is constructed with durable ABS material, portable control panel, high-pressure faucet quality valves...
As an affiliate, we earn on qualifying purchases.
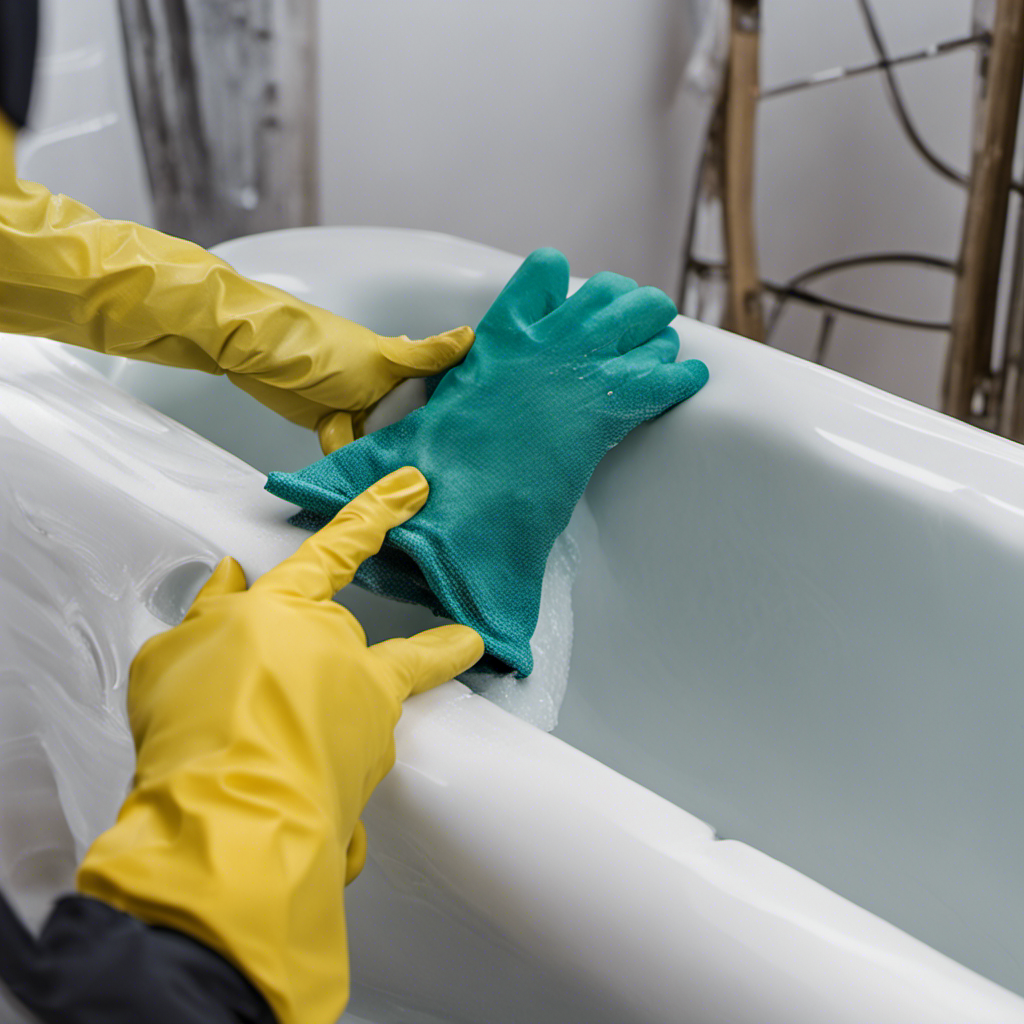
Gathering Necessary Tools and Materials
You’ll need a few tools and materials to tackle this issue with your bathtub. Here’s what you’ll need:
- Safety goggles: Protect your eyes from any debris or chemicals while working.
- Sandpaper: Use a fine-grit sandpaper to properly prepare the bathtub surface for waterproofing.
- Waterproofing sealant: Choose a high-quality sealant that is specifically designed for bathtubs.
- Paintbrush: Use a small paintbrush to apply the sealant evenly and effectively.
To properly prepare the bathtub surface, start by cleaning it thoroughly with a mild detergent and warm water. Remove any old caulk or sealant using a putty knife. Once the surface is clean and dry, use the sandpaper to roughen it slightly, ensuring better adhesion of the sealant.
When applying the waterproofing sealant, make sure to follow the manufacturer’s instructions. Use the paintbrush to apply a thin and even coat of sealant, working in small sections. Allow the sealant to dry completely before using the bathtub.

BIGCOW Ultra-Slim Bidet Attachment for Toilet - Dual Nozzle (Frontal & Rear Wash) with Adjustable Cold Water Pressure and Stainless Steel Inlet - Hygienic Solution for Fresh Cleanliness, Silver 1 Pcs
【Dual Spraying Modes】- This toilet bidet offers both rear wash for thorough cleaning and a specially designed frontal...
As an affiliate, we earn on qualifying purchases.
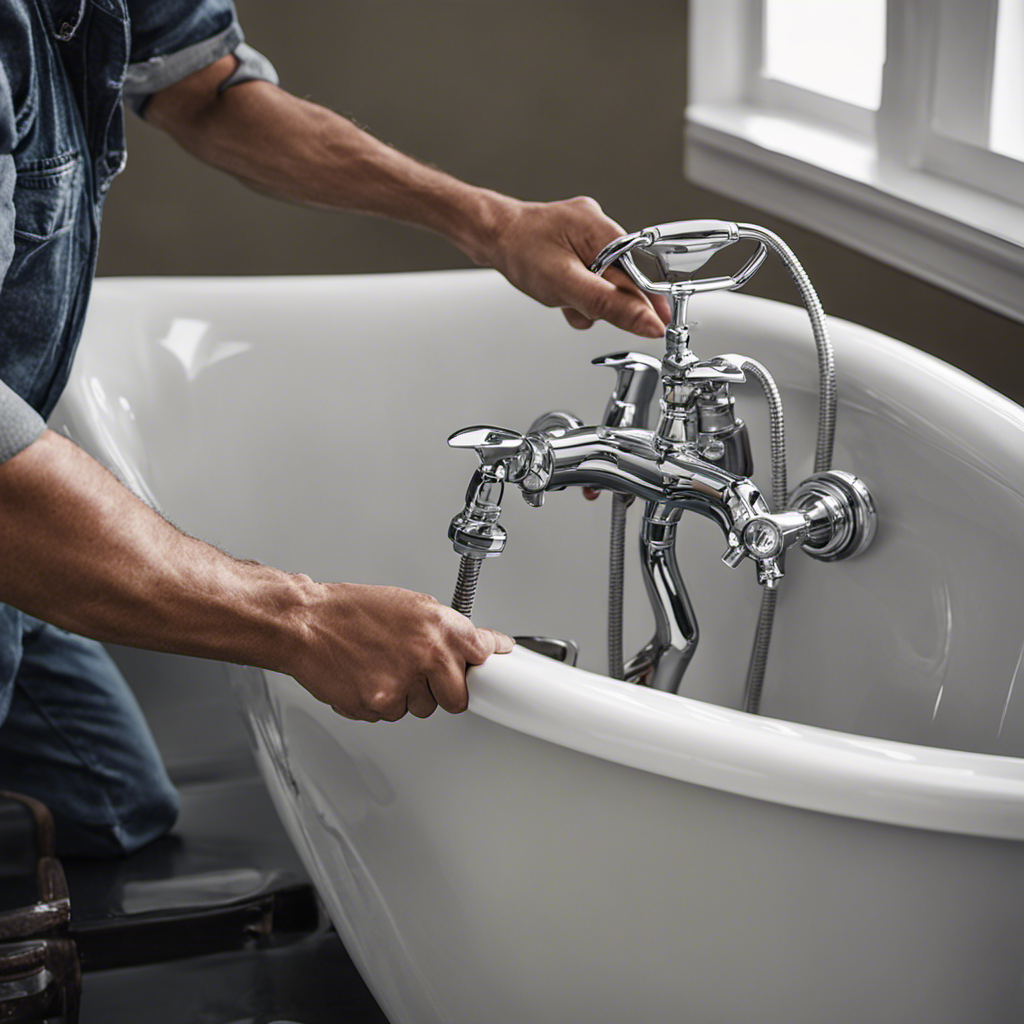
Repairing or Replacing Bathtub Fixtures
For a successful repair or replacement of your bathtub fixtures, start by turning off the water supply. This is a crucial step in ensuring your safety and preventing any further damage to your bathtub or plumbing system.
Once the water supply is turned off, you can proceed with the repair or replacement process. If you are confident in your DIY skills, you can attempt to fix the issue yourself by following online tutorials or using a repair kit specifically designed for bathtub maintenance.
However, if you are unsure or uncomfortable with the task, it is recommended to hire professional repair services. They have the expertise and tools to efficiently diagnose and fix any issues with your bathtub fixtures, ensuring a long-lasting and reliable repair.

SAMODRA Ultra-Slim Hygienic Bidets Attachment for Existing Toilets - Adjustable Fresh Water Pressure Dual Nozzle (Frontal & Rear Wash) Easy to Install, Silver
Enjoy a personalized cleaning experience with DUAL NOZZLE CLEANING MODES. Our SAMODRA bidet features a Posterior Mode for...
As an affiliate, we earn on qualifying purchases.
Sealing and Waterproofing the Bathtub
Once the water supply is turned off, make sure to thoroughly clean and dry the bathtub surface before applying the sealant. This step is crucial to ensure a proper bond between the sealant and the bathtub.
To prevent future leaks, it is important to choose the right sealing products. Here are some key factors to consider:
-
Compatibility: Ensure that the sealant is compatible with the material of your bathtub. Different materials require different types of sealants.
-
Durability: Look for a sealant that is specifically designed for wet environments and has a long-lasting formula. This will help to prevent future leaks and maintain the integrity of the seal.
-
Flexibility: Choose a sealant that has good flexibility to accommodate any movement or expansion in the bathtub without cracking or breaking.
-
Ease of application: Opt for a sealant that is easy to apply and provides a smooth finish. This will make the sealing process quicker and more efficient.
Testing for Leaks and Ensuring Proper Functionality
To ensure proper functionality, I always make it a point to check the drainage system and inspect the surrounding areas for any signs of water accumulation or damage.
Common signs of bathtub leaks include water stains on the ceiling or walls below the bathroom, musty odors, or loose tiles.
Regular inspection and maintenance of the bathtub is of utmost importance to prevent any potential leaks from causing extensive damage to your home. By identifying and fixing leaks early on, you can avoid costly repairs and potential health hazards such as mold growth.
It is recommended to inspect the bathtub regularly, paying close attention to the caulking around the edges, the drain, and the water supply lines.
Additionally, keeping the area around the bathtub clean and dry can help prevent water damage and prolong the lifespan of your bathtub.
Conclusion
In conclusion, fixing a leaking bathtub requires a systematic approach. By identifying the source of the leak and gathering the necessary tools and materials, you can effectively repair or replace the bathtub fixtures.
Sealing and waterproofing the bathtub is crucial to prevent future leaks. Finally, testing for leaks and ensuring proper functionality will guarantee a successful repair.
Coincidentally, following these steps will not only save you from a wet and messy bathroom, but also add to your DIY skills. So go ahead and fix that leaky bathtub like a pro!