I’ve had my fair share of frustrating experiences with a leaking bathtub drain. One day, as I was preparing for a relaxing soak, I noticed a steady drip coming from the drain.
Determined to solve the issue, I embarked on a journey to fix it myself. In this article, I will share with you the step-by-step process I followed to successfully repair my leaking bathtub drain.
With the right tools and a little know-how, you too can tackle this common household problem.
Key Takeaways
- Identify the source of the leak by inspecting the drain pipe, flange, gasket, and connections.
- Use the appropriate tools such as a plunger, pipe wrench, and plumber’s tape for the repair.
- Remove the bathtub drain cover by locating and unscrewing the screws holding it in place.
- Inspect and clean the drain components regularly to prevent clogs and maintain proper drainage.

GIOTOHUN Cat Water Fountain Filter: 12 Cat Fountain Filter Replacement - 12 Pet Fountains Filters Replacement - 6 Filters & 6 Sponges - Suitable for ATMZIQXR GIOTOHUN KOOGMOON UMOCUOY IHOUONE HOOISE
- Compatible with GIOTOHUN Stainless Steel Fountain: Fits GIOTOHUN 2.2L cat water dispenser
- Set of 12 Filters: Includes 6 carbon and 6 sponge filters
- Long-lasting Filters: Suitable for 3-6 months of use
As an affiliate, we earn on qualifying purchases.
Identifying the Source of the Leak
To start fixing a leaking bathtub drain, you’ll need to identify where the leak is coming from. This step is crucial in order to determine the appropriate waterproofing solutions.
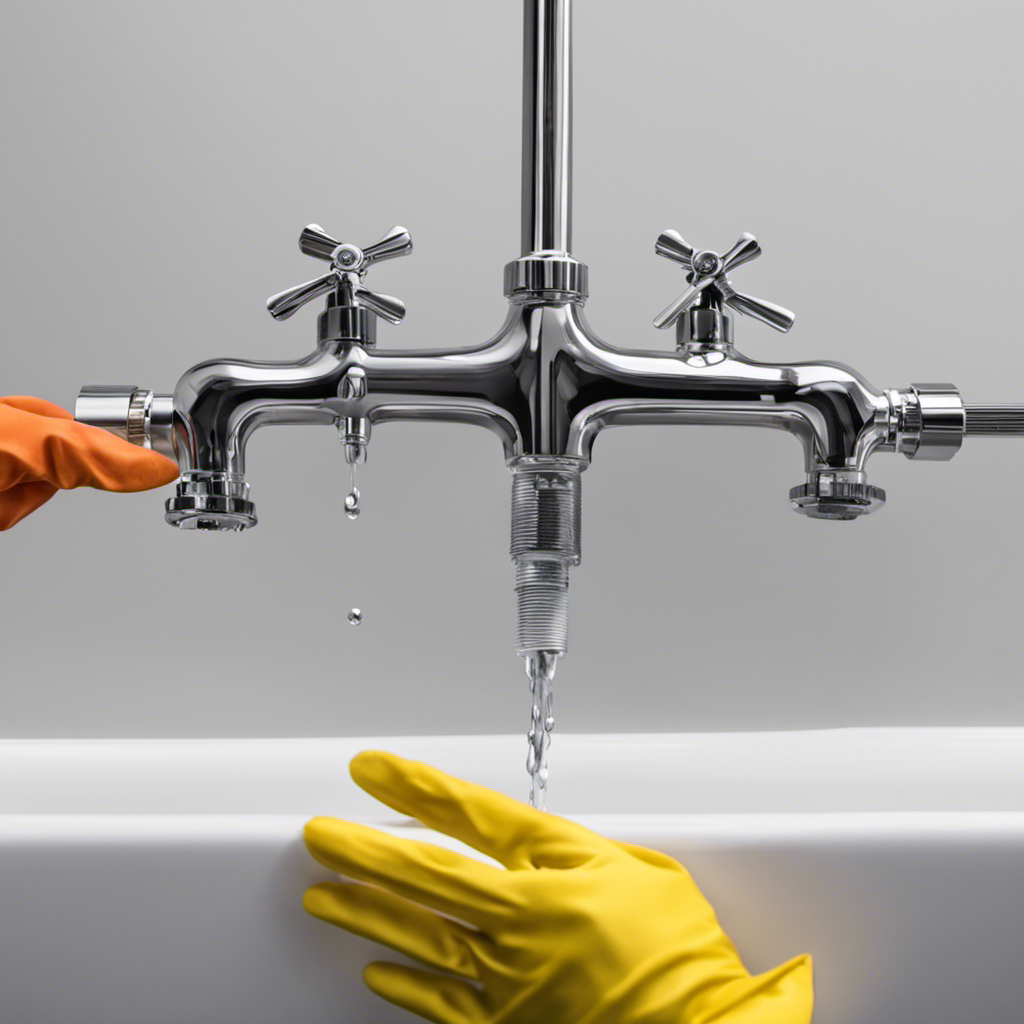
There are several common causes of bathtub drain leaks that you should be aware of. One possible cause is a cracked or deteriorated drain pipe. This can occur due to age, corrosion, or physical damage.
Another potential cause is a faulty drain flange or gasket. These components can wear out over time, leading to water leakage.
Additionally, loose or improperly installed drain connections can also result in leaks. By carefully inspecting the drain pipe, flange, gasket, and connections, you can pinpoint the exact source of the leak and proceed with the necessary repairs.
Tools Needed for the Repair
When it comes to any repair job, having the right tools is essential.
In this discussion, we will explore the key points of essential repair tools, proper tool selection, and tool maintenance tips.
Essential Repair Tools
You’ll need a few essential repair tools to fix a leaking bathtub drain. Here are three items that are crucial for the job:
-
Plunger: A plunger is a versatile tool that can be used to unclog the drain. By creating a vacuum and applying pressure, it can dislodge any blockages causing the leak.
-
Pipe wrench: A pipe wrench is necessary for removing the drain cover and accessing the drain pipe. It provides a firm grip and allows you to loosen and tighten the connections securely.
-
Plumber’s tape: Also known as Teflon tape, plumber’s tape is used to create a watertight seal between threaded connections. It helps prevent leaks by filling in any gaps and ensuring a snug fit.
Proper Tool Selection
Selecting the appropriate tools is essential for successfully repairing a leak in the drain of your bathtub. When it comes to drain cleaning and fixing leaks, having the right tools can make all the difference.
One tool that is crucial for this task is a pipe wrench. This versatile tool allows you to grip and turn pipes, making it easier to disassemble and repair the drain. Look for a pipe wrench with adjustable jaws that can fit various pipe sizes.
Additionally, consider investing in a drain cleaning tool, such as a drain snake, to remove any clogs that may be contributing to the leak. These tools will ensure that you have everything you need to fix the problem effectively.
Now, let’s move on to some tool maintenance tips to keep your tools in top shape for future repairs.
Tool Maintenance Tips
To keep your tools in good condition, it’s important to regularly clean and lubricate them. Here are three key tips for maintaining your tools:
-
Proper Storage: Store your tools in a dry and clean environment to prevent rust and damage. Use toolboxes, pegboards, or wall-mounted racks to keep them organized and easily accessible.
-
Cleaning Routine: After each use, remove any dirt, debris, or moisture from your tools. Use a brush or cloth to wipe them down, and if necessary, use a mild detergent for tougher stains. Dry them thoroughly before storing.
-
Lubrication: Apply a thin layer of lubricant, such as oil or silicone spray, to moving parts and hinges to prevent rust and ensure smooth operation. Regularly lubricate your tools, especially those used in high-friction situations.
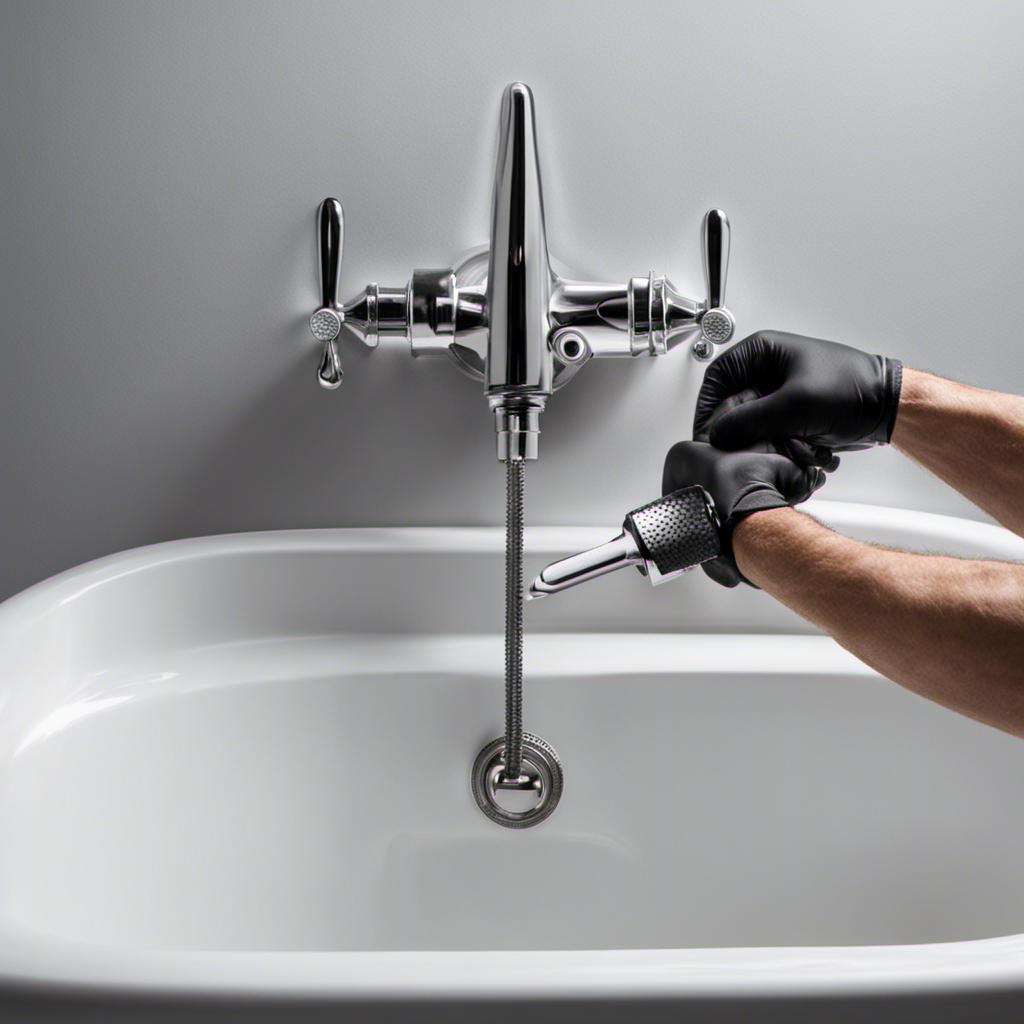
Removing the Bathtub Drain Cover
First, start by locating the screws that hold the bathtub drain cover in place. These screws are usually found along the edges of the cover and may require a screwdriver or a hex key to remove. Once you have located the screws, use the appropriate tool to unscrew them and set them aside. Gently lift the drain cover off the bathtub, being careful not to damage the surrounding area.
To make the process more enjoyable, here are some drain cover removal tips in a handy table:
| Tip | Description |
|---|---|
| 1 | Apply a lubricant to the screws to make them easier to remove. |
| 2 | Use a flashlight to help you see the screws if they are in a dimly lit area. |
| 3 | If the screws are stuck, try using a penetrating oil to loosen them. |
Removing the drain cover is an important step in fixing a leaking bathtub drain. By following these tips, you can ensure a smooth removal process and prevent future leaks.
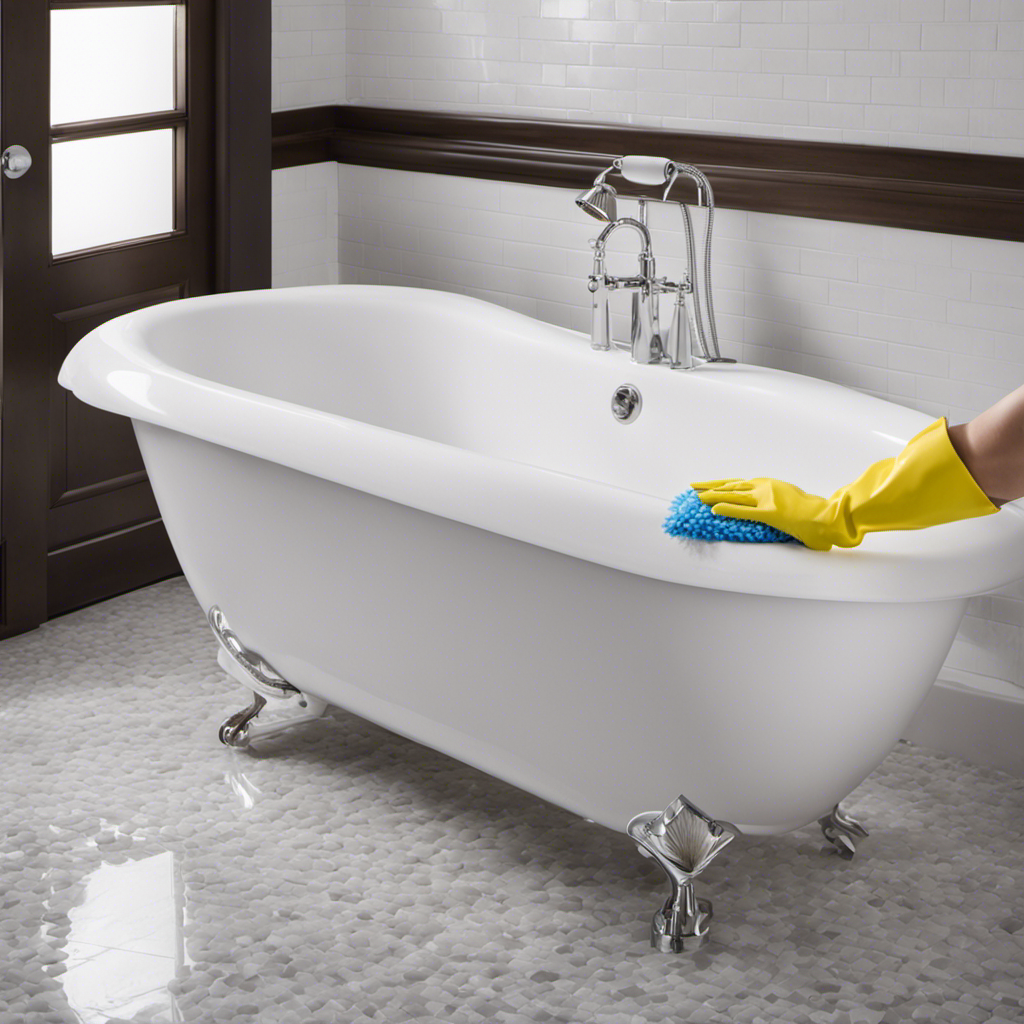
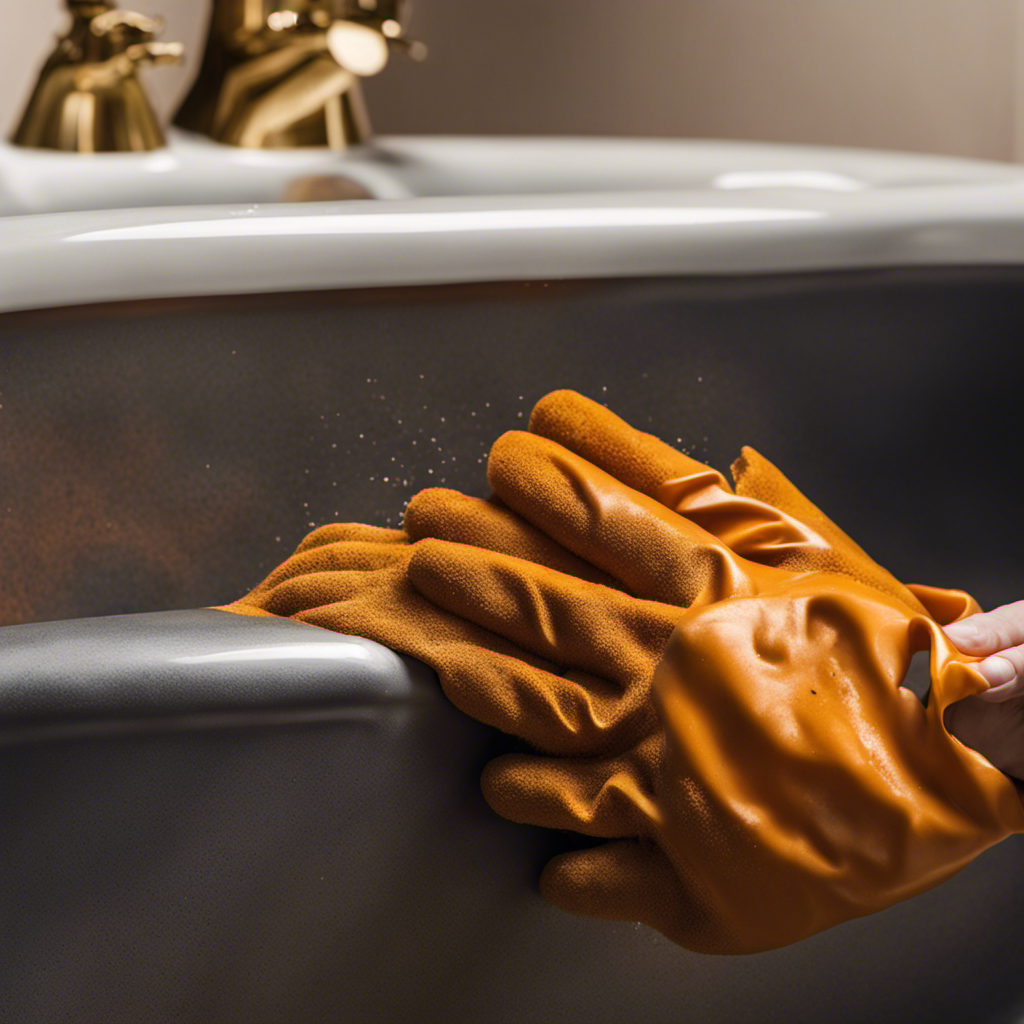
Inspecting and Cleaning the Drain Components
After removing the drain cover, it’s important to inspect and clean the drain components to ensure proper functionality. Here are three essential steps to follow during the drain inspection and cleaning process:
-
Visual Inspection: Carefully examine the drain components for any signs of damage, such as cracks, corrosion, or loose connections. Look for debris or buildup that may be causing the blockage or hindering water flow.
-
Cleaning Techniques: Use a plunger or a drain snake to remove any clogs or obstructions in the drain pipe. For stubborn buildup, try using a mixture of baking soda and vinegar or a commercial drain cleaner. Ensure you follow the instructions carefully and take necessary safety precautions.
-
Regular Maintenance: Prevent future clogs by regularly cleaning the drain components. This can be done by flushing hot water down the drain weekly or using a drain strainer to catch hair and other debris.
Replacing Worn-Out Gaskets or Seals
When replacing worn-out gaskets or seals, make sure to choose the correct size and material for a proper seal. This is crucial to prevent any leaks in your bathtub drain.
One of the common causes of bathtub drain leaks is damaged or deteriorated gaskets or seals. To replace them, start by removing the drain cover and unscrewing the drain flange. Take note of the size and material of the old gasket or seal, as this will guide you in selecting the replacement.
Ensure that the new gasket or seal is the correct size and made from a durable material such as rubber or silicone. Apply a small amount of plumber’s putty or silicone sealant to create a watertight seal.
Installing a New Drain Assembly
To properly install a new drain assembly, make sure to choose the correct size and material for a secure fit.
When installing a drain stopper, follow these steps for a successful installation:
-
Measure the diameter of the drain opening to ensure you select the right size stopper. This will prevent any leaks or improper fit.
-
Adjust the drain height by using the adjustable wrench. Loosen the lock nut and raise or lower the drain assembly to the desired height. Tighten the lock nut once the desired height is achieved.
-
Install the new drain assembly by applying plumber’s putty around the flange. Insert the assembly into the drain opening and tighten the mounting screws to secure it in place.
Testing the Repaired Drain for Leaks
When it comes to testing the repaired drain for leaks, there are a few key points to keep in mind.
First, performing a water pressure test is crucial to ensure that the drain is able to handle the flow of water without any leaks. This can be done by filling the bathtub with water and observing if any water escapes from the drain.
Second, a visual inspection for leaks should also be conducted by closely examining the area around the drain for any signs of water leakage.
Lastly, using a drain plug during the testing process can help to isolate the specific area and make it easier to detect any leaks.
Water Pressure Test
You can easily perform a water pressure test to determine if it’s causing the leaking bathtub drain. Troubleshooting water pressure issues is an essential step in fixing a leaking drain.
Here are three techniques you can use to troubleshoot water pressure problems:
-
Check the water pressure regulator: The water pressure regulator controls the water pressure coming into your house. If it’s set too high, it can put excess strain on your plumbing system, leading to leaks. Use a pressure gauge to measure the water pressure at a hose bib or faucet near your bathtub.
-
Inspect the water supply lines: Examine the water supply lines for any signs of damage or leaks. Look for loose connections, cracks, or corrosion. Tighten any loose fittings and replace any damaged or worn-out supply lines.
-
Test the showerhead: Remove the showerhead and turn on the water. If the water pressure is strong without the showerhead, the issue may be a clogged showerhead. Soak the showerhead in vinegar overnight to remove any mineral deposits.
Visual Inspection for Leaks
Take a close look at the water supply lines to see if there are any visible signs of damage or leaks. Conducting a visual inspection is an important step in identifying and fixing bathtub drain leaks. By employing visual inspection techniques, you can easily identify common causes of bathtub drain leaks. Here is a table that outlines some common signs to look out for during your inspection:
| Visible Signs of Damage or Leaks | ||
|---|---|---|
| Cracked or corroded pipes | Loose or damaged fittings | Water stains or discoloration on walls or floors |
Inspecting the water supply lines thoroughly will help you pinpoint the source of the leak and take appropriate action to fix it. Remember to pay attention to any signs of damage or leaks as they can indicate underlying issues that need to be addressed. By using these visual inspection techniques, you can effectively identify and resolve bathtub drain leaks.
Using a Drain Plug?
After conducting a visual inspection for leaks in my bathtub drain, I discovered that the problem lies in the drain stopper itself. To address this issue, I decided to replace the drain stopper. Here are the steps I followed for bathtub drain stopper replacement:
-
Remove the old drain stopper: Using a screwdriver, I loosened the screw holding the drain stopper in place. Then, I carefully lifted the stopper out of the drain.
-
Clean the drain: Before installing the new stopper, I made sure to clean the drain thoroughly to remove any debris or buildup that could cause future leaks.
-
Install the new stopper: I inserted the new stopper into the drain, making sure it fit securely. Then, I tightened the screw to hold it in place.
Conclusion
In conclusion, fixing a leaking bathtub drain is a task that requires careful inspection, cleaning, and replacement of worn-out components.
By identifying the source of the leak and using the right tools, one can effectively repair the drain and prevent further damage.
However, it is important to investigate the truth of the theory that the leak may be a symptom of a larger plumbing issue. This will ensure that the repair is thorough and addresses any underlying problems, adding depth and complexity to the overall maintenance process.