I’ve been there, standing in the shower, enjoying the warm water cascading down, only to be interrupted by a relentless dripping noise.
It’s like a constant reminder that something isn’t right. But fear not, because I’m here to guide you through the process of fixing that annoying leak in your bathtub faucet when the shower is on.
With a few simple steps and the right tools, you’ll have your faucet working like new in no time.
Let’s dive in and put an end to that dripping symphony.
Key Takeaways
- Identifying the cause of the leak is essential before beginning any repairs
- Gathering the necessary tools and supplies is important for addressing the issue promptly
- Shutting off the water supply is crucial to prevent further leaks and water damage
- Removing and replacing faulty components such as the cartridge, O-rings, valve seat, and washers is necessary to fix the leaking bathtub faucet
Assess the Cause of the Leak
Now, you’ll want to start by figuring out what’s causing that annoying leak in your bathtub faucet when you have the shower on.
The first step is to identify potential solutions to this issue. One possible cause could be a worn out or damaged washer in the faucet valve. Another potential cause could be a faulty cartridge or valve stem.
To determine the exact cause of the leak, you may need to seek professional help from a plumber who can assess the situation and provide expert advice. It’s important to address this problem promptly to prevent further damage and water wastage.
Once you’ve identified the cause, you can gather the necessary tools and supplies to fix the leak and restore your bathtub faucet to proper working condition.
Gather the Necessary Tools and Supplies
When it comes to faucet leaks, there are several common causes that can be easily identified. These include worn-out seals, faulty cartridges, or loose connections.
In this discussion, I’ll provide step-by-step repair instructions to help you fix these issues and put an end to that annoying drip.
Common Faucet Leak Causes
If your shower is on and you notice water leaking from your bathtub faucet, one of the common causes could be a worn-out washer. A washer is a small rubber or metal piece that creates a watertight seal when the faucet handle is turned off. Over time, the constant use and pressure can cause the washer to wear out, leading to leaks.
To prevent faucet leaks, regular maintenance is essential. This includes checking the washer for any signs of damage or wear and replacing it if necessary.
When it comes to repairing a leaking bathtub faucet, there are several methods you can try. These include replacing the washer, tightening the faucet handle, or adjusting the packing nut.
Step-By-Step Repair Instructions
To repair a leaky bathtub faucet, start by turning off the water supply to the bathroom. This is crucial to avoid any accidents and to ensure a safe repair process.
Once the water supply is off, you can begin your repair techniques. First, remove the faucet handle by unscrewing it counterclockwise. Next, inspect the O-ring and washer for any signs of wear or damage. If necessary, replace these components with new ones.
Additionally, check the cartridge and valve seat for any debris or buildup that may be causing the leak. Use a soft brush or cloth to clean these areas thoroughly.
Finally, reassemble the faucet, making sure all parts are properly tightened. Turn the water supply back on and test for any remaining leaks.
Following these troubleshooting tips will help you fix your leaking bathtub faucet effectively.
Shut off the Water Supply
When dealing with a water emergency, it’s crucial to quickly locate the shut-off valve to prevent further damage. Once located, turning off the water supply is a relatively simple process that requires a firm twist of the valve handle.
Finding the Shut-Off Valve
First, locate the shut-off valve for your bathtub to stop the water flow and prevent any further leaks. Finding the shut-off valve is crucial in resolving the issue with your leaking bathtub faucet. Here are a few steps to help you locate the shut-off valve:
- Start by looking for the water meter outside your house. The shut-off valve is usually located near it.
- Once you’ve found the water meter, locate the main water line that connects to your house.
- Follow the main water line towards your bathroom.
- Look for a valve along the main water line that is connected to your bathtub.
- Use a plumber’s tape to mark the position of the shut-off valve for future reference.
Turning off the Water
Now that you’ve located the shut-off valve for your bathtub, you can use it to stop the water flow and prevent any further issues.
Turning off the water is an essential step in fixing a leaky showerhead. To do this, simply rotate the valve clockwise until it is fully closed. This will shut off the water supply to your showerhead, allowing you to work on fixing the leak.
It is important to ensure that the valve is completely closed to avoid any water leakage. Once the water is turned off, you can proceed with fixing the leaky showerhead by replacing the worn-out washers or cartridges.
Remember to turn the water back on only after you have completed the repair and tested for any remaining leaks.
Preventing Further Water Damage
To avoid any additional water damage, it’s crucial to promptly turn off the water supply to your showerhead. This will prevent further damage and allow you to address the issue at hand.
Signs of water damage may include damp or discolored walls, peeling paint, mold or mildew growth, and a musty odor.
Here are some steps you can take to prevent further damage:
- Assess the extent of the damage and identify the source of the leak.
- If necessary, shut off the main water supply to your house to stop the flow of water completely.
- Dry the affected area thoroughly to prevent mold growth.
- Repair or replace any damaged pipes, fixtures, or fittings.
- Consider installing a waterproofing membrane or sealant to protect against future leaks.
Remove the Faucet Handle
You’ll need to start by unscrewing the faucet handle to fix a leaking bathtub faucet when the shower is on.
To do this, locate the decorative cap on the handle and remove it using a small flathead screwdriver. Underneath, you’ll find a screw that needs to be unscrewed using a Phillips screwdriver.
Once the screw is removed, carefully pull the handle off the stem. If the handle is stuck, you can use a handle puller tool to remove it without damaging the stem.
Troubleshooting faucet leaks requires inspecting the handle for any signs of damage or wear. If you notice any cracks or worn-out parts, it’s time to replace faulty components to ensure a proper fix.
This will be discussed further in the next section.
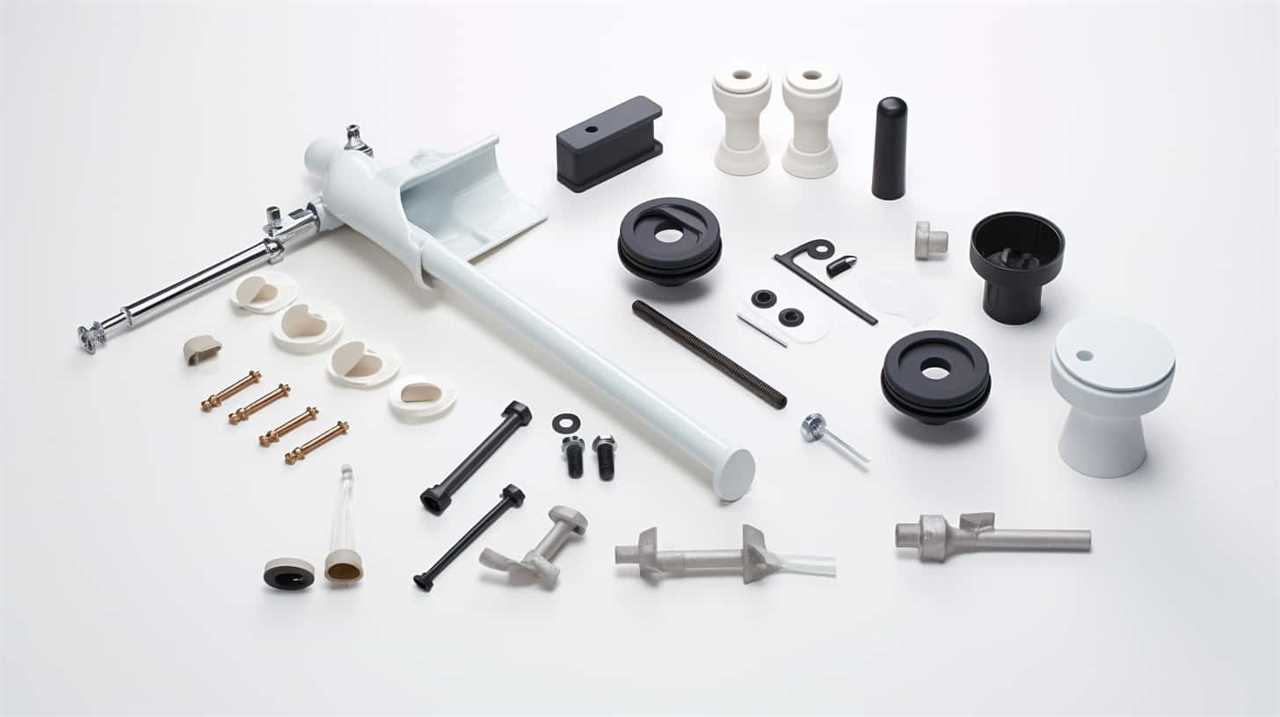
Replace Faulty Components
Once you’ve removed the faucet handle, it’s time to inspect the components for any signs of damage or wear. Here are some repair tips and troubleshooting techniques to help you replace faulty components:
-
Check the cartridge: Examine the cartridge for any cracks or buildup that may be causing the leak. Replace it if necessary.
-
Inspect the O-rings: Inspect the O-rings for any signs of wear or damage. If they are worn out, replace them.
-
Examine the valve seat: Look for any corrosion or pitting on the valve seat. If you find any, clean or replace it.
-
Check the washers: Inspect the washers for any signs of wear or tearing. Replace them if needed.
-
Test the seals: Ensure that all seals are in good condition and properly seated.
By carefully examining these components and addressing any issues, you can effectively repair your leaking bathtub faucet.
Now, let’s move on to reassembling the faucet handle.
Reassemble the Faucet Handle
Now that you’ve inspected the components, it’s time to reassemble the faucet handle.
To fix a dripping bathtub faucet, it is crucial to correctly reassemble the handle after replacing the faulty faucet cartridge.
Start by placing the cartridge back into the valve body, ensuring it is aligned properly.
Then, carefully slide the handle back onto the cartridge stem, ensuring it fits snugly.
Secure the handle by tightening the set screw with a screwdriver. Make sure not to overtighten, as this could damage the handle or cartridge.
Once the handle is securely in place, turn on the water supply to test for any leaks.
If no leaks are detected, congratulations! You have successfully reassembled the faucet handle and fixed the dripping bathtub faucet.
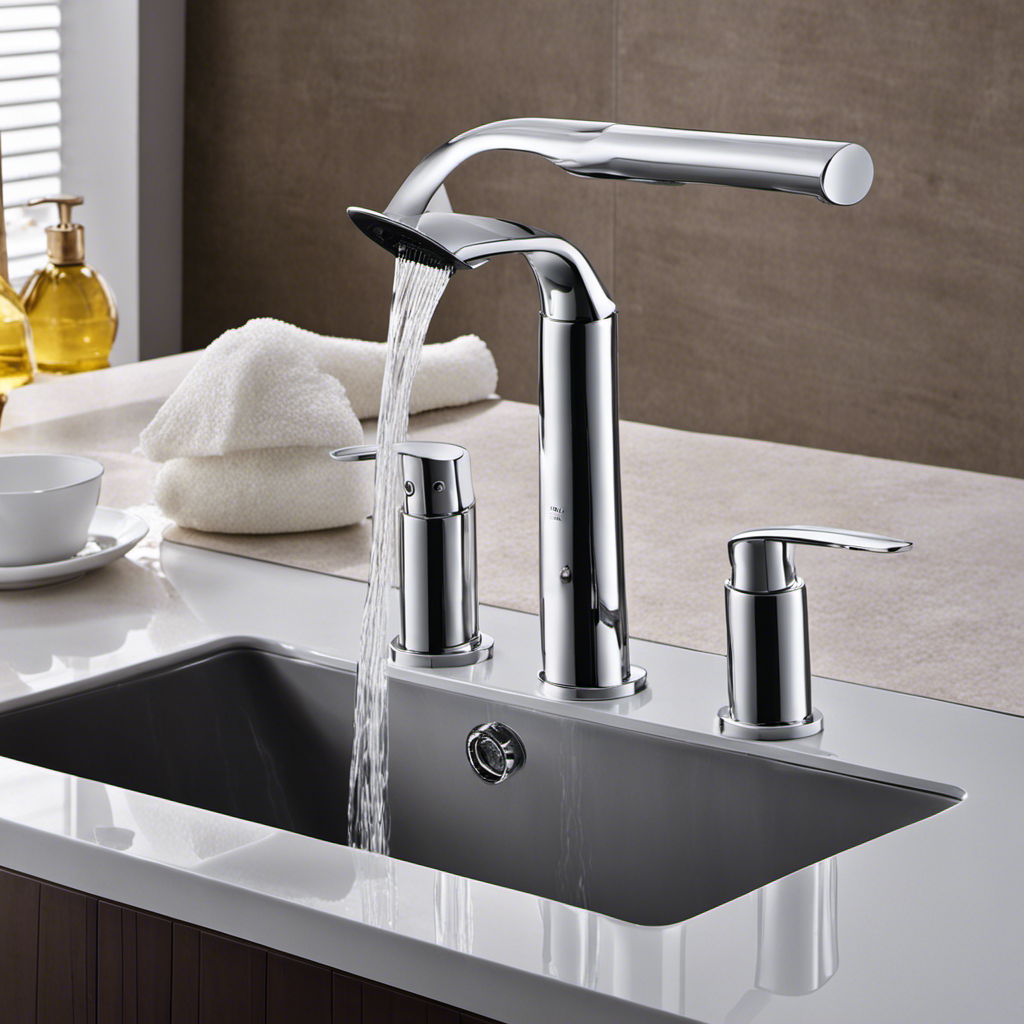
Test the Repaired Faucet
After reassembling the faucet handle, turn on the water supply to check if the repairs were successful. I turned the handle slowly, cautiously waiting for the water to flow. To my relief, no leaks were detected. The faucet was working perfectly, and the shower was no longer causing any water to escape.
Here are some troubleshooting tips and test results:
-
Check the water pressure: Ensure that the water pressure is not too high, as it can cause leaks.
-
Inspect the O-rings: Make sure the O-rings are in good condition and properly seated to prevent leaks.
-
Clean the aerator: A clogged aerator can cause water to back up and leak from the faucet.
-
Replace the cartridge: If the faucet is still leaking, the cartridge may be faulty and should be replaced.
-
Call a professional: If all else fails, it is best to seek the help of a professional plumber.
Conclusion
In conclusion, fixing a leaking bathtub faucet when the shower is on requires careful assessment and precise actions. By shutting off the water supply, removing the faucet handle, and replacing faulty components, you can bring an end to the frustrating drip.
Like a skilled surgeon repairing a delicate artery, the process requires attention to detail and the right tools. Once reassembled, the repaired faucet will flow smoothly, like a gentle stream cascading down a tranquil waterfall.
So, don’t let that leak persist any longer – take action and enjoy a leak-free shower experience.