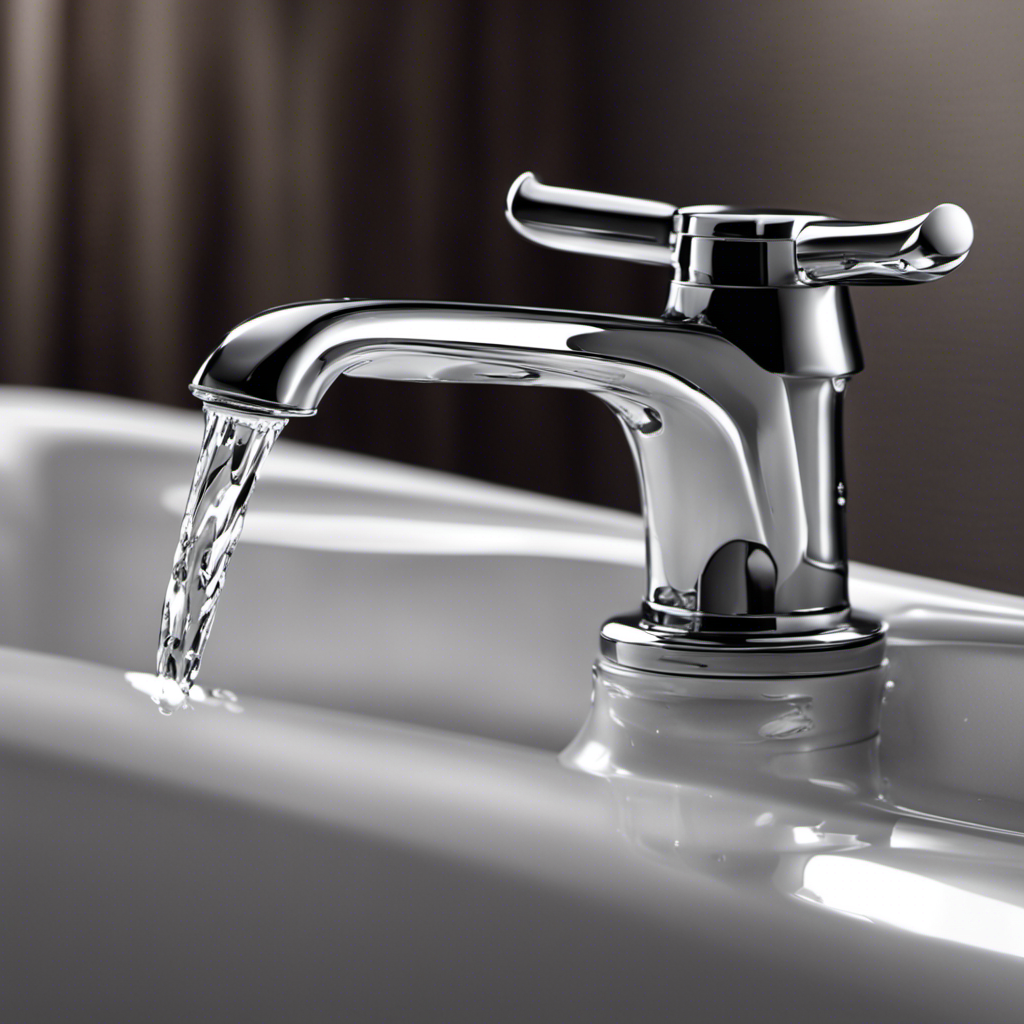

So, you’ve got a leaking Delta bathtub faucet, huh? Well, don’t worry, because I’ve got just the solution for you.
In this article, I’m going to walk you through the step-by-step process of fixing that pesky leak. We’ll start by assessing the cause of the problem and gathering all the necessary tools and materials.
Then, we’ll shut off the water supply and get down to business. By the time we’re finished, your faucet will be as good as new.
Let’s dive in and get to work!
Key Takeaways
- Check handles, spout, O-rings, seals, cartridge, and water supply lines for potential leaks or damage
- Gather necessary tools such as a wrench, replacement washer, plumber’s tape, and a bucket
- Shut off the water supply before starting any repair work
- Inspect and replace faulty components, and reassemble the faucet handle properly
Assess the Cause of the Leak
You need to determine what is causing the leak in your Delta bathtub faucet. Troubleshooting tips can help you identify the common causes of leaks.
Start by checking the handles and spout for any visible signs of leakage. Inspect the O-rings and seals, as these are often the culprits behind leaks.
If the faucet continues to leak even when turned off, the problem may lie with the cartridge or valve. It’s also crucial to check the water supply lines and connections for any loose or damaged parts.
Additionally, mineral deposits and sediment buildup can cause leaks, so cleaning the faucet thoroughly is essential.
Gather the Necessary Tools and Materials
To gather the necessary tools and materials, start by checking your toolbox for a wrench and gathering a replacement washer, plumber’s tape, and a bucket. These items are essential for fixing a leaking Delta bathtub faucet.
Before starting any repair work, make sure to turn off the water supply to the faucet. This can usually be done by shutting off the main water valve in your home.
Once the water supply is turned off, remove the faucet handle by using the wrench to loosen the screw holding it in place. Once the handle is removed, you can access the internal components of the faucet.
Inspect the washer for any signs of wear or damage. If necessary, replace it with the new washer. Apply plumber’s tape to the threads of the faucet handle to ensure a watertight seal.
Shut off the Water Supply
Before starting any plumbing repair work, it’s crucial to shut off the water supply. This step ensures a safe working environment and minimizes the risk of accidents. To shut off the water supply, you’ll need a few essential tools such as a water meter key or wrench, a shut-off valve, and possibly a plumber’s tape for any potential leaks.
Importance of Shutting off
It’s important to shut off the water supply before attempting to fix a leaking delta bathtub faucet. Regular maintenance is crucial to prevent further damage and costly repairs. Signs of a leaking faucet include dripping or running water, water stains or puddles around the faucet, and a decrease in water pressure.
To shut off the water supply, locate the shut-off valve usually found beneath the sink or near the water meter. Turn the valve clockwise until it stops to shut off the water flow to the faucet. This prevents any water from continuing to leak while you work on fixing the faucet. Remember to test the shut-off by turning on the faucet to ensure the water is fully off.
Tools Needed for Shutting off
You’ll need a few tools to shut off the water supply to prevent any further damage. Here are three essential items you’ll need for proper water supply management and to ensure your preparation is on point:
-
Adjustable wrench: This tool will allow you to securely grip and turn the shut-off valve. Make sure to choose the correct size wrench to fit the valve.
-
Pliers: These will come in handy for loosening and tightening any connections, such as the hose or pipe fittings. Opt for a pair with a comfortable grip for better control.
-
Teflon tape: This thin, white tape is essential for creating a watertight seal on threaded connections. Wrap it clockwise around the male threads before reconnecting any pipes.
Disassemble the Faucet Handle
To disassemble the faucet handle, start by turning off the water supply to the bathtub. This is crucial to avoid any accidental water leaks while working on the faucet.
Once the water supply is shut off, locate the screw cover on the handle and remove it using a flathead screwdriver. After removing the cover, you will find a screw that holds the handle in place. Unscrew it using a Phillips-head screwdriver.
Now, carefully remove the handle by pulling it straight out. At this point, you can inspect the faucet cartridge for any signs of damage or wear. If it needs replacing, you can do it yourself by following the manufacturer’s instructions or call a professional plumber for assistance to ensure a proper replacement.
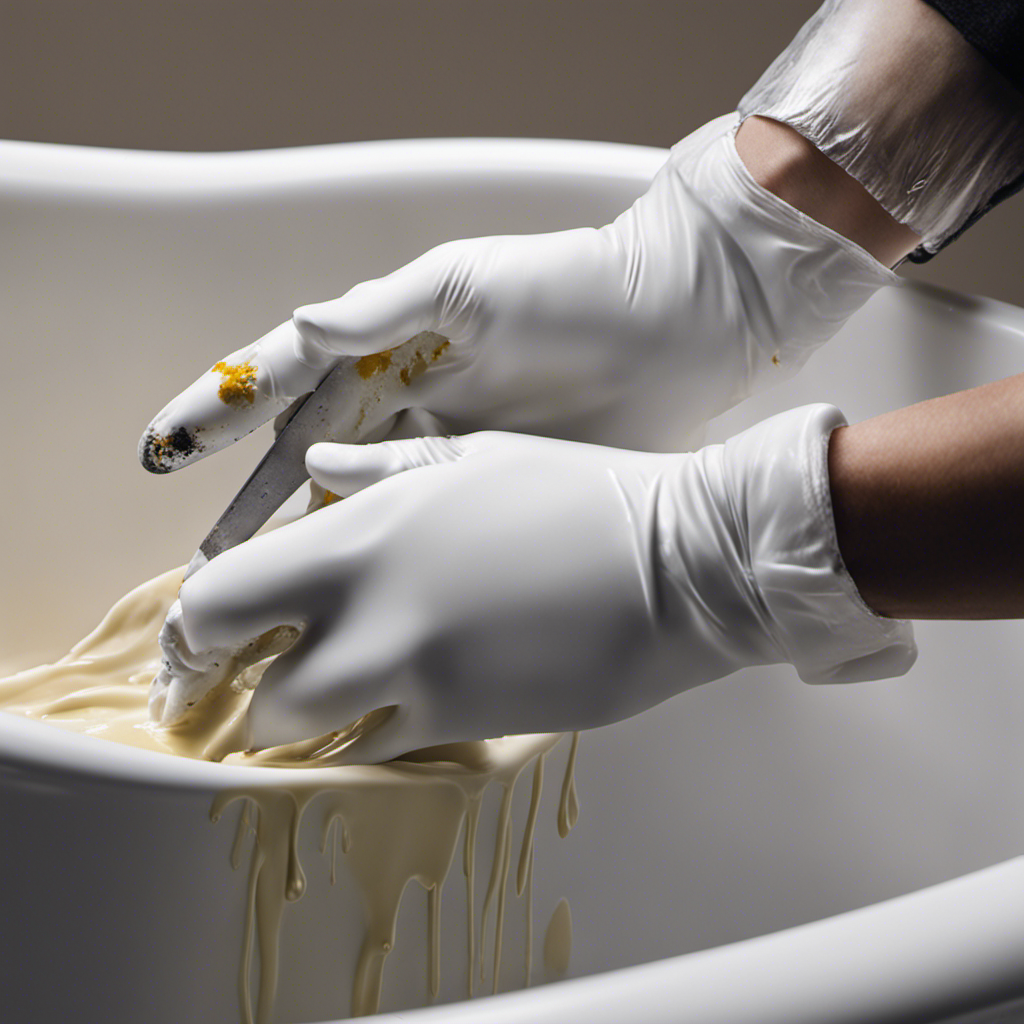
Inspect and Replace Faulty Components
Once you have removed the faucet handle, you can inspect the components for any signs of damage or wear. Make sure to turn off the water supply before starting the inspection process.
Here are three important components to check and replace if necessary:
-
Cartridge: This is the main valve that controls the flow of water. Inspect it for any cracks, corrosion, or mineral deposits. If you notice any damage, you’ll need to replace the cartridge.
-
O-rings: These small rubber rings help create a watertight seal. Check them for any signs of wear or deterioration. If they’re damaged, it’s recommended to replace them to prevent leaks.
-
Seats and Springs: These parts are responsible for regulating water flow. Look for any signs of corrosion or damage. If they’re worn out, replacing them will help fix a dripping faucet.
Remember to lubricate the new components with silicone grease before reassembling the faucet handle.
Reassemble the Faucet Handle
When reassembling the faucet handle, make sure to align the components correctly and tighten the screws securely.
Firstly, take the handle and slide it onto the cartridge stem. Ensure that the handle is in the correct position and aligns with the hot and cold water indicators.
Next, insert the handle screw through the hole on the handle and tighten it using a screwdriver. Make sure the screw is securely fastened to prevent any wobbling or loosening.
Once the handle is in place, you can adjust the water pressure. To do this, locate the water pressure adjustment screw located on the side of the cartridge. Turning it clockwise will increase the water pressure, while turning it counterclockwise will decrease it.
Test the water pressure and make any necessary adjustments until you achieve the desired flow.
Test and Ensure Proper Functioning
Make sure you test and ensure that the faucet handle is functioning properly before finishing the repair. This step is crucial to avoid any future issues and to ensure that the repair has been successful.
Here are three troubleshooting techniques and maintenance tips to help you test and ensure the proper functioning of the faucet handle:
-
Turn on the water supply: Once you have reassembled the faucet handle, turn on the water supply and check for any leaks around the handle or from the spout.
-
Check for smooth operation: Rotate the handle clockwise and counterclockwise to ensure smooth operation without any resistance or strange noises. This will indicate that the handle is functioning properly.
-
Test hot and cold water: Turn the handle towards the hot and cold positions to check if the water temperature changes accordingly. If there is any inconsistency, further adjustments may be required.
Conclusion
In conclusion, fixing a leaking Delta bathtub faucet requires a thorough assessment of the cause and gathering the necessary tools.
Shutting off the water supply is crucial before disassembling the faucet handle and inspecting for faulty components.
Replace any worn-out parts and reassemble the handle carefully.
Lastly, test the faucet to ensure it functions properly.
Remember, patience is key throughout this process. So, roll up your sleeves, grab your tools, and let’s get this faucet fixed in a jiffy!