
I’ve been there before: standing in my bathroom, listening to the constant drip-drip-drip of a leaking faucet in the bathtub. It’s not only annoying, but it can also waste water and increase your water bill.
But fear not! In this article, I’ll show you step-by-step how to fix that pesky leak. By identifying the source, gathering the necessary tools, and replacing faulty components, you’ll have your bathtub faucet working like new in no time.
Let’s get started!
Key Takeaways
- Leaking faucets in bathtubs are commonly caused by worn-out washers or seals.
- Signs of a leak include water dripping from the spout or handle, water pooling around the base of the faucet or on the floor, decreased water pressure, or constant dripping sound.
- To fix a leaking faucet in a bathtub, gather necessary tools and materials such as a waterproof sealant, caulk gun, and masking tape.
- Before starting the repair, it is important to shut off the water supply either through the shut-off valve under the sink or toilet, or by turning off the main water supply to the home.

HammerHead Showers Solid Metal Single-Handle Trim Kit with Rough-In Shower Valve, Volume and Temperature Control, Pressure Balance, Chrome
THE PLUMBER'S CHOICE – Designed for EASY INSTALLATION and MAINTENANCE with a durable BRASS and STAINLESS STEEL construction,...
As an affiliate, we earn on qualifying purchases.
Identifying the Source of the Leak
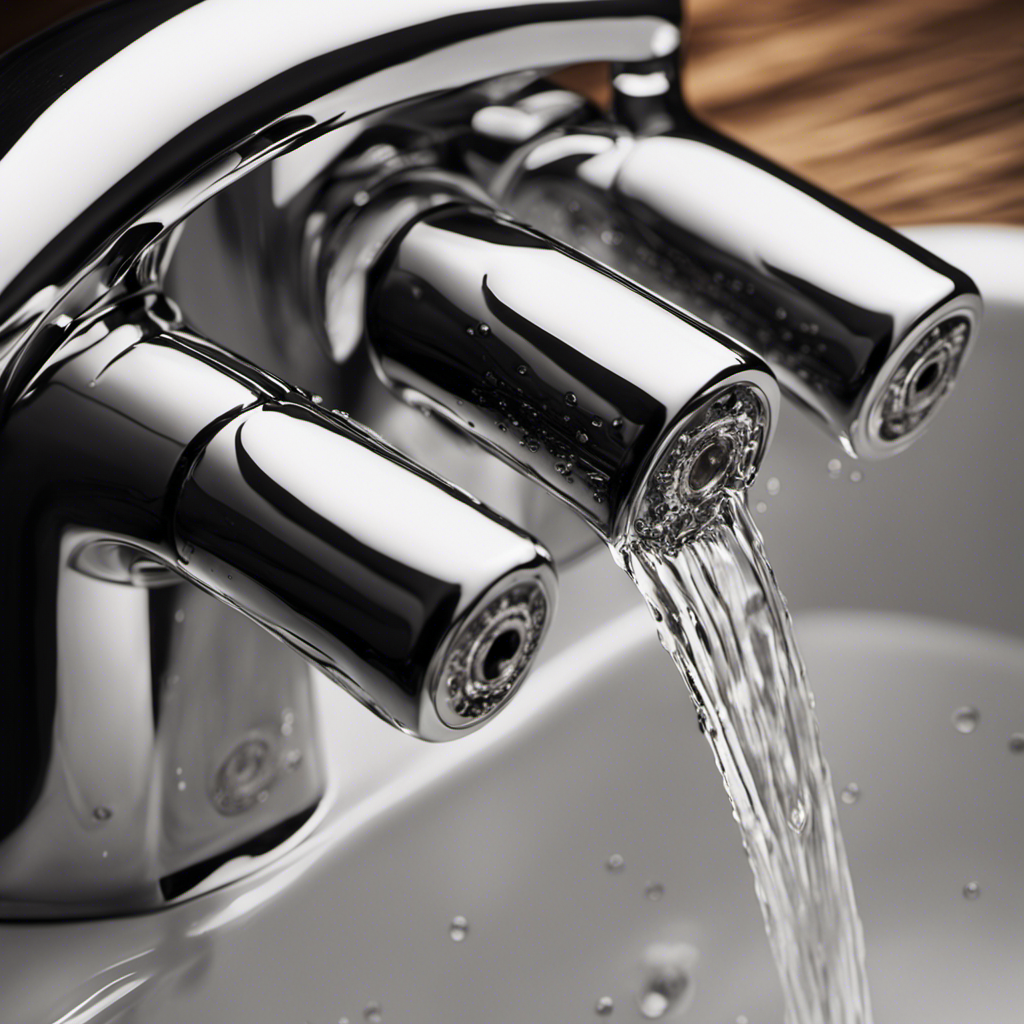
To identify the source of the leak, you’ll need to carefully inspect the faucet and surrounding areas.
Leaking faucets in bathtubs are a common household issue that can be caused by a variety of factors. One of the most common causes is a worn-out washer or seal in the faucet. This can lead to water dripping from the spout or handle.
Another sign of a leak is water pooling around the base of the faucet or on the floor. Additionally, you may notice a decrease in water pressure or a constant dripping sound.
To pinpoint the exact source of the leak, start by checking the faucet handles, spout, and any visible pipes for signs of water accumulation or corrosion.
Delta Faucet R10000-UNBXHF MultiChoice Universal Shower Valve Body, Brass, Black
COMPLETE FLEXIBILITY: Delta's MultiChoice Universal Valve gives you the flexibility to upgrade or change your shower trim without...
As an affiliate, we earn on qualifying purchases.
Gathering the Necessary Tools and Materials
First, you’ll need to gather all the necessary tools and materials for the job. Here’s a step-by-step guide on what you’ll need:
-
Choosing the right type of sealant: Look for a waterproof sealant specifically designed for bathtubs. Silicone-based sealants are commonly used for their durability and flexibility.
-
Preparing the bathtub surface for repair: Make sure the surface is clean and dry before applying the sealant. Remove any old caulk or sealant using a putty knife or caulk remover. Clean the area with a mild cleaner to remove any dirt or grime.
-
Caulk gun: You’ll need a caulk gun to apply the sealant evenly along the edges of the bathtub.
-
Masking tape: Use masking tape to create clean and straight lines while applying the sealant. This will help prevent any excess sealant from spreading onto the surrounding areas.

KOHLER 28214-BL Anthem Shower Digital Control for Personalized Shower Experience with Eco-Mode & Adjustable Dial, Matte Black
DIGITAL CONTROL TOUCH SCREEN: Allows you to control temperature, flow, and up to six shower outlets like a...
As an affiliate, we earn on qualifying purchases.
Shutting off the Water Supply
Before you begin any repairs, make sure to shut off the water supply to your bathroom. This is an important step to prevent any water damage or flooding while working on your leaking faucet.
To turn off the water supply, locate the shut-off valve, which is usually located under the sink or near the toilet. Turn the valve clockwise until it is fully closed. If you can’t find the shut-off valve, you may need to turn off the main water supply to your home.
Common causes of faucet leaks include worn out washers, loose connections, or corroded parts. Once the water supply is shut off, you can proceed to the next step of disassembling the faucet.

Enga 3-Function Shower Mixing Valve, Temperature Display Push-Button Thermostatic Valve with Flow Volume Control, Brushed Nickel
【Digital Temperature Display】This 3-way digital thermostatic shower valve provides precise temperature control, water flow customization, safety features, and...
As an affiliate, we earn on qualifying purchases.
Disassembling the Faucet
Once the water supply is shut off, you can start taking apart the faucet. Here are the steps to disassemble the faucet and fix the leak:
-
Remove the handle: Use a screwdriver or Allen wrench to loosen and remove the handle. This will expose the cartridge or valve inside.
-
Unscrew the cartridge: Depending on the type of faucet, you may need to use pliers or a cartridge puller to unscrew the cartridge from the faucet body.
-
Inspect for damage: Check the cartridge for any signs of wear or damage, such as cracks or worn-out seals. Replace the cartridge if necessary.
-
Clean and reassemble: Clean all the parts with vinegar or a descaling solution to remove any mineral deposits. Then, reassemble the faucet by following the steps in reverse order.
Proper maintenance for bathtub faucets can prevent leaks caused by worn-out parts or mineral buildup. By regularly cleaning and inspecting the faucet, you can avoid costly repairs in the future.
Replacing Faulty Components and Reassembling the Faucet
To replace faulty components and reassemble the faucet, start by inspecting the cartridge for any signs of damage. If the cartridge is damaged, it will need to be replaced.
Here is a step-by-step guide to help you fix your leaking faucet:
- Turn off the water supply to the faucet.
- Remove the handle by unscrewing the set screw.
- Take off the retaining nut and remove the cartridge from the faucet.
- Inspect the cartridge for any signs of damage, such as cracks or worn out seals.
- If the cartridge is faulty, replace it with a new one.
- Apply plumber’s grease to the new cartridge before inserting it back into the faucet.
- Reassemble the faucet by following the steps in reverse order.
- Turn on the water supply and check for any leaks.
Conclusion
In conclusion, fixing a leaking faucet in your bathtub is not as daunting as it may seem. By following the steps outlined in this article, you can easily identify the source of the leak, gather the necessary tools and materials, shut off the water supply, disassemble the faucet, and replace any faulty components.
With a little time and effort, you can have your faucet working like new again. So don’t let that leak continue to drip away your time and money, take action and fix it today!