
Did you know that a leaking pipe under your bathtub can waste up to 10,000 gallons of water per year? Don’t let this costly and wasteful problem go unresolved any longer.
In this step-by-step guide, we will show you how to:
- Assess the damage
- Gather the necessary tools
- Shut off the water supply
- Repair or replace the leaking pipe
With our expert instructions, you’ll be able to fix the issue and avoid further damage to your bathroom.
Key Takeaways
- Inspect the area around the pipe for water stains, dampness, or mold growth.
- Turn off the water supply to prevent further leakage.
- Use a flashlight to check for signs of water damage on the flooring or walls.
- Locate the main water shut-off valve for your home.

Rhevosil 6” 8” 10” Multi-function Self-locking Pipe Wrench Set, Chromium Vanadium Steel,Plumbers Wrench with Self Tightening Function for 9/32”-1 3/8” (7-35mm) Pipe Fittings and Nuts (1set)
【Pipe Wrench Set】This set includes 6” 8” 10” self adjusting wrench with 9/32” up to 1-3/8” jaw capacity….
As an affiliate, we earn on qualifying purchases.
As an affiliate, we earn on qualifying purchases.
Assessing the Damage
Now, you need to start by assessing the damage to the leaking pipe under your bathtub. Evaluating the extent of the damage is crucial in determining the appropriate course of action.
Begin by inspecting the area around the pipe for water stains, dampness, or mold growth. Look for any visible cracks, leaks, or loose fittings. Use a flashlight to check for any signs of water damage on the flooring or walls.
Next, turn off the water supply to prevent further leakage. If the damage is minor and localized, you may consider repairing the pipe using a sealant or plumber’s tape. However, if the damage is extensive or the pipe is old and corroded, finding alternative solutions like replacing the pipe or contacting a professional plumber may be necessary.

Ultimate Tube Cutter Set – Heavy Duty Pipe Cutter 3/16"-2" OD, Mini Tube Cutter 1/8"-7/8", Deburring Tool – for Copper, Aluminum, PVC Pipes – High-Quality Cutting & Deburring Tools for Professionals
PREMIUM QUALITY – Constructed with rust-free, heat-treated alloy steel, this Ultimate Tube Cutter Set ensures long-lasting durability and…
As an affiliate, we earn on qualifying purchases.
As an affiliate, we earn on qualifying purchases.
Gathering the Necessary Tools
To successfully repair a leaking pipe under your bathtub, you’ll need to gather the essential plumbing repair tools and organize them properly.
Having the right tools at hand will ensure that you can efficiently and effectively fix the problem.
Proper tool organization is also important as it saves time and reduces the chances of misplacing or losing any tools during the repair process.
Essential Plumbing Repair Tools
You’ll need a few essential plumbing repair tools to fix the leaking pipe under your bathtub. Here are some basic plumbing techniques to help you get started:
-
Wrench: A wrench is a must-have tool for any plumbing repair job. It will help you loosen and tighten nuts and bolts with ease.
-
Pipe cutter: If the leaking pipe needs to be replaced, a pipe cutter will come in handy. It will allow you to cut the damaged section of the pipe and replace it with a new one.
-
Pipe sealant: A pipe sealant is used to create a watertight seal between pipe joints. It will prevent any future leaks from occurring.
Common causes of pipe leaks under bathtubs include corrosion, loose fittings, and high water pressure. By using these essential plumbing repair tools and following the basic techniques, you will be able to fix the leaking pipe and prevent any further damage.
Proper Tool Organization
Proper tool organization is essential for efficiently completing plumbing repair jobs. By maximizing space and preventing future leaks, you can ensure that your tools are easily accessible and ready for use whenever needed. Here are some steps to help you organize your tools effectively:
-
Sort your tools: Start by categorizing your plumbing tools into groups such as pipe cutters, wrenches, pliers, and sealants. This will make it easier to locate the right tool when you need it.
-
Use a toolbox or tool bag: Invest in a sturdy toolbox or tool bag to keep your tools in one place. This will prevent them from getting misplaced or lost.
-
Arrange tools by size: To maximize space, arrange your tools by size, with larger tools at the bottom and smaller ones on top. This will allow you to fit more tools in the toolbox or bag.
-
Label your tools: Use labels or markers to identify each tool. This will help you quickly find the right tool for a specific plumbing repair job.
By following these steps, you can ensure that your tools are organized, easily accessible, and ready for any plumbing repair task.
Additionally, proper tool organization will help prevent future leaks by allowing you to quickly identify and fix any plumbing issues.

J-B Weld 8277 WaterWeld Epoxy Putty Stick – 2 oz.
J-B Weld Waterweld: A Hand Mixable Two Part Epoxy Putty Stick, That Can Cure Under Water And Is…
As an affiliate, we earn on qualifying purchases.
As an affiliate, we earn on qualifying purchases.
Shutting Off the Water Supply
Before starting, make sure you’ve shut off the water supply to avoid any further leakage. Follow these steps to safely shut off the water supply to your bathtub:
- Locate the main water shut-off valve for your home. It is usually located near the water meter or where the main water line enters your house.
- Turn the valve clockwise to close it. This will stop the flow of water to your entire house.
- Open a faucet in your home to relieve any remaining pressure in the pipes.
Finding the source of the leak is crucial before proceeding with any repairs. Once the water supply is shut off, you can begin inspecting the area under your bathtub to identify the source of the leak.
In the meantime, consider setting up a temporary water supply, such as using water stored in buckets or jugs, to meet your immediate water needs.

Tub Repair Kit White, Tub Chip and Bathtub Repair Kit for Enamel, Fiberglass, Acrylic, Porcelain, Patch and Repairs Chips, Crack, Scratches, Rust, Holes on Tubs, Toilet, Sink, Shower, Tray in Bathroom
Permanently Repair Bathtub Chips, Cracks and Holes: For Fiberglass, Enamel, Acrylic; restore a glossy, non-yellowing, leak-stopping and chip…
As an affiliate, we earn on qualifying purchases.
As an affiliate, we earn on qualifying purchases.
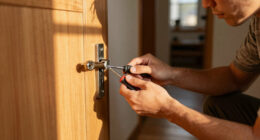
Removing the Bathtub Panels
Once the water supply is shut off, it’s time to begin removing the bathtub panels to access the inner workings of the tub. Here are some bathtub panel removal techniques and maintenance tips to help you get started.
-
Locate the screws: Look for screws or fasteners holding the panels in place. They are usually located on the sides or bottom of the tub.
-
Use a screwdriver: Use a screwdriver to remove the screws. Make sure to keep them in a safe place for reassembly later.
-
Pry the panels: Gently pry the panels away from the tub using a putty knife or a similar tool. Be careful not to damage the panels or the tub.
-
Clean the panels: Once the panels are removed, clean them thoroughly with a mild detergent and warm water. This will help maintain their appearance and prevent any buildup of dirt or grime.
Locating the Leaking Pipe
Now that you’ve successfully removed the bathtub panels, it’s time to move on to the next step: locating the leaking pipe.
This is an important task because it will help you pinpoint the source of the problem and determine the best course of action for fixing it.
To detect water damage and signs of a leaking pipe, follow these steps:
- Look for water stains or discoloration on the walls or ceiling near the bathtub area.
- Check for any dampness or moisture around the base of the bathtub.
- Listen for the sound of running water or dripping coming from behind the walls or under the bathtub.
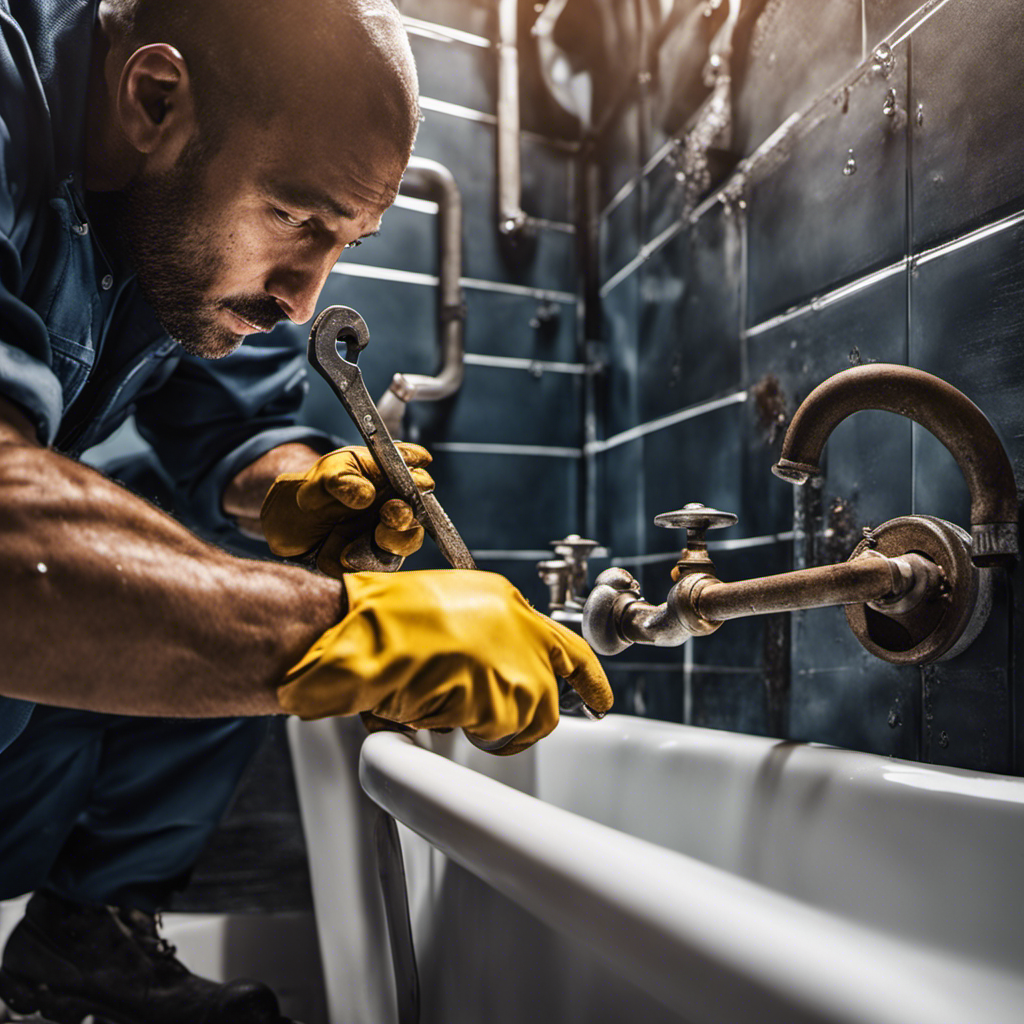
Repairing or Replacing the Pipe
To repair or replace the damaged pipe, you’ll need to assess the extent of the water damage and determine the most suitable solution for your specific situation.
Firstly, consider the severity of the damage. If it’s a minor leak or a small crack, you may be able to repair it yourself. Start by turning off the water supply to the bathtub and draining any remaining water. Next, use a pipe repair kit or epoxy to seal the leak or crack.
However, if the damage is extensive or if you’re uncertain about your DIY skills, it’s best to hire a professional plumber. They have the expertise and tools to properly replace the damaged pipe, ensuring a long-lasting solution.
Reassembling the Bathtub Panels
When reassembling the bathtub panels, make sure all the pieces are aligned properly before securing them in place. This step is crucial for ensuring the panels fit together tightly and prevent any future leaks.
Here’s a step-by-step guide to help you with the process:
-
Start by gathering all the necessary tools, such as a screwdriver and screws.
-
Carefully place the panels back in their original positions, making sure they fit snugly against the bathtub frame.
-
Align the screw holes on the panels with the corresponding holes on the frame.
-
Insert the screws into the holes and tighten them securely, but be careful not to overtighten and damage the panels.
-
Double-check that all the panels are aligned properly and securely attached to the frame.
Frequently Asked Questions
How Long Will It Take to Fix a Leaking Pipe Under a Bathtub?
To fix a leaking pipe under your bathtub, you need to first detect the source of the leak. This can be done by checking for water stains or pooling water. Once identified, follow these steps to fix the issue.
Can I Temporarily Fix a Leaking Pipe Without Replacing It?
If you’re looking for a temporary fix to a leaking pipe without replacing it, there are several pipe repair methods you can try. Let’s explore some options to stop the leak for now.
What Are the Signs That Indicate a Leaking Pipe Under a Bathtub?
To detect a leaking pipe under your bathtub, look for signs of water damage, such as wet spots, mold, or a musty smell. Check for a decrease in water pressure or an increase in your water bill.
Are There Any Safety Precautions I Should Take Before Starting the Repair?
Before diving into the repair, prioritize safety measures to avoid any mishaps. Equip yourself with necessary tools like safety goggles, gloves, and a flashlight. Let’s ensure a secure workspace before fixing that leaking pipe!
Are There Any Alternative Methods to Fix a Leaking Pipe Under a Bathtub Other Than Removing the Panels?
To fix a leaking pipe under the bathtub without removing the panels, there are alternative methods available. These methods have their pros and cons, and it’s important to consider them before proceeding with the repair.
Conclusion
In conclusion, fixing a leaking pipe under your bathtub requires careful assessment, the right tools, and step-by-step action.
By shutting off the water supply and removing the bathtub panels, you can locate the problematic pipe.
Whether it needs repair or replacement, follow the necessary steps to fix the issue.
Once done, reassemble the bathtub panels and you’ll be good to go.
Remember, tackling this task is like being a plumber, navigating through the pipes to bring back a watertight sanctuary.