As a seasoned plumber, I’ve encountered my fair share of leaky bathtub faucets. They can be a real headache, constantly dripping and wasting water. But fear not, because I’m here to guide you through the process of fixing that pesky leak.
In this article, I’ll show you step-by-step how to:
- Identify the source of the leak
- Gather the necessary tools
- Disassemble the faucet handle to inspect and replace faulty parts
By the end, you’ll have a leak-free bathtub faucet that will save you water and money.
Let’s dive in!
Key Takeaways
- Leaky bathtub faucets can be caused by worn-out or damaged washers, faulty O-rings or cartridges, and loose or damaged parts.
- It is important to gather the necessary tools such as an adjustable wrench, pliers, screwdrivers, and plumber’s tape before attempting to fix the leak.
- Turning off the water supply is crucial to prevent water damage or flooding and should be done before disassembling the faucet handle.
- Inspecting and replacing faulty parts such as the cartridge or valve stem assembly, O-rings and washers, and the spout or aerator can help fix the leaky bathtub faucet.
Identifying the Source of the Leak
To fix a leaky bathtub faucet, start by identifying where the leak is coming from. There are several common causes for a leaky faucet, and it’s important to troubleshoot and pinpoint the exact issue before attempting any repairs.
One of the most common causes is a worn-out or damaged washer. This can be identified by a steady drip coming from the spout.
Another possible cause is a faulty O-ring or cartridge, which can result in a constant leak. Checking for any loose or damaged parts is also crucial, as these can contribute to leaks.
Gathering the Necessary Tools
First, you’ll need a few tools to get started on repairing your dripping bathroom tap. The most common faucet problems can usually be fixed with a few basic tools.
You’ll need an adjustable wrench, a pair of pliers, a screwdriver (both flathead and Phillips), and some plumber’s tape. The adjustable wrench will come in handy for removing the faucet handle and other parts.
Pliers are useful for gripping and turning tight connections. The screwdrivers are needed to remove screws and secure components.
Lastly, plumber’s tape is essential for creating a watertight seal. With these tools, you’ll be well-equipped to tackle most faucet repairs. Remember to turn off the water supply before starting and take your time to ensure a successful repair.
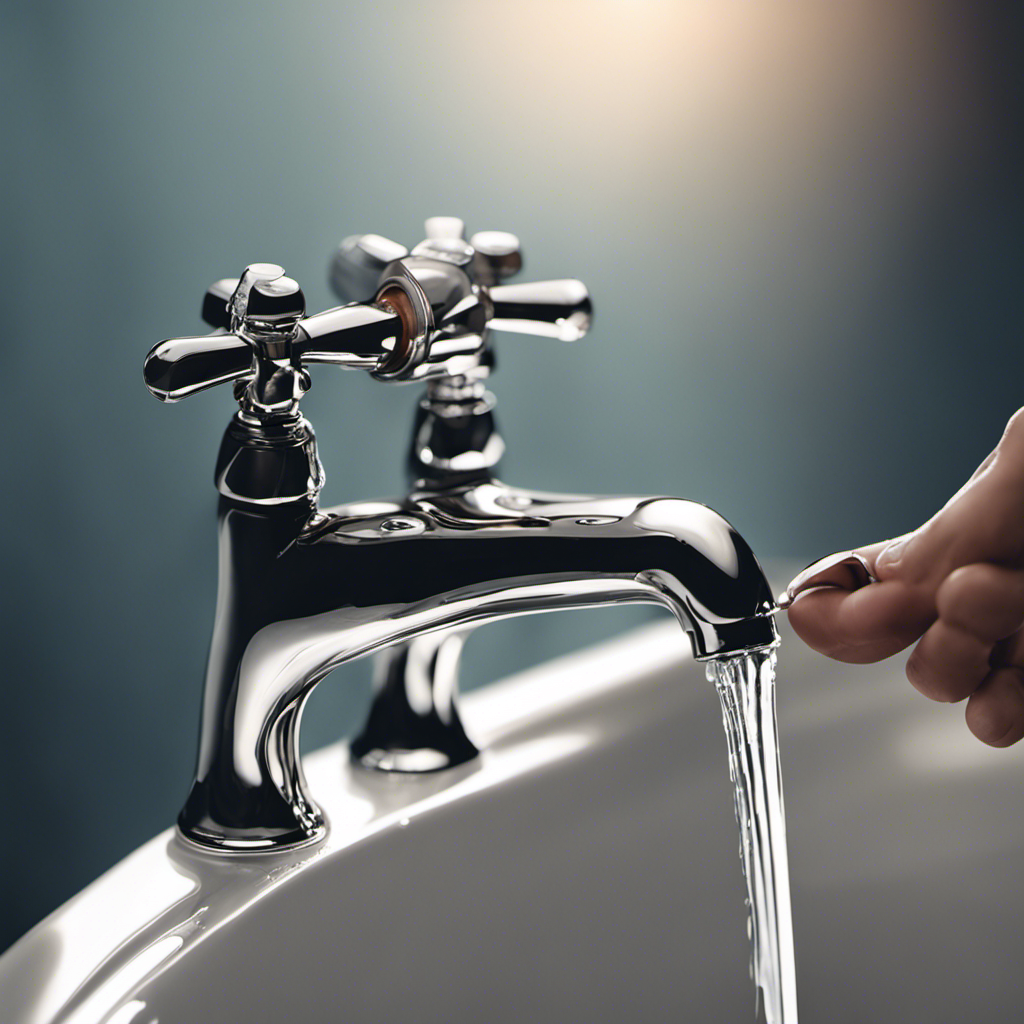
Turning Off the Water Supply
Make sure you locate the shut-off valve under your sink to turn off the water supply before attempting any repairs. This is an essential step to prevent any water damage or flooding.
To help you detect leaks and troubleshoot the issue, here are some techniques you can try:
-
Inspect the faucet: Look for any visible signs of leaks, such as water pooling around the base or dripping from the spout.
-
Listen for any unusual sounds: A hissing or dripping sound could indicate a leak.
-
Check the water meter: Turn off all faucets and appliances that use water, and monitor the meter. If it continues to move, there might be a hidden leak.
-
Use food coloring: Add a few drops of food coloring to the tank of the toilet or the bathtub, and wait to see if the color appears in the bowl or on the floor.
By following these troubleshooting techniques, you can better identify the source of the leak.
Once you have turned off the water supply, you can proceed to the next step of disassembling the faucet handle.
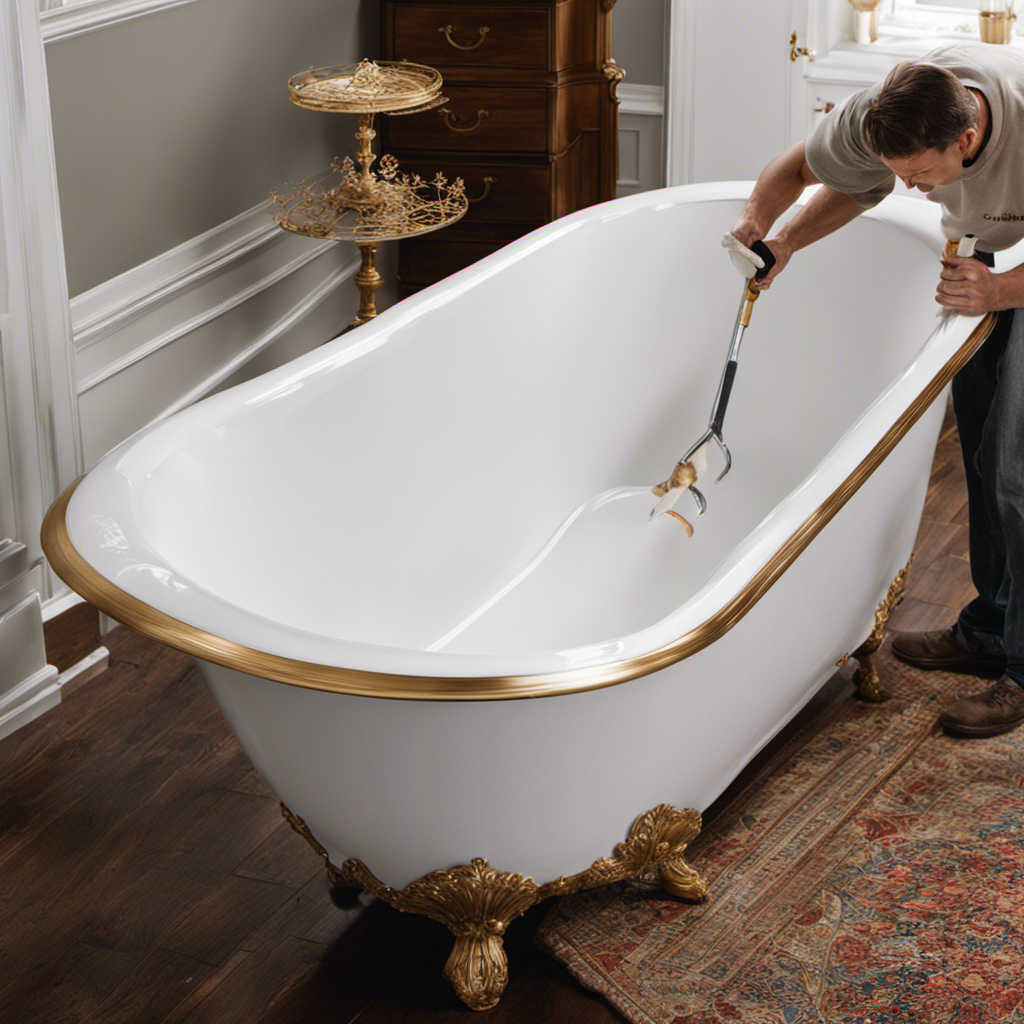
Disassembling the Faucet Handle
Once you’ve successfully turned off the water supply, it’s time to start disassembling the handle of the faucet. This is a crucial step in fixing a leaky bathtub faucet, as it allows you to access the components that may be causing the problem.
To begin, locate the screw that holds the handle in place. Using a screwdriver, carefully remove the screw and set it aside. Next, gently pull the handle away from the wall, being cautious not to force it.
Once the handle is removed, you will see the cartridge or valve stem assembly. This is where most common handle problems occur, such as worn-out O-rings or damaged seals.
Inspecting and Replacing Faulty Parts
When it comes to fixing a leaky bathtub faucet, it’s important to first identify the leaking component. This could be the valve stem, the O-ring, or the cartridge.
Once the problem has been pinpointed, the next step is to replace the faulty part. This can usually be done by removing the old component and installing a new one using basic plumbing tools.
Identifying the Leaking Component
To find the leaking component, start by checking the faucet handle for any signs of water dripping or pooling. Here are some troubleshooting tips to help you identify and fix the issue:
-
Inspect the handle: Look for any cracks, loose screws, or worn-out seals. These can often be the common causes of leaks.
-
Check the cartridge or valve: Remove the handle and examine the cartridge or valve for any signs of damage or wear. A faulty cartridge or valve can lead to leaks.
-
Examine the O-rings and washers: These small rubber components are prone to deterioration over time. Inspect them for any signs of wear or damage.
-
Inspect the spout or aerator: Leaks can also occur from the spout or aerator. Check for any mineral buildup or loose connections that might be causing the leak.
Steps to Replace Parts
Inspect the parts for any signs of damage or wear, such as cracks, loose screws, or worn-out seals. Before replacing any components, it’s crucial to identify the source of the leak and ensure that the parts are indeed the cause.
Once you have determined which parts need to be replaced, gather the necessary tools and materials. Begin by turning off the water supply to the faucet. Use a wrench or pliers to loosen and remove the damaged parts. Take note of the order in which the parts are removed, as this will be helpful when reassembling the faucet handle.
If you’re unsure about the specific repairing techniques or troubleshooting tips, consult the manufacturer’s instructions or seek professional help. Once the parts are replaced, proceed to reassemble the faucet handle.
Reassembling the Faucet Handle
Alright, now that you’ve removed the faucet handle, it’s time to reassemble it. Here are some troubleshooting tips to help you along the way:
-
Inspect the parts: Before reassembling the handle, check for any damage or wear. If you notice any issues, it may be necessary to replace the parts.
-
Apply lubricant: To ensure smooth operation, apply a small amount of plumber’s grease to the stem and other moving parts. This will reduce friction and help prevent future leaks.
-
Align the handle: Align the handle with the stem and push it firmly into place. Make sure it sits securely and doesn’t wobble.
-
Tighten the screw: Using a screwdriver, tighten the screw that holds the handle in place. Be careful not to overtighten, as this can cause damage.
If you encounter any difficulties or if the leak persists, it may be best to seek professional repair services. They have the expertise and tools to diagnose and fix the issue effectively.
Testing for Leaks
When it comes to testing for leaks, there are several effective methods that can be used.
These methods include visual inspection, pressure testing, and using leak detection tools.
By identifying common leak sources such as faucets, toilets, and pipes, we can pinpoint the areas that need to be tested and repaired.
This ensures that our plumbing system is leak-free and functioning properly.
Leak Detection Methods
To identify the source of the leak, you can try using a flashlight and visually inspecting the faucet for any visible signs of water dripping or pooling. If you’re unable to locate the leak using this method, there are other leak detection techniques that can be employed.
Here are four effective methods:
-
Pressure testing: This involves shutting off the water supply to the bathtub and applying air pressure to the system to determine if there are any leaks.
-
Dye testing: By adding a colored dye to the water, you can observe if it seeps out of any cracks or openings in the faucet or pipes.
-
Thermal imaging: Using an infrared camera, professionals can detect leaks by identifying temperature variations caused by the escaping water.
-
Acoustic listening devices: These devices amplify the sound of leaking water, helping professionals pinpoint the exact location of the leak.
If you’re unable to locate or fix the leak yourself, it’s recommended to seek the assistance of professional leak detection services. They have the expertise and specialized equipment to identify and repair any leaks efficiently and effectively.
Identifying Common Leak Sources
In my experience, identifying the common causes of bathtub faucet leaks is crucial in fixing the issue effectively. I’ve compiled a table below to provide a comprehensive overview of these causes:
| Common Causes of Bathtub Faucet Leaks | Causes and Solutions |
|---|---|
| Worn-out washers or O-rings | Replace with new ones |
| Loose or damaged valve seat | Tighten or replace |
| Corroded or damaged cartridge | Replace cartridge |
To prevent bathtub faucet leaks, there are a few essential tips I always recommend:
- Regularly check and replace worn-out washers or O-rings.
- Avoid overtightening the faucet handles.
- Use plumber’s tape to secure connections and prevent leaks.
- Install a water pressure regulator to prevent excessive pressure.
- Schedule routine maintenance to identify and address any potential issues early on.
Maintaining a Leak-Free Bathtub Faucet
One way to ensure a leak-free bathtub faucet is by regularly checking and replacing worn-out washers.
Here are 4 key steps to maintaining a leak-free bathtub faucet:
-
Inspect the faucet: Check for any signs of leaks or drips. Look for water stains or puddles around the base of the faucet, as these indicate a potential leak.
-
Clean the aerator: Remove the aerator from the faucet and clean it thoroughly to remove any debris or mineral buildup. This can help improve water flow and prevent leaks.
-
Tighten loose parts: Use a wrench or pliers to tighten any loose screws, nuts, or fittings. Loose parts can cause leaks, so ensuring they are secure is essential.
-
Lubricate moving parts: Apply a small amount of plumber’s grease to the moving parts of the faucet, such as the handle or spout. This will help prevent friction and keep the faucet operating smoothly.
Frequently Asked Questions
How Much Will It Cost to Fix a Leaky Bathtub Faucet?
Fixing a leaky bathtub faucet can vary in cost depending on the severity of the issue and whether you choose to tackle it yourself or hire a professional. A cost estimate can range from a few dollars for DIY repairs to a few hundred dollars for professional assistance.
Can a Leaky Bathtub Faucet Cause Water Damage to the Surrounding Area?
Yes, a leaky bathtub faucet can cause water damage to the surrounding area. It is important to address the issue promptly to prevent further damage. Signs of water damage include mold, discoloration, and peeling paint.
How Often Should I Inspect and Maintain My Bathtub Faucet to Prevent Leaks?
I inspect and maintain my bathtub faucet regularly to prevent leaks. It is recommended to clean it every 3-6 months. If unsure, hiring a professional for maintenance is a wise choice to ensure proper functioning.
What Should I Do if I Notice Water Leaking From the Bathtub Faucet Even After Fixing It?
If water is still leaking from the bathtub faucet after attempting to fix it, there may be issues with water pressure or other potential causes. It’s important to investigate further to determine the underlying problem.
Are There Any Specific Safety Precautions I Should Take While Disassembling and Reassembling the Faucet Handle?
When it comes to disassembling and reassembling the faucet handle, there are some important safety measures to keep in mind. Proper handling of the parts and tools is crucial to avoid any accidents or damage.
Conclusion
So there you have it, my friends. We’ve successfully tackled the issue of a leaky bathtub faucet with finesse and expertise.
By following the steps outlined in this guide, we’ve been able to identify the source of the leak, gather the necessary tools, and skillfully disassemble and inspect the faulty parts.
With precision and care, we’ve replaced those parts and reassembled the faucet handle. And now, with a triumphant turn of the water supply, we can revel in the satisfaction of a leak-free bathtub faucet.
Remember to maintain your faucet regularly to ensure its continued efficiency. Happy fixing!

With an impeccable eye for detail and a passion for bathroom-related, Ava leads our editorial team gracefully and precisely.
Under her guidance, Best Modern Toilet has flourished as the go-to resource for modern bathroom enthusiasts. In her free time, you might find Ava exploring antique shops and looking for vintage bathroom fixtures to add to her collection.