I’ve got a problem that needs fixing. That constant drip, drip, drip from my bathtub faucet is driving me crazy. But I’m not one to give up easily. With a little know-how and the right tools, I’m confident I can stop that leak in its tracks.
In this article, I’ll guide you through the step-by-step process of fixing a leaky bathtub faucet. Get ready to roll up your sleeves and tackle this plumbing challenge head-on.
Key Takeaways
- Leaky bathtub faucets can be caused by worn-out washers, faulty O-rings, or loose/faulty valve stems.
- Signs of a leaking bathtub faucet include water pooling around the base, dripping from the spout when the faucet is turned off, and a constant dripping sound.
- Essential tools for fixing a leaky bathtub faucet are a screwdriver and an adjustable wrench.
- Before starting the repair process, the water supply needs to be shut off by locating the main shutoff valve and turning it clockwise until it is fully closed.
Top picks for "leaky bathtub faucet"
As an affiliate, we earn on qualifying purchases.
Identifying the Issue
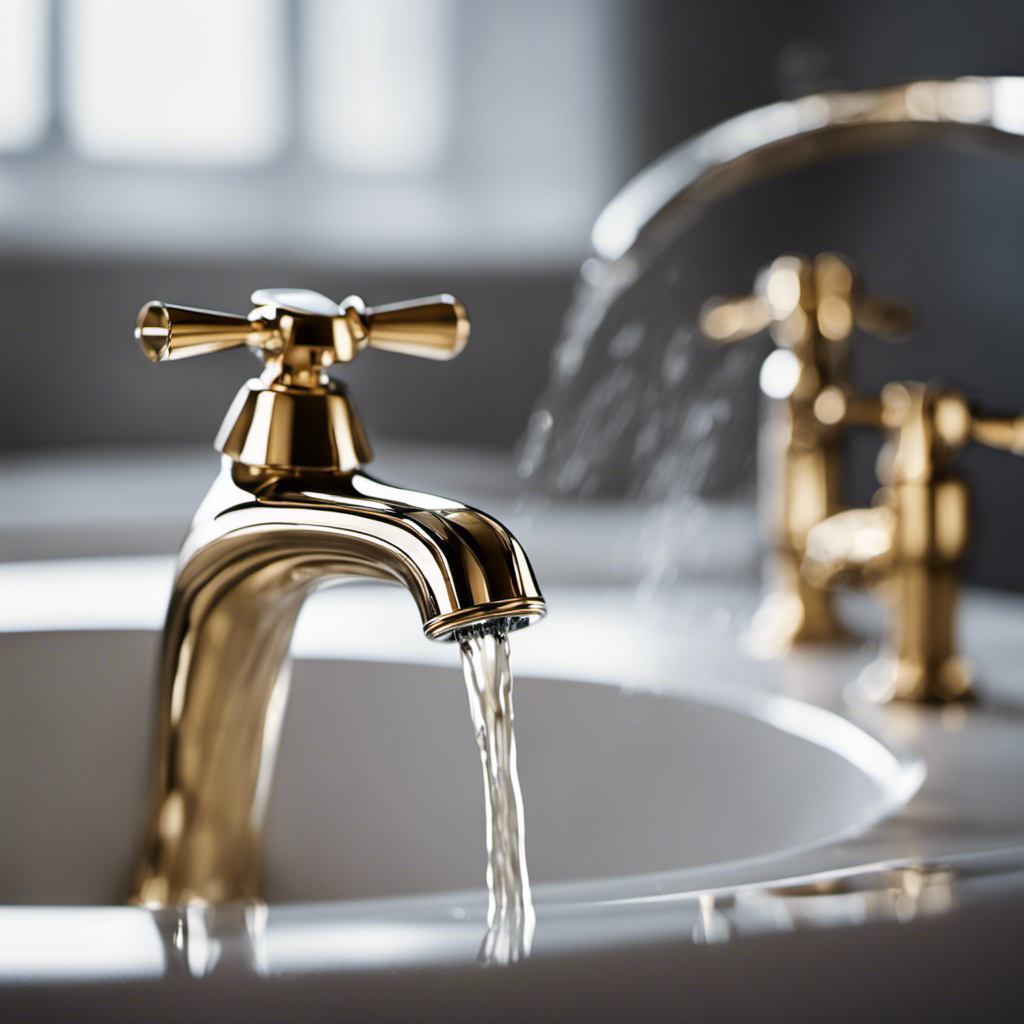
The first step is for you to identify where the leak is coming from. When it comes to bathtub faucet leaks, there are a few common causes to be aware of.
One of the most common causes is a worn-out washer or O-ring. Over time, these parts can deteriorate, causing water to seep through and create a leak.
Another common cause is a loose or faulty valve stem. If the stem is not properly tightened or if it becomes damaged, it can lead to a leaky faucet.
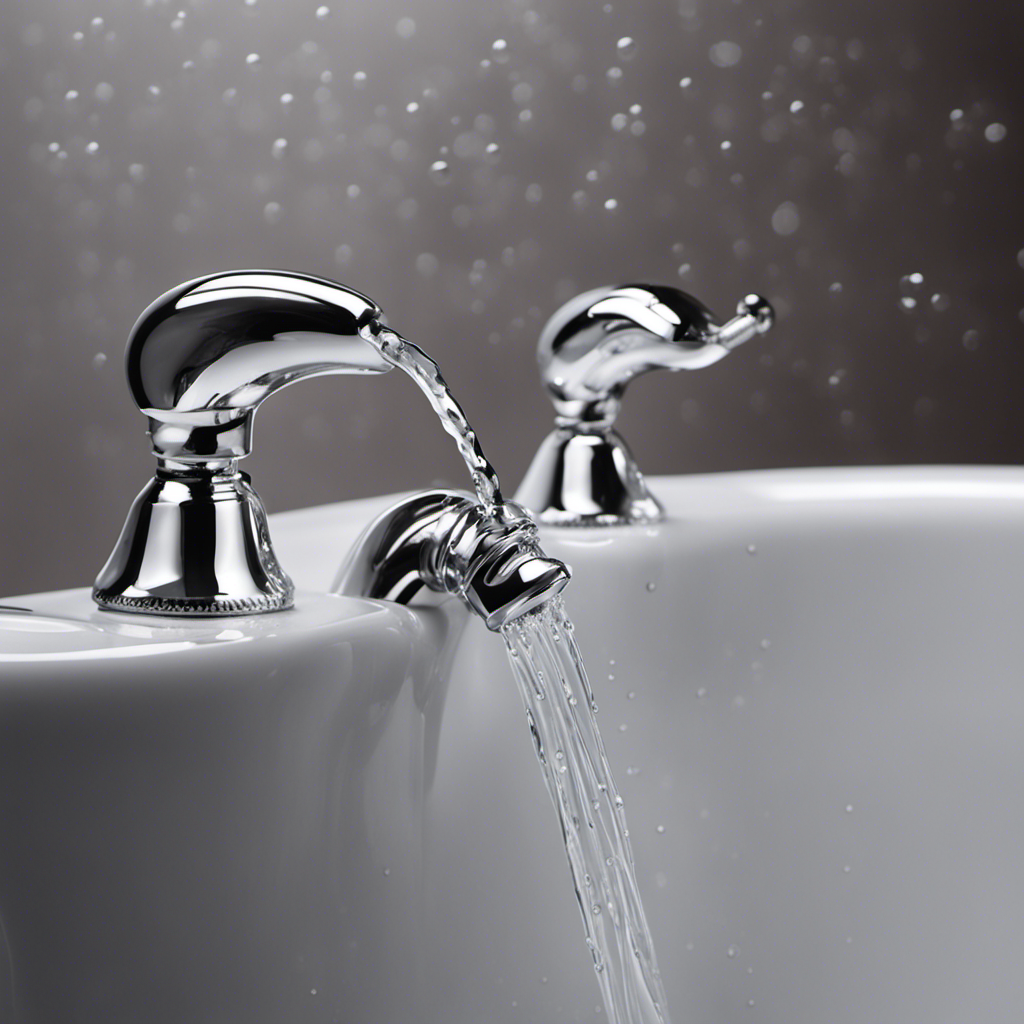
As for signs of a leaking bathtub faucet, you may notice water pooling around the base of the faucet or dripping from the spout even when the faucet is turned off. Additionally, you may hear a constant dripping sound.
Identifying the source of the leak is crucial in order to effectively fix the issue.
Gathering the Necessary Tools
To gather the necessary tools, you’ll need a screwdriver and an adjustable wrench. These tools are essential for fixing a leaky bathtub faucet. Once you have these tools, you can begin addressing the issue with confidence.
Here are three crucial tips to keep in mind when fixing a leaky bathtub faucet:
- Inspect the faucet for common causes of leaks, such as worn-out washers, faulty O-rings, or damaged cartridges.
- Take note of any specific parts that need replacement or repair, and make sure to have them on hand before starting the repair process.
- While fixing the current leak is important, it is equally essential to take preventive measures to avoid future leaks. Regularly inspecting and maintaining the faucet, ensuring proper installation, and avoiding excessive force when turning the handles are all effective ways to prevent future leaks.
Shutting off the Water Supply
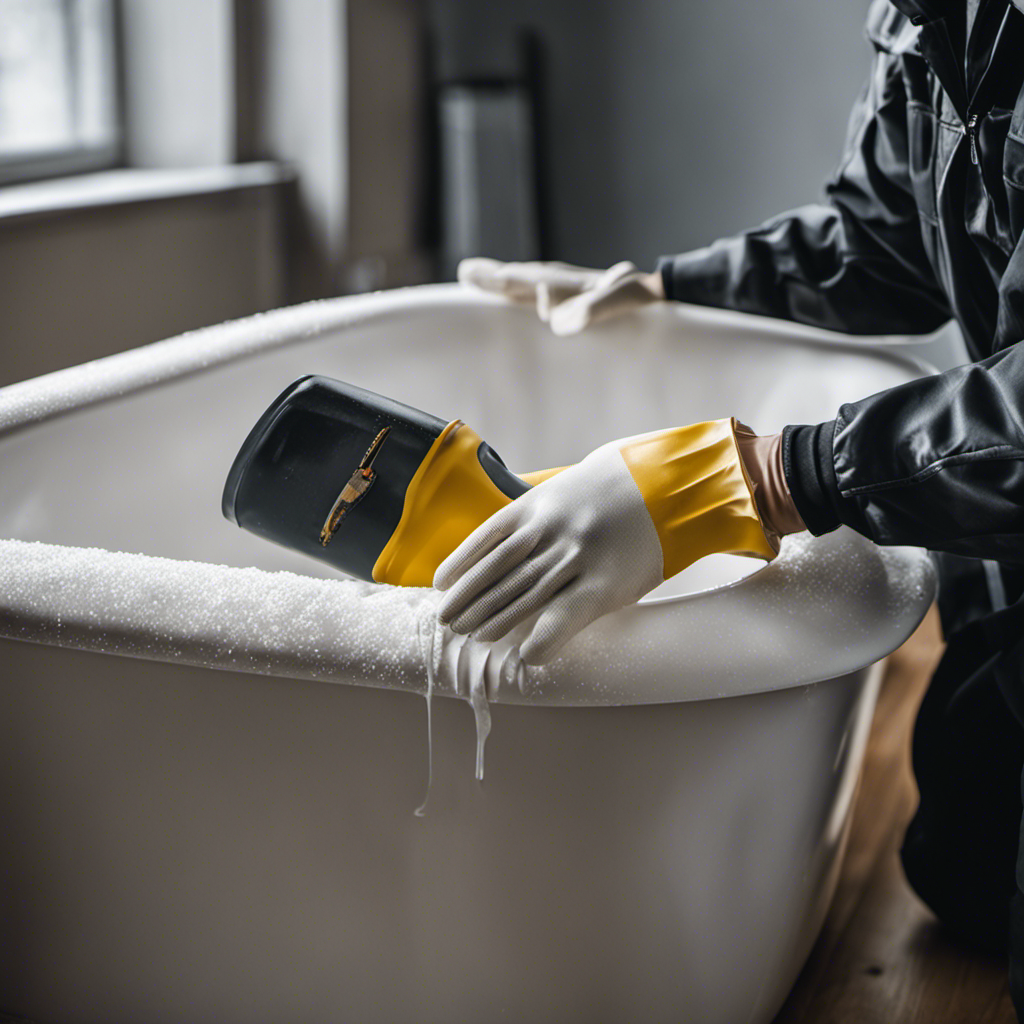
Before starting the repair process, you’ll need to shut off the water supply. This step is crucial to prevent any further leaks and ensure your safety during the repair.
To shut off the water supply, locate the main shutoff valve in your home, usually found near the water meter or where the main water line enters your house. Turn the valve clockwise until it is fully closed.
It’s important to note that if you’re not confident in your ability to shut off the water supply or if you encounter any difficulties, it’s best to hire a professional plumber.
Once the water supply is shut off, you can proceed to the next step of disassembling the faucet and identifying the source of the leak.
Disassembling the Faucet
Once you’ve shut off the water supply, you can now start disassembling the faucet to pinpoint the source of the leak. This step is crucial in fixing a leaky bathtub faucet.
To ensure a successful disassembly, follow these steps:
-
Start by removing the handle of the faucet. This can usually be done by unscrewing a small screw or by prying off a decorative cap and then unscrewing the handle itself.
-
Once the handle is removed, you will have access to the cartridge or valve stem. Carefully remove these components by unscrewing or pulling them out.
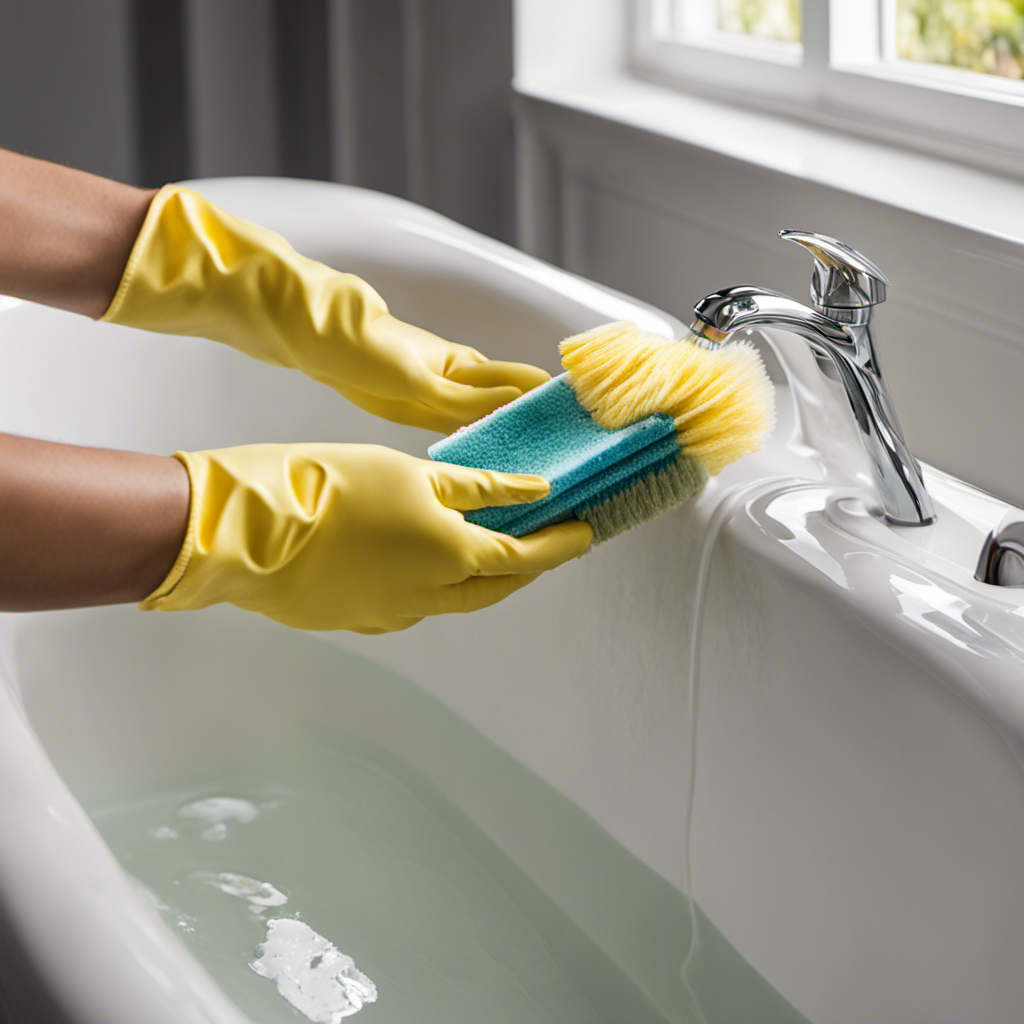
-
Inspect the cartridge or valve stem for any signs of wear or damage. Cleaning and lubricating these components can often solve the leak issue. Use a soft brush or cloth to remove any debris, and apply a silicone-based lubricant before reassembling.
Replacing Faulty Parts
If you notice any signs of wear or damage during inspection, you’ll need to replace the faulty parts of the faucet. Troubleshooting common faucet issues is essential to identify which parts need replacement.
To start, turn off the water supply to the faucet and remove the handle, escutcheon plate, and cartridge. Inspect the cartridge for any cracks or damage, as this is a common cause of leaks. If the cartridge is faulty, it should be replaced with a new one.
Additionally, check the O-rings and seals for any signs of wear or damage. These can be easily replaced using a repair kit specifically designed for your faucet model.
Reassembling the faucet with the new parts should resolve the leak and restore the proper functioning of your bathtub faucet.
Conclusion
Fixing a leaky bathtub faucet requires patience and precision. By identifying the issue, gathering the necessary tools, and shutting off the water supply, you can tackle the problem head-on.
Disassembling the faucet and replacing faulty parts is the final step in this intricate dance of repair. Like a skilled surgeon, you delicately examine each piece, ensuring that the heart of your bathtub is restored to its full potential.
Remember, a leaky faucet is not just an annoyance, but a symbol of resilience and triumph when you conquer it.