I’ve been there – the annoying drip, drip, drip of a leaky bathtub faucet. But fear not! In this article, I’ll guide you through the step-by-step process of fixing that pesky problem.
With just a few tools and a little know-how, you’ll be able to tackle this DIY task like a pro. So, let’s dive in and put an end to that wasteful water leak.
You’ll be enjoying a quiet and efficient bathtub in no time.
Key Takeaways
- Constant dripping of water and sudden increase in water bill can indicate a leaky bathtub faucet.
- Water stains or rust around the faucet area may also be signs of a leak.
- To fix a leaky bathtub faucet, gather the necessary tools such as an adjustable wrench, screwdriver, and replacement parts.
- The process involves disassembling the faucet handle, inspecting and replacing faulty components, and reassembling and testing the faucet for leaks.

RP25513 faucet stem assembly Replacement Kit for two handle faucet repair kit with RP24096 Cartridge RP4993 Seats Springs RP24097 1/4 Turn stop, 2 Pack
Package included: Stem*2 , 1/4 Turn stop*2 , Rubber seat*2 , Spring*2 .
As an affiliate, we earn on qualifying purchases.
As an affiliate, we earn on qualifying purchases.
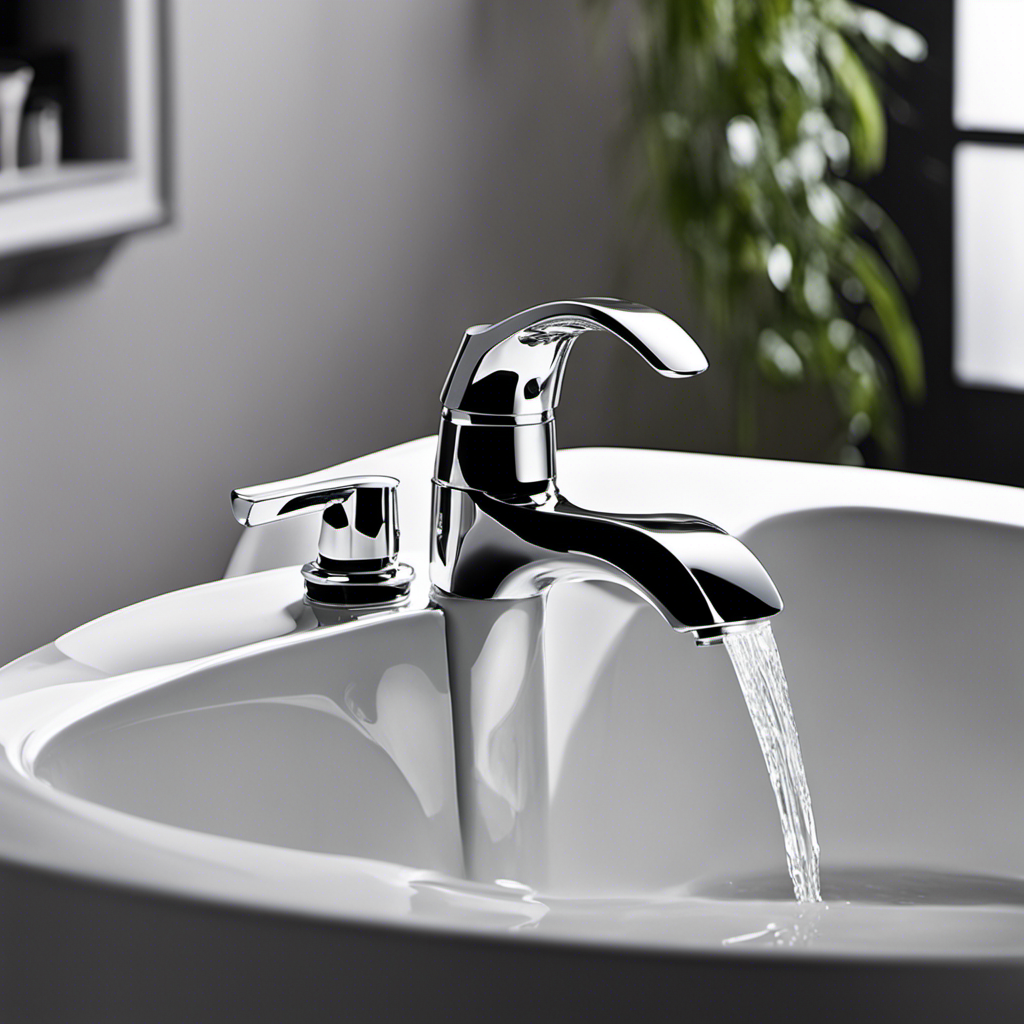
Identifying the Source of the Leak
To start fixing your leaky bathtub faucet, you’ll need to identify where the leak is coming from. There are several common causes of bathtub faucet leaks, such as worn-out washers, faulty valves, or damaged seals.
One of the most common signs of a leaking bathtub faucet is the constant dripping of water, even when the faucet is turned off. Another indication is a sudden increase in your water bill. Sometimes, you may also notice water stains or rust around the faucet area.
To determine the exact source of the leak, you can start by examining the faucet handle, spout, and any visible pipes for any signs of water leakage. It’s important to thoroughly inspect all components to ensure an accurate diagnosis.

360 Pcs O Ring Assortment Kit,Rubber Washer Orings, Black 24 Sizes Pressure Washer O Ring Kit for Faucet, Hose, Automotive, Air Gas Plumbing Sealing Repair O Rings
Premium Material: These assorted o rings are made of outstanding rubber material with good air tightness and high…
As an affiliate, we earn on qualifying purchases.
As an affiliate, we earn on qualifying purchases.
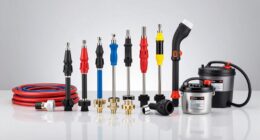
Gathering the Necessary Tools
First, you’ll need a few tools for the task at hand.
When it comes to fixing a leaky bathtub faucet, there are a few common causes that you should be aware of. The most common cause is a worn-out washer. Over time, the washer can become deteriorated and cause water to leak through.
Another common cause is a faulty O-ring, which is a small rubber ring that helps seal the faucet handle. If the O-ring is damaged or worn, it can lead to leaks.
To fix a leaky bathtub faucet, you’ll need a few tools, including an adjustable wrench, a screwdriver, and replacement parts such as washers and O-rings.
In the next section, I will provide a step-by-step guide to fixing a leaky bathtub faucet.

WORKPRO 2-Piece Adjustable Wrench Set, 6-Inch & 10-Inch Wide Jaw Black Oxide Wrench, Cr-V Steel, Metric & SAE Scales, Max Jaw Opening 15/16" & 1-5/16", for Home Repairs, Plumbing, Garage Work
DUAL-SIZE SET FOR VERSATILE USE: This 2-piece set includes 6-inch and 10-inch adjustable wrenches, designed for everyday household…
As an affiliate, we earn on qualifying purchases.
As an affiliate, we earn on qualifying purchases.
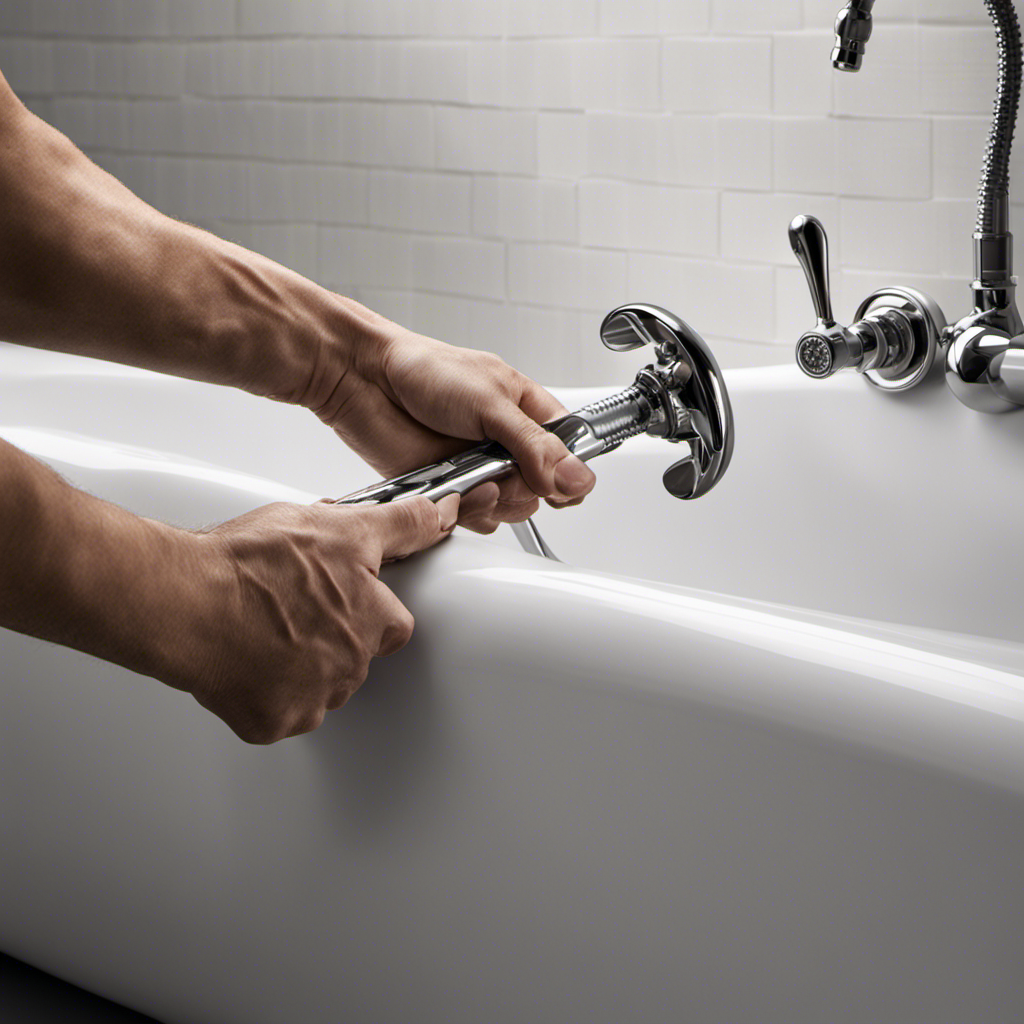
Disassembling the Faucet Handle
Now that you have gathered the necessary tools, it’s time to disassemble the faucet handle. This step is crucial in identifying the common causes of bathtub faucet leaks and finding the solution.
Start by turning off the water supply to the faucet. Then, carefully remove the decorative cap on the handle using a flathead screwdriver.
Next, unscrew the handle screw and gently lift off the handle. Once the handle is removed, you will have access to the cartridge or valve stem assembly. This is where you can inspect for any signs of damage or wear.
To prevent future leaks, it’s important to maintain a leak-free bathtub faucet handle. Regularly check for any loose parts, clean the handle and spout, and replace any worn-out components.

Biaungdo Clear Shower Knob Replacement Set of 2, Bathtub Faucet Handles Include Hot and Cold Shower Knob for Remodeling Trim, with Screws & Screwdriver
Package included: Each package includes 1 pack hot and 1 pack cold shower knob, complete with mounting screws…
As an affiliate, we earn on qualifying purchases.
As an affiliate, we earn on qualifying purchases.
Replacing the Faulty Components
Once you have identified the faulty components, it’s time to replace them with new ones. Troubleshooting common issues with a leaky bathtub faucet single handle can be a simple task, often requiring quick fixes for minor leaks. By replacing the faulty components, you can restore the functionality of your faucet and prevent further water wastage. To help you understand the process, here is a table outlining the common faulty components and their replacements:
| Faulty Component | Replacement |
|---|---|
| Worn-out O-rings | New O-rings |
| Damaged Cartridge | New Cartridge |
| Corroded Valve Seat | New Valve Seat |
Reassembling and Testing the Faucet
To reassemble and test the faucet, you’ll need to carefully follow the steps outlined in the previous section. Once you have replaced the faulty components, it’s important to ensure that everything is properly put back together.
Here are some tips to help you maintain a leak-free bathtub faucet:
-
Use plumber’s tape: Apply a few wraps of plumber’s tape around the threads of the faucet to create a watertight seal.
-
Tighten all connections: Make sure all connections are securely tightened using a wrench or pliers. This will help prevent any potential leaks.
-
Check for leaks: After reassembling the faucet, turn on the water and carefully inspect for any leaks. If you notice any drips or water escaping, you may need to further tighten the connections or replace any damaged parts.
Frequently Asked Questions
How Long Will It Take to Fix a Leaky Bathtub Faucet Single Handle?
Fixing a leaky bathtub faucet single handle can be done quickly once the cause is diagnosed. Properly reassembling the faucet handle after fixing the leak ensures a lasting solution.
Can I Use a Wrench Instead of a Screwdriver to Disassemble the Faucet Handle?
I prefer using a wrench over a screwdriver for disassembling the faucet handle. It provides better leverage and makes the process easier. To properly use a wrench, ensure it fits securely and turn it counterclockwise to loosen the handle.
Are There Any Special Precautions I Should Take Before Replacing the Faulty Components?
Before replacing faulty components, it’s important to take precautions. Turn off the water supply to avoid any accidents. As for tools, you’ll need a wrench and screwdriver. Follow these steps to fix your leaky bathtub faucet.
Is It Necessary to Turn off the Water Supply Before Disassembling the Faucet Handle?
Yes, it is necessary to turn off the water supply before disassembling the faucet handle. This ensures that no water will flow while you work and helps prevent any accidents or further damage.
What Should I Do if I Accidentally Break a Part While Disassembling the Faucet Handle?
If I accidentally break a part while disassembling the faucet handle, I would start by searching for replacement parts online or at a local hardware store. If the task seems too daunting, I might consider seeking professional help.
Conclusion
In conclusion, fixing a leaky bathtub faucet single handle is a relatively simple task that can save you money and prevent further damage. By following the steps outlined in this article, you can easily identify and replace the faulty components causing the leak.
Some may argue that hiring a professional plumber is the better option, but with the right tools and a little bit of patience, anyone can successfully fix a leaky faucet.
So why spend unnecessary money when you can tackle this DIY project yourself?