I’ve got a leaky bathtub and it’s driving me crazy. But don’t worry, I’ve done my research and I’ve got the solution.
In this article, I’ll show you how to fix that annoying leak once and for all. We’ll identify the source of the leak, gather the necessary tools, and shut off the water supply.
Then, we’ll get down to business, inspecting and replacing the O-rings or washers. Finally, we’ll put everything back together and test for leaks.
Say goodbye to that pesky drip!
Key Takeaways
- The source of the leak in a bathtub can be identified by checking the drain, faucet, caulking, and looking for signs of water damage.
- It is important to gather the necessary tools and materials such as wrenches, pliers, plumber’s tape, and replacement parts before starting the repair.
- Shutting off the water supply is crucial to prevent further damage, including flooding, water damage, and electrical hazards.
- Removing the faucet handle or spout requires the use of specific tools and following proper steps to avoid damaging the faucet.

DANCO Tub Stopper Gasket for Tub Drain Assemblies (37680B), Black
- Durable rubber construction: Provides long-lasting durability
- Compatible with tub drains: Designed for tub drain assemblies
- Ensures a tight seal: Provides a positive drain seal
As an affiliate, we earn on qualifying purchases.
As an affiliate, we earn on qualifying purchases.
Identifying the Source of the Leak
To start fixing a leaky bathtub, you’ll need to figure out where the leak is coming from. Identifying common bathtub leaks and signs of water damage in the bathroom is crucial in determining the source of the problem.
One common area to check is the bathtub drain. Look for any signs of water pooling around the drain or a slow draining bathtub. This could indicate a faulty drain gasket or a clog in the drain pipe.
Another potential source of leaks is the bathtub faucet. Check for any dripping or water seepage around the faucet handles or spout. This could be a result of worn-out washers or a faulty valve.
Lastly, inspect the caulking around the bathtub edges. Cracked or deteriorated caulking can allow water to seep into the walls or flooring, causing water damage.
Gathering the Necessary Tools and Materials
Gather all the necessary tools and materials for the job.
When it comes to fixing a leaky bathtub, having the right equipment is essential. First, you’ll need a set of basic hand tools, such as a wrench, pliers, and screwdrivers. These will help you with disassembling and reassembling various parts of the bathtub. Additionally, you may need a pipe wrench or adjustable pliers to loosen or tighten connections.
As for materials, it’s important to have a good supply of plumber’s tape and thread sealant to prevent any future leaks. You might also need replacement parts, such as washers, gaskets, or O-rings, depending on the source of the leak.
Shutting Off the Water Supply
When it comes to fixing a leaky bathtub, shutting off the water supply is of utmost importance. By turning off the water, you can prevent any further damage and ensure a safe working environment.
To do this, you need to locate the shut-off valve, which is typically found near the bathtub or in the basement.
Importance of Shutting off
Make sure you shut off the water before attempting to fix the leaky bathtub. Regular maintenance is crucial to the proper functioning of any plumbing system. Neglecting to shut off the water supply can lead to disastrous consequences such as flooding, water damage, and even potential electrical hazards. By shutting off the water, you prevent further water from leaking and causing more damage to your bathroom or home. It also allows you to work on the problem without the risk of getting soaked or causing further damage. To emphasize the importance of shutting off the water, let’s take a look at the potential consequences of not doing so:
| Consequences | Explanation |
|---|---|
| Flooding | Without shutting off the water, the leak can worsen and result in a large amount of water spreading throughout your bathroom or home. |
| Water Damage | Uncontrolled leaks can seep into walls, floors, and other structures, causing significant damage that may be costly to repair. |
| Electrical Hazards | Water and electricity do not mix well. Failing to shut off the water supply can increase the risk of electrical shocks or short circuits. |
Finding the Shut-Off Valve
To locate the shut-off valve, you’ll need to check the area near the bathtub. The shut-off valve is an essential component when it comes to fixing a leaky bathtub.
Finding the main water line is crucial for effectively turning off the water supply. The shut-off valve is typically located near the bathtub, often in the basement or utility room. It is a small handle or lever that controls the flow of water to the bathtub.
To find the shut-off valve, start by checking the walls surrounding the bathtub or the nearby floorboards. Look for a small metal or plastic handle that can be turned clockwise to shut off the water.
Once you locate the shut-off valve, turn it off to stop the water flow and proceed with fixing the leaky bathtub.
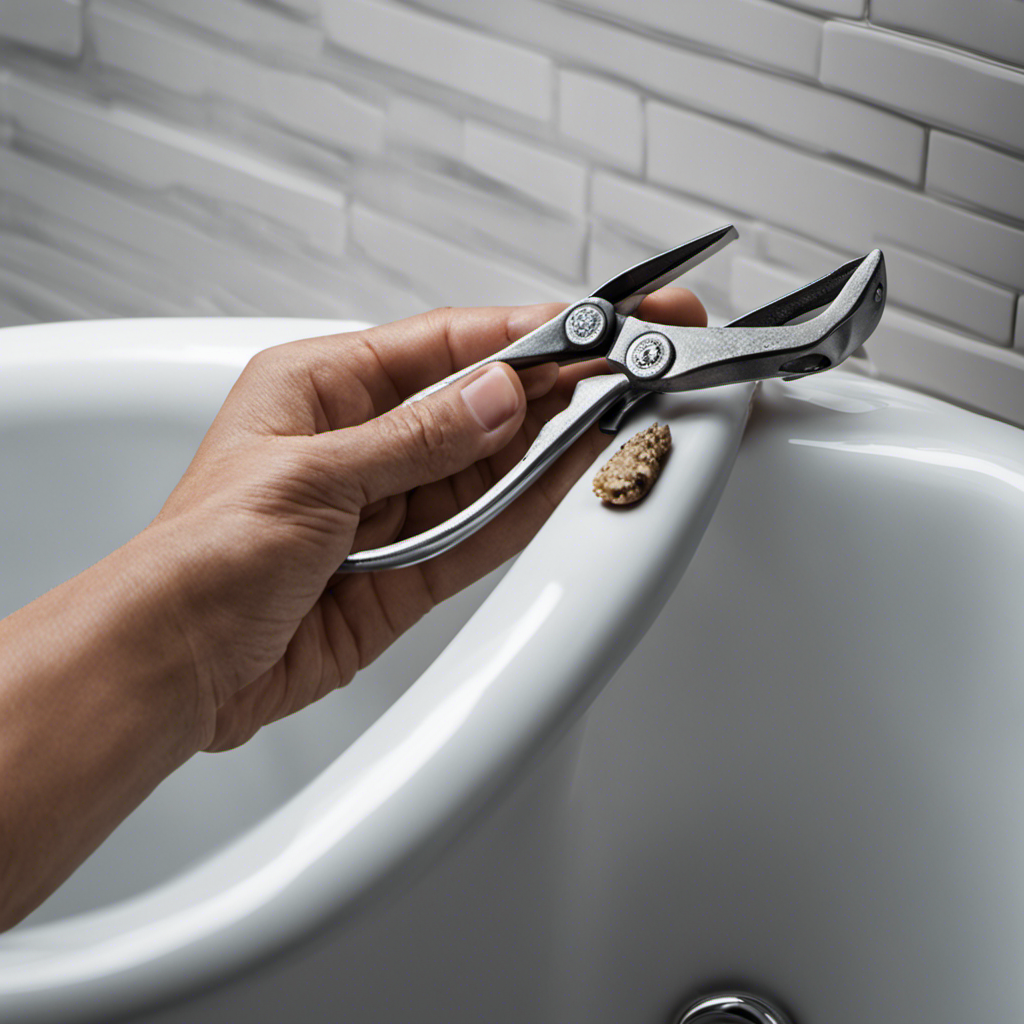
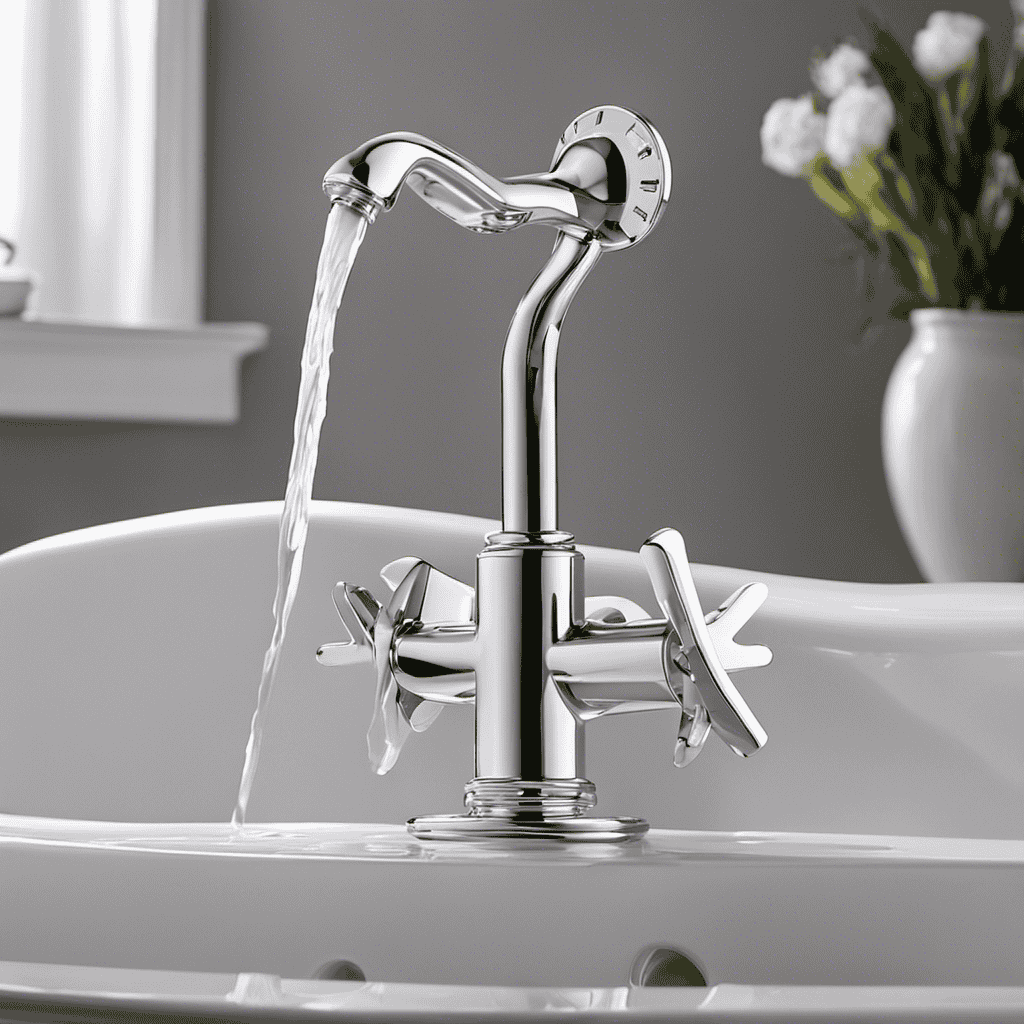
Removing the Faucet Handle or Spout
When it comes to removing the faucet handle or spout, there are different methods depending on the type of faucet you have.
For handle removal, you may need a screwdriver or Allen wrench to loosen the set screw holding it in place.
On the other hand, removing the spout often requires a wrench or pliers to loosen the retaining nut underneath.
It is important to have the right tools and follow the proper steps to avoid causing damage to the faucet during removal.
Handle Vs Spout Removal
If you’re unsure about removing the handle or spout, you can consult the bathtub’s manufacturer for specific instructions.
When it comes to fixing a leaky bathtub, understanding the difference between handle replacement and spout installation is crucial.
The handle is the part that allows you to turn the water on and off, while the spout is the component that the water flows out of.
To replace the handle, you will typically need to remove a screw or set screw that holds it in place.
On the other hand, installing a new spout involves unscrewing the old one and attaching the new one securely.
Both processes require precision and attention to detail, ensuring that the handle or spout is properly aligned and sealed to prevent any future leaks.
Now that we understand the difference between handle and spout removal, let’s move on to the tools needed for this task.
Tools Needed for Removal
Understanding the necessary tools is crucial for removing the handle or spout of a bathtub. As someone who has dealt with their fair share of leaky bathtubs, I have learned the importance of having the right tools at my disposal.
Here are the essential tools needed for removing the handle or spout:
-
Screwdriver: A flathead or Phillips screwdriver is needed to remove any screws holding the handle or spout in place.
-
Adjustable wrench: This tool is necessary for loosening and removing any nuts or bolts that may be securing the handle or spout.
-
Caulk removal tool: To ensure a clean and thorough removal, a caulk removal tool is essential for removing any caulking around the handle or spout.
-
Plumber’s tape: Once the handle or spout has been removed, plumber’s tape is needed to seal and fix any leaks in the bathtub drain.
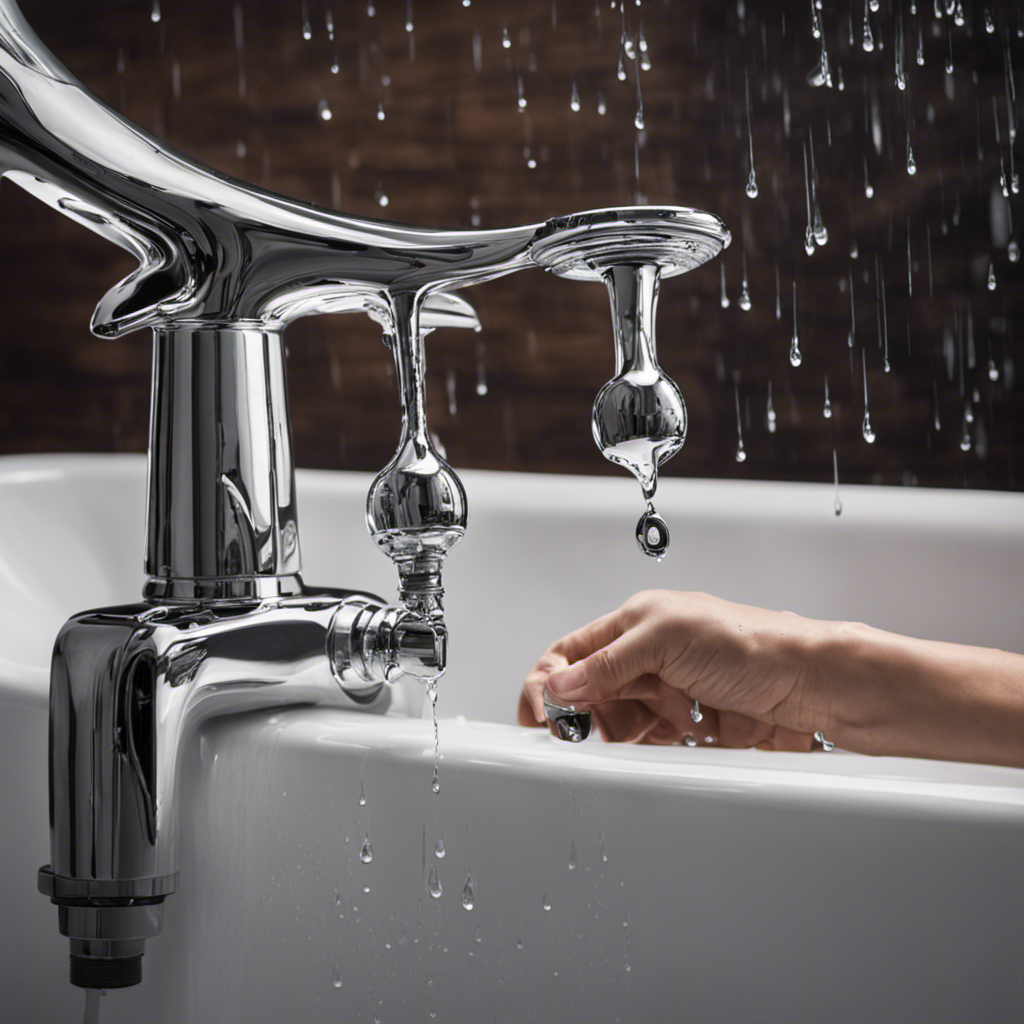
Inspecting and Replacing the O-Rings or Washers
To fix a leaky bathtub, you should start by inspecting and replacing the o-rings or washers. These small but crucial components are responsible for creating a watertight seal in your plumbing system. Over time, they can wear out or become damaged, leading to leaks.
Begin by turning off the water supply to the bathtub and removing the handle and trim. Next, locate the o-rings or washers, typically found at the base of the valve stem or cartridge. Inspect them for any signs of wear, such as cracks or tears. If necessary, replace them with new ones of the same size and type. It’s essential to use high-quality replacements to ensure a proper seal and prevent future leaks.
Reassembling the Faucet or Spout
After replacing the o-rings or washers, it’s time to reassemble the faucet or spout. Proper reassembling techniques are crucial to ensure a leak-free and properly functioning bathtub. Here are some key steps to follow:
- Align the faucet or spout with the mounting holes on the bathtub.
- Insert the screws or bolts through the mounting holes and tighten them securely.
- Attach the handles or knobs back onto the stem or cartridge and tighten them firmly.
- Finally, turn the water supply back on and test the faucet for any leaks.
Common mistakes to avoid during reassembling include overtightening the screws or bolts, which can damage the faucet or spout, and not aligning the parts properly, resulting in leaks.
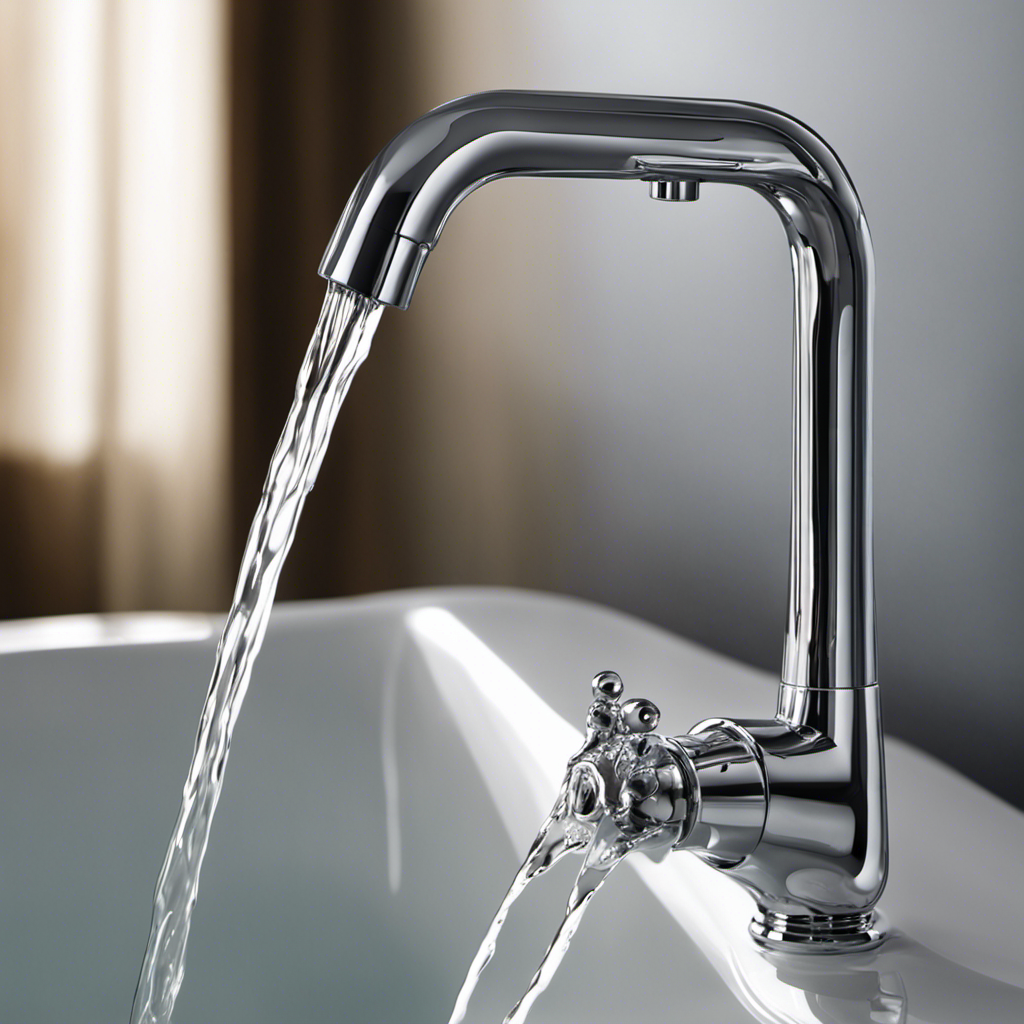
Testing for Leaks and Ensuring Proper Functioning
Now that I have successfully reassembled the faucet or spout of my bathtub, it is crucial to thoroughly test for leaks and ensure its proper functioning.
Testing methods play a key role in troubleshooting any potential issues that may arise.
First, I will turn on the water supply and observe the faucet closely for any signs of dripping or leaking.
Next, I will check the spout for any irregular water flow or weak pressure.
If any leaks or issues are detected, I will need to disassemble the faucet or spout again to identify and resolve the problem.
Additionally, I can use troubleshooting techniques such as tightening any loose connections, replacing worn-out seals or gaskets, or adjusting the water pressure to optimize the bathtub’s performance.
Conclusion
In conclusion, fixing a leaky bathtub requires careful identification of the source of the leak, along with the necessary tools and materials. Shutting off the water supply and removing the faucet handle or spout are crucial steps in the repair process.
Inspecting and replacing the O-rings or washers ensures a tight seal, and reassembling the faucet or spout is essential for proper functioning. Finally, testing for leaks guarantees a job well done.
Remember, a watertight bathtub is like a ship sailing smoothly on calm seas.