Hey there! So, you’ve got a peeling bathtub paint situation on your hands, huh? Don’t worry, I’ve been there too. Luckily, I’ve got some tried and true methods to fix it up and have your bathtub looking fresh and fabulous again.
In this article, I’ll walk you through the step-by-step process of assessing the damage, prepping the surface, applying primer and paint, and sealing it all in for long-lasting results.
Trust me, with a little know-how, you’ll have your bathtub looking brand new in no time.
Let’s dive in!
Key Takeaways
- Carefully examine the affected areas for peeling paint and take note of the size and location of the peeling areas.
- Identify the causes of the peeling paint, such as moisture or improper surface preparation, to prevent future peeling.
- Thoroughly clean and sand the bathtub surface to ensure a well-prepared surface for the next steps.
- Choose a high-quality bonding primer and bathtub paint, and consider hiring a professional for a flawless finish.
bathtub paint repair kit
As an affiliate, we earn on qualifying purchases.
As an affiliate, we earn on qualifying purchases.
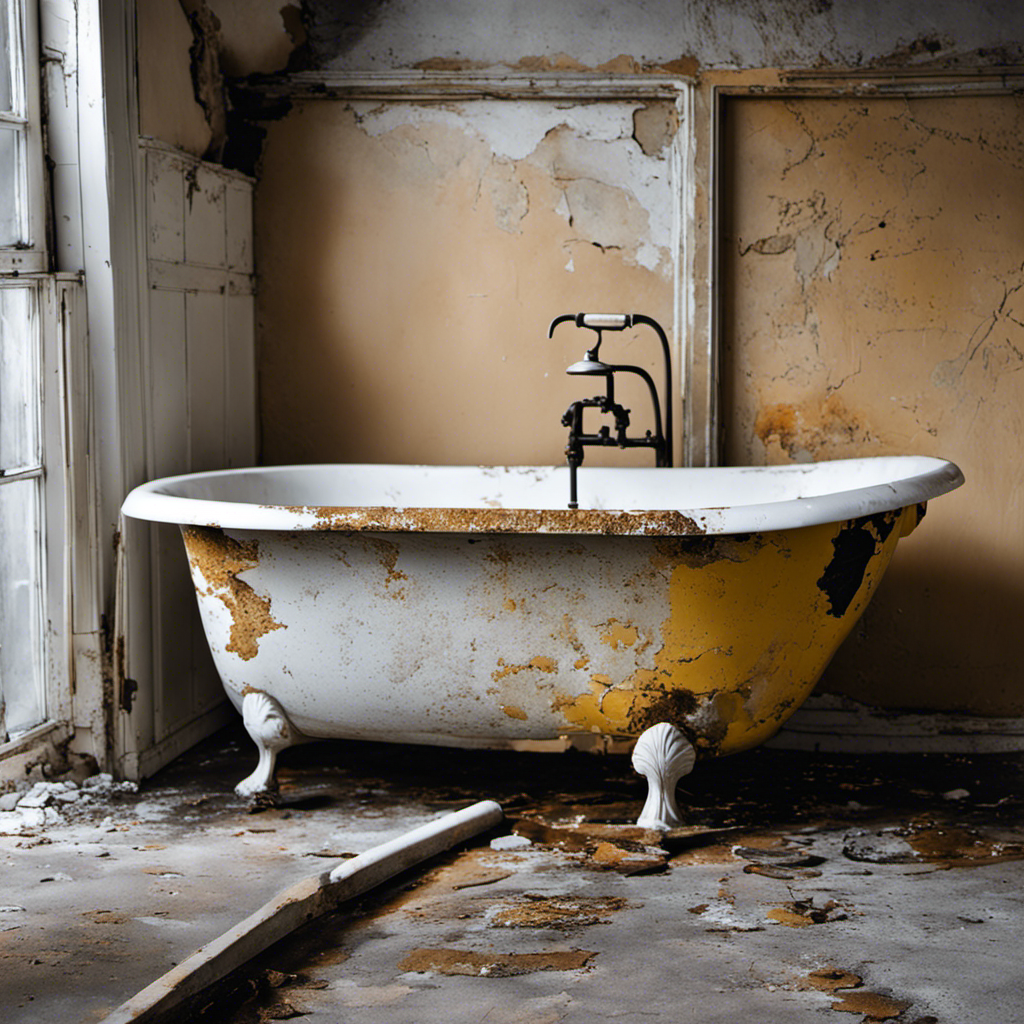
Assessing the Damage
Before you can begin fixing the peeling bathtub paint, you’ll need to assess the extent of the damage. Evaluating the extent of the damage is crucial in determining the appropriate course of action.
Start by carefully examining the affected areas, looking for any large patches or smaller spots where the paint is peeling. Take note of the size and location of these areas. Additionally, identify the causes behind the peeling paint. It could be due to moisture, improper surface preparation, or low-quality paint. Understanding the root cause will help prevent future peeling.
Once you have evaluated the extent of the damage and identified the causes, you can move on to the next step: preparing the bathtub surface.
high-quality bathtub primer
As an affiliate, we earn on qualifying purchases.
As an affiliate, we earn on qualifying purchases.
Preparing the Bathtub Surface
To properly prepare the bathtub surface, it’s important to thoroughly clean and sand it. Before doing anything else, I gather all the necessary cleaning products. I start by spraying a bathtub cleaner onto the surface and scrubbing it with a non-abrasive sponge. This helps remove any dirt, grime, or soap scum that may be present. Once the surface is clean, I rinse it thoroughly with warm water and dry it with a clean towel.
Next, I move on to the sanding process. I use a fine-grit sandpaper and gently sand the entire bathtub surface. This helps to roughen up the surface and create a better bond for the new paint. I make sure to sand in a circular motion, paying extra attention to any areas where the paint is peeling or flaking.
Overall, by using the right cleaning products and implementing proper sanding techniques, I can ensure that the bathtub surface is well-prepared for the next steps in fixing the peeling paint.

4 Pack Hand Sanding Sponge Set -120 220 320 400 Grit- Coarse Medium Fine Grit Sanding Block, Sander Sponges for Wood-Working Drywall Metal, Washable and Reusable Sponge for Rust Removal Polishing
Assorted Grit Sanding Blocks – This set includes 4 sponge sanding blocks (4 x 2.6 x 0.7 inches)…
As an affiliate, we earn on qualifying purchases.
As an affiliate, we earn on qualifying purchases.
Applying the Primer
Now, you’ll want to apply the primer to ensure a smooth and even surface for the new coat of paint. Choosing the right primer is crucial for the success of your project. Look for a high-quality bonding primer specifically designed for use on bathtubs and tiles.
Here are some proper application techniques to follow:
-
Clean the surface thoroughly: Remove any dirt, grease, or loose paint from the bathtub. Use a mild cleanser and scrub gently to ensure a clean surface for the primer to adhere to.
-
Sand the surface lightly: Use fine-grit sandpaper to roughen up the bathtub’s surface slightly. This will help the primer bond better and provide a more durable finish.
-
Apply the primer evenly: Use a paintbrush or a foam roller to apply the primer in thin, even coats. Start from the top and work your way down, making sure to cover all areas.
bathtub paint and sealant
As an affiliate, we earn on qualifying purchases.
As an affiliate, we earn on qualifying purchases.
Painting the Bathtub
Once you’ve completed the priming process, it’s important to choose a high-quality paint specifically designed for use on bathtubs and tiles. This ensures a long-lasting and durable finish. When it comes to painting your bathtub, you have a variety of color options to choose from. Whether you prefer a classic white or want to add a splash of color to your bathroom, there’s a color that will suit your taste.
Before you begin painting, it’s essential to decide whether you want to take on the project yourself or hire a professional. DIY painting can be a cost-effective option, but it requires careful preparation and attention to detail. On the other hand, hiring a professional guarantees a flawless finish, but it can be more expensive. Consider your budget and skill level when making this decision.
Here is a table highlighting the pros and cons of DIY painting versus professional painting:
| DIY Painting | Professional Painting | |
|---|---|---|
| Pros | Cost-effective | Flawless finish |
| Satisfaction of doing it yourself | Expertise and experience | |
| Cons | Time-consuming | More expensive |
| Requires careful preparation | May require scheduling |
Ultimately, the choice is yours, but remember to weigh the pros and cons before making a decision.
Sealing and Protecting the Paint
After sealing and protecting the paint, you can enjoy a long-lasting and beautiful finish on your newly painted bathtub. Here are some tips and techniques to help you achieve the best results:
-
Caulking techniques: Properly caulking the edges of your bathtub is essential to prevent water damage and maintain the integrity of the paint job. Make sure to remove any old caulk and clean the surface thoroughly before applying new caulk. Use a high-quality silicone caulk that is specifically designed for bathrooms.
-
Choosing the right paint color: When selecting a paint color for your bathtub, consider the overall aesthetic of your bathroom and the desired mood you want to create. Opt for a paint that is specifically formulated for use on bathtubs and can withstand moisture and constant water exposure.
-
Applying a protective topcoat: To enhance the durability of the paint, apply a clear topcoat specifically designed for bathtubs. This protective layer will help prevent chipping, fading, and staining, ensuring that your bathtub paint lasts for years to come.
Conclusion
In conclusion, fixing peeling bathtub paint is a straightforward process that can be done by anyone with a little time and effort. By assessing the damage, preparing the surface, applying primer, painting, and sealing the paint, you can restore your bathtub to its former glory.
One common objection to this process may be the fear of making a mistake or not achieving a professional-looking result. However, with the right tools and following the steps outlined in this article, you can achieve a beautiful, smooth finish that will make your bathtub look brand new.