
As a homeowner, I was shocked to discover that 20% of all bathroom remodels involve fixing rotten floor joists under the bathtub. It’s a common problem that can lead to costly repairs if not addressed promptly.
In this article, I will guide you through the process of identifying and repairing a rotten floor joist under your bathtub. By following these steps, you can ensure the structural integrity of your bathroom and avoid future issues.
So let’s get started and get your bathtub back in tip-top shape!
Key Takeaways
- Properly assessing the extent of damage is crucial before repairing a rotten floor joist under a bathtub.
- Treating affected plywood with wood preservative can help prevent further decay and damage.
- In severe cases, it may be necessary to replace severely damaged floor joists.
- Reinforcing the floor structure with additional support beams or sister joists can provide long-term stability and durability.
Identifying the Problem
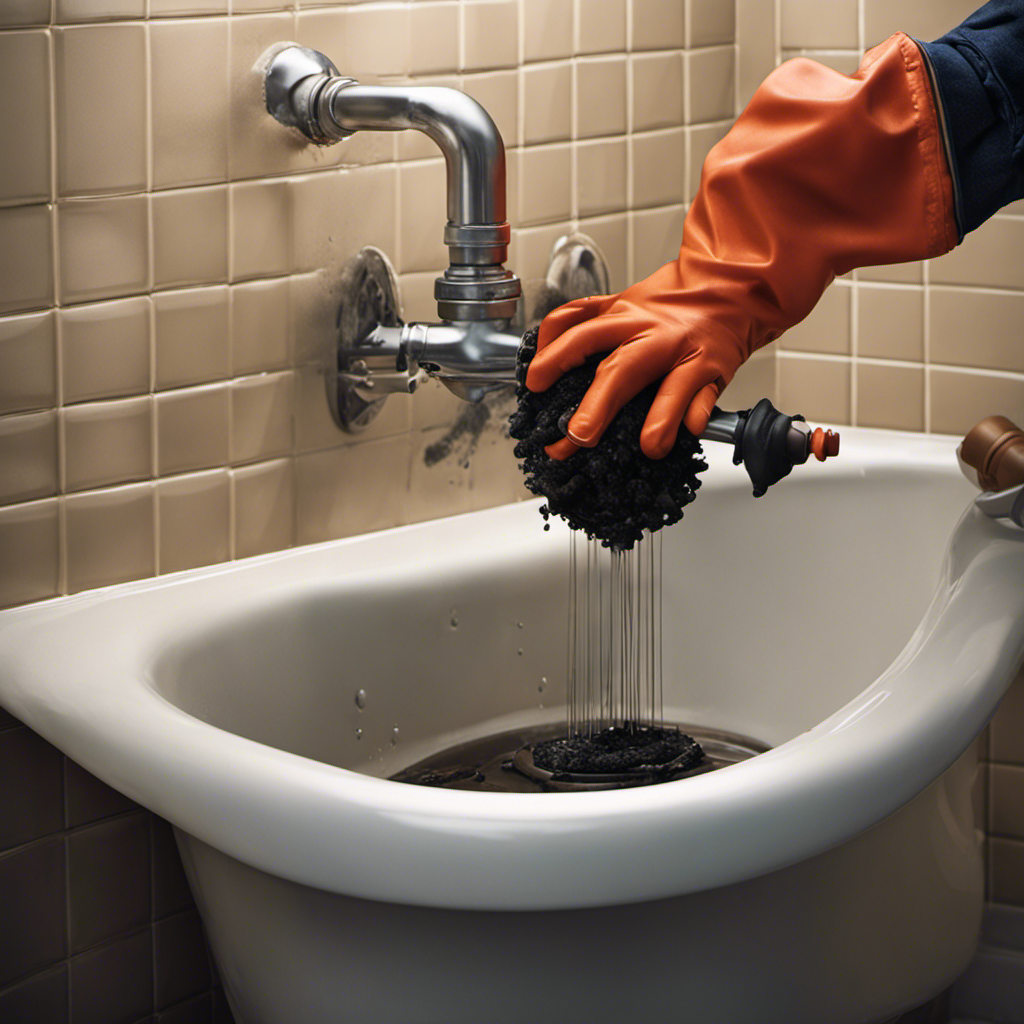
You’ll need to start by examining the floor around your bathtub to identify any signs of rot or damage. This step is crucial to understanding the extent of the problem and determining the potential causes.
Look for soft spots, discoloration, or sagging areas in the floor. These are clear signs of water damage and rot. Pay attention to any musty odors or mold growth as well, as these can indicate a long-standing issue.
Evaluating the need for professional assistance is important, especially if the damage is extensive or if you are unsure about your DIY skills. It’s also essential to consider potential safety hazards, such as weakened floors, before proceeding.
Once you have identified the problem, you can then move on to removing the bathtub.
Removing the Bathtub
To start, it’s important to remove the bathtub when addressing this issue. When it comes to bathtub replacement, there are several plumbing considerations that need to be taken into account. Before starting the removal process, it’s crucial to shut off the water supply and disconnect any plumbing fixtures connected to the bathtub. This will prevent any water damage or leaks during the removal. Additionally, it’s important to ensure that the area is properly supported before removing the bathtub. This can be done by installing temporary supports, such as wooden beams or jacks, to prevent any structural damage. Once the supports are in place, carefully remove the bathtub, making sure to disconnect any remaining plumbing connections. By following these steps and considering the plumbing aspects, the bathtub replacement process can be carried out smoothly and efficiently.
| Plumbing Considerations |
|---|
| Shut off water supply |
| Disconnect fixtures |
| Support the area |
| Remove bathtub |
Assessing and Repairing the Rotten Floor Joist
Once the water supply has been shut off and the plumbing fixtures have been disconnected, it’s important to assess and repair the damaged area under the bathtub.
Assessing the damage is crucial to determine the extent of the problem and plan the necessary repairs. Start by examining the floor joist for signs of rot or decay. Look for discoloration, soft spots, or any sagging areas.
If the joist is severely damaged, it may need to be replaced entirely. However, if the damage is limited to certain sections, you can treat the affected plywood with a wood preservative to prevent further decay. Apply the preservative generously and allow it to soak into the wood.
Once the plywood is treated, you can reinforce it using additional support beams or sister joists to ensure the structural integrity of the floor.
Reinforcing the Floor Structure
Check for any signs of weakness or instability in the floor structure and reinforce it accordingly. This step is crucial to ensure the long-term stability and durability of the floor.
Start by thoroughly inspecting the floor joists, beams, and subfloor for any signs of damage, such as sagging or cracking. Strengthening the support system of the floor is essential to prevent future damage.
One effective method is to install additional support beams or columns underneath the weakened areas. This will distribute the weight more evenly and reduce the strain on the floor structure. Additionally, consider using steel brackets or reinforcements to further enhance the stability and strength of the floor.
Reinstalling the Bathtub
One important step in the process is carefully attaching the plumbing fixtures to the newly reinforced floor structure. This ensures that the bathtub is securely in place and properly connected to the water supply and drainage system.
Here are three key aspects to consider during the reinstallation of the bathtub:
-
Repositioning the Drain: Before placing the bathtub back in its original position, it is crucial to reposition the drain. This involves aligning the drain opening with the connected plumbing pipes to ensure proper water flow and drainage.
-
Waterproofing the Area: To prevent any future water damage or leaks, it is essential to waterproof the area surrounding the bathtub. This can be done by applying a waterproof membrane or sealant to the floor and walls, creating a barrier against moisture.
-
Securing the Bathtub: Once the drain has been repositioned and the area has been waterproofed, the final step is to securely attach the bathtub to the reinforced floor structure. This can be achieved by using screws or brackets to firmly anchor the bathtub in place.
Conclusion
In conclusion, repairing a rotten floor joist under your bathtub may seem like a daunting task, but it can be accomplished successfully with the right tools and knowledge.
By identifying the problem and removing the bathtub, you can assess and repair the joist. This step is crucial in ensuring the stability and longevity of your bathroom.
Once the joist is repaired, it is important to reinforce the floor structure. This will provide additional support and prevent future issues.
Just like a sturdy foundation is essential for a strong building, a solid floor structure is crucial for a secure and comfortable bathing experience.
So, don’t hesitate to tackle this project and enjoy a worry-free bath time.